Jump to content

Search the Community

Showing results for tags 'windows'.

  • Search By Tags

    Type tags separated by commas.
  • Search By Author

Content Type


Forums

  • Announcements
    • Announcements
    • News You Need
    • Job Board
  • Feedback
    • Roadmap
    • Wishlist - Feature and Content Requests
    • Known Issues
    • Wishes Granted / Issues Resolved
    • Forum Feedback
  • General
    • Troubleshooting
    • General Discussion
    • Architecture
    • Site Design
    • Entertainment
    • Previsualization
    • Braceworks
    • ConnectCAD
    • Energos
    • Rendering
    • Workflows
    • Buying and Selling Vectorworks Licenses
    • Hardware
  • Customization
    • AI Visualizer
    • Marionette
    • Vectorscript
    • Python Scripting
    • SDK
    • 3rd Party Services, Products and Events
    • Data Tags
  • Solids Modeling and 3D Printing
    • Subdivision
    • Solids Modeling
    • 3D Printing
  • Vectorworks in Action
  • Archive
    • Resource Sharing
    • Machine Design

Calendars

  • In-Person Training - US
  • In-Person Training - UK
  • Coffee Breaks
  • Essentials Seminars
  • Webinars
  • Community Groups

Categories

  • Knowledgebase
    • Tech Bulletins
    • Troubleshooting
    • Workflows
    • How To
    • FAQs

Categories

  • Marionette - Objects
  • Marionette - Networks
  • Marionette - Nodes
  • Marionette - Menu Commands

Product Groups

There are no results to display.


Find results in...
Find results that contain...

Date Created

  • Start

    End


Last Updated

  • Start

    End


Filter by number of...

Joined

  • Start

    End


Group


Occupation


Homepage


Hobbies


Location


Skype

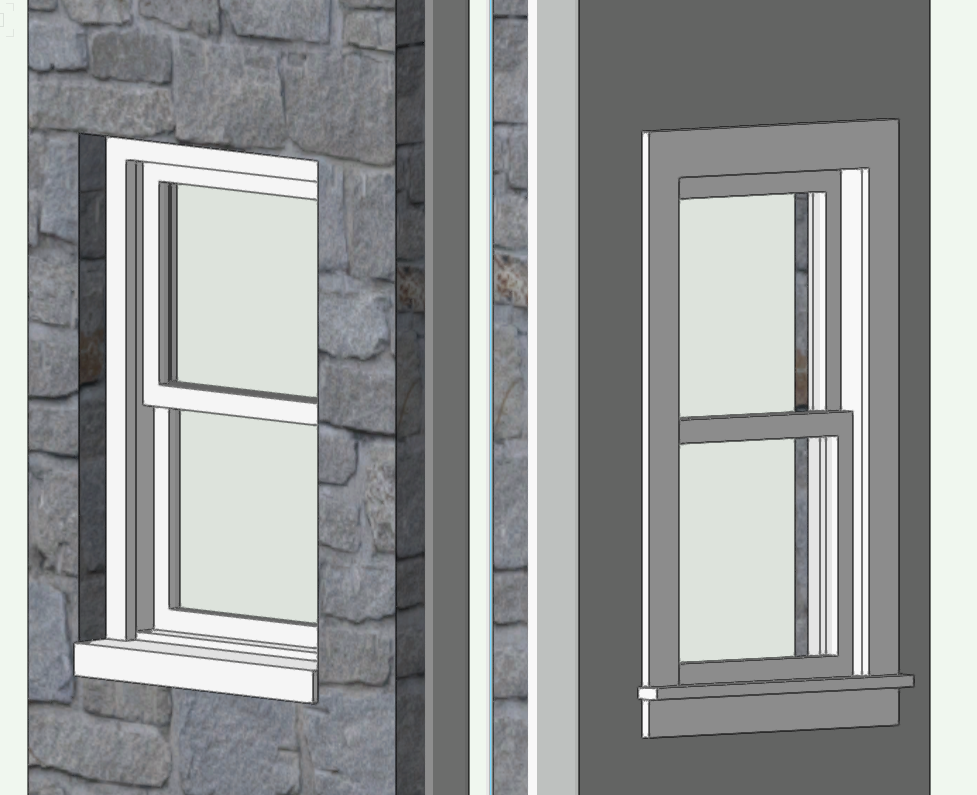
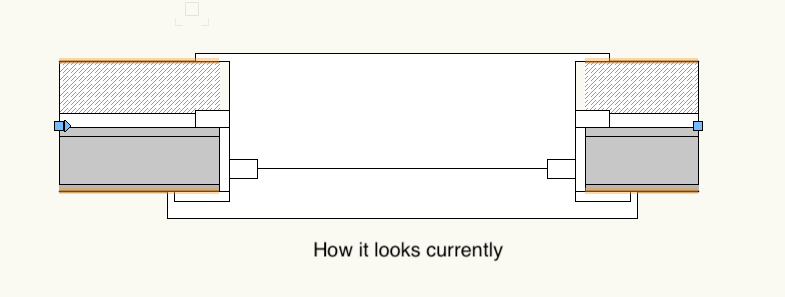
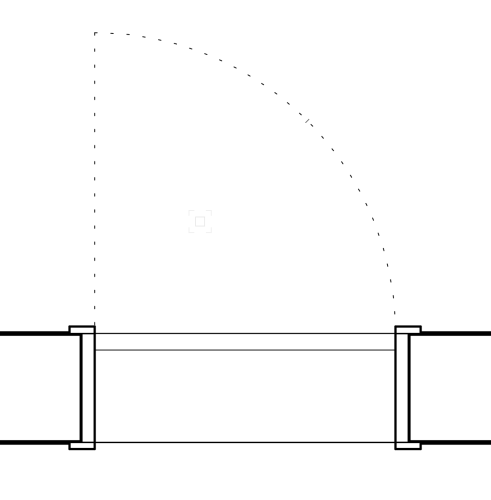
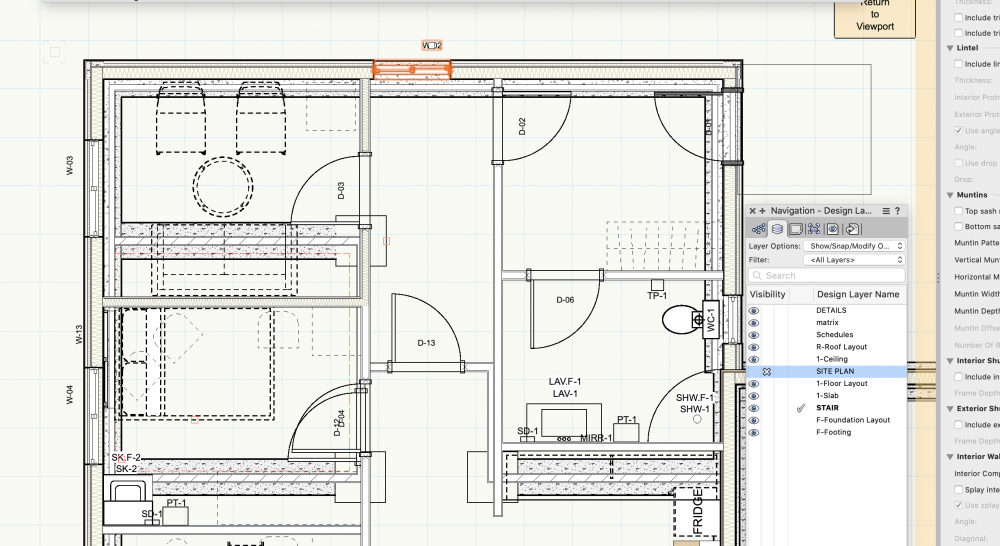
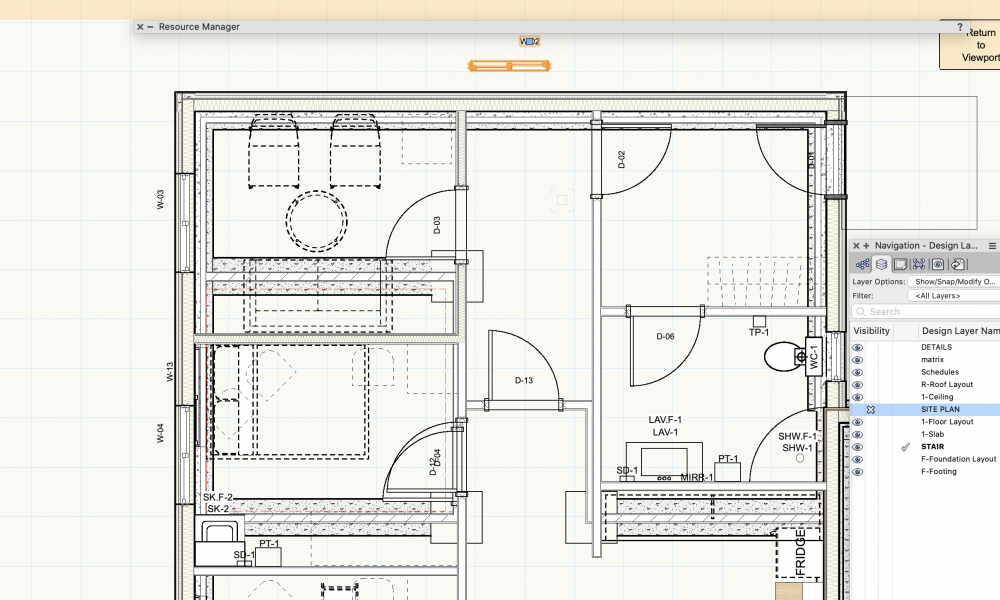
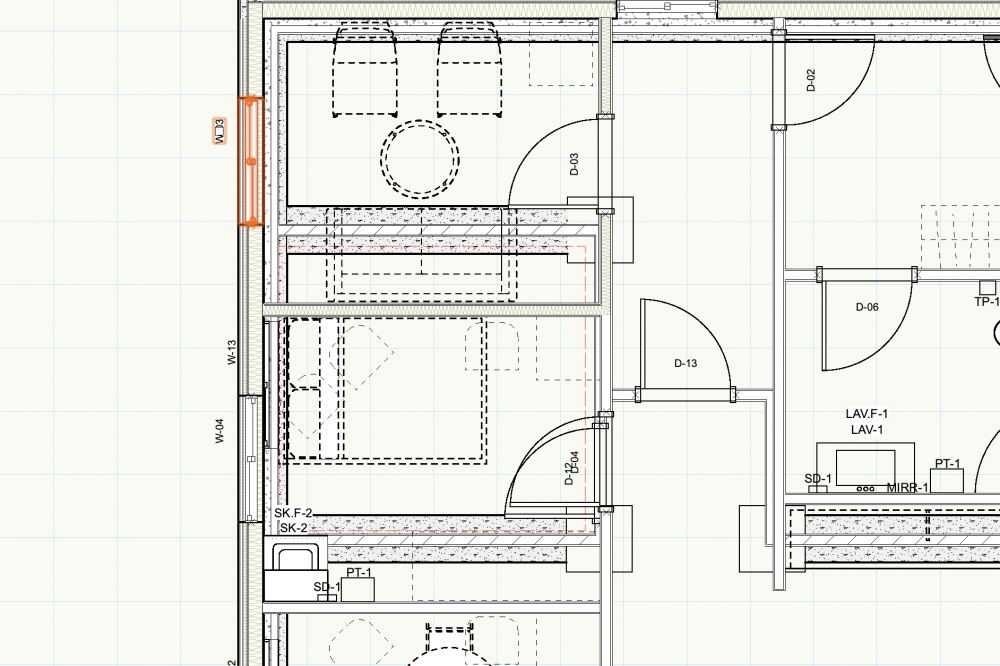
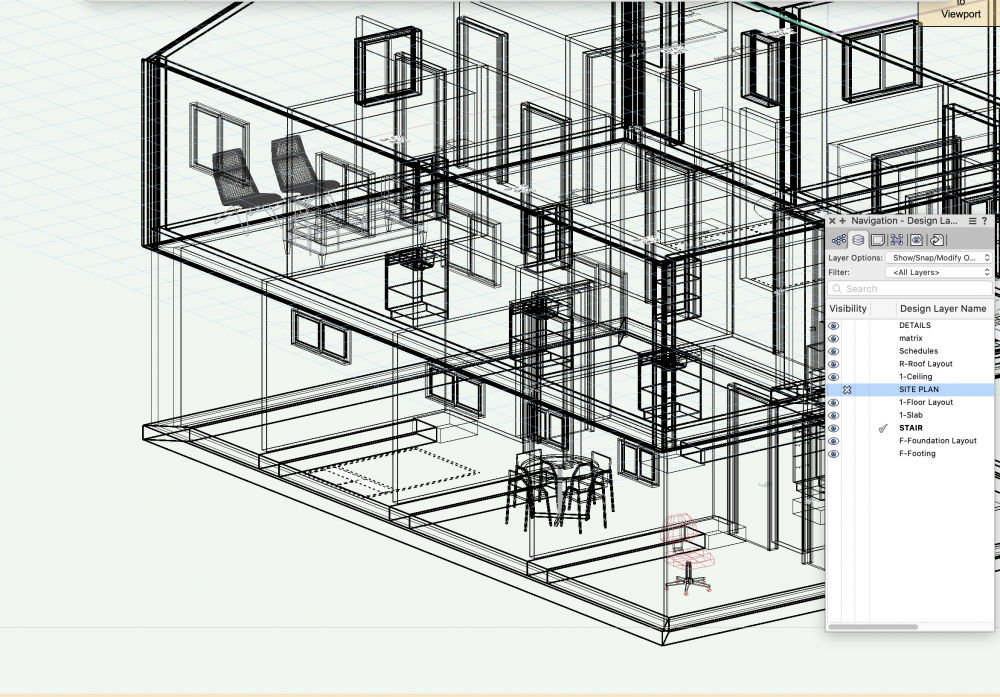
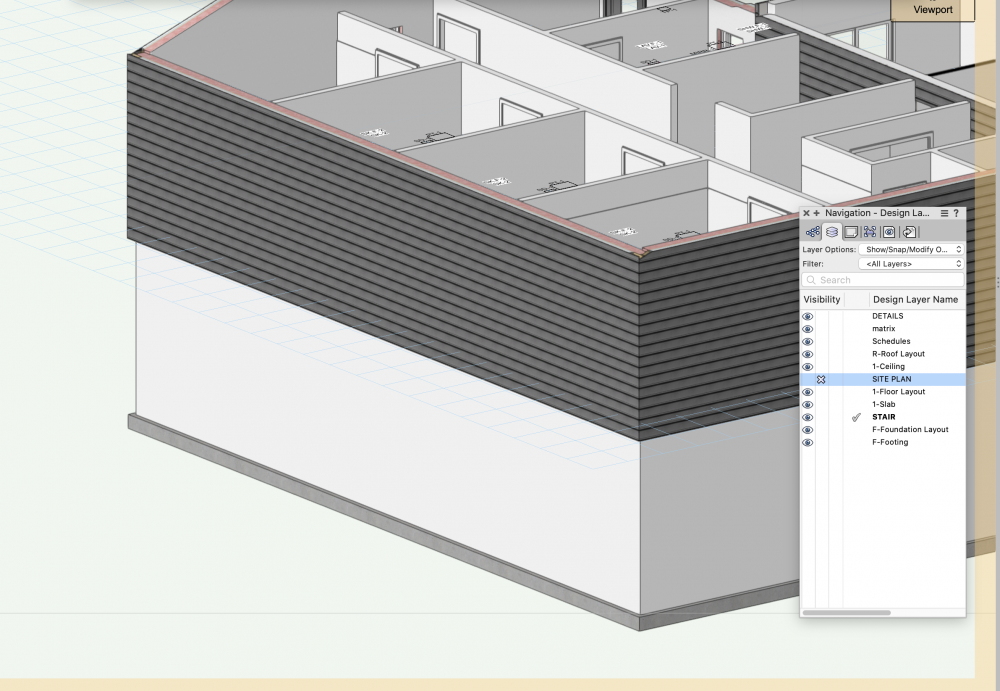
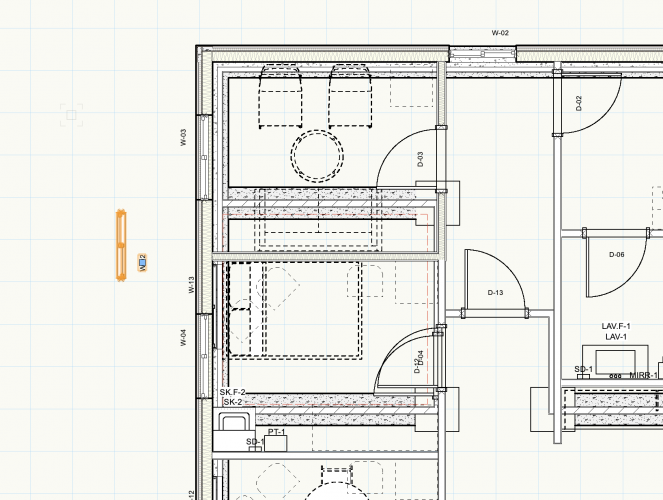
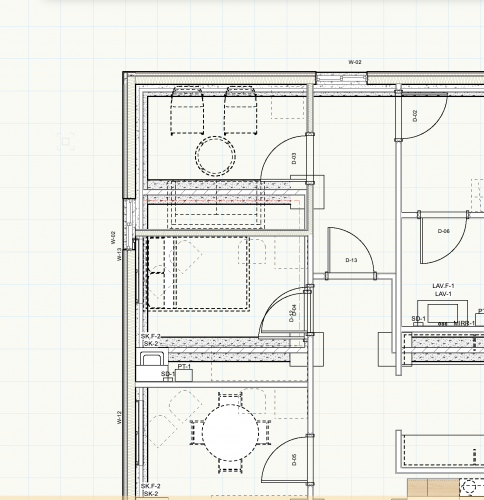
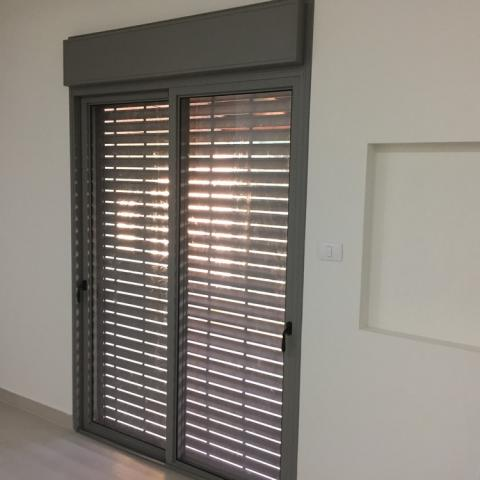
  1. Hi Everyone, I've been using vectorworks for a long time now and inserting windows into masonry veneer opening is still mind boggling to me. I've gotten the window to look how I want it in 3d view and in elevation but in plan view the masonry overlaps the trim (which it does not do in elevation or in 3d). How do I correct this? All the examples I've downloaded from the vectorworks site eliminate the trim and just increase the frame size but that is not the solution i'm looking for. I've attached 3d view of the exterior, interior and then the plan view as currently is. I've also attached a marked up plan view using annotations of what I would like the top plan result to be. Does anyone have any suggestions or a workflow that produces a clean result? Thank you, Derek
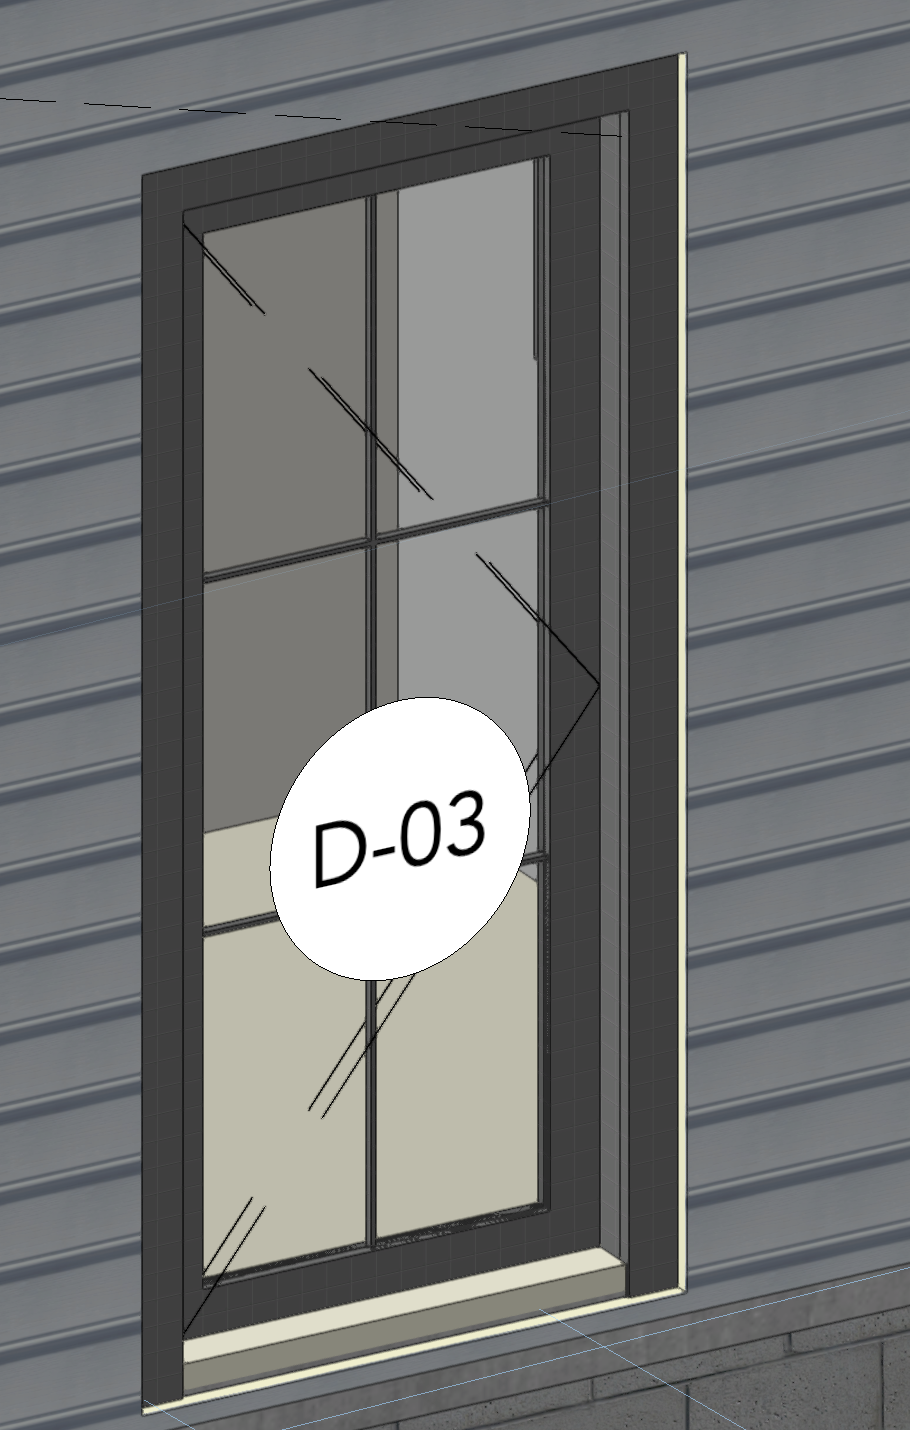
  2. How do we show the 3D door / window tag on both sides. It only show on external elevation of the door / window. If the hinge marker shows on both sides. How could we show the 3D ID tag on both sides?
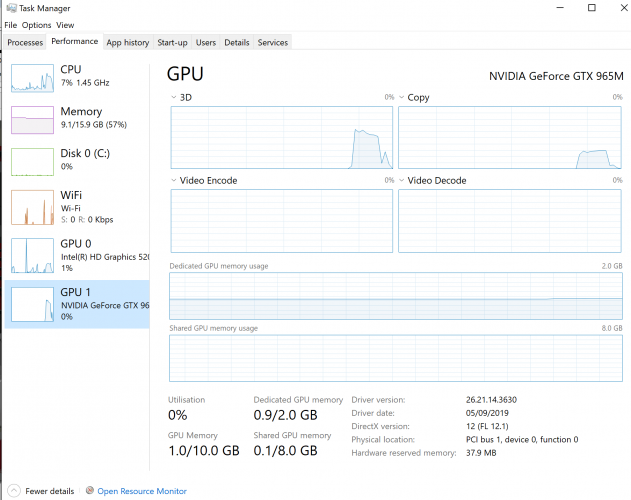
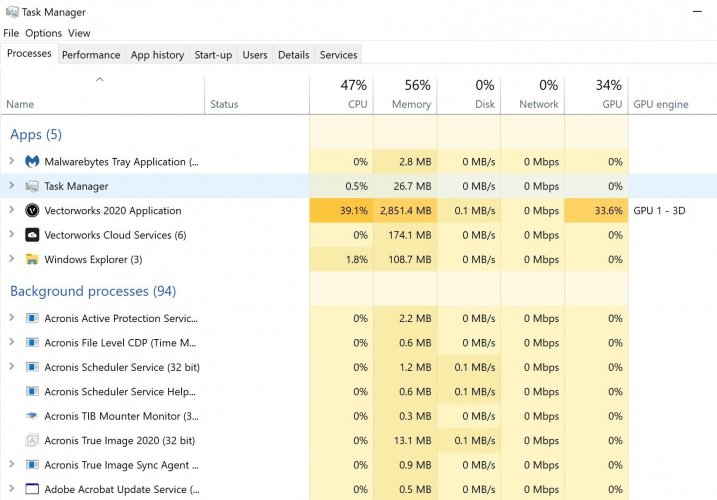
  3. Hello everyone, I might need to open a proper ticket but thought I might give it a shot here as I'm kinda lost. I just built a new Windows 10 workstation for the studio and I'm having a lot of issues with VWX and, when compared to my personal M1 Max, it gets destroyed. All tests were done using the same file. First, opening the file takes longer on PC and the whole software freezes (without showing it in the title bar, I had to open Task Manager to check that) for more than 2 minutes (it takes roughly 10 seconds on Mac) before switching from a sheet layer to the design layer view. Then if I select the orbit tool and perform an action, for example, it freezes again for another minute before actually moving the camera, then it seems to work just fine orbiting and panning/moving. Also switching between other tools at that point seems to work just as on the Macbook, even though, if I move an object like a lighting instrument or a 3D object it seems it takes longer than the macbook to perform it. Switching between Wireframe, Plan View, Shaded or any other mode causes a lot of lag that is not present on Mac. Publishing the same sheets takes roughly 15-16 minutes on Mac and 22 on PC, starting from the same out of date viewports. Finally, closing the software on PC causes it to freeze again and takes about 2-3 minutes to close completely. The VWX install was made today right after the build and the installation of a fresh copy of Windows 10 Pro, run all the updates and installed all the drivers. The system doesn't appear to have any stability issues as benchmarks came clear and runs good with anything else. Specs of the system as follows: Motherboard: Asus TUF GAMING B760M-PLUS WIFI CPU: Intel Core i9-13900K (not overclocked) RAM: 64 GB DDR5 @ 6000MHz GPU: Nvidia GeForce RTX 4090 Founders Edition (not overclocked) OS: Windows 10 Pro (Build 19045.3086) Software: Vectorworks Spotlight 2023 SP5 - Build: 702742 What I was able to notice is that Vectorworks never used more than 20% of my CPU at any time during any of these operations. Also, this list is not comprehensive as I didn't have to inspect the issue any further today and I'm writing from home right now but hopefully this is enough information to start investigate into this as I was really caught by surprise by the really underwhelming performance of this system that I was expecting to upgrade our workflow. Thanks for your time
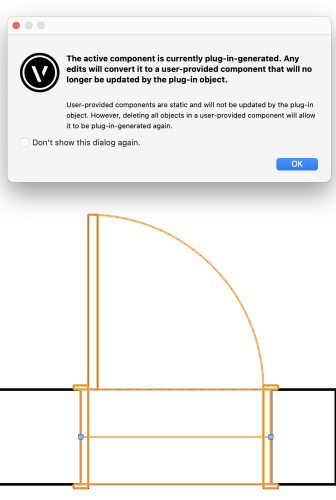
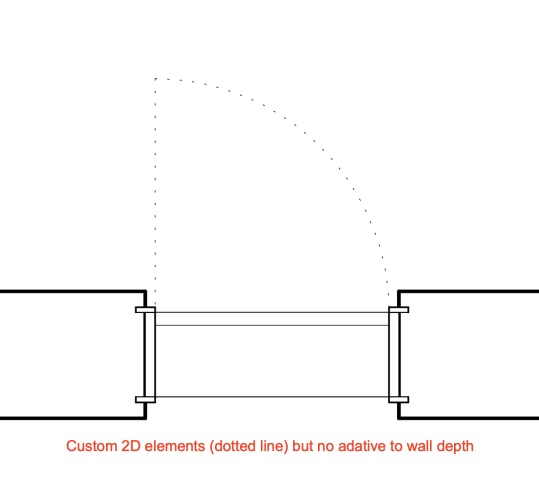
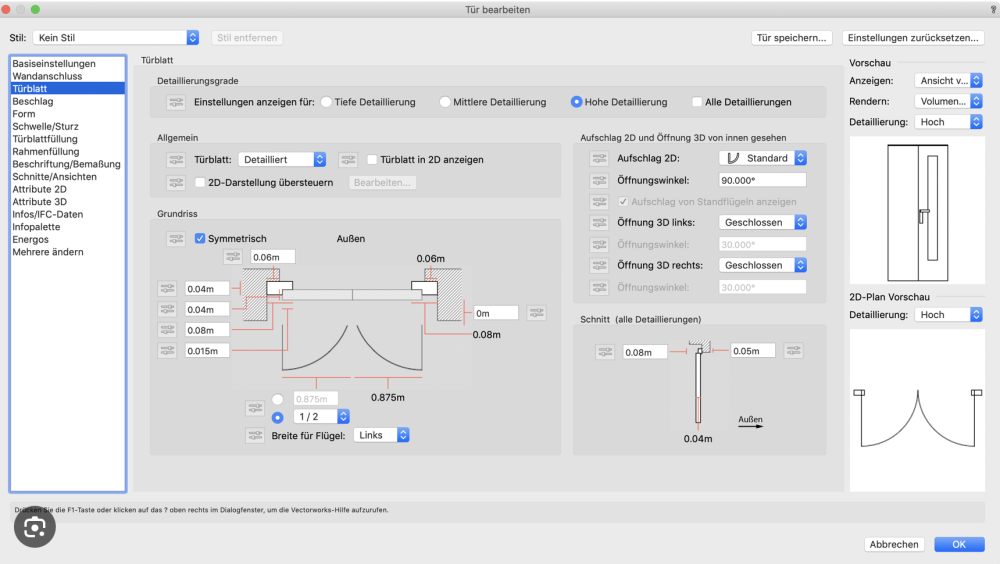
  4. Hi everyone I'm used to work with the german version of Vectorworks, wich allows much more doors and windows customization (see screenshot). Is there a way to add 2D drawings in door and windows, without losing the adaptivity to walls depth? How can I control what is represented at the various detail levels (low, medium, high) in the door and windows tools itself, without having to add 2D elements? Thanks Tad
  5. Hi I have a file with some window issues, There are several windows that appear in plan but when switching to 3d and using the shaded render they disappear It's as if they are not inserted in the wall properly. However I cannot move them to pull them off the wall, its as if they are frozen. I have turned on all the classes thinking that this might be a class issue but it has no impact. There are other windows in the file are visible and functioning the way they are supposed to and in the same wall type as the windows that are disappearing. When I try to insert a new window in the wall that is causing me issues, all of the previous windows disappear. Does anyone have any idea? Thank you
  6. For a long time (and many versions) vw worksheet (I do mean the worksheet not the DB) has occasionally changed superscript 2's to square root signs. I'm on Windows but I understand in a mac there is some kind of link between how superscript 2's and square root symbols are displayed. But if VW is fully ported to Windows how can this happen? Is there a solution for this as a normal 2 is a seriously unprofessional looking symbol compared with ².
  7. Good afternoon folks, I have a weird thing showing up to all my doors and windows. There are these thick black lines at the sides of the window / door symbols. I never noticed it before because I had my data visualization set to make the existing walls 80% black. We changed the graphic representation and went for a 50% black and now these show up at every door and every window. They appear to be "under" the window / door symbols. The "Draw wall lines" is turned off and the lintel and threshold classes are set to an invisible class. I've also looked into the wall type to see if there's something class wise going on there but everything is set to colour by class which has been modified with data visualization. Any ideas what they are and how to turn them off? Thanks folks! - Dylan
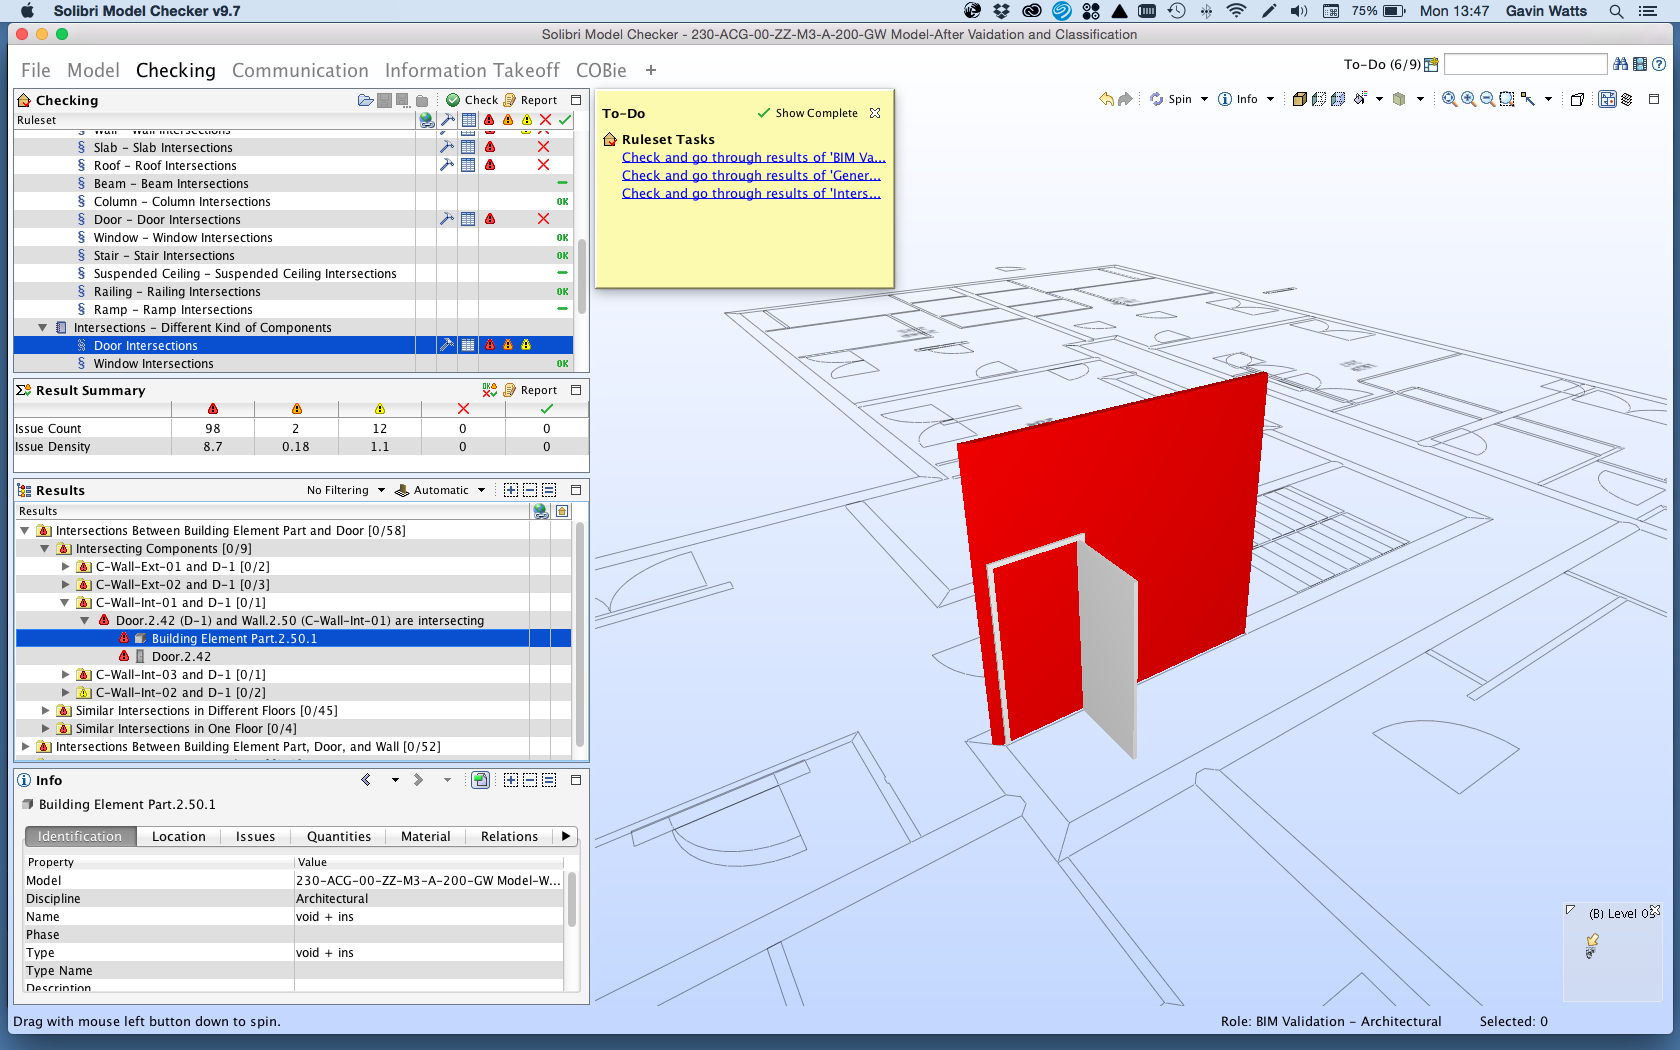
  8. Hi, I am currently working towards PAS1192:2-2013 mandate and I am having some issues with the IFC import and the way we create windows. As we work on large housing schemes we work with window types, a method Vectorworks have previously advised to do it. So we create windows and then turn into symbols, so when placed within a wall they appear as a 'symbol in the wall'. However when exporting to IFC and either re-importing into VW to test or into Solibre Model Checker, the IFC format does not acknowledge the relationship between the wall and the window. I therefore tried exploding the symbol to test if it was this and when it is a 'window in wall' it views fine. I was wondering if anyone has had a similar issue and a work around. One way i was going to try was using symbol geometry in the window settings. therefore if you change the original source component then this will still change. However this will result in manual window changes to each window for height width etc. I have attached a solider model checker screenshot showing the if import result of a door in a wall as a 'symbol in a wall'. This also applies to doors. Thank you. Gavin
  9. Help please. We are trying (and failing miserably) to create a window schedule of a 1.5 storey house that has rooflights and dormers. We can create window and door schedules easily enough, but when we try and include dormer windows or rooflights - they are just ignored by VW - Help.
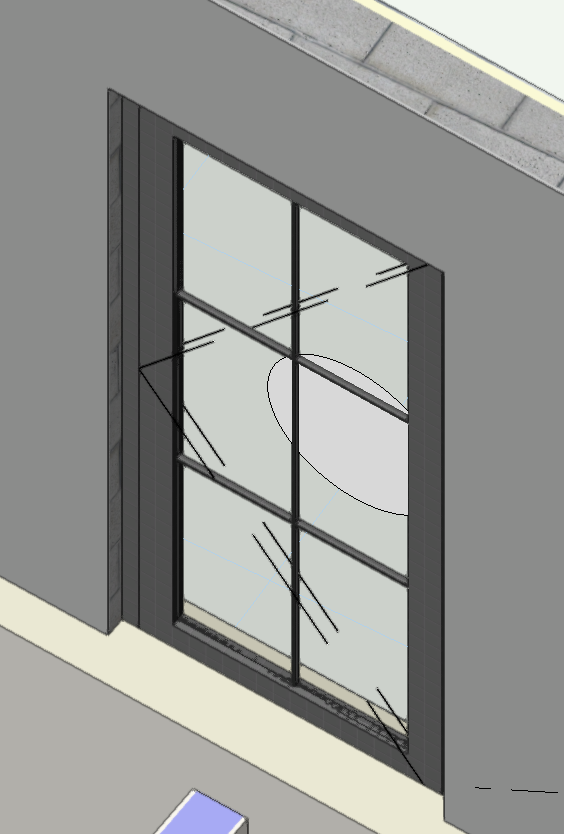
  10. in artistic rendering mode with lines and shadows, I have these unwanted diagonal lines appearing around windows.Does anyone now how to avoid those?
  11. I started using Vw Landmark around 6 months with my pc with Windows 10. But from the begining I heart about the optimization of Vw for the Mac plataform. As I’m going throught increansingly complex projects, I would like to know your opinion: is there really a difference between plataforms or is it just “fan talk”? What is the “best suite for the Vw 2018? Thank you very much!!! ps: I tried to search the theme on the forum and didnt found any discussion.
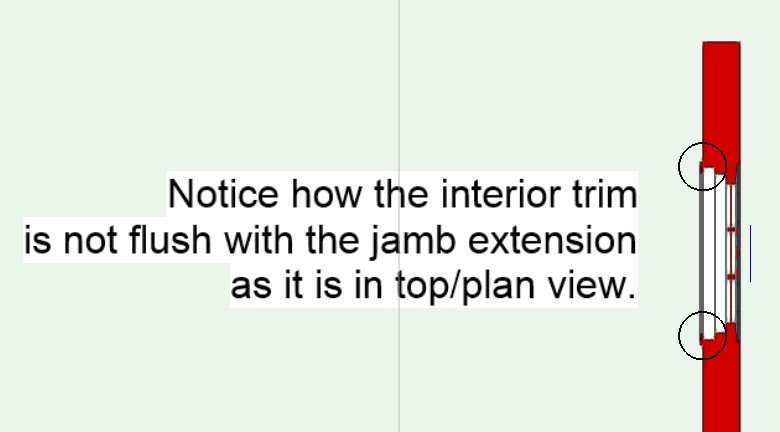
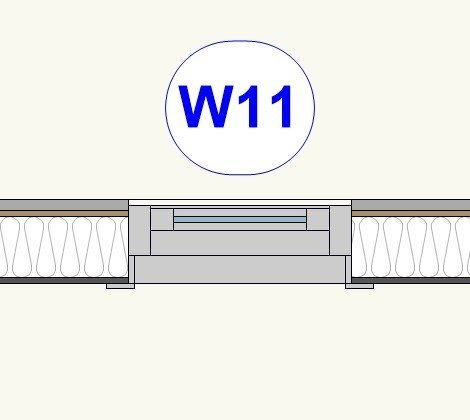
  12. This is for the tech guys at VW. Perhaps we could see a fix in upcoming service packs? I've been toying with 3D window details such as using "Jamb Extensions" but I've noticed a glitch in how Interior trim interacts or positions itself in relation to the Jamb Extension. I've attached a couple of screen picks to illustrate the problem. I've never noticed this before as I've never used jamb extensions in earlier versions. I used clip cube to show this issue from a right side position. This is not an issue in top/plan view as seen in the second pic. It also does not matter what type of window one illustrates; Casement, single hung etc.
  13. We have hundreds of WinDoor symbols [Don't even ask!!!] - well, I say "symbols", but they have been saved as PIOs. What I want to do is create a symbol with a WinDoor Style and save it to the Resource Manager... Fine. I can do that, but when I use it it comes in as a symbol and to make any changes (outside of the Style) we have to explode it. Once exploded, it does however still have the correct Style attached. If I change the symbols to PIOs, everything looks great - when I place it, it is nicely exploded and I can change the form, willy nilly. BUT HOLD ON... it has lost the Style that I assigned to it and it has become its own WinDoor Style! Is anyone using WinDoor Styles effectively? Surely placing a symbol doesn't involve having to explode it and if it is a PIO instead, I would have to replace the style of every WinDoor element that I place so that it is linked to a "Parent". Please identify my stupidity! What am I missing???
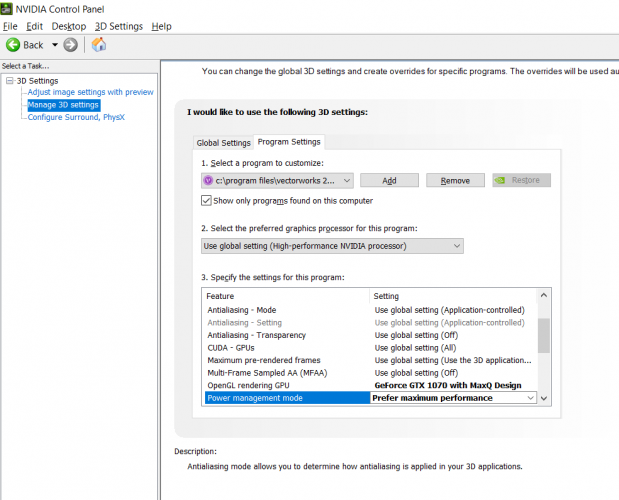
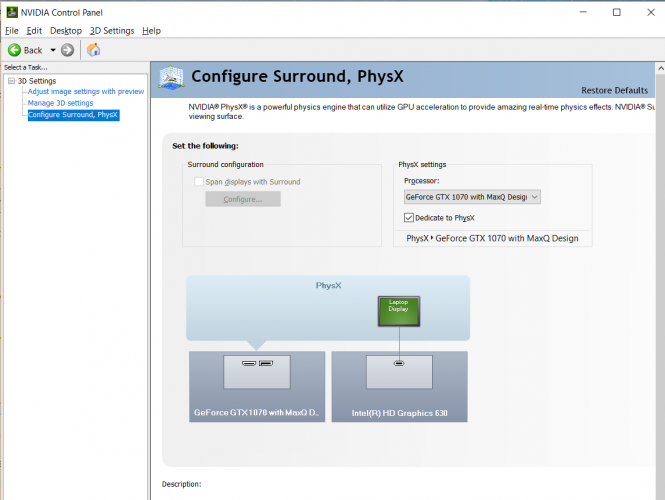
  14. Since upgrading to Windows 1909 I have had issues with my dGPU not working in Vectorworks. This has happened to two different laptops and in both instances the Nvidia dGPU would not turn on, and the on board GPU was doing all of the work. I reinstalled the Driver, and used the Nvidia control panel to set the High Performance Graphic card to be used always. It still wouldn't work. I then found this article: https://pureinfotech.com/set-gpu-app-windows-10/ Windows has changed how you set which GPU to use in which app, and it never seems to turn on dGPU unless you force it. Thought that I would share just in case any of you hit the same issue. The method on https://pureinfotech.com/set-gpu-app-windows-10/ Fixes the issue.
  15. Updated to Windows 10 - 1903 yesterday at the end of the day. Today VW is running rather... unsmoothly…. Every couple of minutes I get a short hangup. Anyone else noticing stability issues or do I need to go monkeying around in my settings to figure out what Microsoft just buggered around with. At first I thought it might have to do with the autosave cycle, so turned that off to see, and made no difference.
  16. Hi all, If the window hinge direction marker is set to "handle" (as is customary where I live), custom sash preview window always displays a flipped preview. Makes choosing handedness mighty confusing! Is there a setting to overcome this or is this a bug?
  17. Hi everyone, I have a very strange behaviour when setting up my windows, has anyone experience something like that? Is there a logical reason, something we've done wrong or is this a bug? Here are the "symptoms" : 1) I've set up a windows stylein my library, it looked all fine. It uses "Exterior Wall detail" setting to return the wall external component. 2) Then I started to put all my windows in my actual file. When I wanted to edit the window style I realised that I could change the setting of the window AS LONG AS the width of that window remains > 140cm. Below that the wall detail does not adjust and creates a gap between the wall and the window... the gap increases as the window becomes more narrow, as if the wall detail should be locked at 140cm 3) Not understanding the problem, I manually updated some 20 windows to readjust the gap... Yet as soon as I do ANY editing to the said windows (adjusting the sill for exemple) ... VW "forgets" my manul setting and goes back the the gap situation... Did anyone experienced this? What is the problem? thank you for your feed back
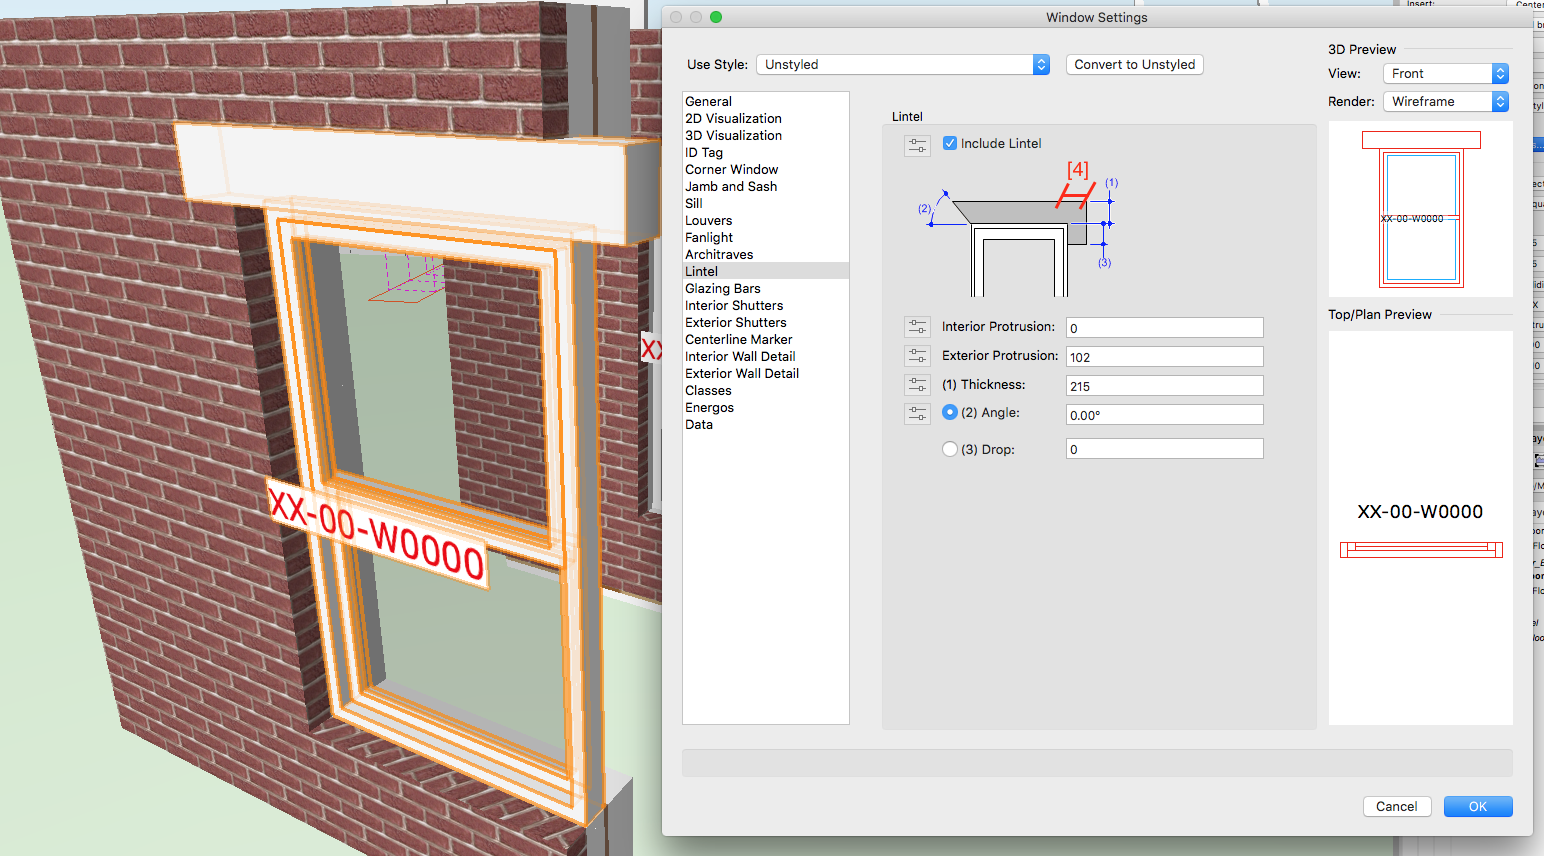
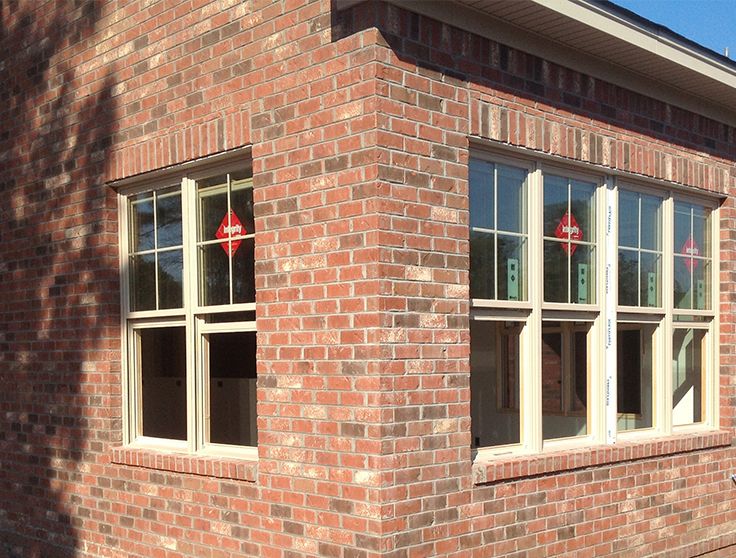
  18. Hi VWs Please can we add another parameter to the lintel tool on windows [and I assume doors] so that we can draw soldier and header courses above windows/doors more easily? We want to be able to draw a soldier course above a window [similar to attached photo] that doesn't extend past the reveal but this option is missing from the OIP. Surely it would be relatively easy to add this as per my sketch? We could then apply a different texture or surface hatch to the lintel to create the desired effect. While we're at it, please could we add an pressed aluminium sill to the sill options for windows as this is something we use quite a bit in the UK. Thanks in advance!
  19. I'd like to be able to enter some sort of name other than Custom for custom windows, in order to have them show up properly in schedules. I.E. we often use twinned or field mulled units from some manufacturers, and the easiest way to represent these with PIOs is with the custom sash option. However, I then end up having to do some work arounds on my schedule, because I don't want it to say "custom" (because a contractor is going to see that and drop a huge price on it, causing confusion until clarified). I think my ideal would be to have the custom sash option have a fillable field that would fill the sash record field for worksheets.
  20. Hello all Is there a 'definitive' recommended settings for nVidia GeForce Graphics Cards? I'm back to the PC and have not found any good answer. I"m having a decent amount of performance issues that I don't believe I should be having; as my new PC is epically superior to my 2012 MBP - yet my performance has not significantly improved; and in many cases has regressed. Help please! Ethan
  21. Really like the windows (and doors) tool in VW. A real time saving tool and well worth spending a bit of time to set up window styles. Brilliant to be able to quickly place basic windows and then add more detail as project develops. The representation and control of sash windows is very good, but a couple of a couple of questions: 1) Anyone know of a simple way to show the 'boxes' for sash weights to more accurately represent the windows? 2) Splay wall: I need chamfered opening to walls vertically. Unfortunately it splays the sill (or cill) too, which needs to be flat. Don't think I've ever seen a sloping window sill.. Any suggestions appreciated.
  22. Hi All, Seem to have a problem with scrolling on certain palette when using Windows systems. I've noticed this on: PC running Windows 7 (vwx 2017 sp3, sp4, and 2018) Laptop running Windows 10 (vwx 2017 sp3, sp4, [not tested 2018]) Also tested with multiple brands of mice. I've uploaded a short video as I don't know how to describe the palette clearly. You can see that the scroll works fine on some palettes, but fails to work on the one shown at the end.
  23. rowbear97

    Windows

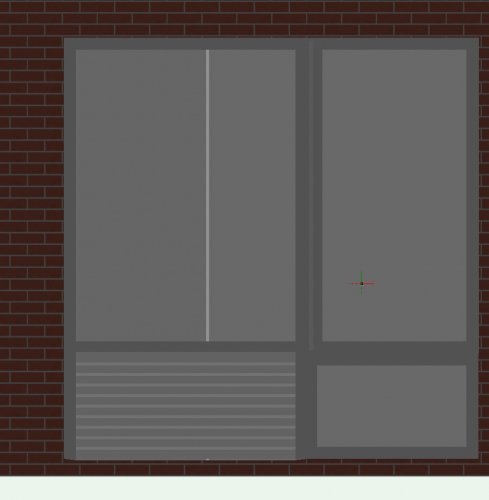
    Perhaps I'm going about this the wrong way. I have a mid-rise residential building that I'm working on and I'm having to recreate the elevations by hand. Each "Window" consists of (see elevation01) fixed lower window, vertical pivot above, fixed larger window with louvered opening for PTAC. I would like to take these four elements and combine them into one symbol that I can insert into walls as this assembly appears on 50 of the 57 units. Any suggestions or assistance would be greatly appreicated.
  24. I’ve wanted to figure out how to model this for years and couldn't find a solution till now. Window surrounds that included brick stacks (the bricks that run along side the windows), the brick sills (sometimes called rowlocks), the brick soldiers (the taller bricks that run along the top of the windows) and the keystones (the sandstone shape in the middle of the soldiers). This is how I did it: - Window symbol was put (in the window class) and gave it my desired width/height specs. - I gave it a exterior trim roughly the width of a brick (3.67”); made it very thin (1/16”); and turned off trim under the window. - I assigned a brick bond texture (with a brick bond hatch) to the exterior window trim class. So far this gives you a window with brick side stacks and trim above the window that will soon be covered up by another piece. - Then I duplicated the window in place; turned it into a cased opening; made the jambs, trims and sashes all 0”; - I turned on the “lintel” and gave it an 8” ht. ( the ht. of a soldier); and an 1/8” ext. protrusion (so it sticks out proud of the top window trim). - I assigned a brick bond texture (with hatch) that runs vertically... to the "lintel" class. - I turned on the “sill” and fooled with the specs till I had it where I wanted it. - I assigned a brick bond texture (with hatch) that runs vertically (it might be the horizontal brick bond that works) to the "sill" class. - I also increased the width of this duplicate window symbol (wide enough for the lintel above and sill below to line up with the edge of the window trim on the main window symbol). - I may have fooled with the ht. slightly so that lintels and sills all aligned properly with the ht. of the main window symbol. - I changed the class on this duplicated window symbol to “non-plot” so that it would not show up on the window schedule - Lastly, I extruded a keystone shape (these vary in size)…I made mine a little taller than the soldiers…and slid it into place.
×
×
  • Create New...