
EAlexander
-
Posts
542 -
Joined
-
Last visited
Content Type
Profiles
Forums
Events
Articles
Marionette
Store
Everything posted by EAlexander
-
Thank you! Happy to discuss workflow and pitfalls, feel free to ask questions. I teach all this stuff (formerly at NYU and for the 829 union). Maybe we should set up a online session to talk about stage renders. Let me know if there is interest and we'll set something up.
- 43 replies
-
- 10
-

-
Hey, take a look at Corona. The Volumetrics aren't as cool, but over all its an amazing render engine. In fact, I think the best and its My go to render engine for most of the work you see on my site. It's CPU based so works a treat on a Mac.
-
Hey - I don't want to derail this thread with more info outside of the original posts intent, but if you want to see some work I've been doing on volumtrics with Redshift, you can see some examples on my blog: http://www.evanalexander.com/blog/2019/3/1/volumetric-lighting It's pretty great and renders super fast. All images are under 30 seconds to render and no photoshop.
-
Does this still happen if you turn off snapping when moving?
-
There is no stand alone converter that I know of since the export functionality lives inside of VW already.
-
Great work Wes and Simon! Thanks for sharing - and thank you for the kind words Simon. I think the take away from this is that there isn't a one stop solution for these kinds of renders, so you have to find the right toolkit that works for you and works for the specific project. Like Simon says - every project is different in scope and approach. I also agree that time spent learning more Photoshop is one of the more important things to focus on. I did rock and roll renders for years without any volumtrics and did it all in photoshop. You can get big looks quickly and they can be fast to change or modify as there is no rendering in that part of the process. I'll report back more when I've had a chance to dig into Redshift more. e.
-

possible to import 3D Objects made with Blender into VW?
EAlexander replied to Phileas's topic in General Discussion
OBJ or 3DS will get you in the door on Importing, but you are going to have Mesh items, so the geometry will be dense and not easy to edit. I recommend importing the object(s) into a fresh clean file first. Clean it up if needed and then copy and paste it into your larger working file. -
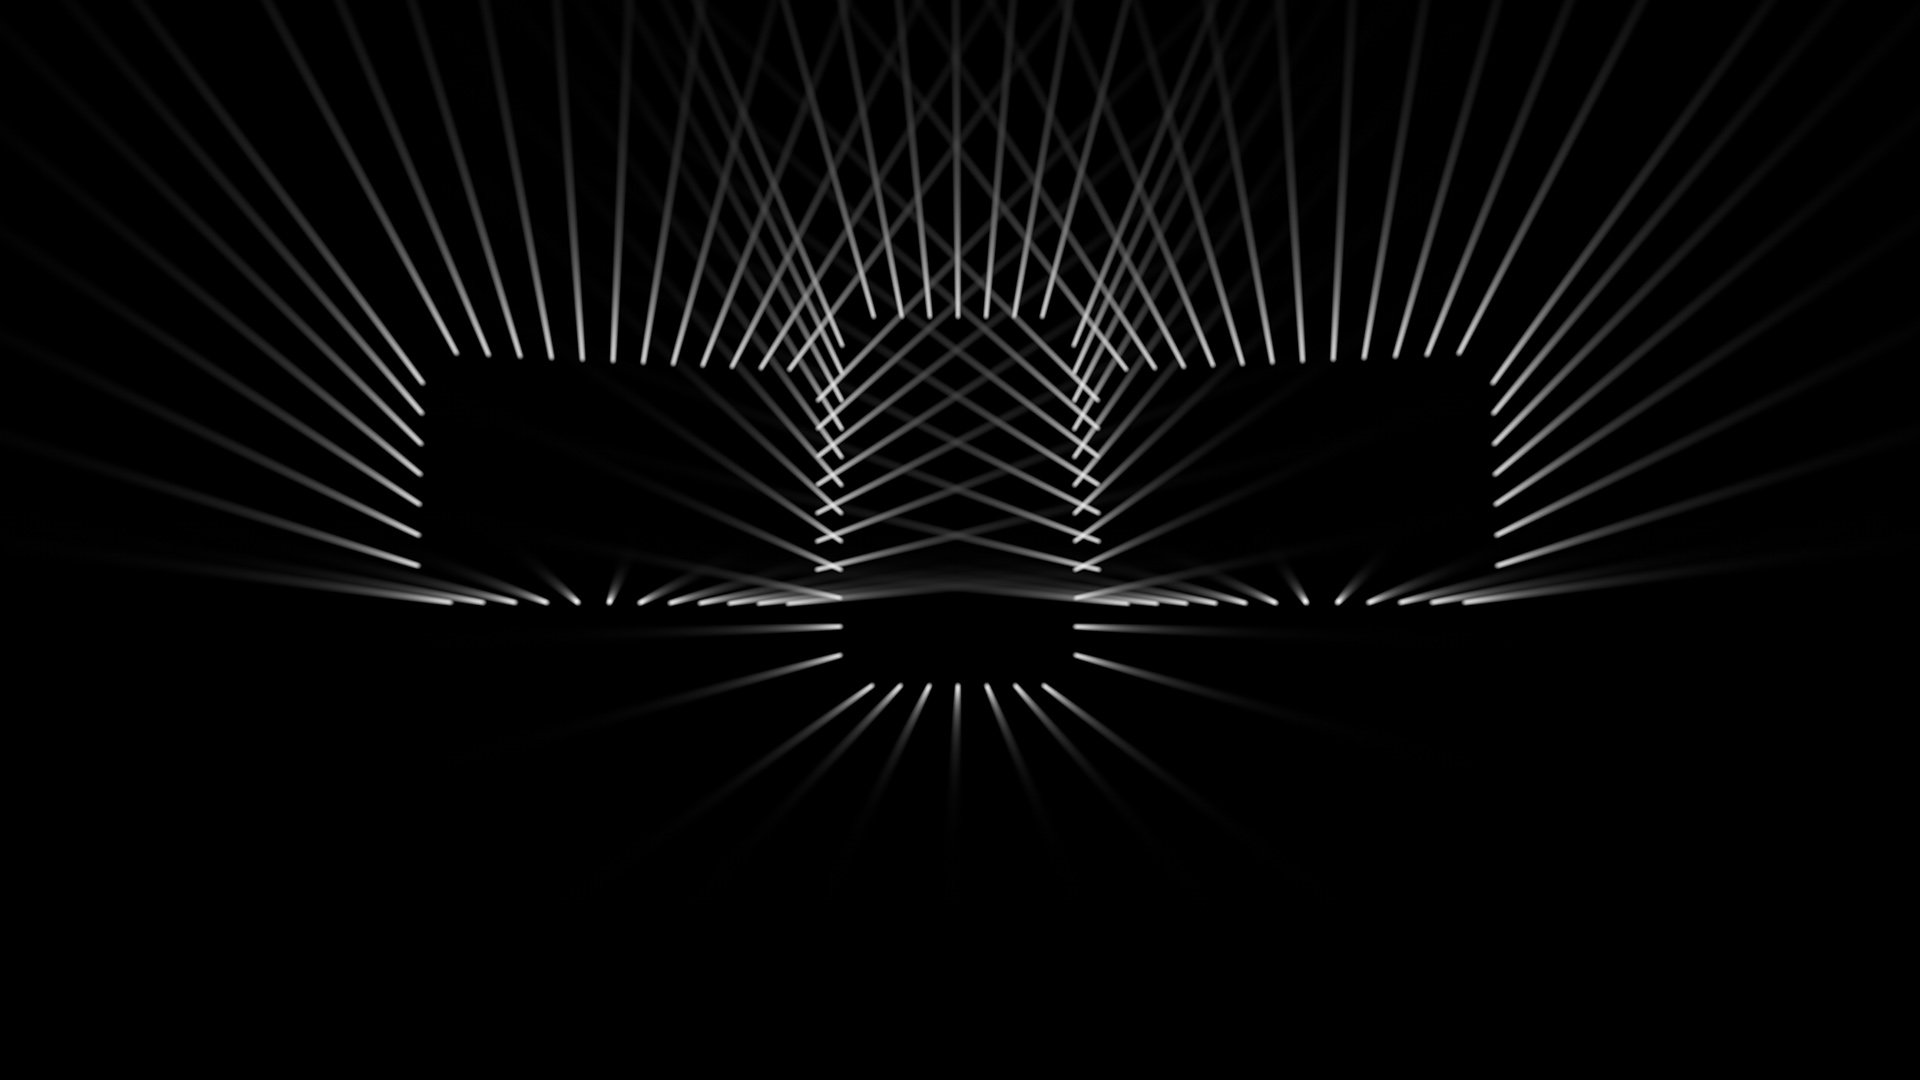
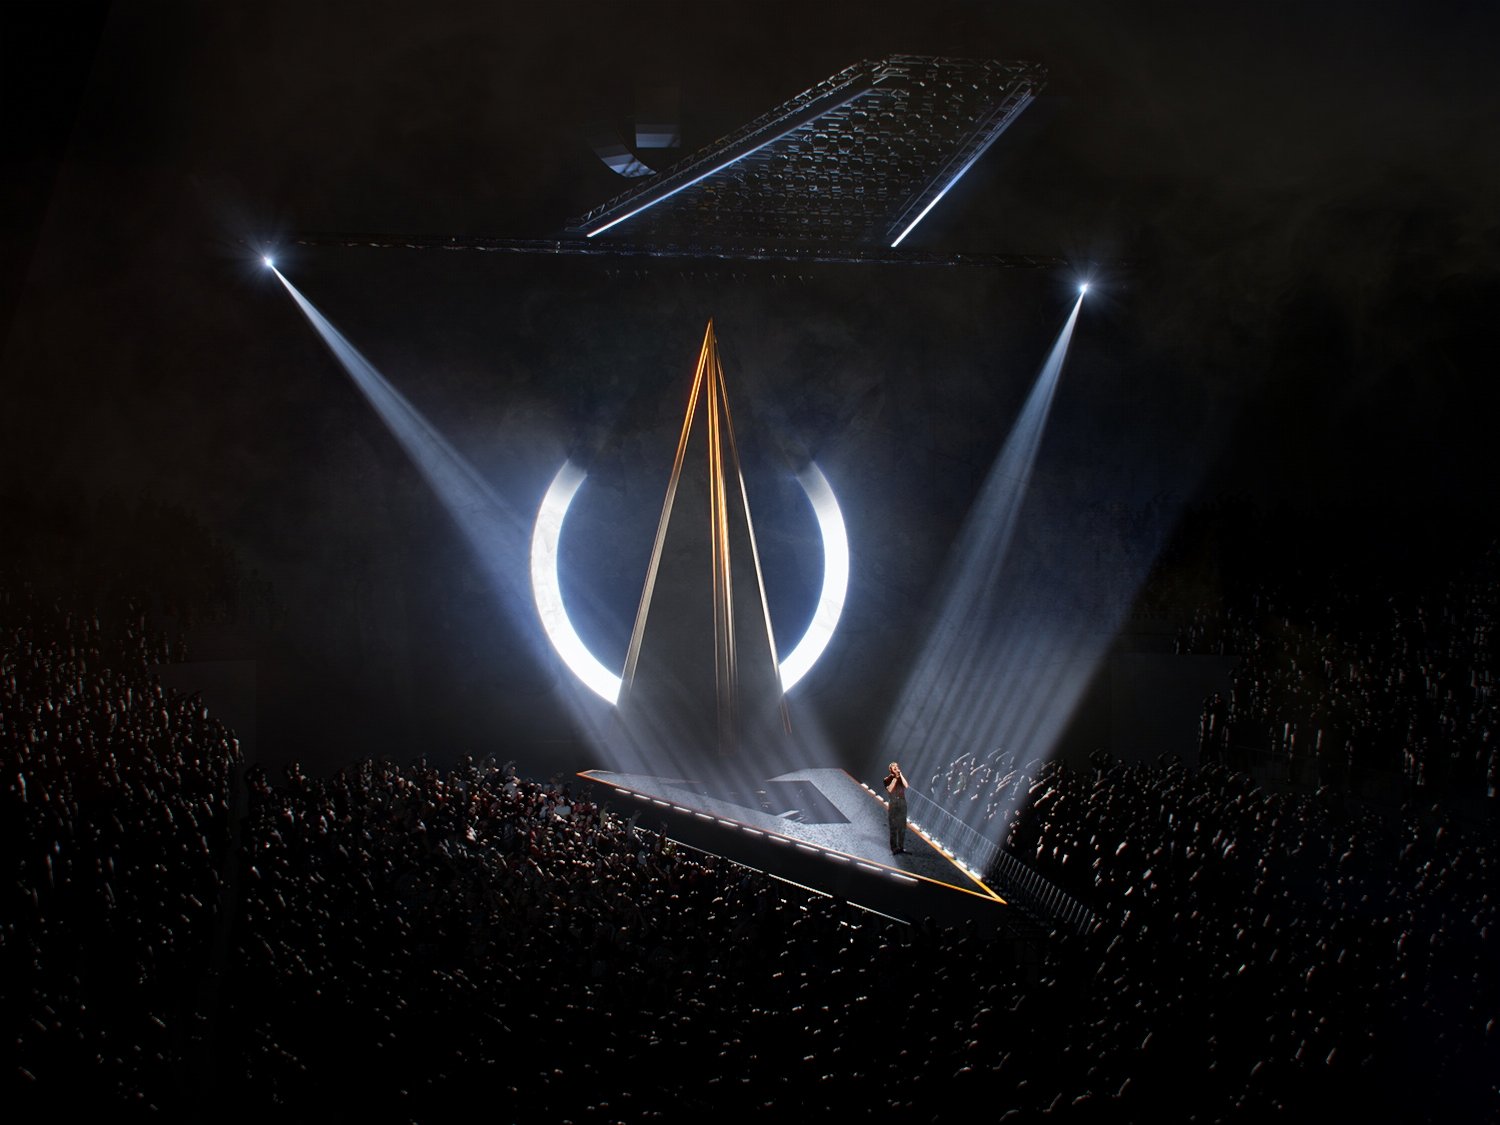
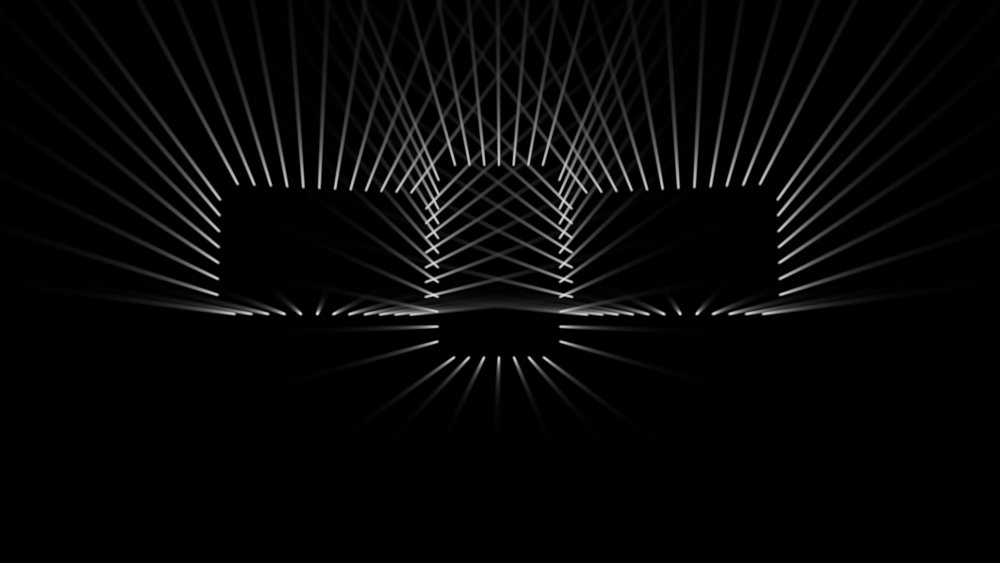
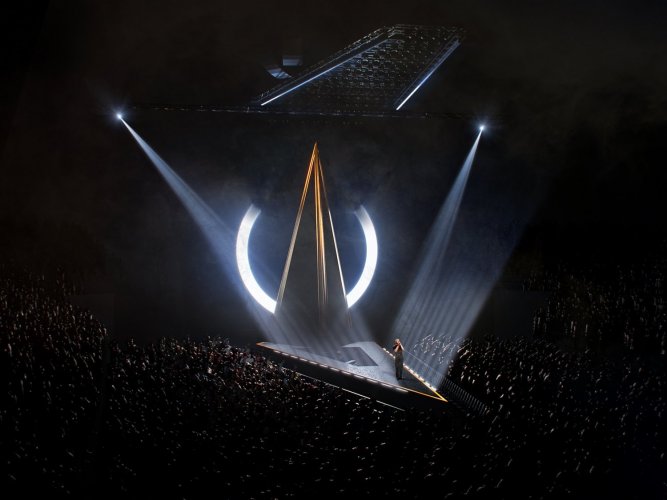
Here's some examples of what I'm talking about. The beam shot is from a set with an array of sharpy lights around screens. This is made using the native renderer in Cinema4D (Physical) with Volumetric Spotlights. In this example, I turned off all of the scenery and just rendered the beams. On more complicated sets, I'll apply a black texture to everything and render it that way (so I have obstructions and light reacting to audio arrays or truss). The spotlight is just one of many isolated beams that I made in Optical Flares with After effects. Either of these methods are then SCREENED layers in Photoshop and then color adjustments are added. This Sam Smith render is an example of doing all the beamage in post - but this is a pretty simple look. It gets more complicated for larger rigs but can be done. The latest testing is using Redshift render engine in Cinema which looks promising so far. The idea there would be to actually light it all and do the volumtrics "live" in render and cut down on the post processing and up the realism.


-
Hi Henry, A few more random thoughts from my side. I've been chasing a good volumetric system for a few years now. I don't think there is a one software solution for this - be it CAD or 3D. As for VW working on this over the next few months - I don't know. There are so many other things on the radar it would seem, but I don't want to speak for the company. 1. You can do the volumetrics in vanilla Cinema without the STAGE plug in. Yes - the plug in makes it easier and more like a Grand MA Board control, but it's not necessary. In the past, I have put a Cinema Spotlight right at the barrel of my movers (you can control the start point of the beam to make it look like it is starting from a lens and not a point). If your fixture is a symbol and you have instances all around your stage, you can just add this Spotlight once and it will populate to all instances - the problem there, of course, is focus. So you'll have to do a fair amount of focusing to get the look you want (again, this is where Stage probably saves tons of time). Usually I will do my render without volumetrics and then do a separate render of just the volumetric lights with a matte black material applied to all objects and then comp those together in Photoshop. Not great, but gets it done. 2. There are other render engines for Cinema that would handle this better - Redshift comes to mind - where you can control volumetrics per light as well as overall atmospheric haze. But this is, another software plugin to buy and learn. Unreal Engine seems to do a nice job of volumetrics as well, but that is a whole other workflow. 3. Video Copilot makes a add on plug in for After Effects call Optical Flares and it is possible to simulate volumetrics there as well. https://www.videocopilot.net/products/opticalflares/ In action: I have also used opticals flares to make myself a library of hi res cones and flares against a black background that I can just screen into a comp in Photoshop to add lights in - though for big rigs, this can be tedious and labor intensive. I think at this time - the path of least resistance for you is going to be upgrading your Cinema (you should anyway now that you are doing commercial work) and try the STAGE plug in. It's designed for just what you are talking about - though it's not perfect - full disclosure - I have never used it myself. Hopefully NNA will address this in the future, but these things take time and I assume there are higher priorities on the list. Hope that helps some - following this thread with interest. e.
-
Also make sure that SAVE VIEWPORT CACHE is on in Document Preference, though I suspect Andy has found the issue.
-
I work the same way as Wesley basically. I do think that there is part of the conversation missing: Unreal Engine 4 I think even dedicated render engines like VRAY, Corona, Octane, etc. should be on the look out for real time game engines. Already making headway in Games and a lot of Archviz is moving towards this. Have you guys looked at Unreal Studio: https://www.unrealengine.com/en-US/studio Pretty impressive.
- 160 replies
-
- 8
-

-
-
- vray
- twinmotion
- (and 2 more)
-
Another vote for modeling it as geometry. I have done this in the past many times.
-
different scale on different design layers
EAlexander replied to Alex71's topic in General Discussion
Unified view matches the "camera" view of all the layers to the current layer. For example - if you are on Layer 02 and you switch to a Right Isometric view, then Layer 01 will also show in that view - so you can fly around your model on different layers and have all layers Unified. You can do different scales on different layers, but as Line-weight said - you'll have visibility errors. I try to keep all my design layers the same scale (usually 1:1 or 1/2" = 1'-0") and then do different scales when I am laying out viewports on sheet layers. e. -
Thank you LJ TMS - these just came into use on a project. Appreciate you sharing the resource!
-
Problem exporting rendered viewports to PDF
EAlexander replied to Steve Dubai's topic in General Discussion
I don't know what setting Zoomer is talking about, but have you adjusted the DPI of the sheet layers? If you right click on a sheet layer name in the navigation palette and hit EDIT - the default res for each sheet layer is 72 - you need to up this. I don't know how this interacts with the export DPI settings, but see if that helps any. -
Not at a computer, so I can't remember the file location, but the workspace is saved as a .vww file on your machine and you can move it from one machine to another. Perhaps in the OS library under application support... Can't remember off the top of my head. I used to carry mine on a flash drive for freelance gigs at other studios. Doubt you can go backwards in versions, but never tried.
-
You can't bring the native .C4d file into VW. You can export it as .3ds or OBJ from Cinema and bring the geometry in that way, but they will be meshes: very heavy and clunky. I would do that in smaller chunks and use them as templates to rebuild in VW, but it won't be fun, and you'd need access to Cinema. The workflow is not designed to flow that way. Wish I had better news for you.
-
I would add: anytime you are importing objects from manufacturers CAD - be it VWX or DWG (or others) - I open/import it into a new blank file. Inspect it and clean up anything first, before bringing it into my master drawing. I think importing unknown documents right into your master file can create issues and headaches (I'm looking at you random classes that I didn't want or need).
-
Dashed Hidden Line Lineweight Control
EAlexander replied to Andy Broomell's question in Wishlist - Feature and Content Requests
I would actually use dashed hidden line if I could control it like this. Yes please. -
I do this too - try to do as much boolean work in 2d as possible before going 3D.
-
Sell those as a kit Scott and a bunch of us would buy them. I know I would. I have a standard kit I use, but it's not as nice as those.
-
Interesting Video on Architectural Visualization in C4D
EAlexander replied to Kevin McAllister's topic in Rendering
Well you know I love some good Corona work.....- 1 reply
-
- 1
-
-
Well I'm no expert as I do all my rendering in Cinema 4D, but I think your settings look pretty good. The lights just under the ceiling pull a lot of focus for me. I usually put "general" lights like that about mid height in the room to avoid the hot spots, but it does change shadows a bit. I almost rather up the ambient light level in general and have less point sources in the room, especially if you are capped at 8. If anything, you could lower your sheet dpi to save some time. I try to default to 150 or even 200 instead of 300.
-
My workflow is to model in VW and then move everything to Cinema 4D for materials, lighting and camera work. In VW, I turn the model into sheets and plates for bid/fabrication elevations - mostly using Hybrid symbols for almost everything. In Cinema, I use the Corona render engine and sometimes Octane and sometimes Redshift renderer. It's nice to have options for the render engine and I find the whole process of moving visuals to Cinema a nicer user experience then RW at a real fraction of the time. Dig around my site - everything there is done with that workflow and I never wait more then 10-25 minutes for a render unless it is a really large output or contains a ton of glass/crystal for example. There is a cost there and a deep learning curve. You can get up and running in Cinema quickly, but it can take a while to grok whats going on and getting into more advanced lighting and material setup. Cinema has a very generous 42 day trial, so I suggest you try it out. Most of the major render engines have demos you can try too. While Corona, Octane, Redshift, etc are not realtime engines - the IPR window offers you almost instant feedback so once you light a scene this way, you can never go back to the old way. You can, however, bridge Cinema into Unreal Engine or Unity if you are looking for real time, but that is a steeper process. Ask questions. I teach this stuff around the country, so happy to answer questions. EDIT - Unfortunately I know nothing about Artlantis, so maybe someone else can chime in on that.
-
For resolution - are you rendering to viewports on a sheet layer? If you right click on the name of the sheet layer in the navigation palette and choose edit - from there you can up the resolution of the sheet layer. It defaults to 72dpi, so very low. try 150 or 300 depending on your needs. I assume the white sploches are from the blurry reflection on the floor needing higher quality settings. If you edit your renderworks style - you can up the quality of blurriness. Start there and see if that helps. It will add to render time.