klinzey
-
Posts
2,550 -
Joined
-
Last visited
Content Type
Profiles
Forums
Events
Articles
Marionette
Store
Everything posted by klinzey
-
Vision 2020 closes unexpectedly after updating
klinzey replied to AlexSawaya's topic in Vision and Previsualization
@AlexSawaya The crash appears to be in the graphics card driver. According to your system specifications you are using an integrated Intel® UHD Graphics 620 card with only 128 MB of dedicated memory. Vision requires a dedicated graphics card. While it may work sometimes, integrated graphics cards are not officially supported for Vision. -
"Additional Default Records" works just like the "Light Info Record", data is only read from the record when the lighting device is placed or replaced. The information does NOT sync automatically when data is changed on an existing lighting device.
-
Hoist Display Options - Where did they go in v2021?
klinzey replied to Mark Aceto's topic in Entertainment
Yes. All but the most basic information for the hoist should displayed using data tags. There a few sample data tags available that you can use or modify.- 23 replies
-
- 1
-

-
- braceworks
- hoist tool
- (and 1 more)
-
Vision 2019 and GrandMA on PC
klinzey replied to nickvaphiadis's topic in Vision and Previsualization
@calebetron You need something to unlock the GrandMA onPC output. The way GrandMA onPC is written you need a node or a wing to unlock DMX outputs on the GramdMA onPC, then you can use ArtNET or SCAN. The other option is to use the Vision dongle to allow Vision and GrandMA opPC to communicate via MANet. -
Vision 2020 closes unexpectedly after updating
klinzey replied to AlexSawaya's topic in Vision and Previsualization
Please post your machine specifications along with the crash log. Vision 2020 has some additional and more stringent system requirements then Vision 2019. -
Yes, Soft Shadows needs to be OFF. Soft Shadows makes VERY soft shadows, not good at all for lighting devices.
-
Did you make any changes to the default instrument texture? or import another fixture into the document? Can you still the light, but not the shutters? Did you turn on soft shadows? Try using a gobo and see if it renders. Shutters and gobos are very similar to the renderer. Try to copy and paste one of the lights to a new file and see if it works in a new blank file.
-
Accessories now utilize the parts record to determine which part of the fixture they rotate with. If there is no parts record attached it defaults to being placed at the front of the fixture and rotating with the body of the fixture, as this was the default behavior for all accessories in prior versions. For clamps and other accessories that attach to the base of the fixture the parts record should be attached to the symbol and the Base filed should be selected. Concept: Lighting accessories We will look into the issue of the geometry not updating after editing the symbol.
-
@DBLD As long as SLI is enabled for the machine Vision should use it.
-
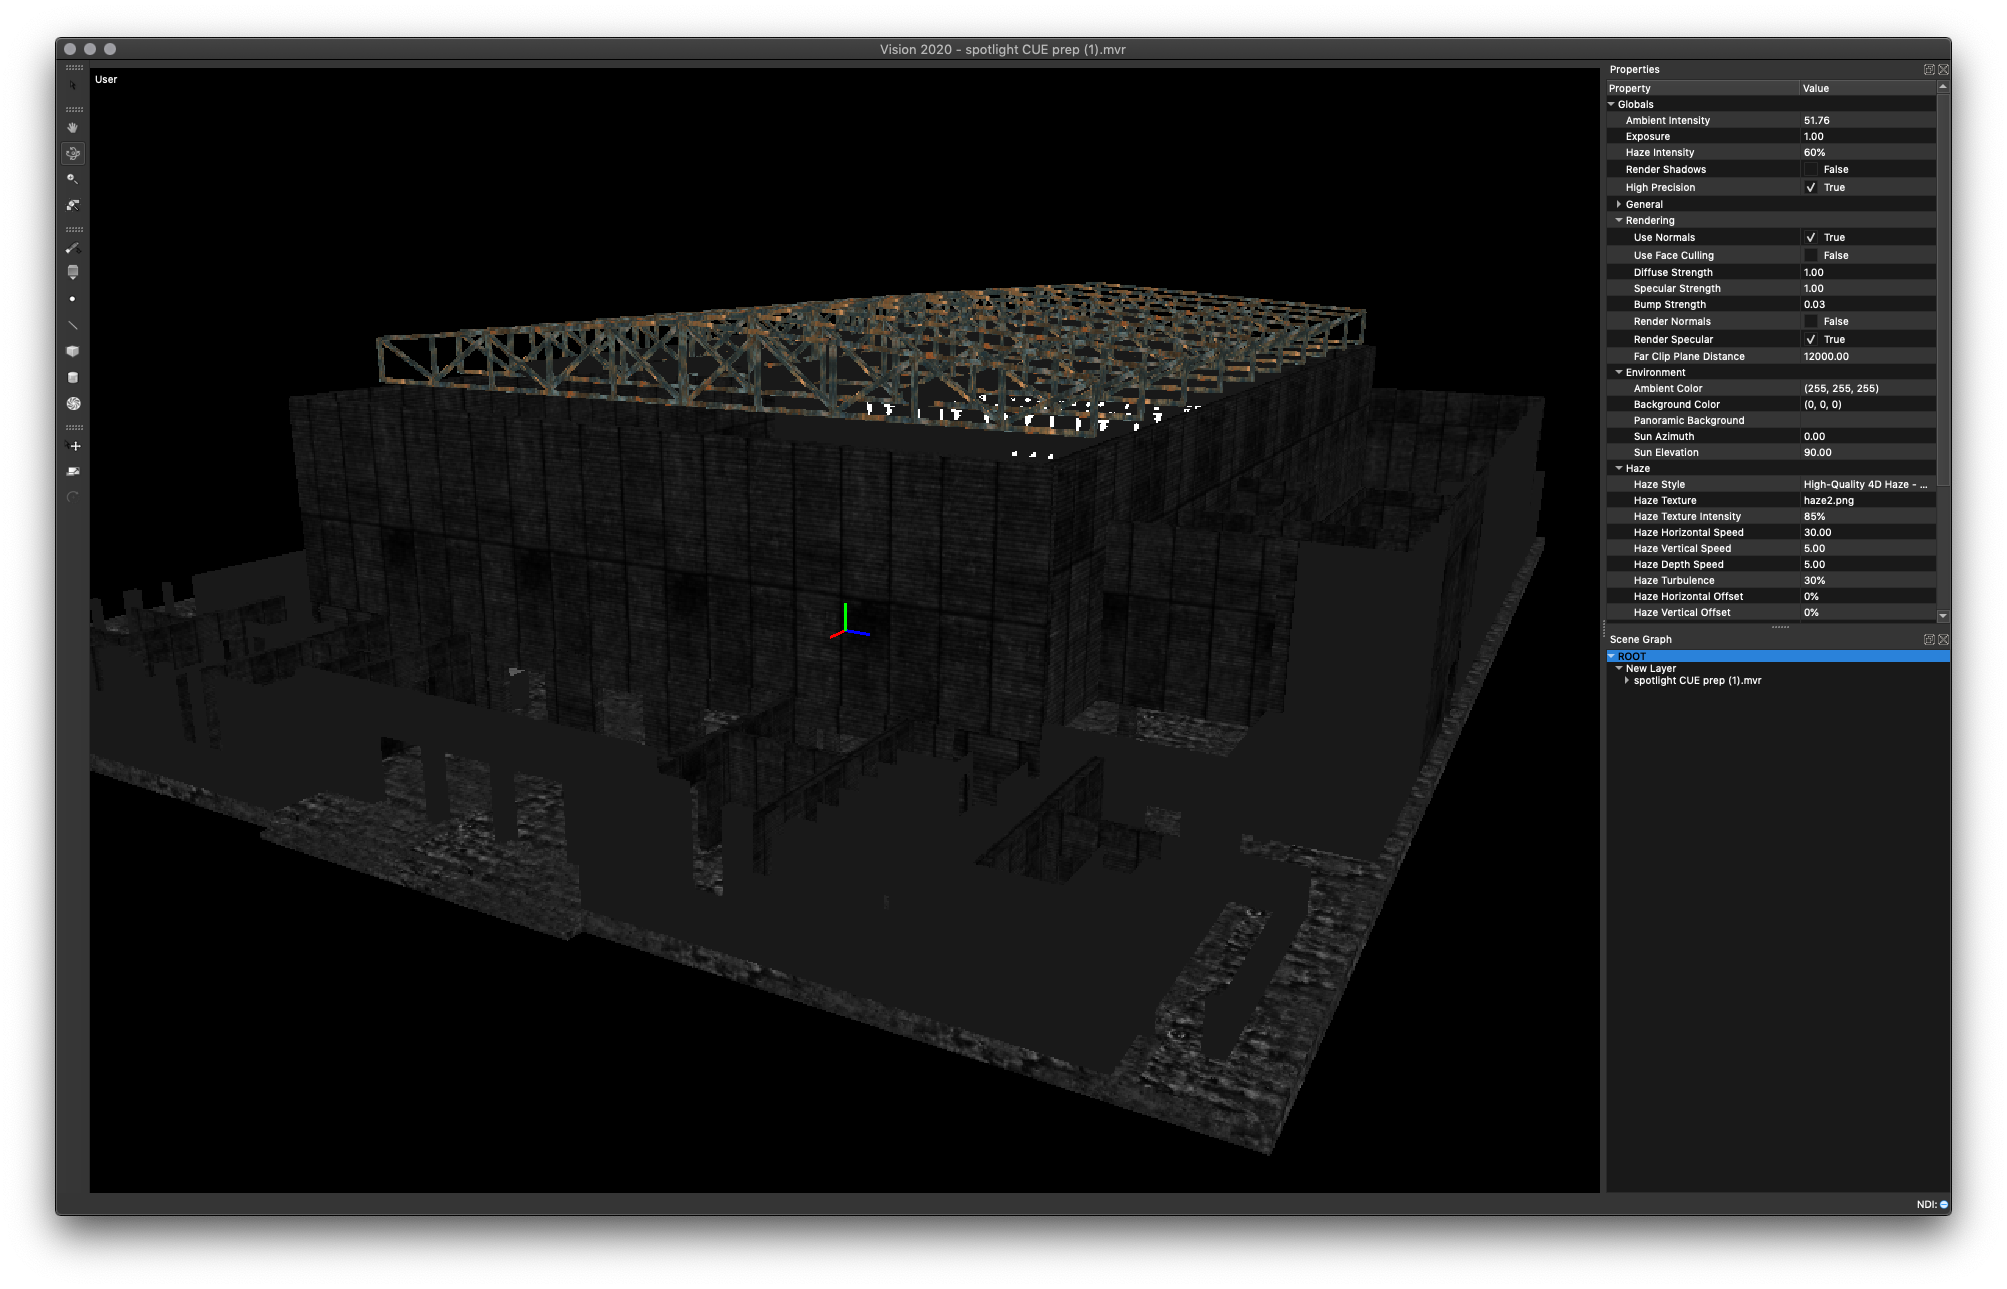
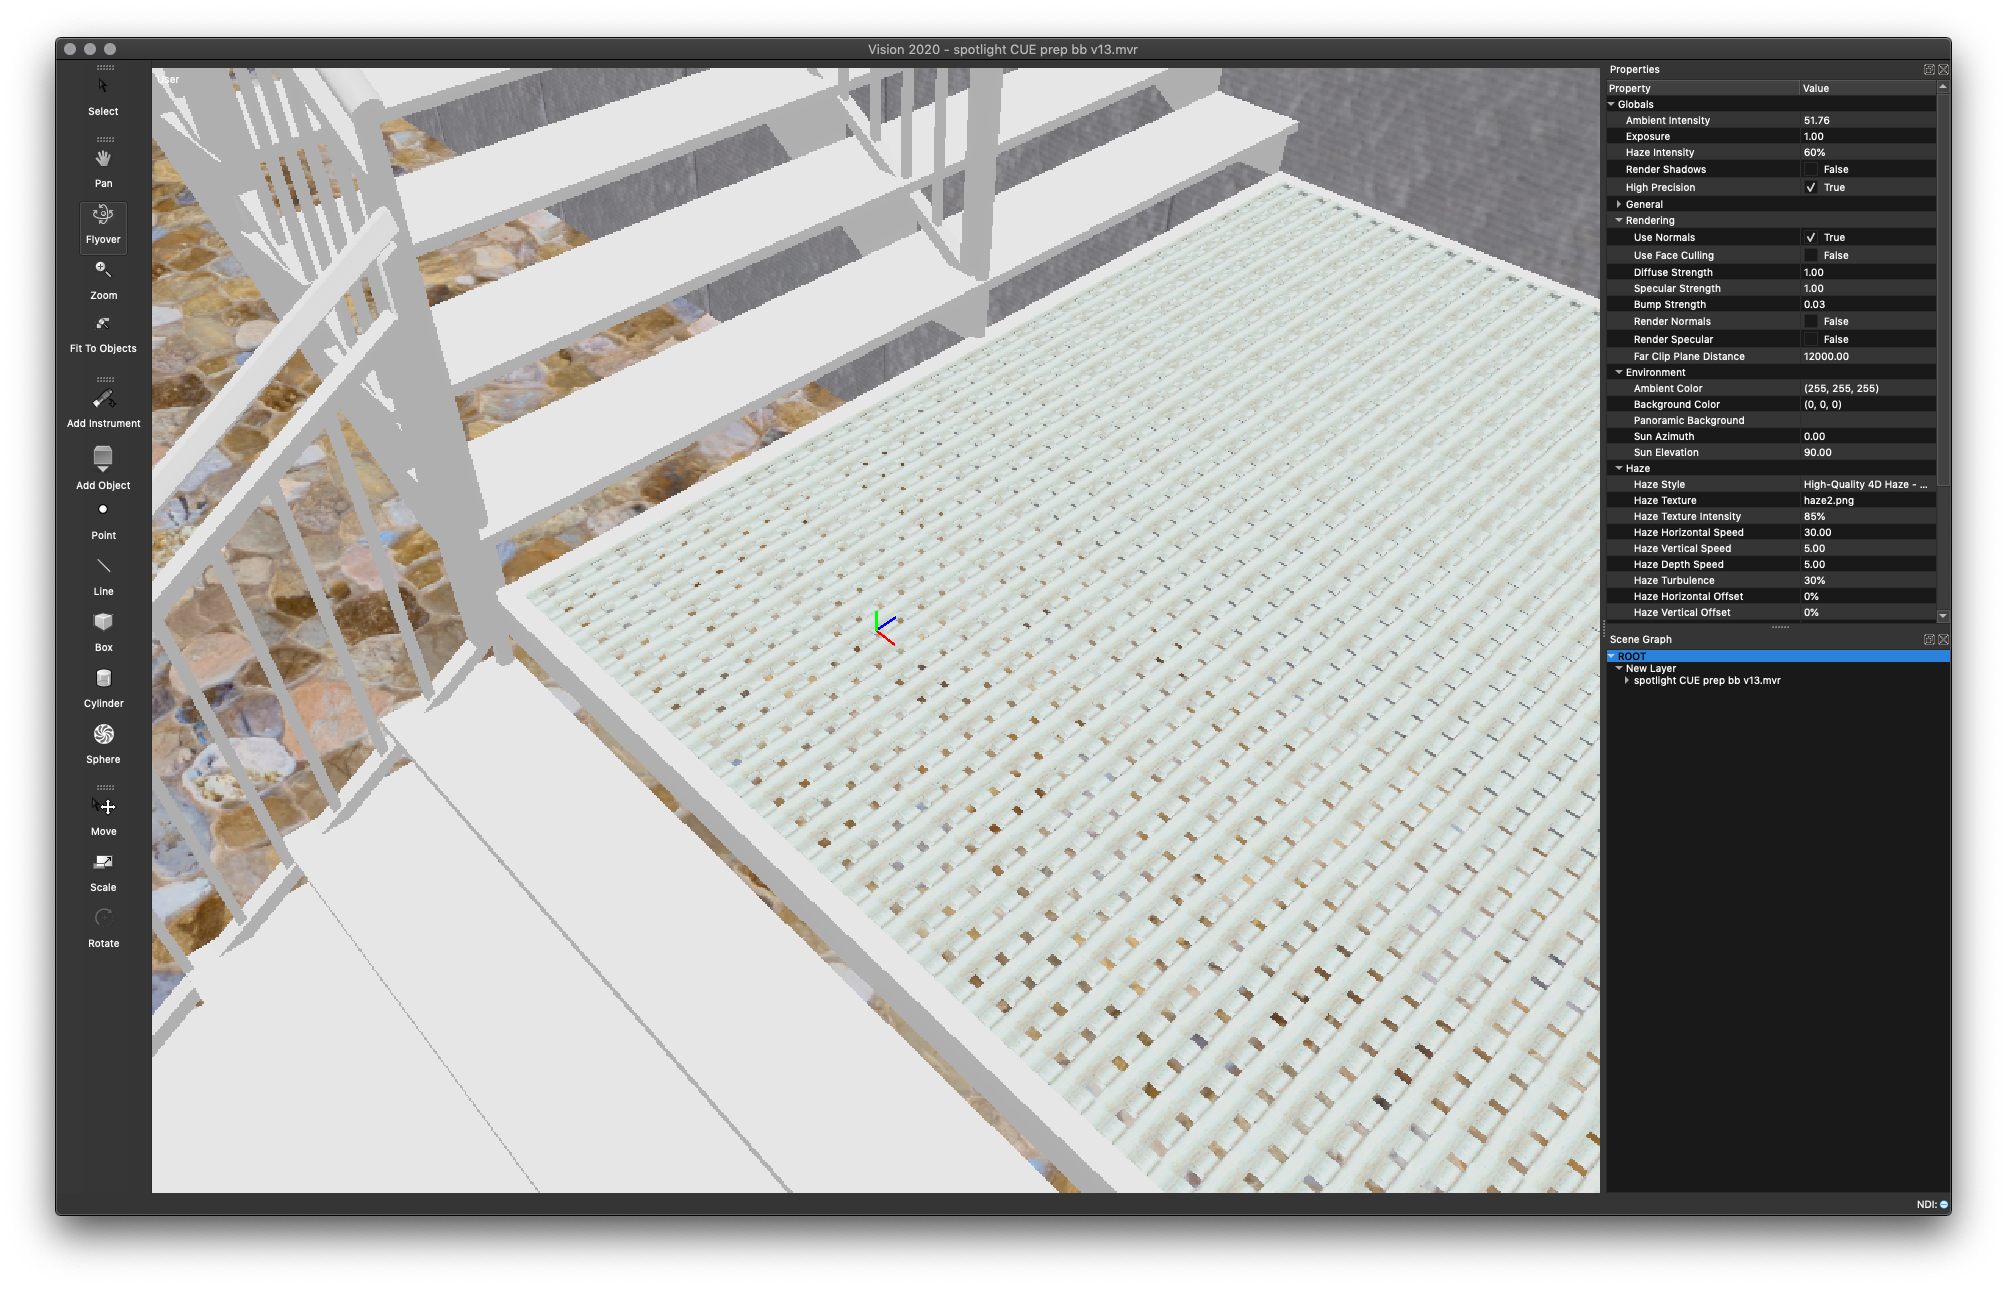
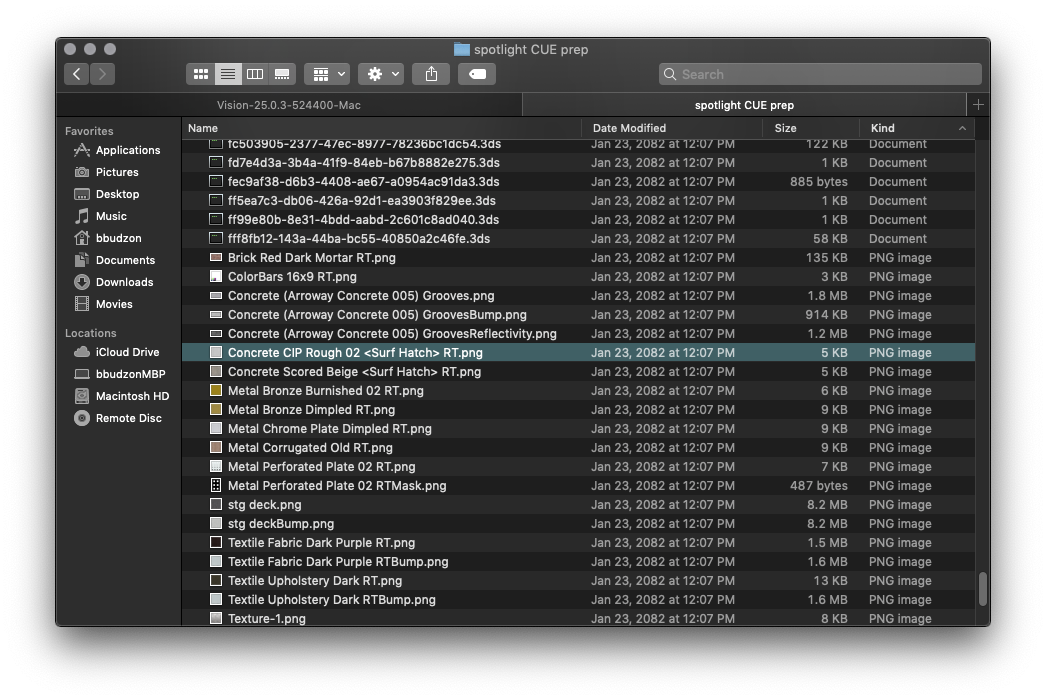
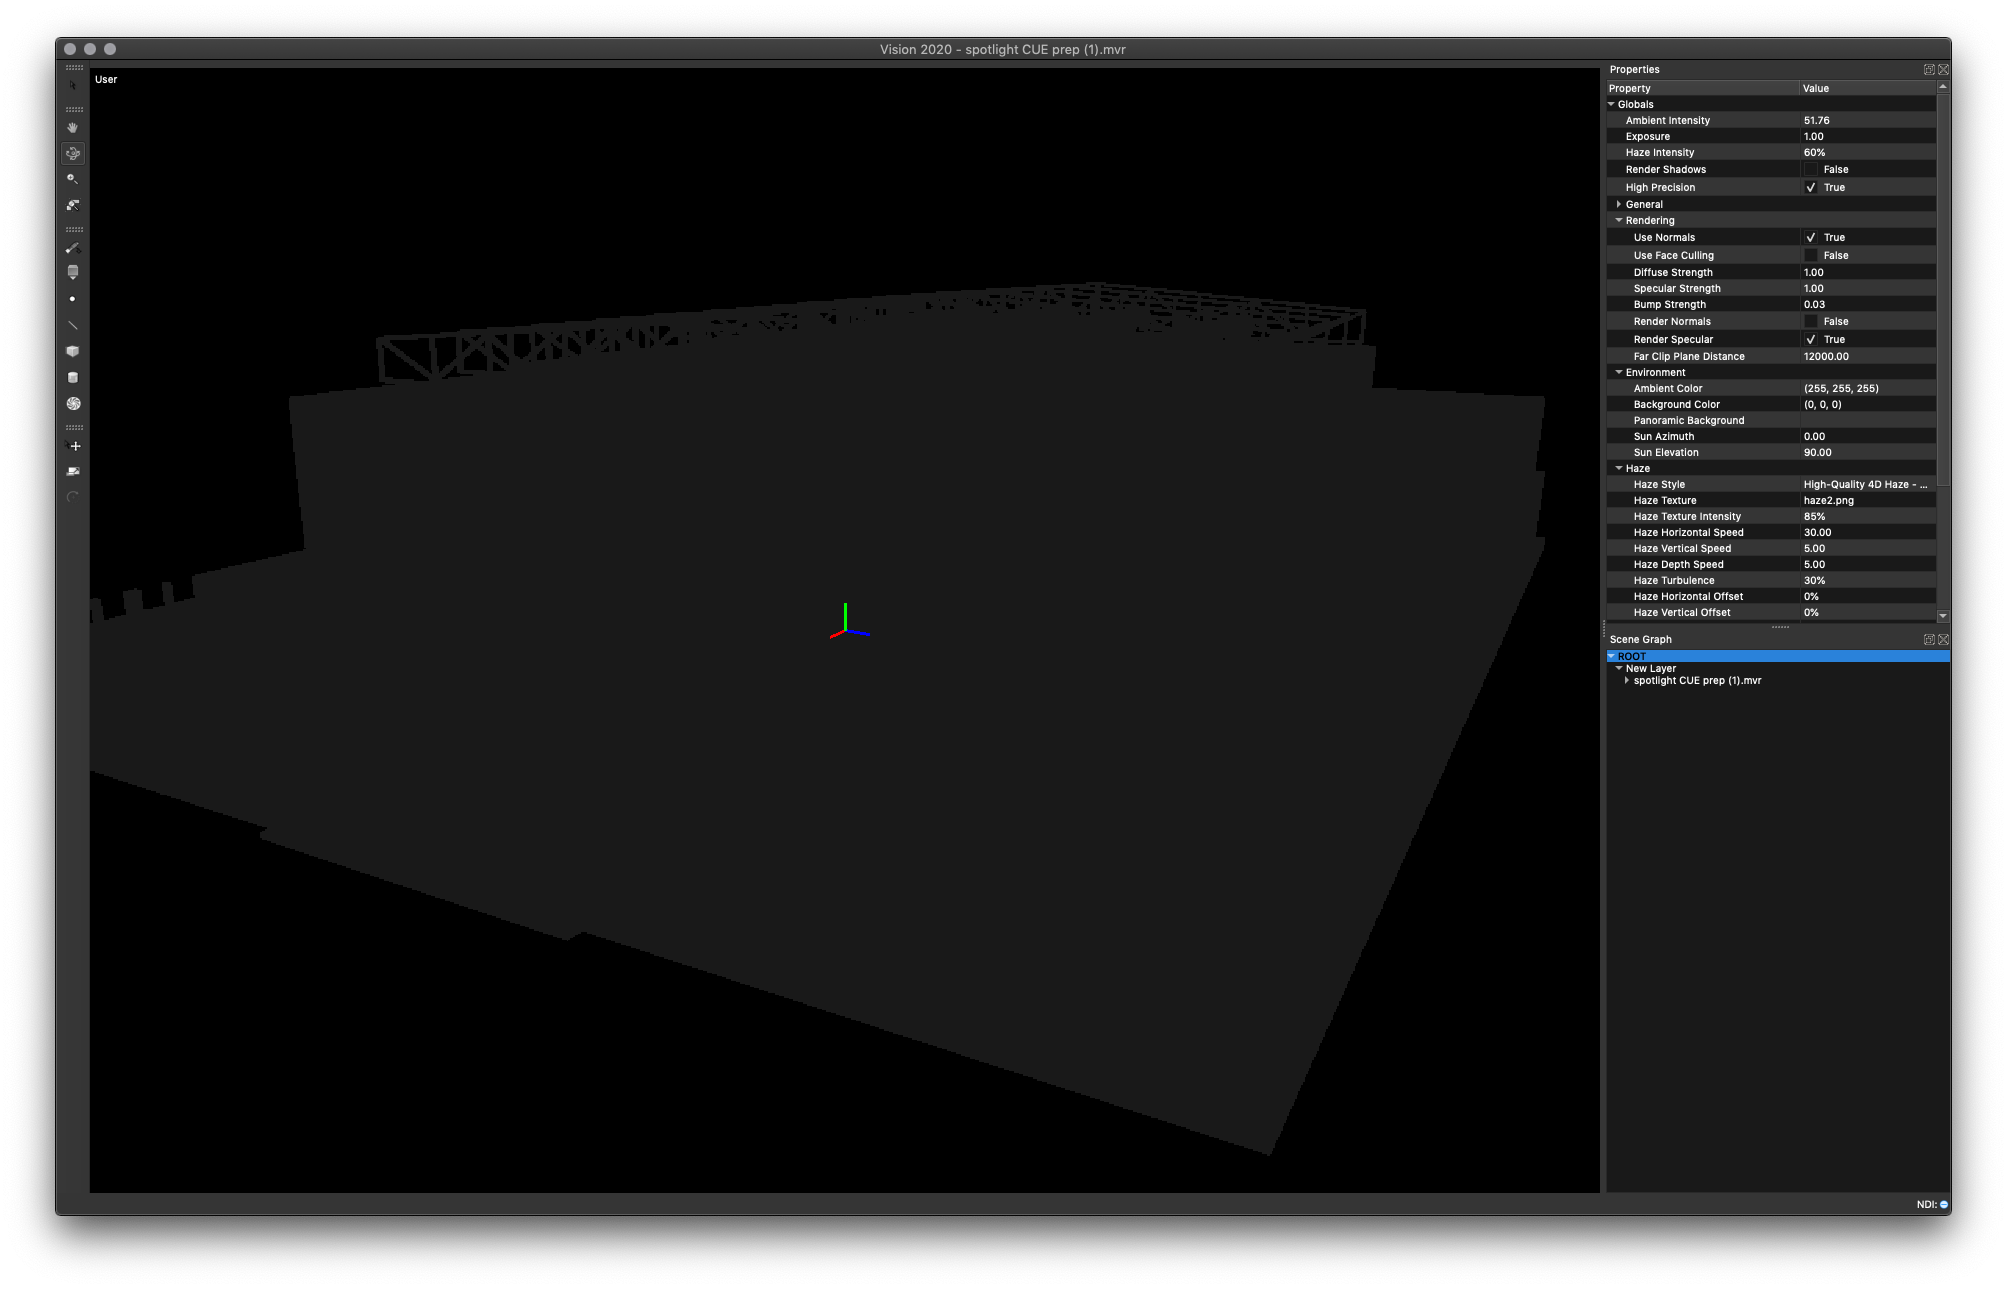
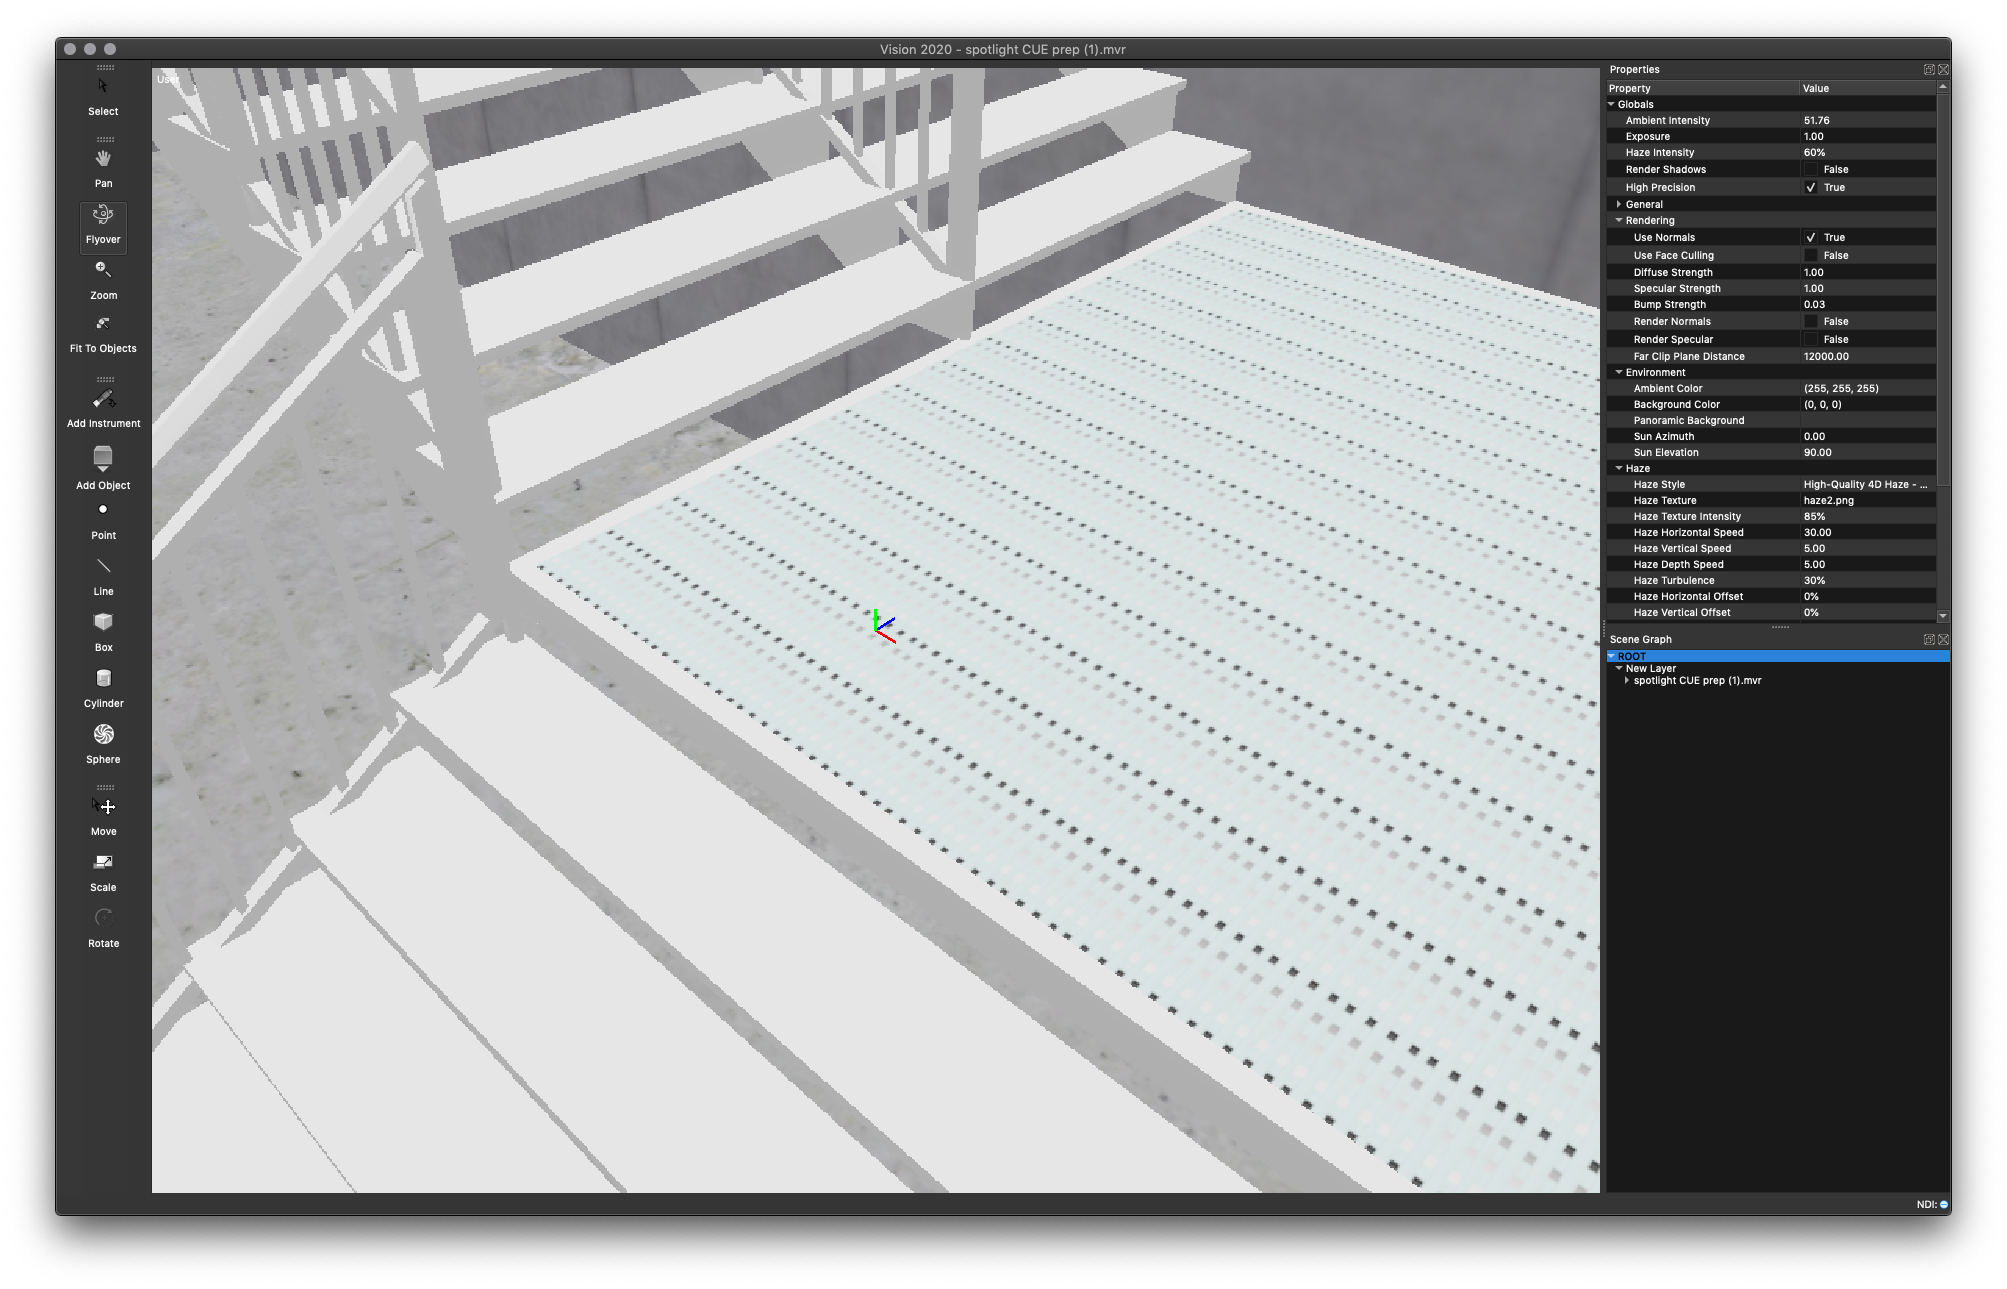
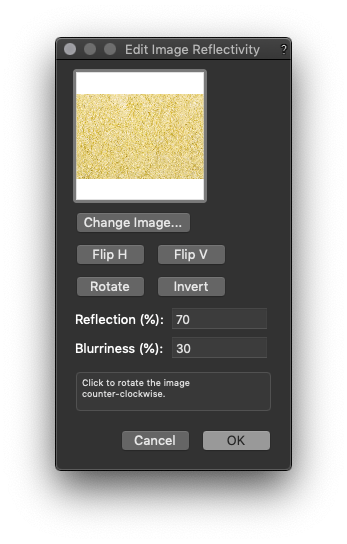
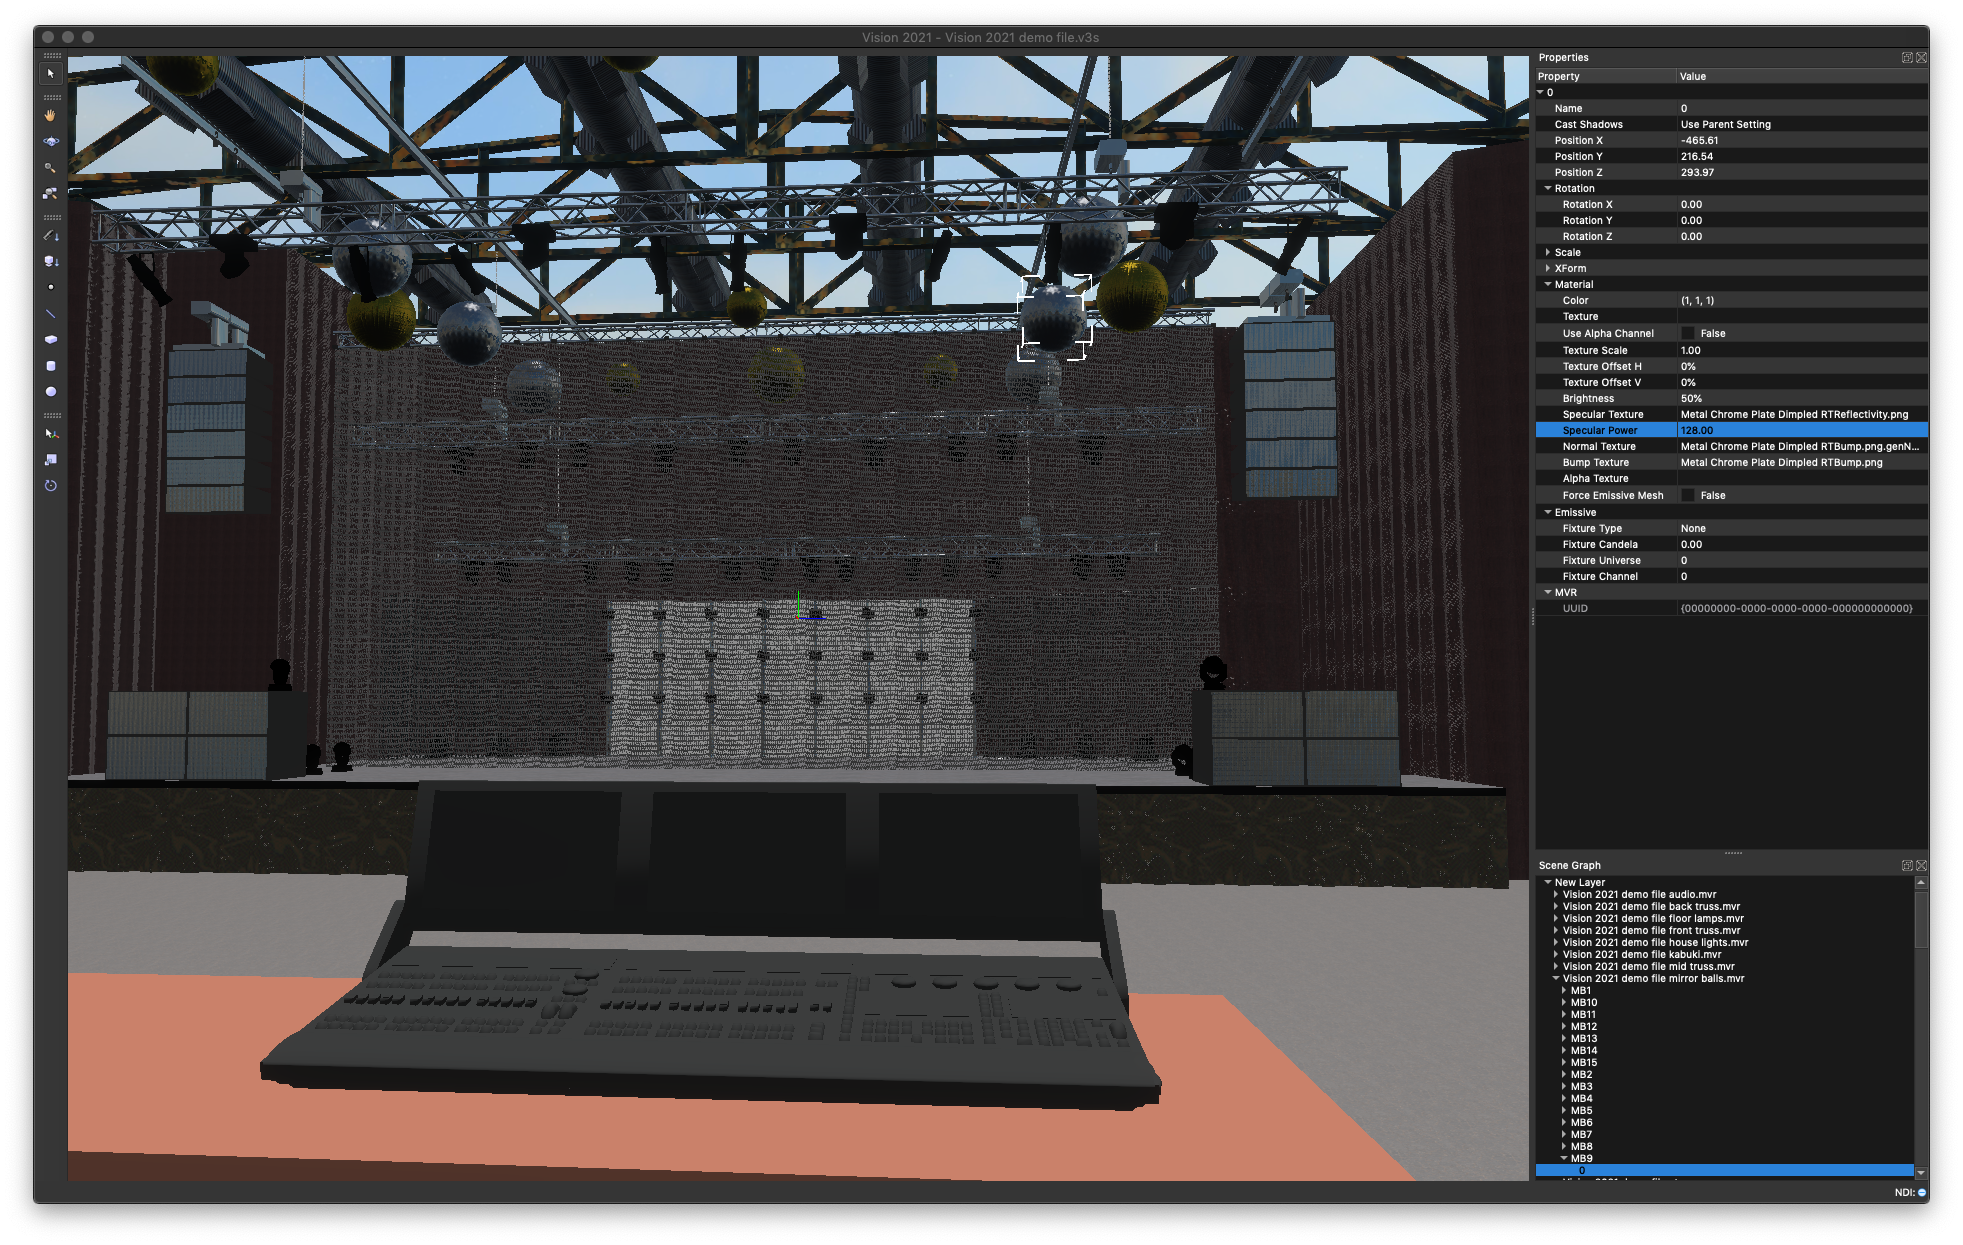
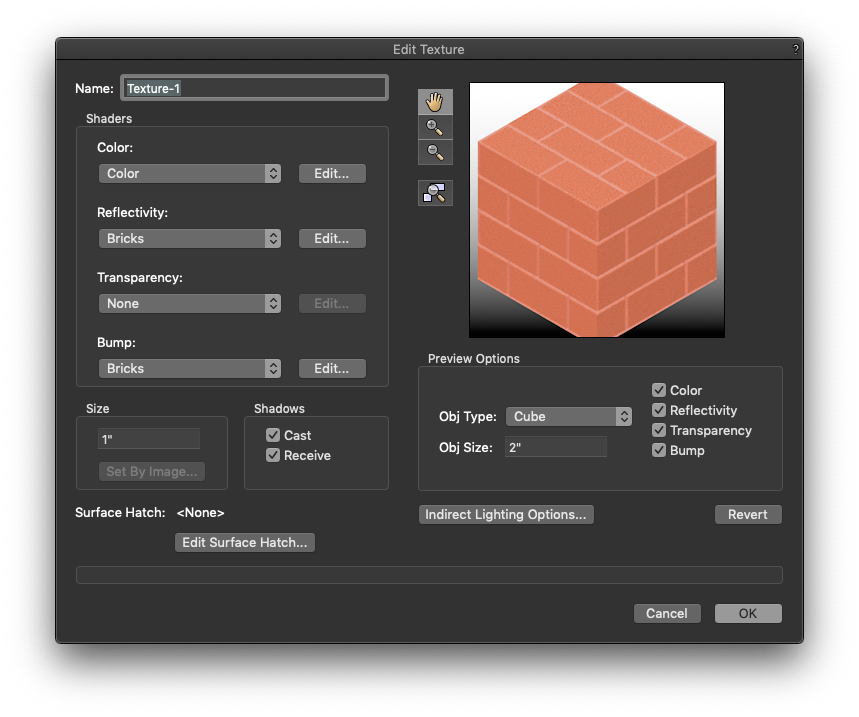
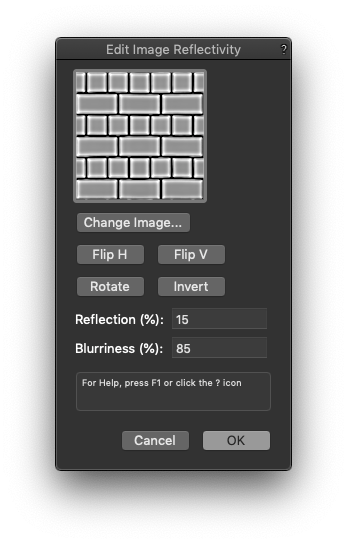
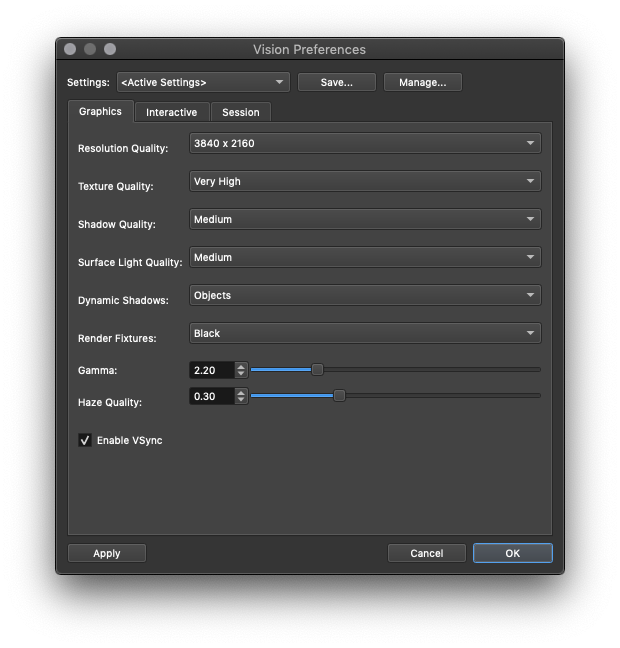
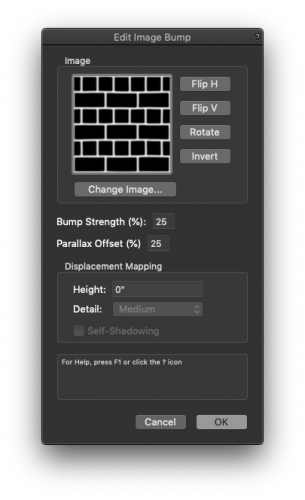
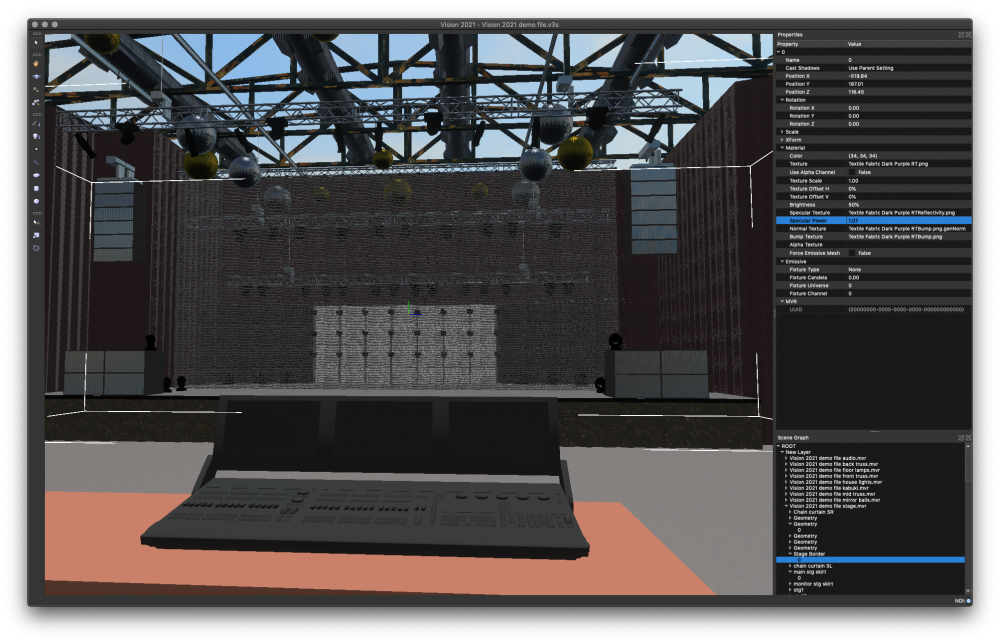
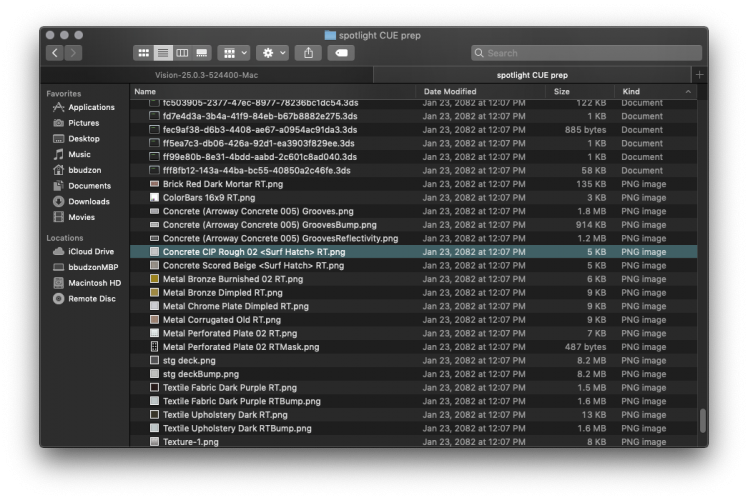
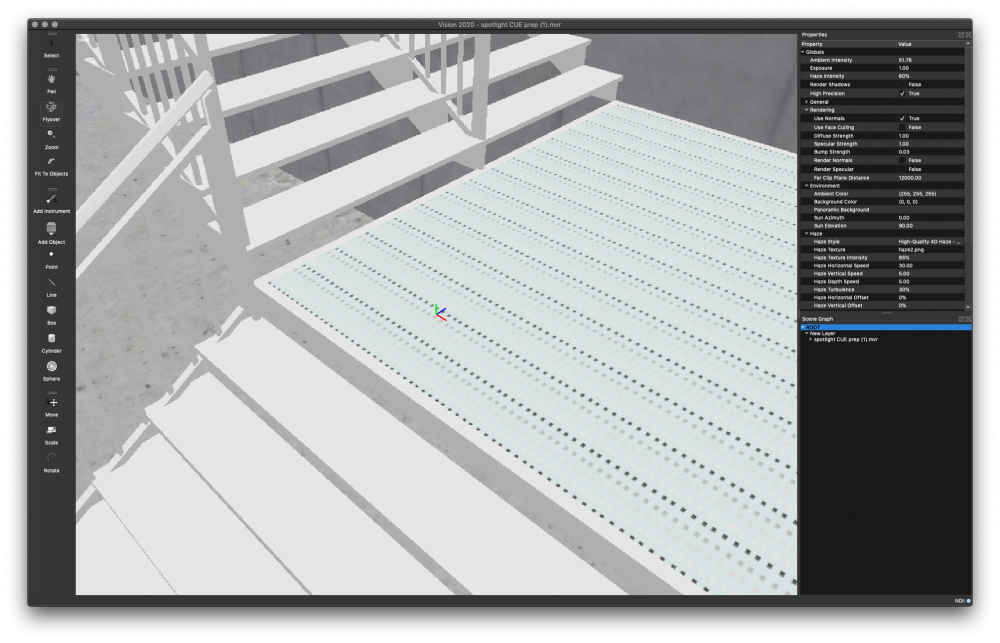
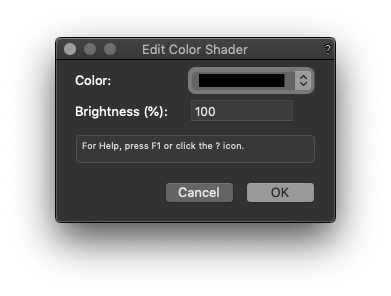
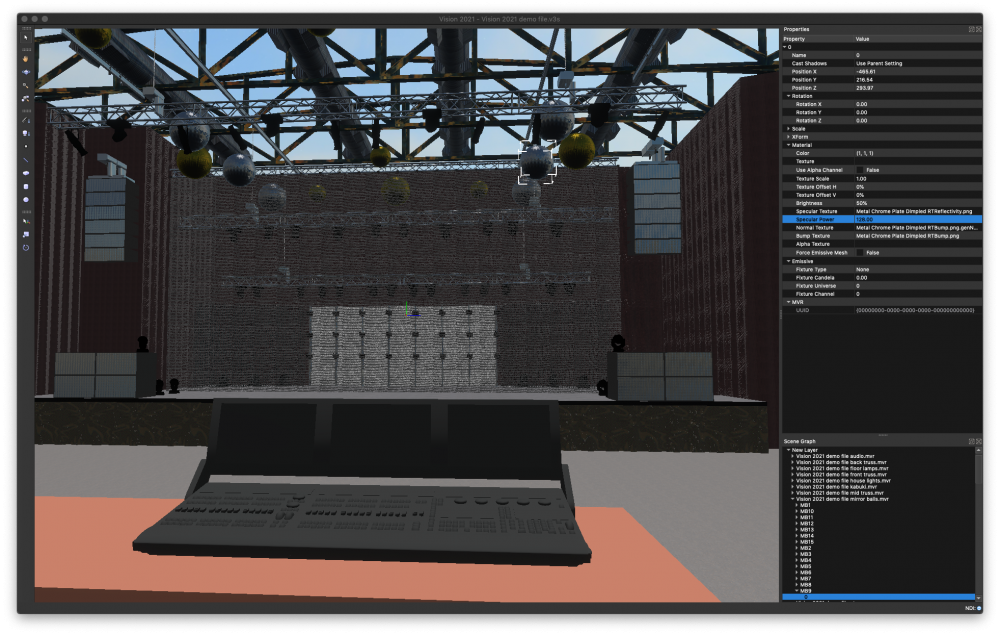
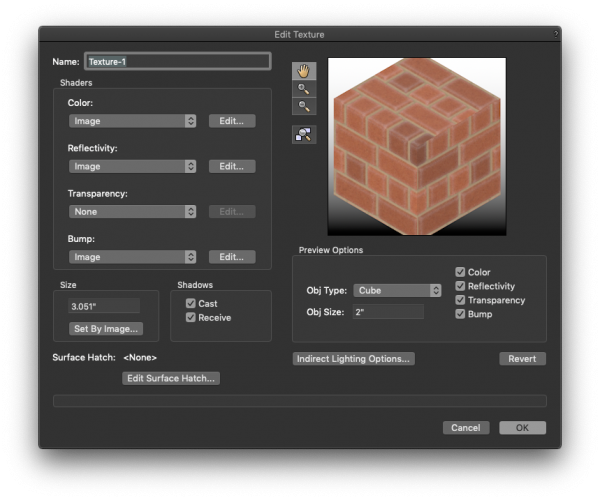
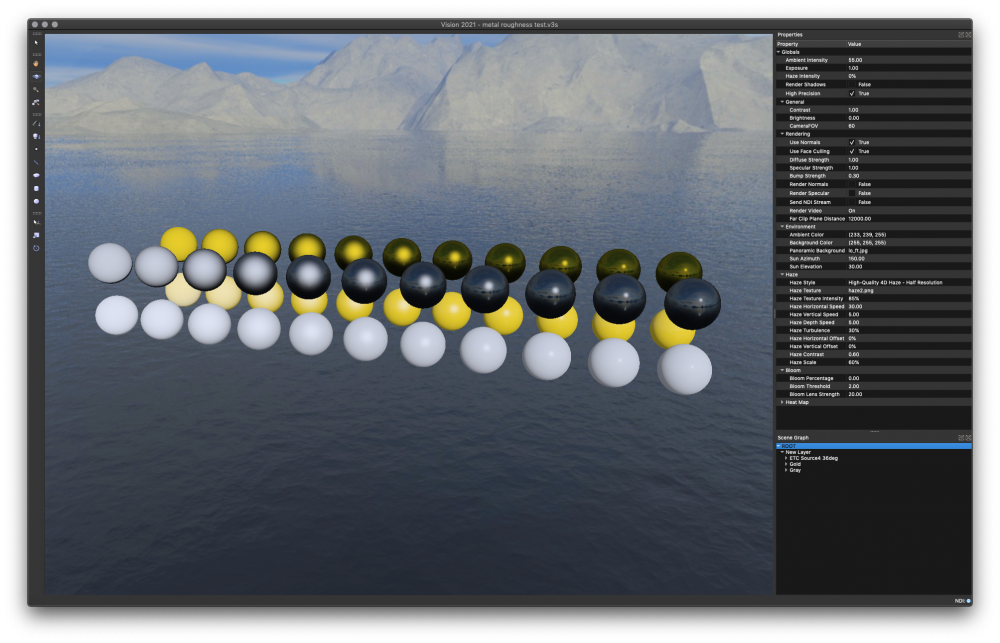
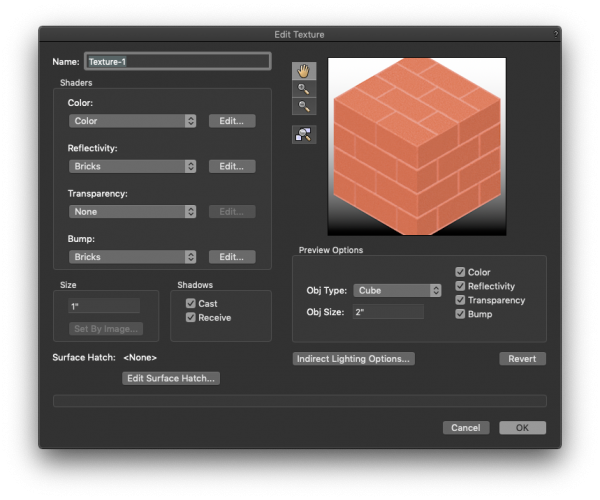
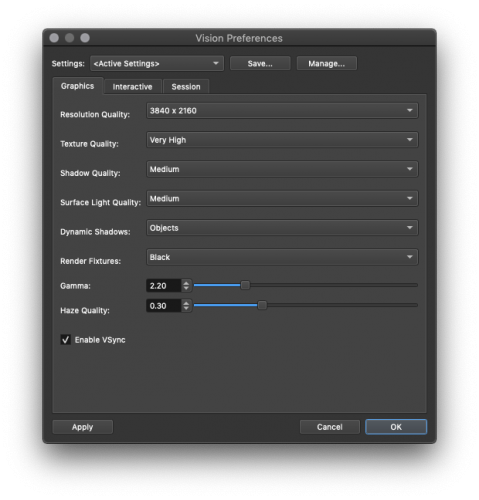
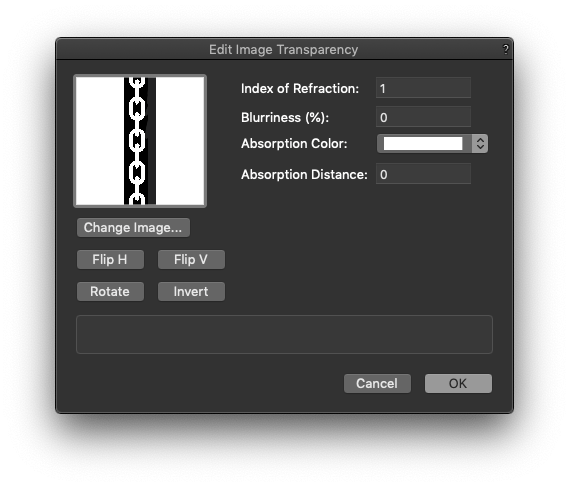
Preparing High-Quality Textures in Vectorworks for Export to Vision 2021 In Vectorworks, textures are composed of “shaders” that control color, reflectivity, transparency, and surface details like bumps and indentations. The shader settings include default options such as Brick, Plastic, and Cloth, or the option to use image files. Vision works best when images are provided that match the size and complexity of the textured objects. This workflow describes the image requirements and shader settings in Vectorworks that result in high-quality textures in Vision. Several of the shader settings in Vectorworks do not apply to Vision; only the useful settings are described below. Vision’s default texture resembles a non-reflective gray plastic. Special tips are provided for creating metallic textures that clearly reflect the surrounding scene. Getting Started From the Resource Manager, do one of the following to open the Edit Texture dialog box. For an overview of the parameters, see “Creating a new texture” in the Vectorworks help. To create a texture, click New Resource. Select Renderworks Texture, and then click Create. To edit an existing texture, right-click on the texture resource, and select Edit from the context menu. If you’re editing an existing texture, remove any shaders that do not use image files. For example, de-select Metallic, Glass, or Noise if these options were specified for the Color, Reflectivity, Transparency, or Bump shaders. Initially, removing these shaders will make the texture look less realistic. The following steps will add high-quality details. Correct Incorrect When using image-based shaders, select images with sufficient quality. The optimal resolution depends on the size and detail requirements of the textured object. For example, a guitar string may only require a 1x1 resolution Reflectivity image, whereas a mountain may require a 4096x4096 Color image for adequate detail. Typically, a resolution of 256x256 or 512x512 is sufficient. Correct Incorrect If the texture has just one color, set the Color shader to the desired Color (this is an exception to the image-based workflow). An image-based shader should only be used to provide multiple colors and more detail. To create a metal texture, use a full black (0,0,0) Color shader. Do one of the following to specify the black shader: Set the shader to Obj Attributes and specify a black fill color for the object. Set the shader to Color and select the black Color from the Edit Color Shader dialog box. Metal Color All Reflectivity shaders should be set to Image. Brighter images reflect more light. Non-metal textures should use grayscale images. Metal textures should use colored images that match the metal’s color. For simple objects with a single color and no fine details, use a small-resolution image. For example, use a 1x1 silver image for a guitar string. For complex objects with multiple colors, use larger, more detailed images. For example, use a 512x512 gold Reflectivity image for a glittering set piece. Non-Metal Reflectivity Image Metal Reflectivity Image The blurriness of a reflectivity image determines how blurry or sharp the reflection appears. To set the blurriness, click Edit next to the Reflectivity dropdown in the Edit Texture dialog box. The Edit Image Reflectivity dialog box opens; enter the Blurriness percentage. Lower values create sharper specular highlights and more mirror-like reflections of the object’s environment. Enter lower values for smooth and shiny metals or plastics. Enter higher values for carpeting, rough plastic, or dull metals. Tips for Best Performance To add detail without slowing the program, apply a Transparency shader or Bump shader to a low-polygon extrude instead of using a complex mesh object. Transparency shaders should use black and white images with no gray. White will be rendered and black will not. For example, create a chain link fence by applying a Transparency shader to indicate the gaps. Transparency Bump shaders should use grayscale images. Black represents the elevated, or “bumped,” areas and gray shows the indentations. Lighter shades of gray look more indented. For example, a brick texture should use black for the bricks and gray for the sunken mortar. Bump Verifying Texture Quality in Vision Export the scene as a .mvr file, then change the extension to .zip, and extract the contents. Extract MVR Check the quality of all exported images. In Vectorworks, replace any images that don’t meet the requirements described above. Import the .mvr file in Vision. Add lighting and environmental features for more realistic renderings. In the Document Preferences, specify a Background Color or Panoramic Background for the scene, and then experiment with the Sun Azimuth and Elevation settings and the Ambient Color. Panoramic Background In the Vision Preferences, set the Texture Quality to Very High. Texture Quality Do the following in the Document Preferences: Select Render Specular to check the specular reflectivity. Metallic objects should use the metal’s color. White indicates high reflectivity. Black indicates no reflectivity. Gray indicates low reflectivity. Color indicates metal reflectivity. Correct Incorrect Select Render Normals to check the bump and indentation effects. Verify that the protruding or indented geometry is facing the right direction: Red indicates left-facing normals. Green indicates top-facing normals. Blue indicates front-facing normals. Correct Incorrect On the Properties palette, check the Specular Power for various textures. This value depends on the Blurriness setting in Vectorworks. Metal Cloth High blurriness results in low specular power, and vice versa. This means that rough and dull textures will not have bright highlights or clearly reflect the environment. Blurriness Specular Power 100% 1.0 80% 4.0 50% 32.0 20% 256.0 0% 1024.0 If the color of a metal texture does not look right, try lowering the Blurriness value in Vectorworks. Turn up the Ambient Intensity with the Document Preference or keyboard shortcuts. Navigate the scene to verify that textures look right in full ambient lighting. Correct Incorrect


-
Try using the DMX recorder in Vision to record part of the cue you are seeing the issue. Play it back with just Vision running and see if the problem happens the same way. Render out a movie using the DMX recording and see if that looks the same. (Use a resolution like 720.) If the movie looks correct then Vision isn't keeping up with the real time rendering for one reason or another. If the movie doesn't look right then it's either something with the DMX or Vision but with the DMX recording it should be the same every time. Playing back the DMX recording in Vision should look the same every time. If the Vision file, DMX recording, and the EOS file are small enough you can post them here. (The DMX recording is usually large, but zips up to be very small.)
-
If you connect the 2 machines to the hub and then the hub to the router you should be good. You would try switching the EOS and Vision to ArtNet if you still have problems.
-
What console and protocol are you using? What fixture(s) are having the issue? Dies the same random thing happen every time you run the cue? Is the cue that's having issues or is it the transition between cues where you are seeing the problem? Are you on an isolated network? Vision listens to all DMX traffic on the network, so if there is someone else transmitting on the same network Vision will see it and process it. If you are running the free version of EOS, and possibly others, remember it randomly backs out the DMX to prevent you from using it for a real show.
-
We have found that because of the way ETC Nomad works, it must be connected to a network to obtain an IP address. If it does not have an valid IP address it does not transmit network packets even if you are using the same machine. (No, the loop back address doesn't count.) You have the right ideal with the hub, but nut needs to be a router rather than a hub or a switch but it doesn't have to be connected to the internet. You can run Vision and Nomad on the same machine as long as the machine obtains an IP address from the router. The DMX packets are broadcast across the network and Vision will see them, no special configuration is required. Are both machines Windows machines? We have users running Vision on the Mac report issues when connecting with sACN, possibly because of multi-casting or router issues, so try using ArtNet.
-
Vision - Vectorworks - exchange new fixtures
klinzey replied to tk11de's topic in Vision and Previsualization
The Vision library files should be shared between Vision and Vectorworks if everything is the same version on the same computer. If you are using different versions or manually updated the library in Vision or Vectorworks they may be out of sync. Short of deleting and re-installing Vectorworks and Vision I would contact tech support so they can verify that the library files are in the correct shared location. -
MAnet requires the use of a Vision dongle. Contact your sales representative about purchasing one if you need to use MAnet. The use of the dongle is a requirement from MA Lighitng.
-
Do you have any idea what software was used to create these files? A quick search for those extensions dis not show any CAD or modeling software.
-
We can't reveal anything about Vision 2021 till it's released... Vision does support SLI. One of out test machines ran 2-GTX 980 ti in SLI and we seeing seeing significant frame rate increases over a single card. Crossfire should also work but most cards are dropping support for multi-GPU. The biggest gain will be from adjusting the settings in Vision. If you don't need shadows turn them off. Shadows are one of the advantages of using Vision over other applications but they also take a lot of GPU to process. Just even small changes in the settings cam make huge performance changes. If you lower the quality of Vision to match what MA or WYSIWYG you will see frame rates that far exceeds the other applications. If you post your settings we can give you some hints on what to adjust.
-
@Fuji Try removing replacing the "Reflectivity" texture in the image prop texture with a glow image or set the "Reflectivity" to "None". If there are any procedural texture elements in the texture when exported to Vision Vectorworks will create a composite image and you will lose the transparency texture image. See this article for details:
-
Current customization are saved with the file. So when you open a old file in 2020 that had customized parameters you should see those customized parameters in 2020 and the saves settings should show as customized. Your customized settings are saved in your user folder, so if you migrated your user folder from one version to another you may be seeing your saved set options you created in the prior version.
-
If you create a new blank file in 2020 using the default lighting device parameters you will not see the old parameters. The reason the old parameters exist when opening an older file is that we could not translate what we now call "User U Address" and "User Address" to the new 2020 fields with 100% accuracy. People used the fields in all kinds of different ways, so we preserved the 2019 data in the "User U Address" and "User Address" fields and try to migrate the data to the new fields automatically. If the information was not in a form we could understand the existing data would be preserved in "User U Address" and "User Address" and could be manually transferred to the new data fields or the manually updated in the user fields.
-
@innes 1234 Find your local distributor
-
If you can I would recommend looking at Python Scripting rather than Vectorscript. With Vectorscript you are limited to what Vectorworks can do. With Python you have access to other Python libraries which allow you to do a lot more. A quick google search turned up several options for playing an audio file with Python.
-
Make sure you are using the default Spotlight workspace and not a migrated workspace. Spotlight Numbering should be the first item in the Spotlight menu. The screenshot looks like it's missing several items that are in the default Spotlight workspace.
-
@innes 1234 Contact your local distributor and ask them about the Vectorworks student2PRO program.