Search the Community
Showing results for tags 'extrude along path'.
-
Hi, I am very new to Marionette but love it already. So i tried to make it easier and quicker to draw multiple skirting boards in a house. (or any other mouldings for that matter). I have watched many videos and found some interesting advice and helping nodes and networks, espcially one from AlanW called Path Extrude on Edge, which is a modified version of the Path Extrude node itself. Now, the first problem, before i found Alan's file, was that the extruded object would always be created centred on the pathline, and not on the corner where the wall meets the floor, and i could not figure out a way to tell the node to work this differently; no options as there are with the command extrude along path f.ex. I guess Alan had the same problem hence why he tried to find a work around with the node that he created. However his nod seems to require some more network nodes to work (?), and furthermore it leaves a copy of the path polyline in place, which i don't want (I have dealt with what i need to happen to this line in my network.) I guess in a perfect world it would be ace to keep the extruded paths tied to the marionette so that profiles can be changed after they have been created ? Is that possible at all, and if so what kind of object would need to be created in the end? So can anyone first help me to create this node, or network, that works the way i have laid out in v01 in the attached file, but produces a result from a profile in a symbol file, and sets the path to a specific corner or vertex in the profile file? Skirting v04.vwx
-
Version 1.0.0
41 downloads
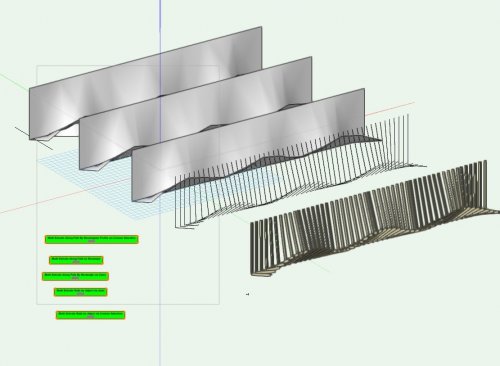
Although this Marionette Object is very project-specific, I thought it would be nice to share it because this is our first built example of a facade where we used Marionette Objects to model its key features. In short this Marionette Object generates the shape of the balcony in plan based on parameters set by the user. Then it takes a 2D symbol and uses Extrude along Path to extrude the symbol along the curved side of the balcony. Here are some forum threads where you can see me struggling with my first marionette networks for this project: https://forum.vectorworks.net/index.php?/topic/62987-create-objects-from-shapes-in-marionette/ https://forum.vectorworks.net/index.php?/topic/63526-extrude-along-multiple-paths-and-use-control-geometry/ https://forum.vectorworks.net/index.php?/topic/64193-extrude-along-path-control/ Special thanks to @Marissa Farrell and @DomC for their help. I hope this example from Marionette to built reality inspires others! -
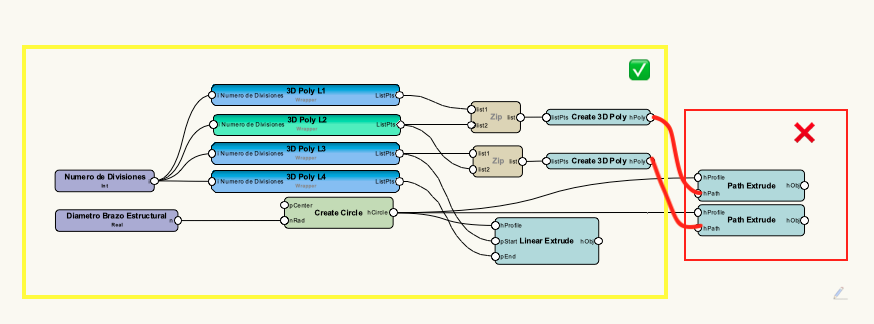
I am working on a roof structure but the final step does not work. I do not understand why, got the 3d poly but it disappears after trying the path extrude. I will be very grateful if someone can help me with this 2204-DI-DE-v03.vwx
- 7 replies
-
- extrude along path
- structure
-
(and 2 more)
Tagged with:
-
Is there a better way to do this? Can I control the orientation of the profile to be consistently correct, instead of having to adjust it after making the extrude? Screen_Recording720.mov
-
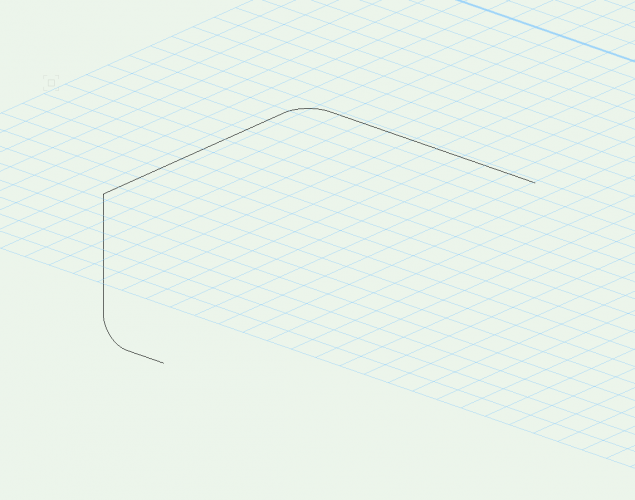
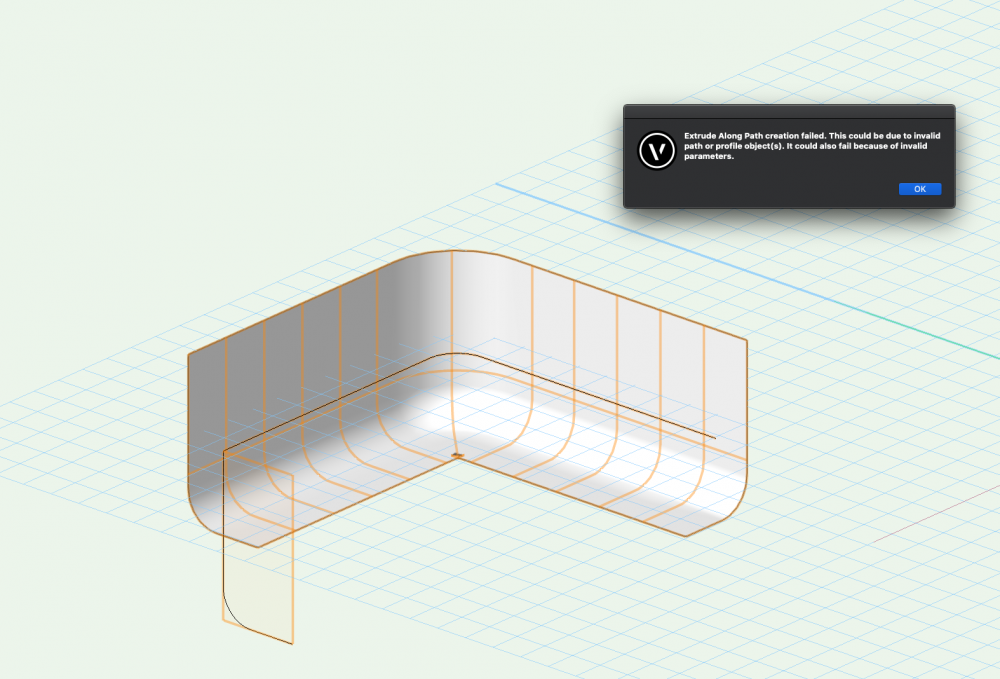
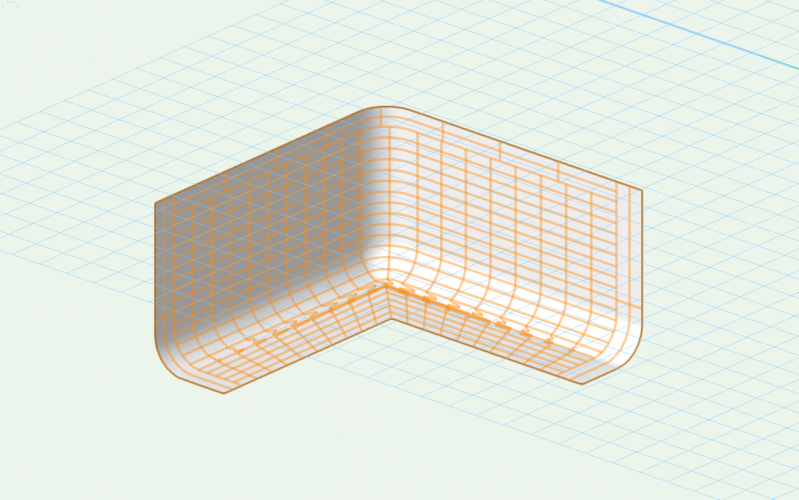
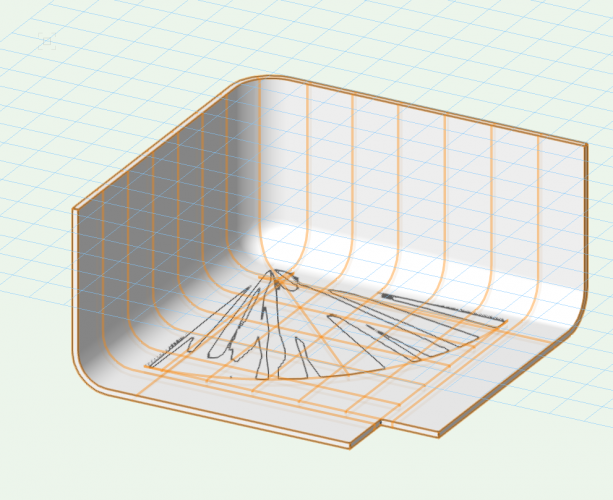
I have a curved cyc wall that I need to create - so it curves in two directions. Here's the path / : My thinking was to do extrude along path, which works if I lock the profile, but then I get an error: Figured it out - had to lock and fix the profile. That solved it nicely. Though the mesh seems a little over complex: If I add a complete flooring element (by offset and closing my profile), the path gets a lot cleaner but the floor now has this nasty artifact in it: Any ideas?
-
I have a number of extrude along paths that are only visible in my sheet layer viewports, and not visible in the design layers. This makes editing them or deleting them impossible. Any ideas?
- 8 replies
-
- extrude along path
- visiblity
-
(and 1 more)
Tagged with:
-
Extrude along path, geometry and upgrades
TimG posted a question in Wishlist - Feature and Content Requests
1. I wish the path created for an extrude would remain that type of geometry rather than convert the path to a NURB... again 2. I also wish there were more time saving features added to the extrude along path tool I wish the original path geometry to stay the same because... If I wanted a NURB, I would draw a NURB originally. If my extrusion is only going around 2 axis, and I draw a polygon for the path... I would like it to remain in only 2 axis for quicker editing if I need to modify that path as my model progresses.... let the modeler choose their geometry, the program should keep it until its changed. I think there can be some simple but very effective time saving features added to the extrude along path tool, including the following: - During creation, give us the option to pick the origin on next mouse click of the profile. - Let us copy and paste IN PLACE profiles from one extrude along path to another (like it was at one point), don't make us realign the same profile (very time consuming) - Make the extrude the same class as the profile used to create it (saw this in another wish list item recently) - Give us a right click on the extrude along path object to flip the profile - It would be handy if we could lock, or choose a path based on roof object or wall object edge... and when moved it could update. -
I have a Polyline 2D area that is my "Path" and I have a NURBS that I want to Extrude Along Path. Question: Can I convert that NURBS into a polyline so I can make the Extrude Along Path? When I try to convert the Copy does not stay in the same place. It just rotates around when I rotate like its floating in space. Or can I just do it with a NURBS? Thanks!
- 5 replies
-
- nurbs
- extrude along path
-
(and 1 more)
Tagged with:
-
If I'm using multiple profiles to create an Extrude Along Path the result is one extruded object on the active Class, with the attributes of that Class. What I'd prefer is multiple extruded objects using the same Class as the profile objects that they came from and using the same attributes of those profile objects. From there it's just one step to a Auto-hybrid with all objects using the desired attributes. As it currently stands we have to: 1. Create a separate Extrude Along Path for each profile, copying and pasting the path object for each one 2. Then we have to change the Class of each EAP 3. Then select them all to create an Auto-hybrid
-
I have mentioned this problem before on the forums and also had a dialogue with UK tech support within the last couple of years (they were nice but had no answers) but with the introduction of new truss objects I thought I would raise the issue again. The zig-zag lacing on bundled VWX truss objects is looks smooth. When I try and do something similar by extruding a circle along a poly line I get a really jagged mess of geometry which I cannot for the life of me eradicate. 1. Does anybody see this anomaly? 2. Do you have a workaround? 3. How do VWX make their truss lacing so smooth? (They are generic solids so I have no way of knowing how they are made) I have enclosed the file in case anybody wants to experiment. Many thanks Truss_Lacing.vwx
- 15 replies
-
- truss
- extrude along path
-
(and 1 more)
Tagged with:
-
I'd like to be able to control the position of a profile relative to the path of an EAP, instead of it always being to the centre of the profile. Very few of the EAPs I create are best positioned with the path at the centre of the profile. Perhaps we could have some controls similar to the Wall Tool: 1. Left Control Line Mode 2. Centre Control Line Mode 3. Right Control Line Mode 4. Custom Control Line Mode
-
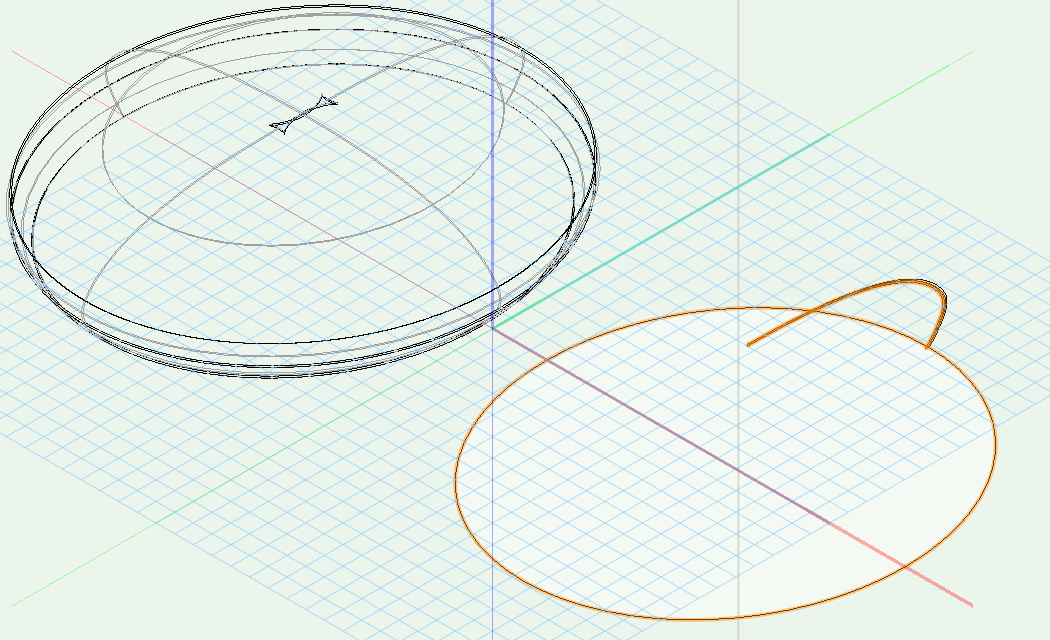
I have attached the VW file (its one of my students so its edu and 2015). I need a pod shape and have the profile and path as you can see. I have used extrude along path and appreciate that I will end up with a hole in the middle as the path is an oval. Is there a way to get this pod shape? Any help would be hugely appreciated thank you pod not working.vwx


