
bgoff
-
Posts
291 -
Joined
-
Last visited
Content Type
Profiles
Forums
Events
Articles
Marionette
Store
Everything posted by bgoff
-
Importing and manipulating the DWG line work is a simple process. I would first suggest getting some direct training on these processes. I am also posting some Vectorworks University courses that could help. https://university.vectorworks.net/course/view.php?id=134 https://university.vectorworks.net/course/view.php?id=290 https://university.vectorworks.net/course/view.php?id=2474 https://university.vectorworks.net/course/view.php?id=2434 https://university.vectorworks.net/course/view.php?id=181 https://university.vectorworks.net/course/view.php?id=294
-

Worksheets are damaging to Vectorworks' reputation
bgoff replied to Etienne_Mallee's question in Wishlist - Feature and Content Requests
As for creating smaller lists. I will use many options, some of which are lists specific to Tree, Shrubs, Perennials. Also specific to region or area of the design. Such as Parking lot plants, Front Yard, Back Yard, Phase 1. This often breaks down the size of the list to manageable pieces vs an extremely long list. -
Worksheets are damaging to Vectorworks' reputation
bgoff replied to Etienne_Mallee's question in Wishlist - Feature and Content Requests
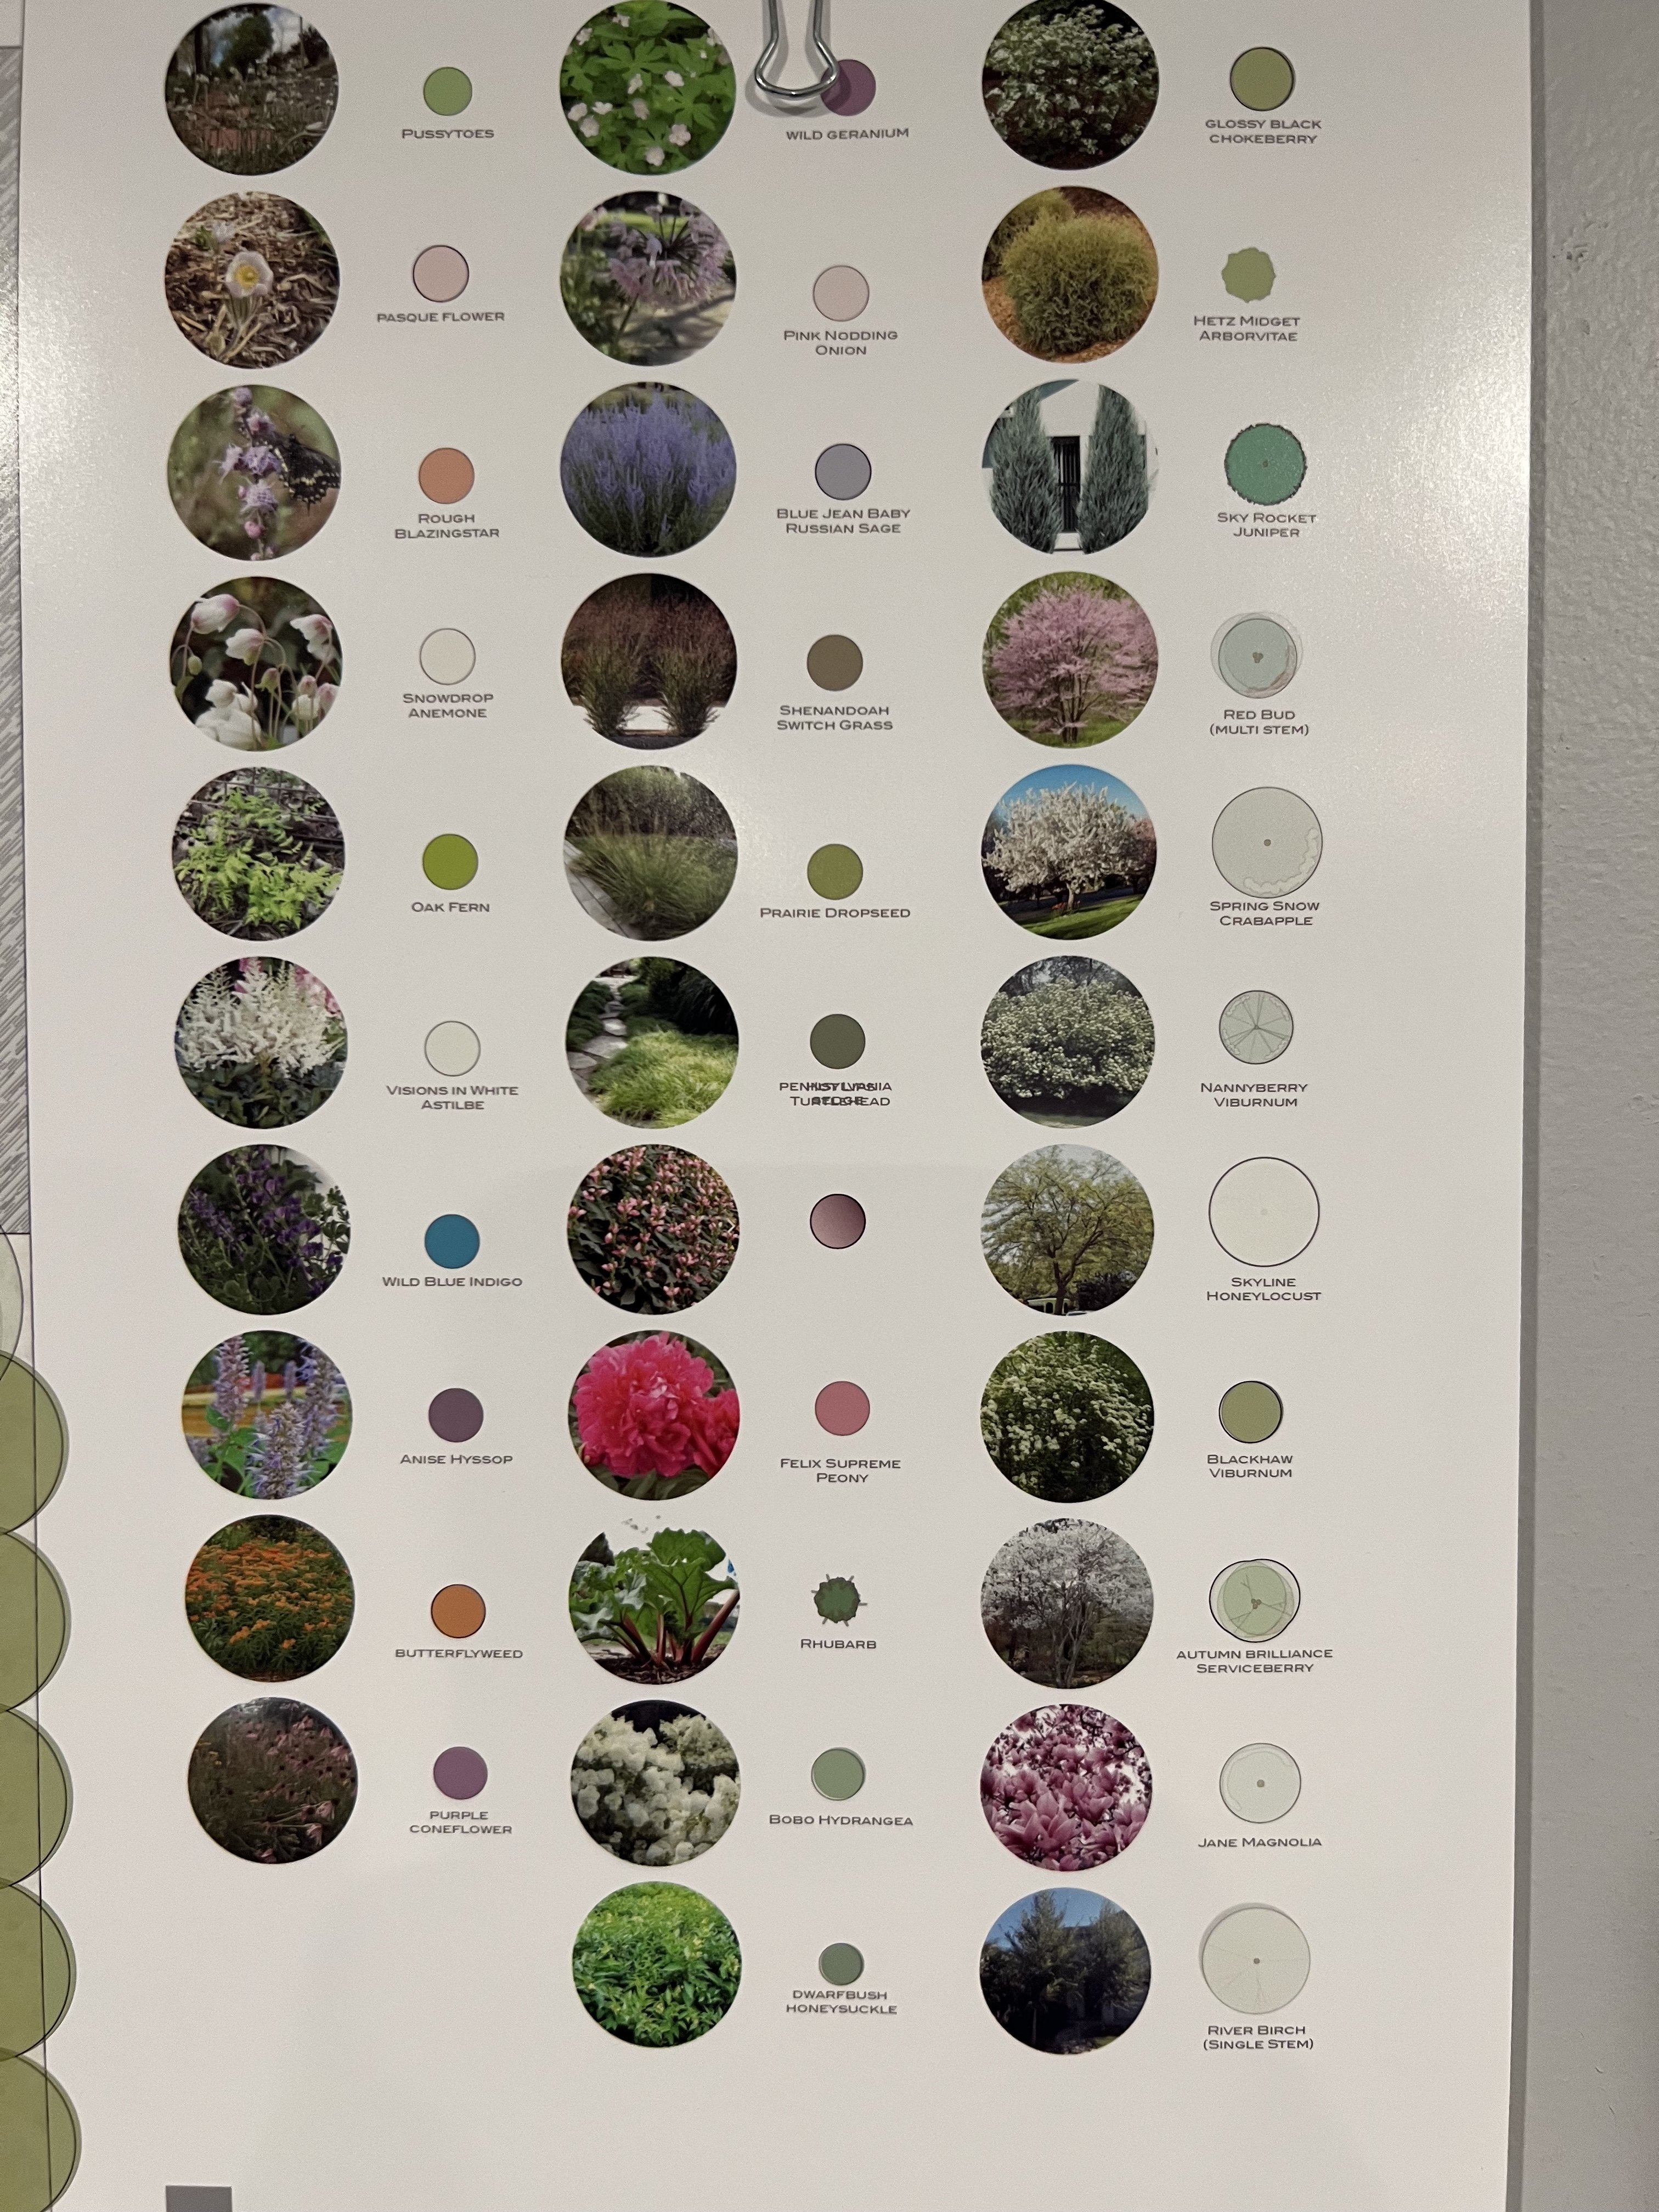
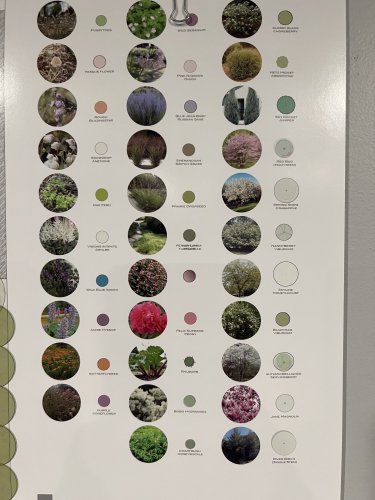
Etienne, Just skimming through here. As a note, the database is a great resource and can be used along with the catalogs. If you choose to leverage them to your needs that may and can be possible. I however like to use them as a general lookup volume. If I need more embedded data, I add a custom plant record format (or two, or three) depending on my needs. These are often regional data. As for publishing books. While we all love Vectorworks, it is not a book publisher. I have always utilized other tools such as Pages, Word or Indesign for this. This process allows me to design a master sheet layout and populate as many high res pictures and custom information in the format and layout style I choose. I then have one big master book with a plant per page with seasonal pictures, leaf and flower pictures, bark images, along with species data, and care instructions. All while having a creative layout and my logo and contact info. I would then select the plant types from the master and copy them into the client document that is titled for their job. I used the same for furnishings and lighting and well... everything. We had a spiral binder so these were a fantastic addition to provide. As for images in Vectorworks. I created unique symbols for these botanicals allowing for a more creative way to produce plant imagery within Vectorworks. This takes the gridded confines of a database away, giving me creative presentations. Hope this helps a bit, feel free to reach out to me if you have any further questions. I am always happy to help find a solution that works best for you specific situation or need while creating rapid and profitable workflows. Quick sample attached.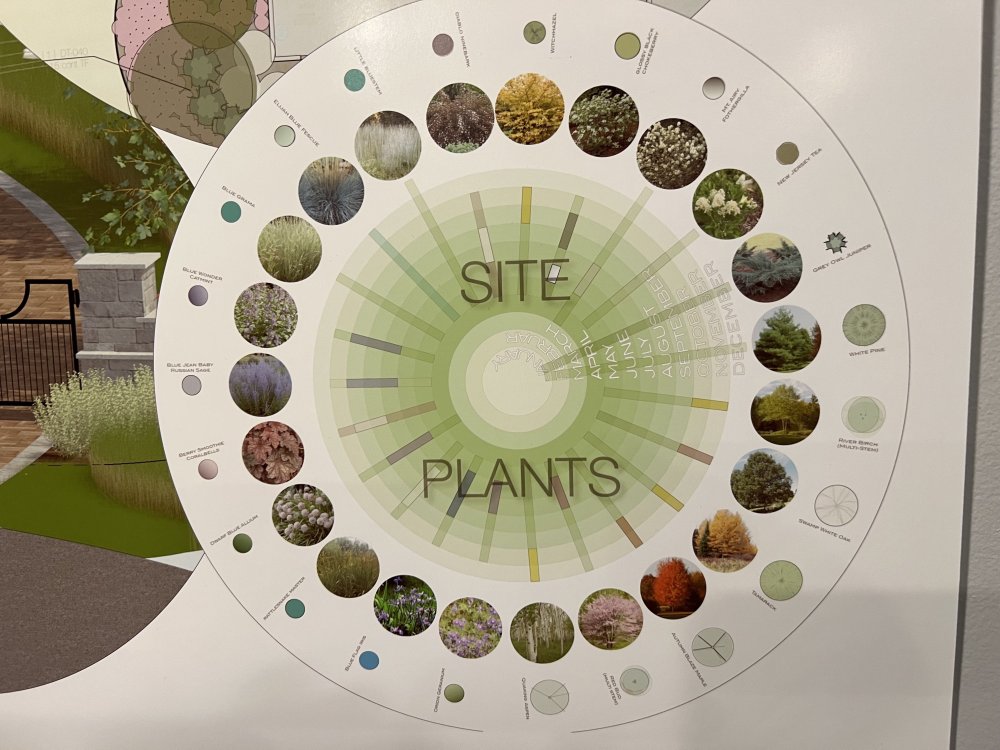
-
"VECTORWORKS LANDMARK ESSENTIALS SEMINAR 2021" working files
bgoff replied to imadlallouche's topic in Site Design
I believe this is what you are looking for. S-1 Site Survey.pdf Essentials Starter Template.vwx -
@hollister design Studio yep Eric is correct. De-Select the check box and the dialog will not come back. With the check selected every time you change a value of a plant it will change the database. This is not necessary and often leads to inappropriate data. Leave it unchecked and continue with design.
-
Here is a video explaining zoom_0.mp4
-
do not relocate the origin
-
Give me a min and I will post a quick video about this. Still drinking my morning coffee! 😀
-
The initial image you see is for site reference and is only temporary. This is why it disappears. You are still Georeferenced you just need to use the Geo Image tool to draw a rectangle around your area (make it a decent size) and that image will be better quality and stationary for your site.
-
you most likely used WGS84 as a coordinate system this can skew the image due to regional location. It would be better to use a specific local coordinate system such as in the US (state)NAD 83 HARN. Just find your local system and change to that.
-
In the case that @Rossford is refering to a hole like you are suggesting will work also but in this case it is faster to duplicate and crop the second model and lay over the top. But yes this is also a great solution.
-
Try copying the new poly line to your clip board, then after you delete the original crop, paste in the new crop.
-
This is a GOBO for Spotlight lighting design not a fire as you are thinking.
-
Give it a fill in the attributes palette.
-
Just change the pricing in the worksheet you are using.
-
Right click and edit or double click. The worksheet on both.
-
You can update directly in the worksheet.
-
not sure what you are doing but it always works fine for me. Use the second mode in the flyover tool and set the rotation axis to your site model with one click and then rotate. then next time you need to rotate use shift-C and you will be back to that point. You could also set a saved view for the rotation and zoom that you like and use that.
-
Using Landscape Areas for Wood Decks - thoughts?
bgoff replied to hollister design Studio's topic in Site Design
Use Floors!!! NOT Landscape Areas!!! -
yes it could. either will work.
-
could you load a sample file and I could take a look. Just 2-3 plants in a blank file would suffice.
-
Curbs and edging- taking up a small height difference
bgoff replied to Rob Norris's topic in Site Design
Just use the hardscape and set a border. set the border height to be what you want and done. As for the plant beds you could use a modifier or sets of modifiers to create your grade or berm. This will help you control your site appropriately. -
send me the file and ill see and post here what the issues are.
-
Looks like you have an object at zero. Depends on what that object is and how it was placed. let me know what that object is.
-
Use "Change Plant Grouping" in the Landmark Menu