Gadzooks
-
Posts
509 -
Joined
-
Last visited
Content Type
Profiles
Forums
Events
Articles
Marionette
Store
Everything posted by Gadzooks
-
I think there was a thread about High Sierra and Epson Printers needing new drivers to solve issues as you describe. Don't know whether this is relevant to your problem.
-
Thought that was more familiar (OK - says a lot about me - and possibly Alan)
-

Select similar tool - current selection mode doesn't work properly
Gadzooks replied to JMR's question in Troubleshooting
Ahh... Gotya Sorry - I misunderstood your problem - I see what you mean. I can't find any adjustments that change the outcome either. Def isn't as intended. Looks like a bug -
Select similar tool - current selection mode doesn't work properly
Gadzooks replied to JMR's question in Troubleshooting
Ive just had a look at this and it works 'as intended' as far as I can see. Are you sure you have the criteria set correctly for picking just the wall style. @JMRand @markddNeither of you posted a screen shot of the settings you are using to pick the walls. Mine are... Maybe you are making it too complicated by having other options (accidentally) in the preferences list? I think its best to keep things really simple. Also, when zoomed out, be careful not to click on windows in walls thinking you are choosing the wall. The wand is a bit clumpy at distance. I hope this helps you - let me know if I've had too many drinks. .......Hic!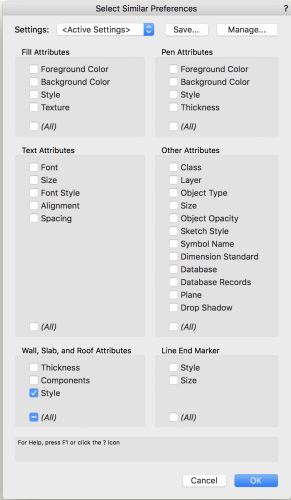
-
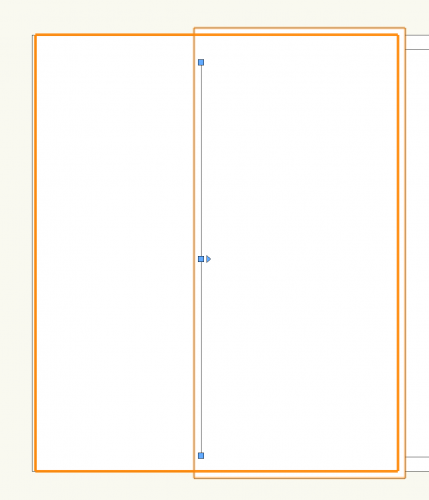
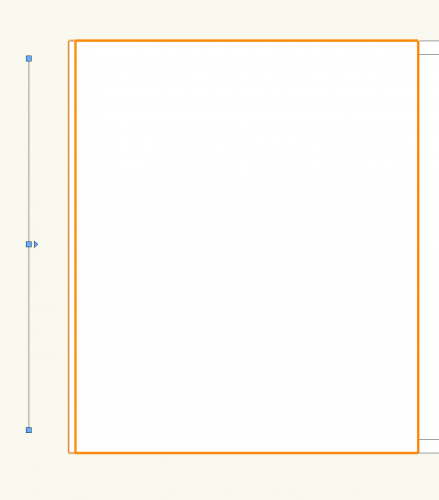
Multi View Panes Default to Split Vertically?
Gadzooks replied to Bruce Kieffer's topic in General Discussion
You jumped in on that quick @Pat Stanford! Yes I was going to say the same thing. Your favourite template 'starter' saved with the panes you want works well. It will remember the view chosen for each pane as well rather than randomising. -
How do you make top roof component overhang the fascia?
Gadzooks replied to Christiaan's question in Troubleshooting
Well - not quite, but I think you finally got out of the 'quote bag' you were trapped in. and.. It looks from your reply that you are almost giving up on VW. Don't let the operational quirks put you off - they're irritating to the 'n' agree sometimes, but ACAD will 'amaze' you as well. Negatively Nor should you. This isn't 'give it a try' ware we bought into. For the licence we deserve better product. (Ahh..... takes you back to Microsoft doesn't it) Positively - If you need help with stuff and (probably more importantly) if you can take the time (ok, have the time!!) to explain whats not working as you would want, and you maybe have a test file (usually a bonus) you can post, someone will be bound to help from the forum. Try it out.......we're all learning off each other. ------------- Edit - Sorry, meant to point out , as you appear to be on 2016, maybe some of the 'fixes' you need are in 2017, 2018 - worth looking to see if the release notes say this (or you could ask VW UK!!) -
How do you make top roof component overhang the fascia?
Gadzooks replied to Christiaan's question in Troubleshooting
Well, poor show from VW UK. Thought the new 'regime' was supposed to help create/nurture/extend a better level of support and inclusivity to the 'family' that is VW in the UK. Feeling included David? Welome to this thread David, as you have pointed out, this is already a long haul. Thanks for letting us know the details - It seems your query followed the same path and resulted in similar frustration - first when you had to try and work-around what seemed to be a BUG and second, when you received nothing back from VW UK. As I said to @Alan Woodwell, you need to bring sandwiches for this one. @Christiaanwill be round shortly with some cake. And we have other traffic in the queue - stairs, windows.......................................................... -
How do you make top roof component overhang the fascia?
Gadzooks replied to Christiaan's question in Troubleshooting
I think we've discovered the 'stair tool' of the pitched roof. Seriously - this seems to be another VW tool that's a Jack of all.....Master of..... - well you fill in your own description here. As I said earlier in this thread, This isn't a very user-friendly way of creating and supporting software. Although I can see it keeps VW 'experts' in pocket change. Trying to avoid a major rant..lets move on to the problem in hand...... --------------------------------- Thanks for your test file Christiaan (send via PM.) You're right, this isn't 'behaving' (as we expected from some considerable time 'invested' earlier) Looking at the simple roof surface you've provided, the first thing I see different from our earlier examples is you've chosen to have Eave Cut as Double. If you change to Vertical, the top component is 'fixed' (well, its now as you expected to see - both gable and edge condition). Conclusion: This is a BUG or WAD. Frankly, if a VW boffin wants to stick their head above the parapet and declare WAD then I'm a (***************), as its not WA (my) D. This is the challenge then VW - what's the (corporate) response?. And please don't come back with "yes, theres bugs (we thought you'd not notice if we kept silent)"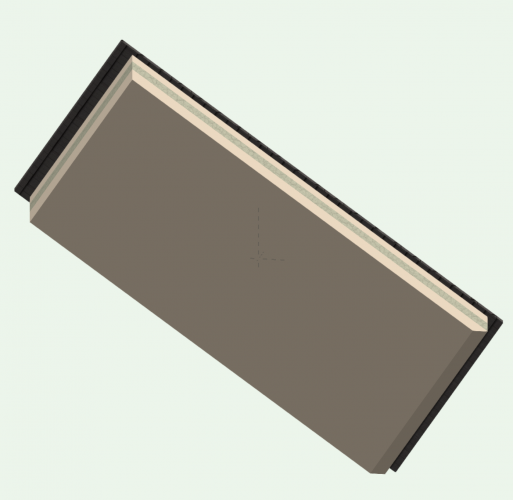
-
Agree - seems no logic - but weird. Yes - z fighting - VW can't make its mind up whether glass or muntin wins. But only (I think it seems clear?) in perspective. Well - a stab in the dark (side) really. Sorry I can't offer a solution.
-
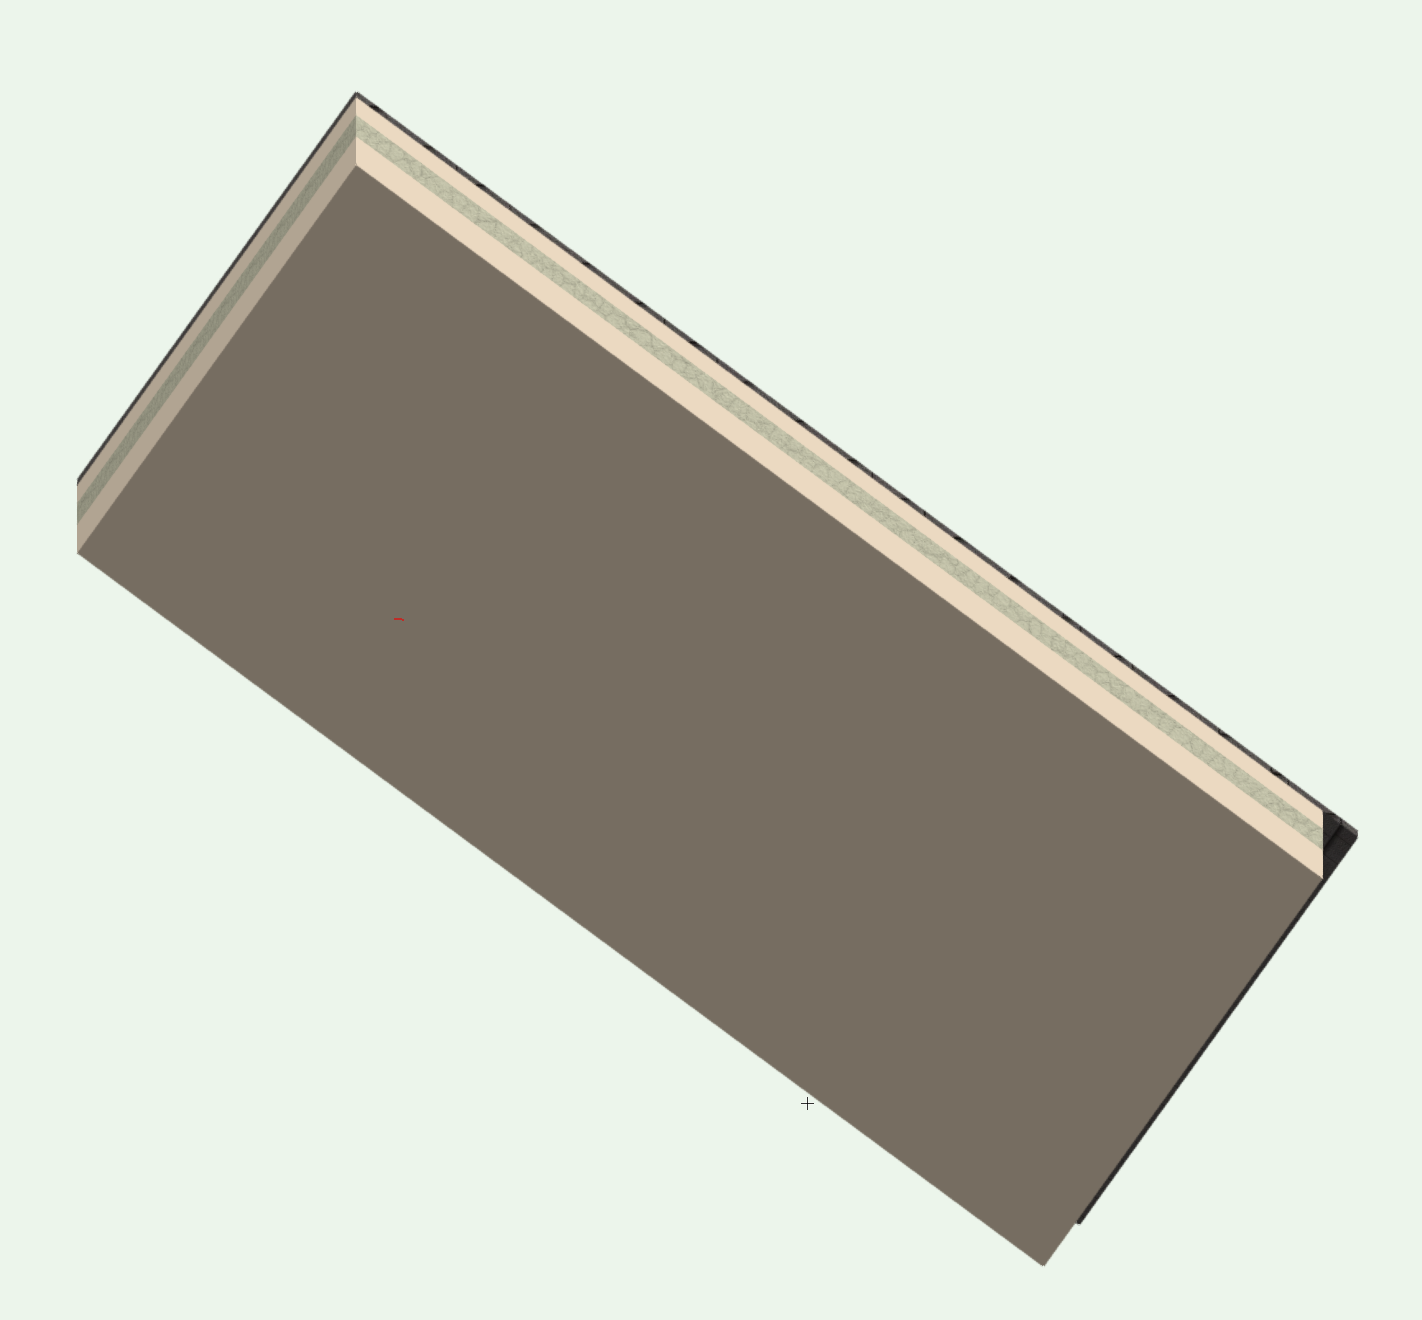
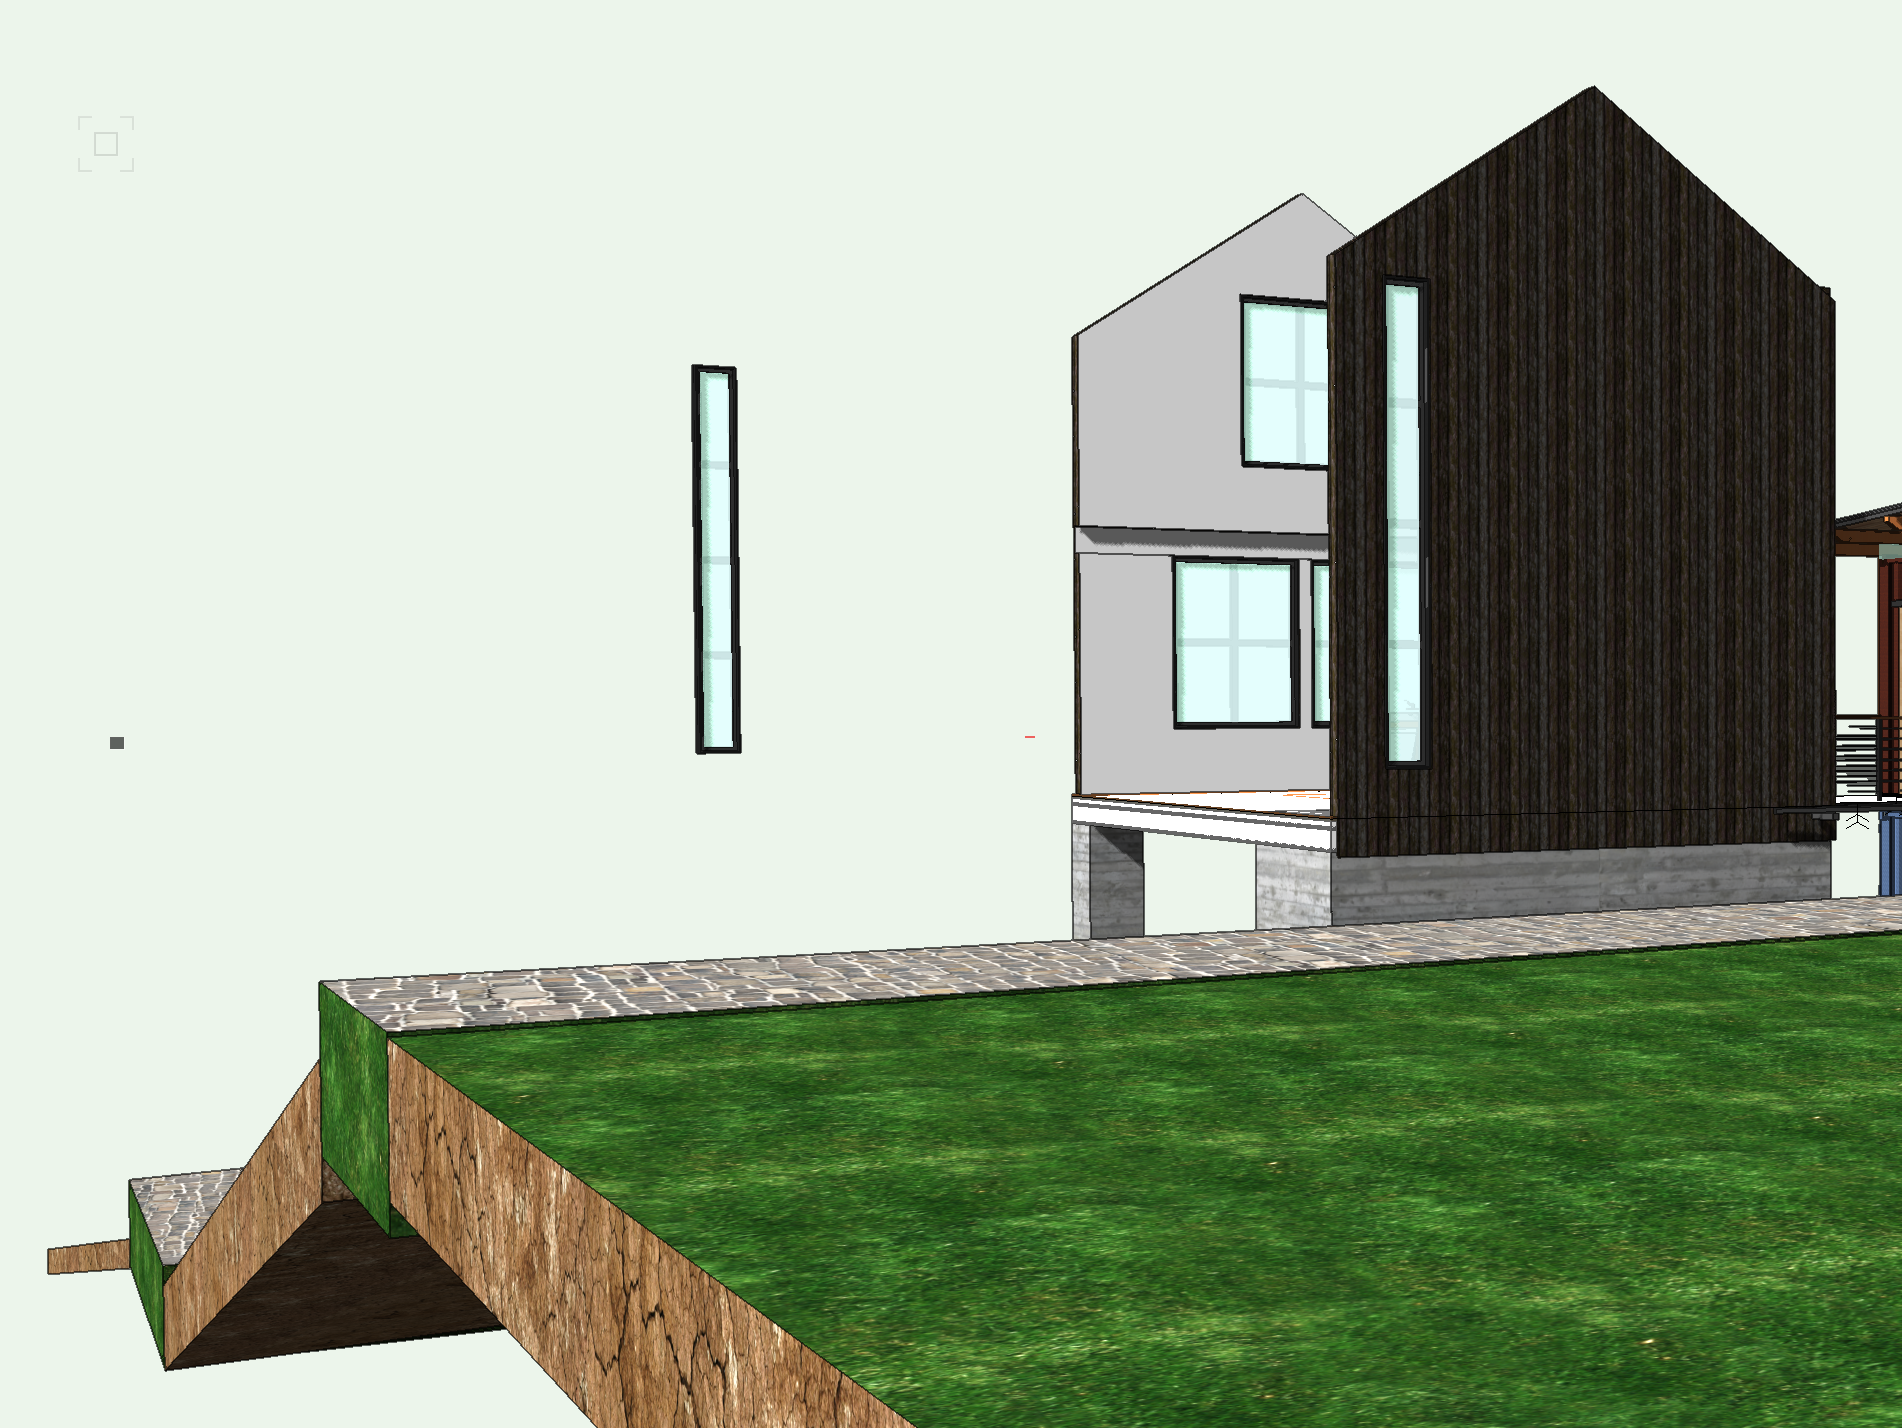
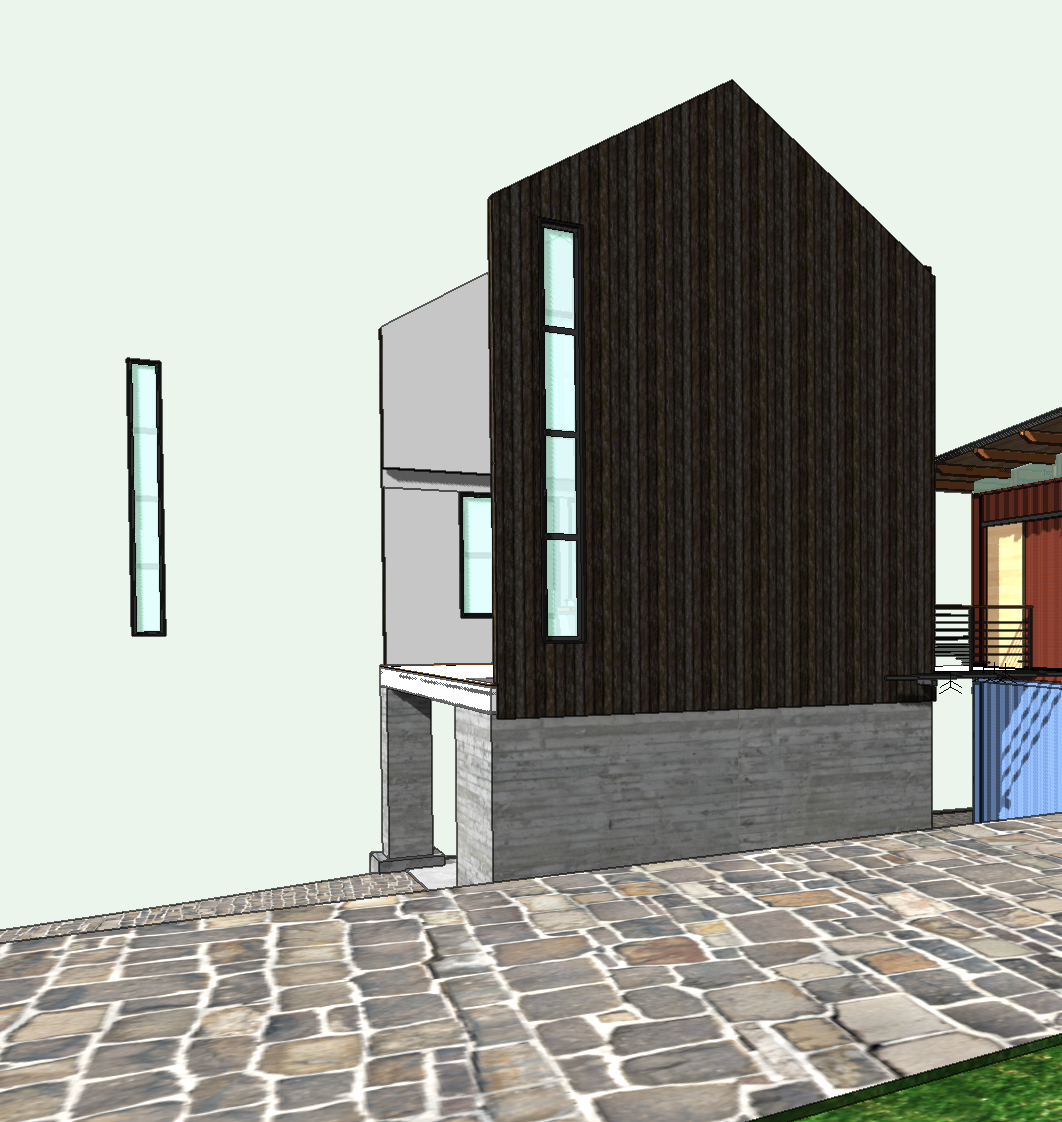
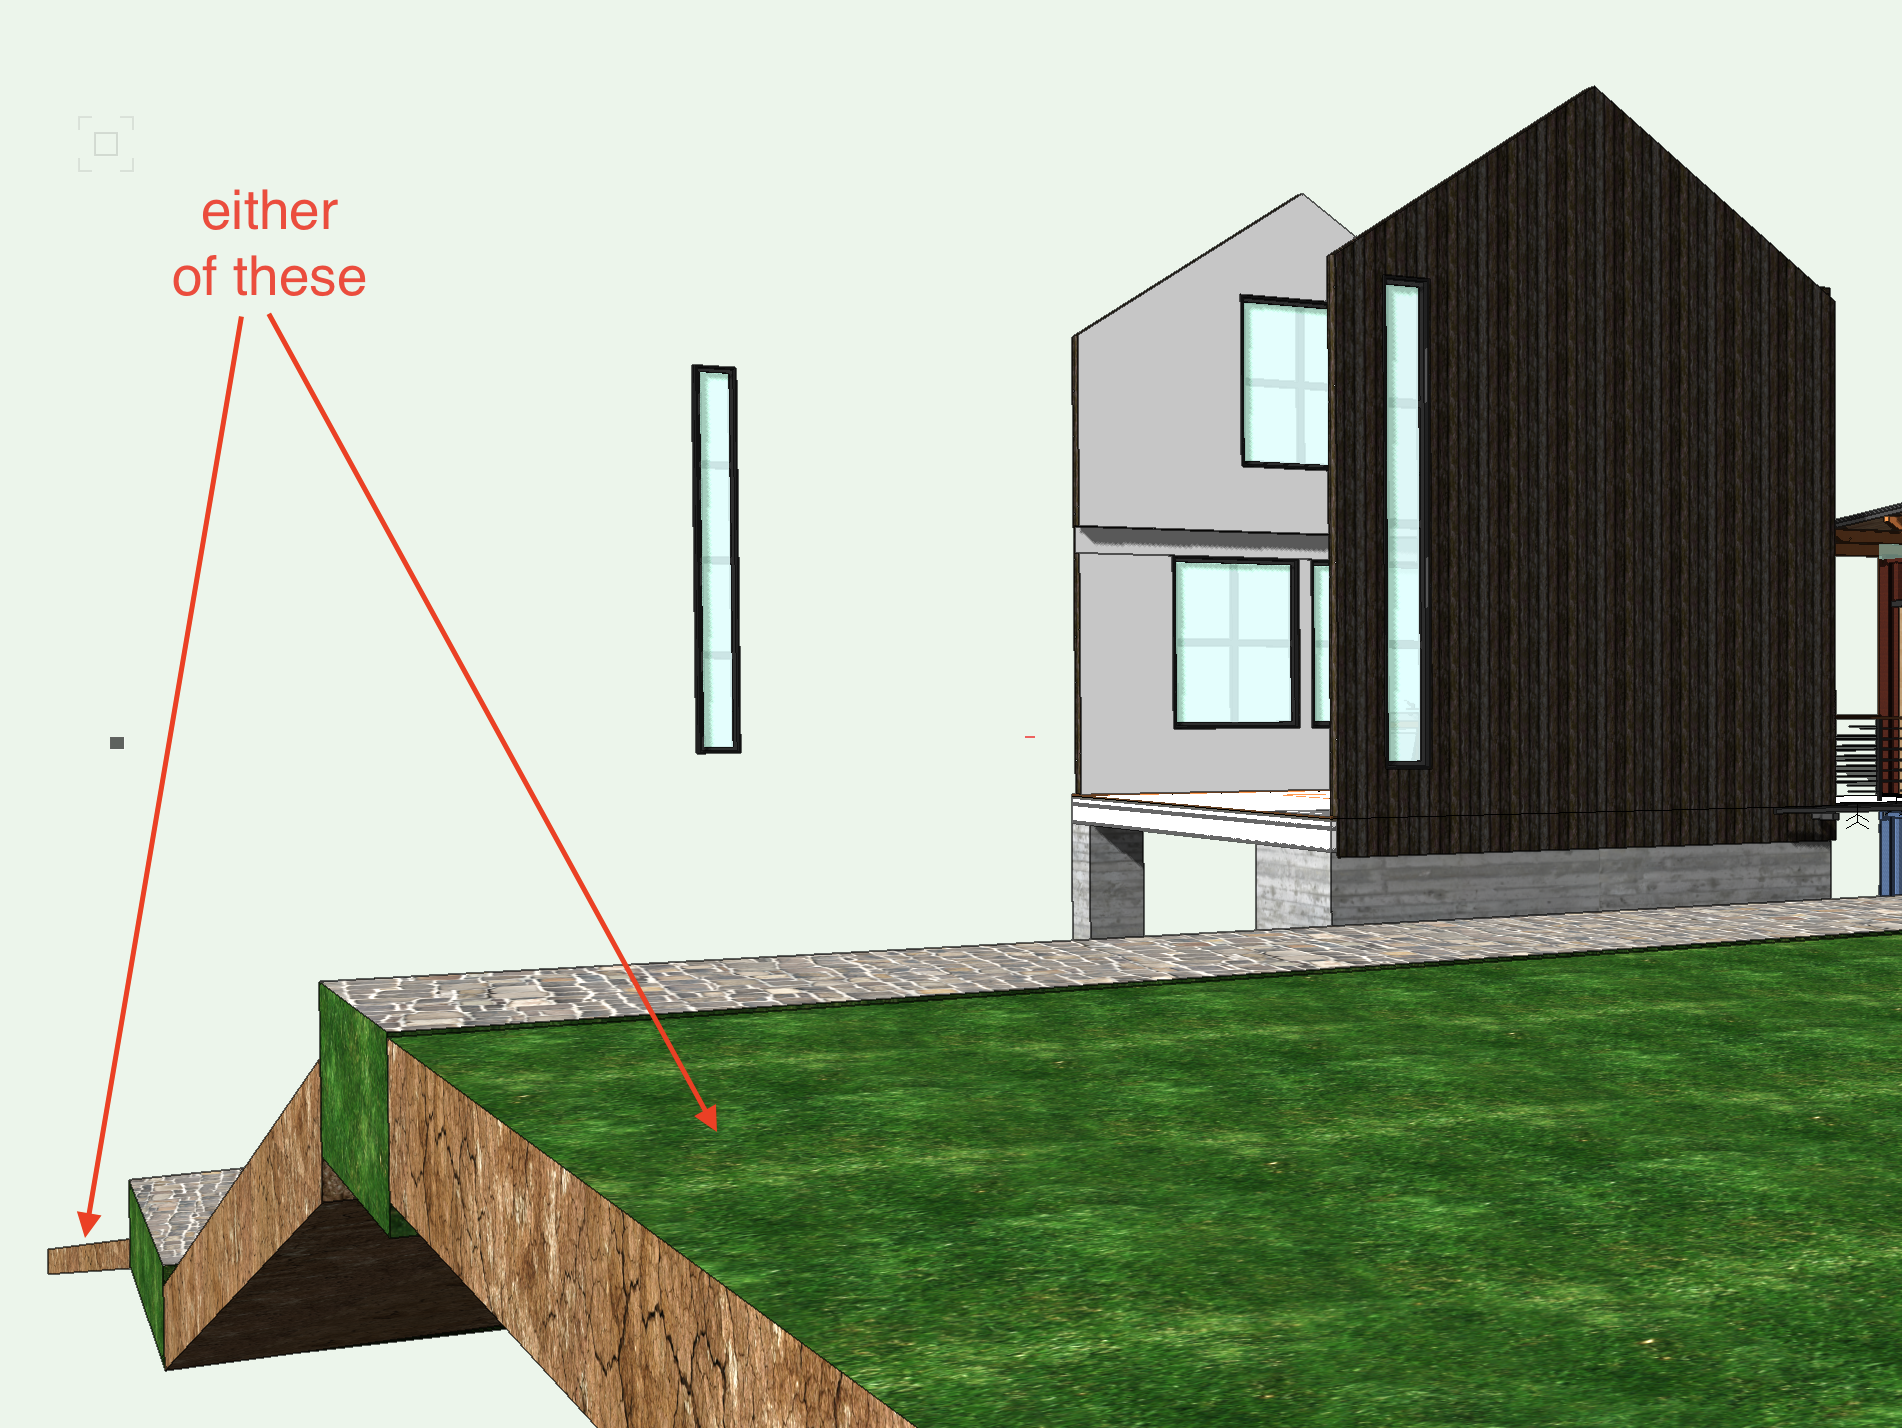
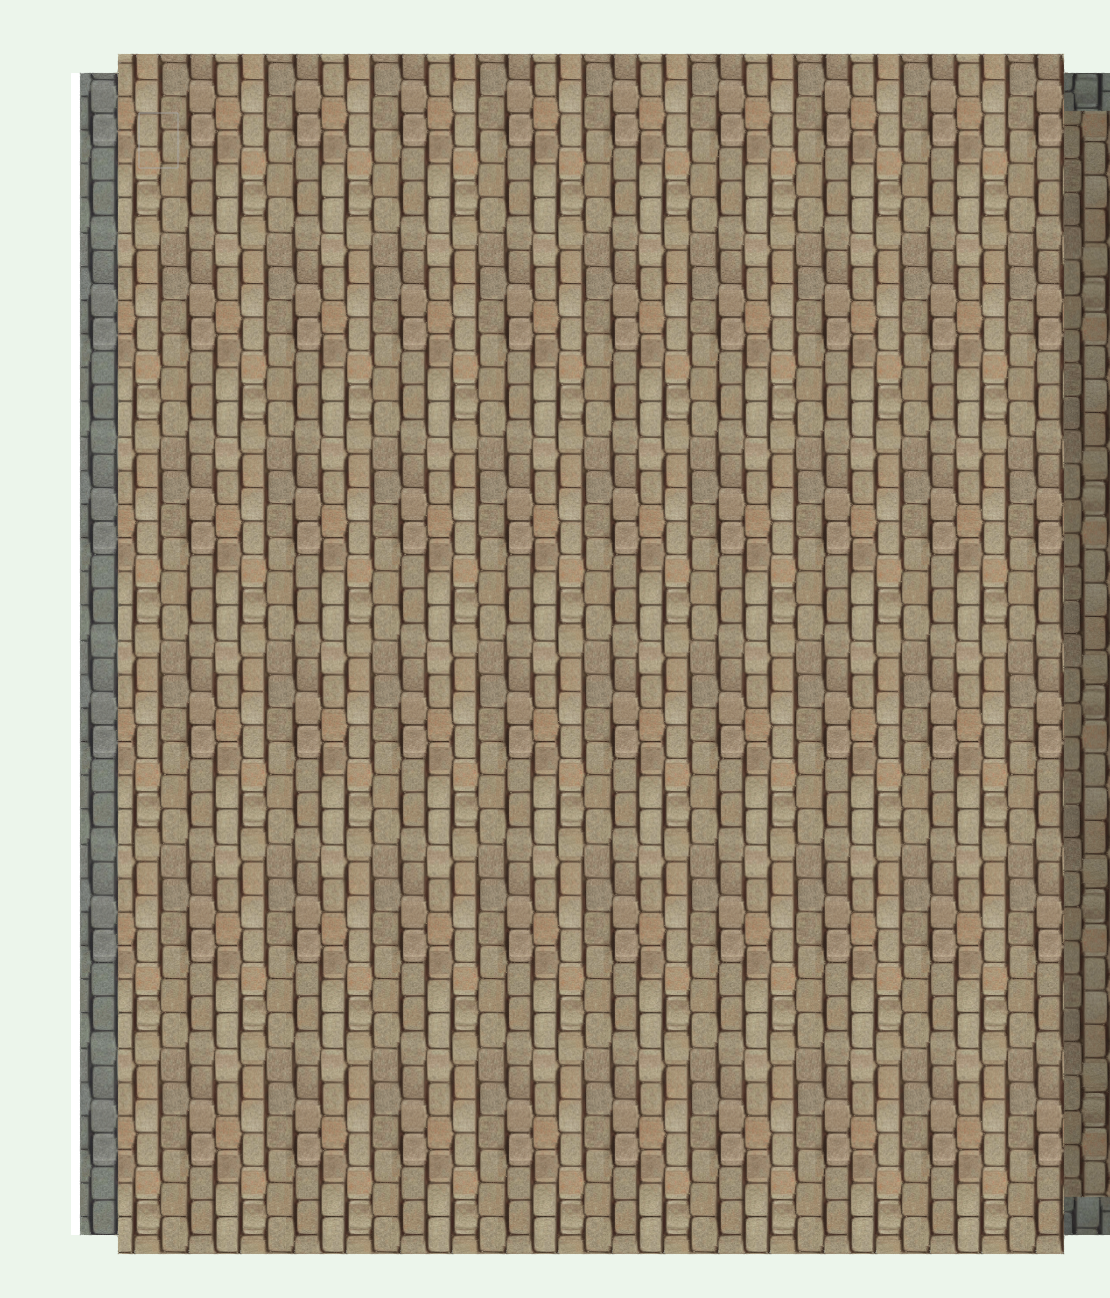
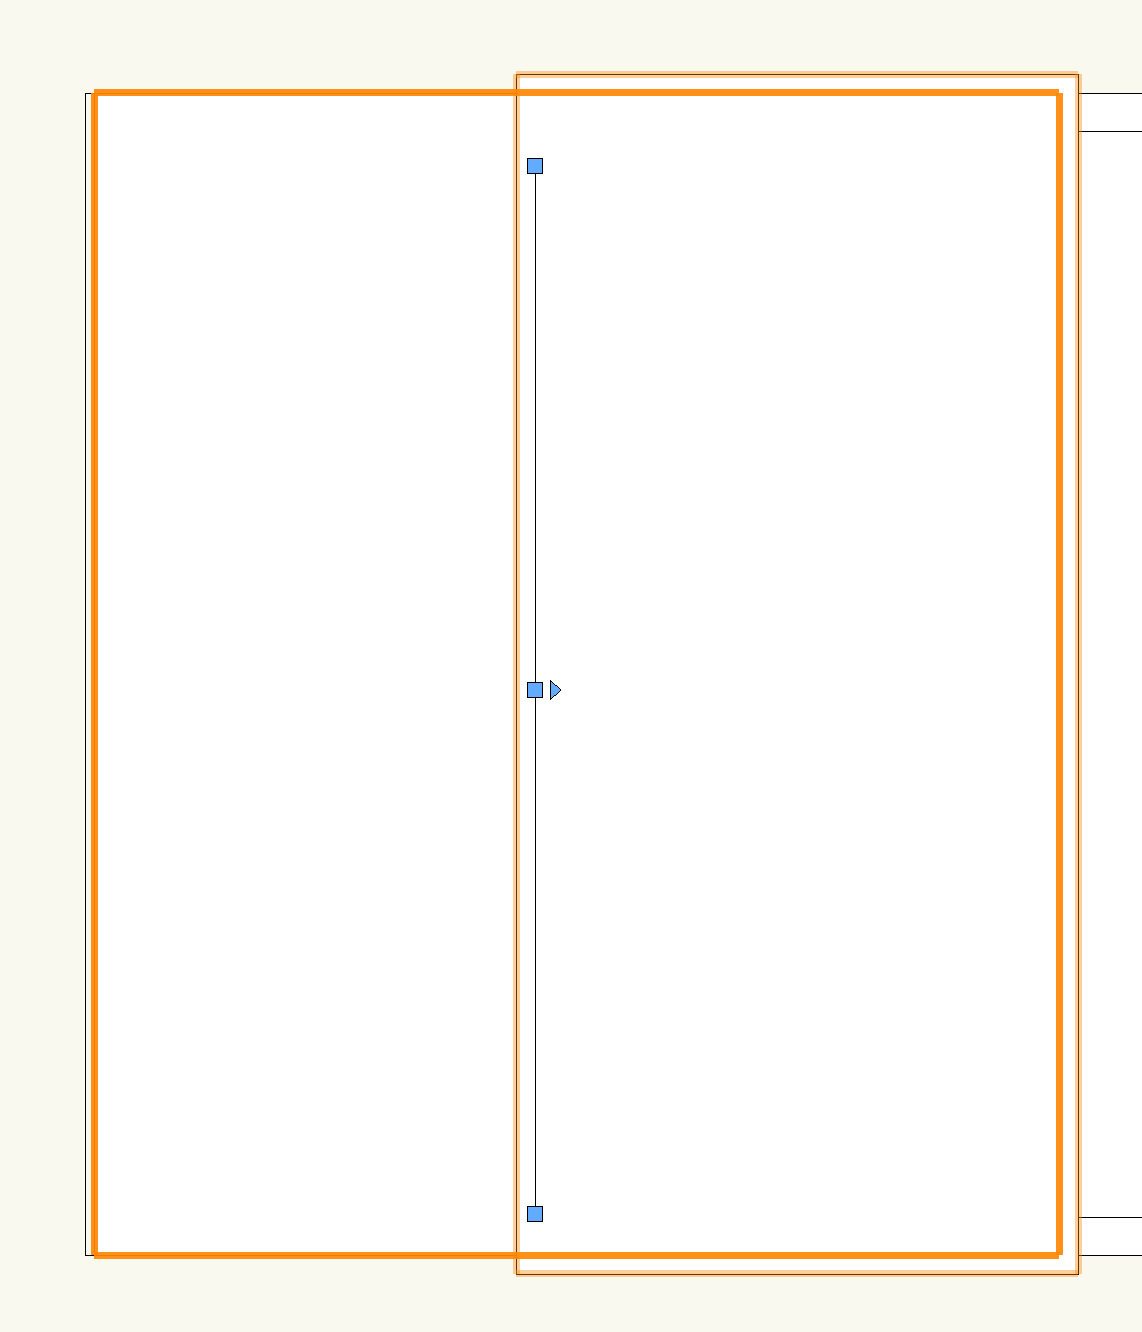
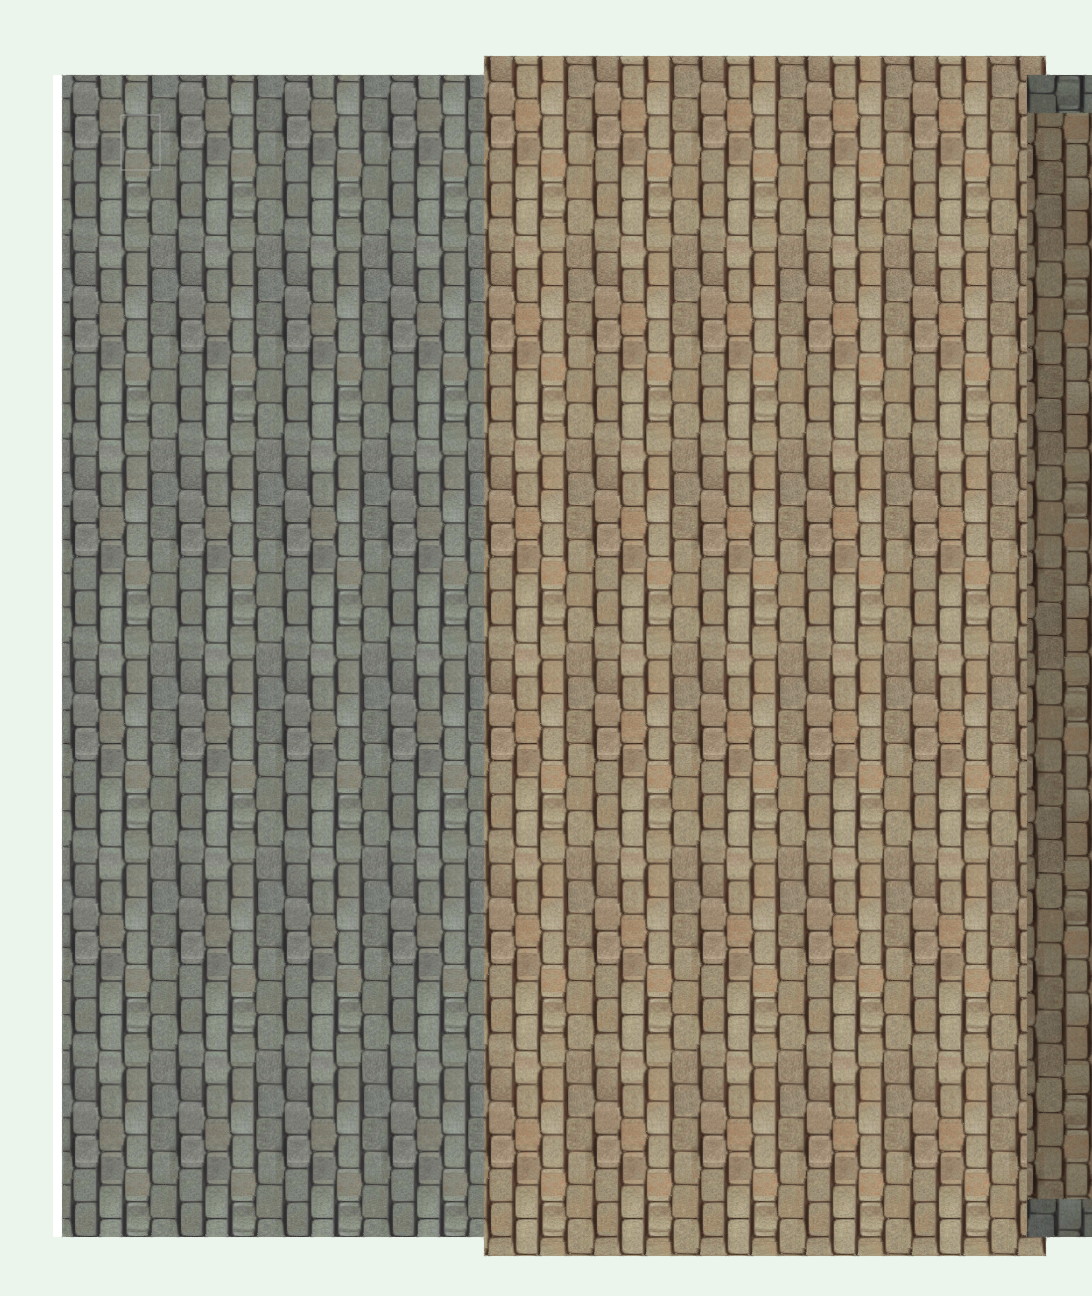
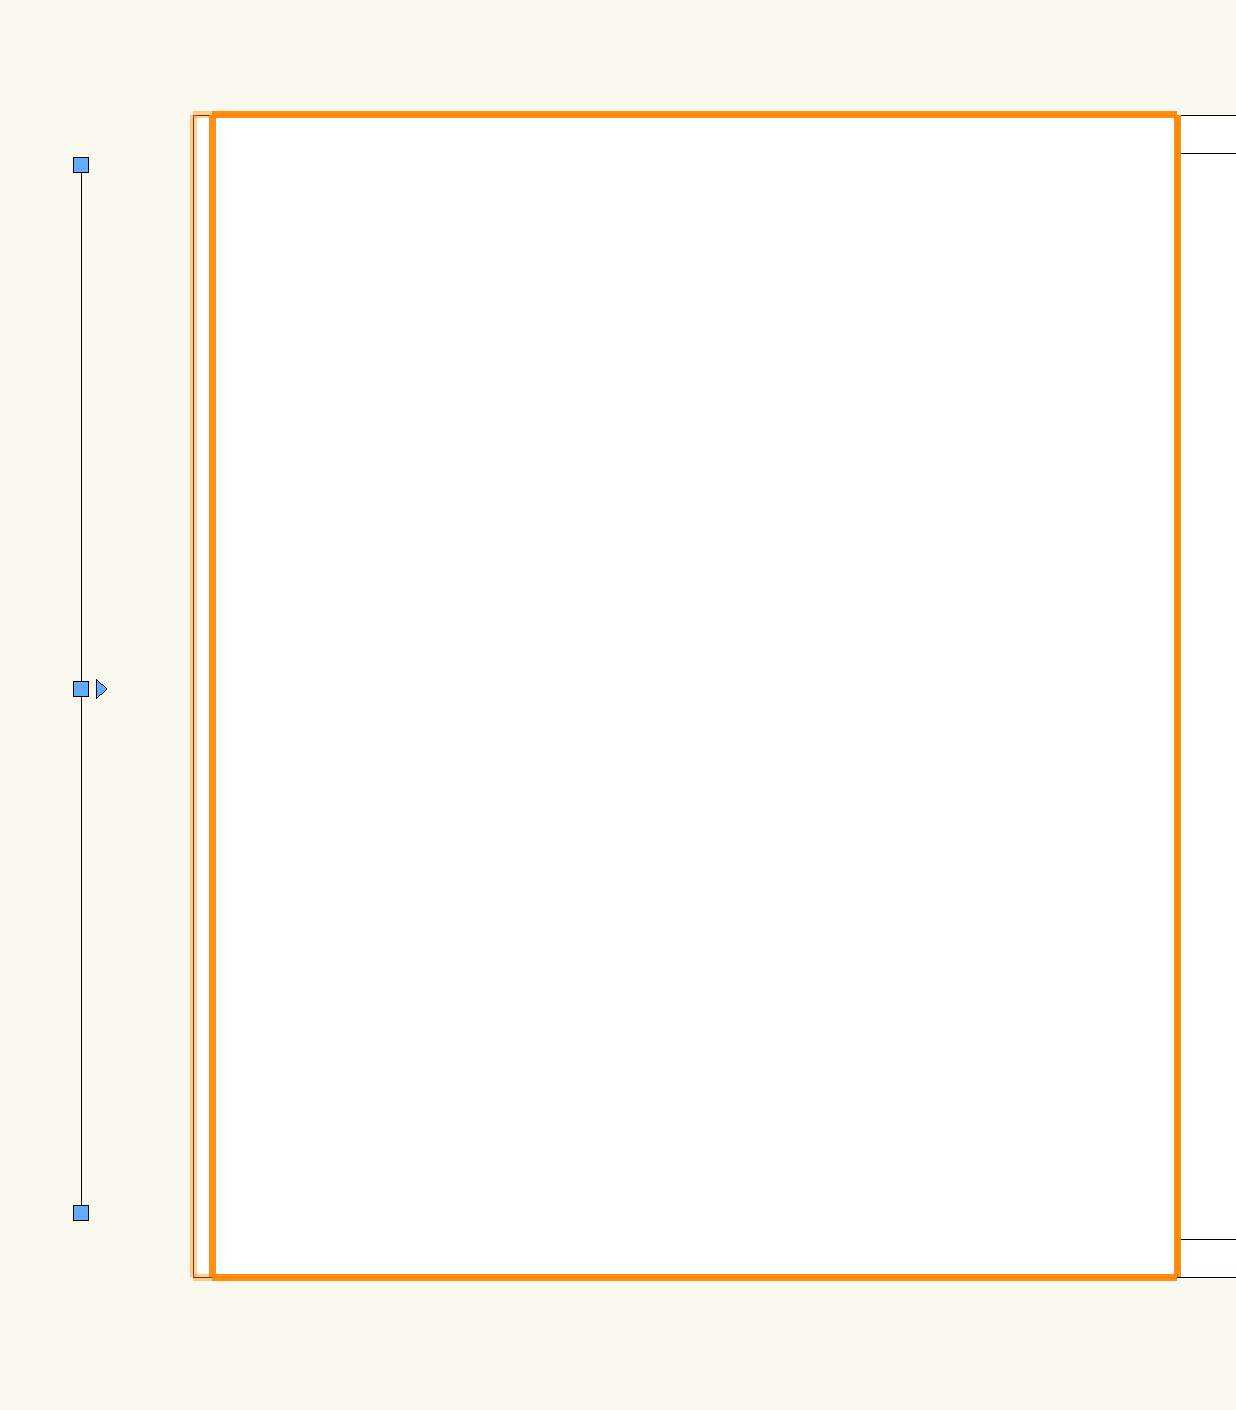
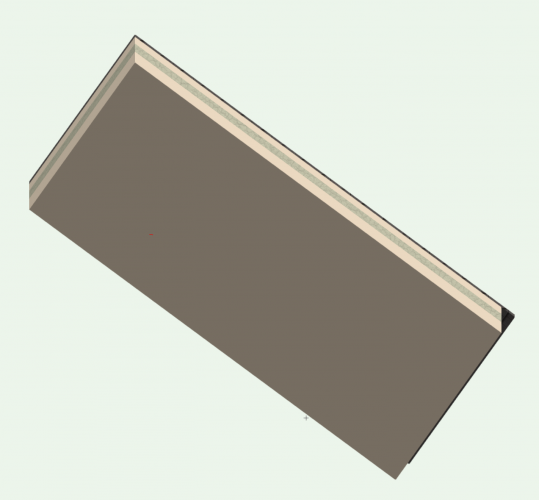
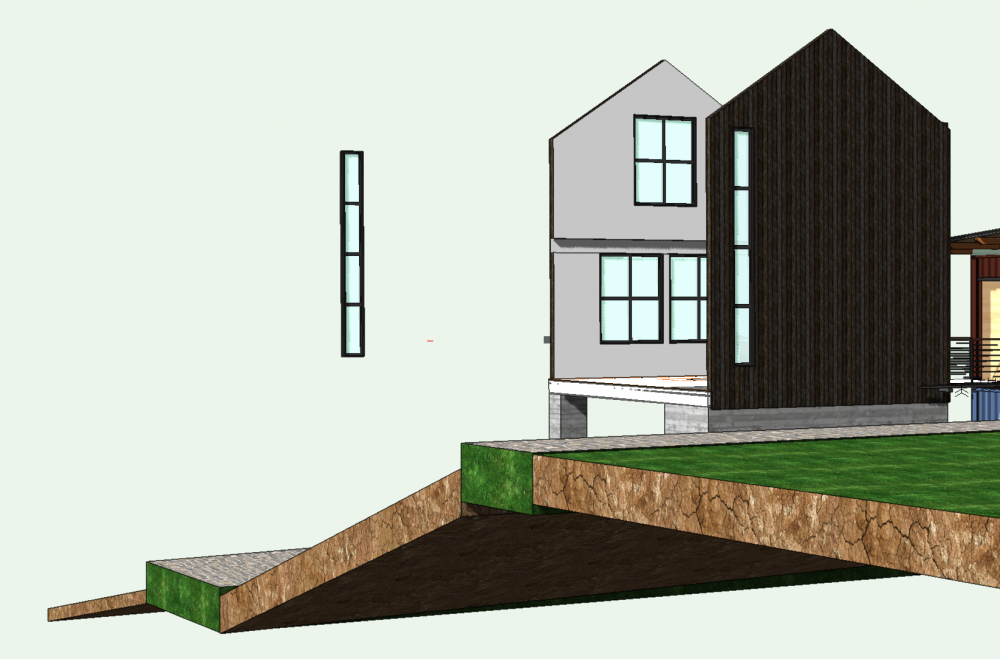
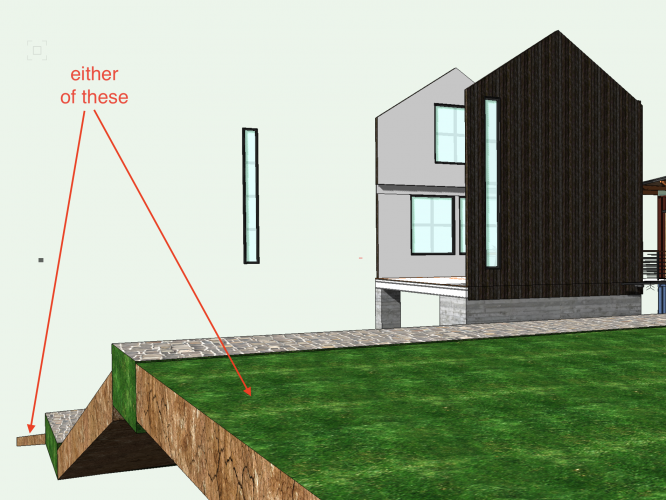
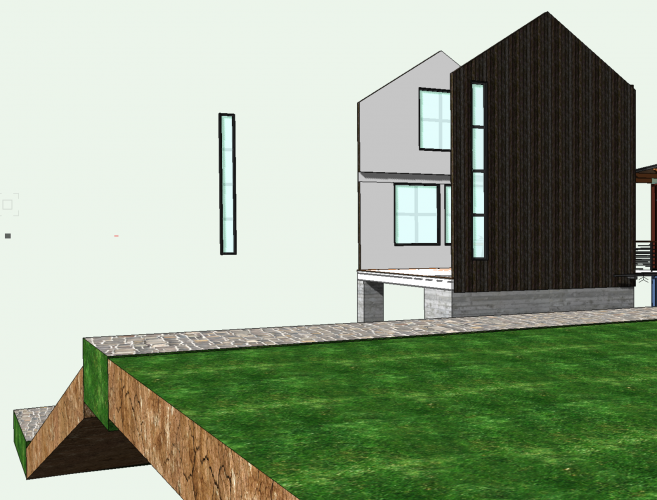
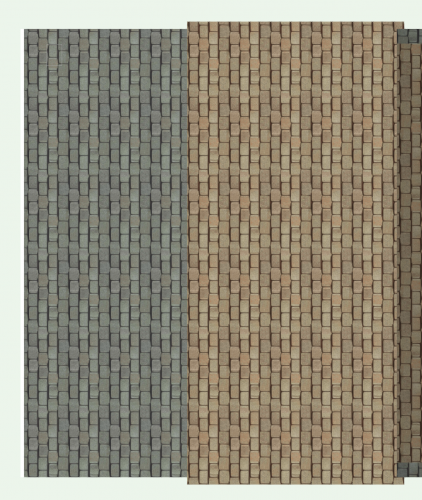
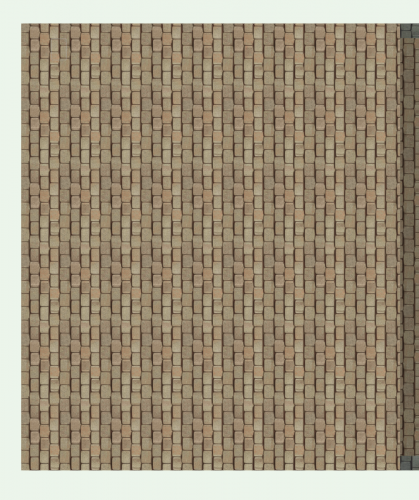
Thanks for the file @Taproot. This is an odd one. The saved views are consistent - in that they 'work' on my Mac - so the problem persists. But I can't seem to find a trigger action that always produces the effect. But, I have found (weirdly) that the groundscape you have modelled seems to have some effect. I've edited your model (deleted parts, not just switched off classes) so you can see to the other side which has similar muntin problems on the three windows. I've also pulled a copy window out from the main wall we're viewing and I've positioned it far back beyond your groundscape. (just as a test really) Now look at the three saved views again. 'Muntins OK' - All show OK 'Muntins - Vanish' - Yes I think that is conclusive - 'Muntins - Back' - Well, yes and no. You can't see from this angle, but all three windows in wall are the same and the extra window I placed far beyond all still have problems. Nearest is fine though (?) Now the weird bit.... Take the middle saved view where all muntins are missing and delete some your groundscape. You have five parts on plan. There are three 'roof faces' and two 'floors'. Ive highlighted the far roof face and the nearest. (The middle one doesn't seem to action anything.) . Deleting the far one...brings back the muntins in the nearest window. Deleting the nearest.... brings them all back Yes - rubbish information I know - sorry for that. I can't find the underlying problem atm. Because - although this is straightforward it would seem - just rotating the viewing angle loses the muntins again. (**********) Maybe you could let me know if other files you say display the same problems also have similar groundscape that can be deleted to resolve. If thats the case then maybe something to do with that? However, I think that is an unlikely 'fix'. I think its zoom levels (as you said) Conclusion: I think this is a bug or maybe a resolution problem with perspective turned on. Maybe the VW boffins could jump in and confirm? I couldn't get this to fall over when I viewed in Orthogonal (even when I gave it some quick view changes zoom in and out to think about), so I think that possibly underlines the perspective problems. Additionally, I couldn't make any connection on classes/layers/visibilities etc. so I think they are robust and don't have any bearing on this. Perhaps someone else could have a' fresh' look.


-
Happy to look at it if you load a test file
-
@Ola Have you seen this? https://forum.vectorworks.net/index.php?/topic/53349-align-and-distribute-items-tool-not-working/ May not have any bearing on your problem, but thought you should be aware of this post.
-
Heres your chance to have @digitalcarbongive your system a really good test run. Give him the keys and see what he breaks.
-
How do you make top roof component overhang the fascia?
Gadzooks replied to Christiaan's question in Troubleshooting
Nailed it. Now have energy drink and move on -
Mesmerising. More please! I can then have two channels I like watching @digitalcarbonand yours.
-
How do I move individual verticies in a 3D Polygon?
Gadzooks replied to lightnb's topic in General Discussion
Oops - Yes. You're on the ball. -
How do you make top roof component overhang the fascia?
Gadzooks replied to Christiaan's question in Troubleshooting
Yes, I think it would be good if you could have handles for the roof process. WYSIWYG is and always has been my preferred option if available. Too much of VW seems to end up with changing something in an OIP and seeing what change/outcome that gave you. (OK - Perhaps I should read the manual) Unfortunately (and not wanting to be too discourteous) there sometimes seems a disconnect between the boffins and the end users as to what we really want, day to day, in our own 'commercial bubbles'. Some of that is reflected in the way VW has developed into a 'tool for everyone'. Jack of all trades.............? Still beats ACAD though!! -
How do you make top roof component overhang the fascia?
Gadzooks replied to Christiaan's question in Troubleshooting
I believe its because VW uses the position as the 'origin' of the slope (usually sitting it on top of a wall) At a wall you just have the thickness of all components. Having moved away from this point you have the (incremental) additional height of the pitch. Or Rise over (the new) Distance explains better? -
How do you make top roof component overhang the fascia?
Gadzooks replied to Christiaan's question in Troubleshooting
Maybe you can Wishlist a comprehensive WW Inc video on this. I think it would be a good reference to the roof tool's complexity. -
How do you make top roof component overhang the fascia?
Gadzooks replied to Christiaan's question in Troubleshooting
Stop - you're just showing off now. Reading the manual? Thats not us. -
How do you make top roof component overhang the fascia?
Gadzooks replied to Christiaan's question in Troubleshooting
I think its some sort of OCD. I just have to find out either whats wrong or a suitable work-around. Think we may have the latter in this case. Onwards to the next one.. -
How do you make top roof component overhang the fascia?
Gadzooks replied to Christiaan's question in Troubleshooting
No probs Christiaan - I'm learning as well. Why didn't I think of that (is there an emoticon with a face slap) Worth noting the conclusion... There have been several bugs associated with the new Roof Styles. I'm waiting until they are fixed before using it and that was.........oh, only Nov 2015. We'll wait then shall we? -
How do I move individual verticies in a 3D Polygon?
Gadzooks replied to lightnb's topic in General Discussion
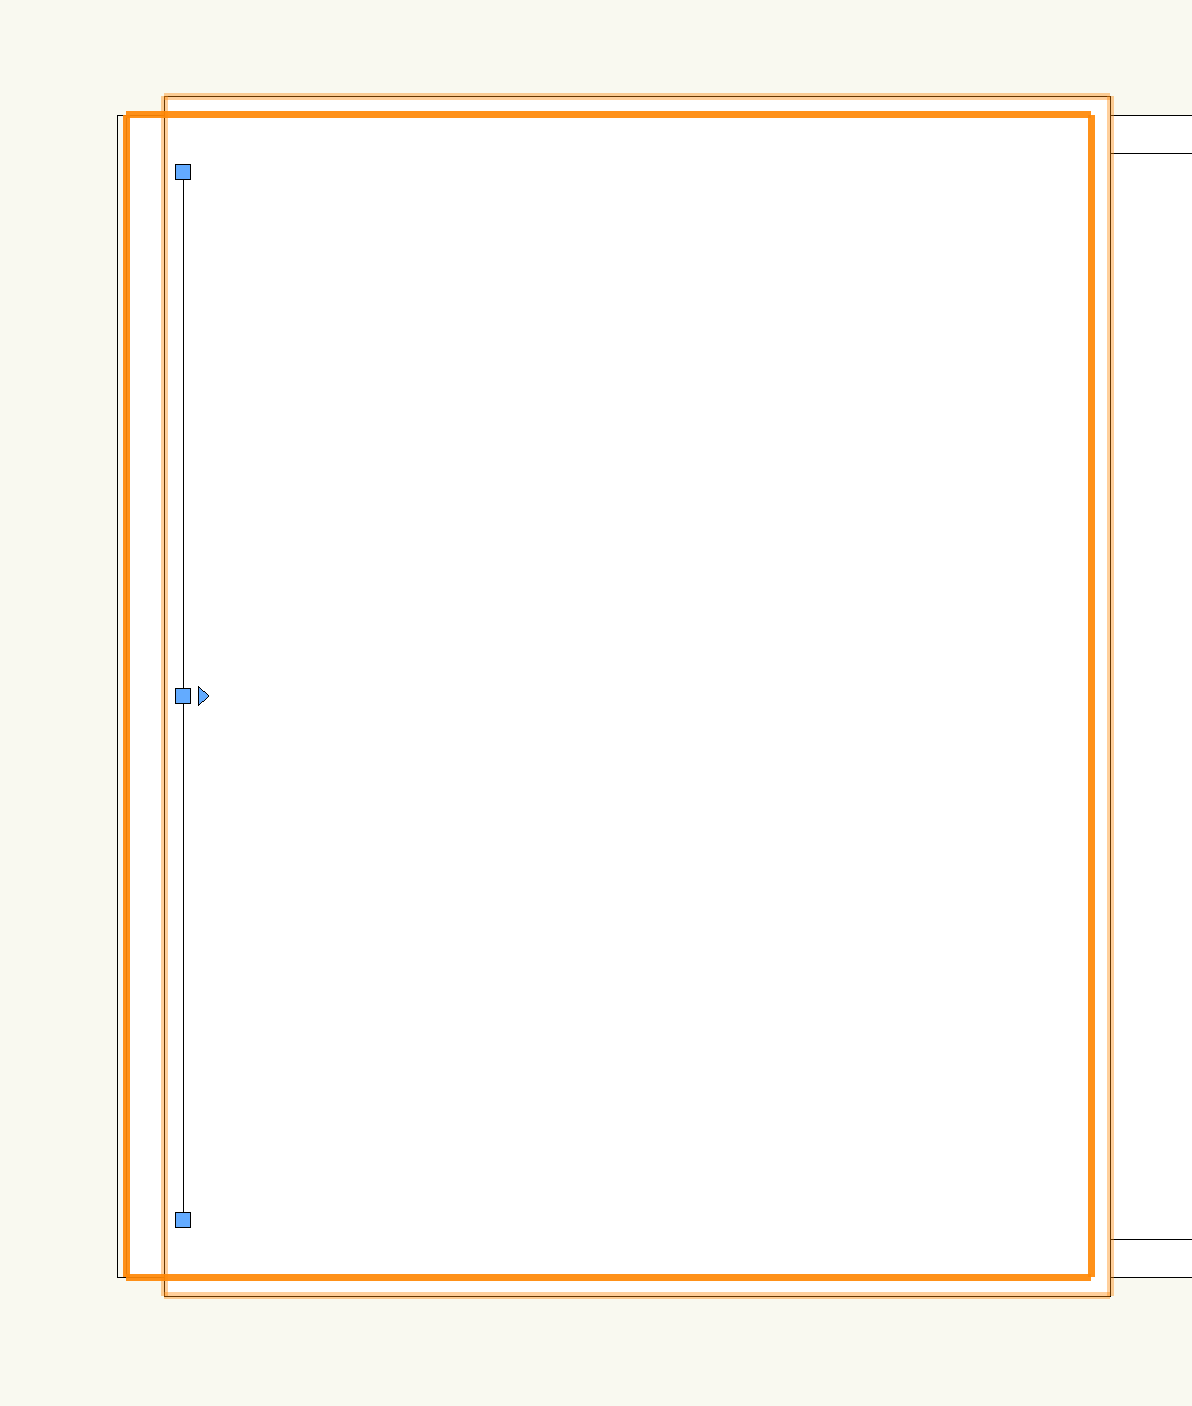
Markdd's solution is what you need I think. As it seems you want to move just one point of an extruded rectangle. @lightnbUsing Mark's directions you get a shape you can 'pull' as you wish. Just the one point gives (thanks to Mark)
-
How do you make top roof component overhang the fascia?
Gadzooks replied to Christiaan's question in Troubleshooting
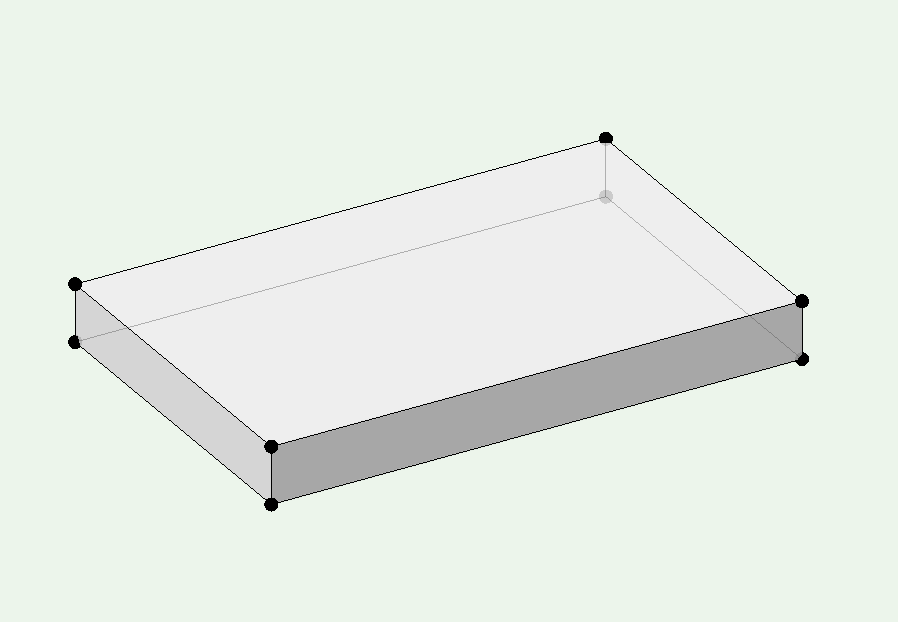
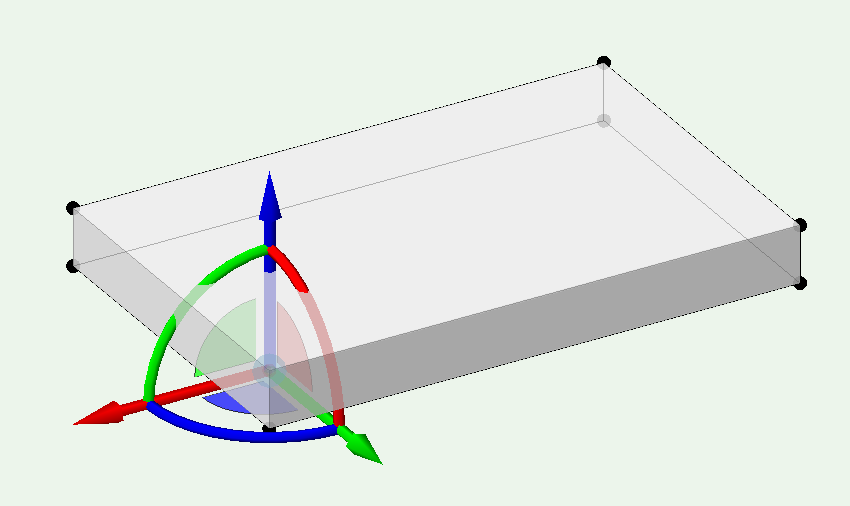
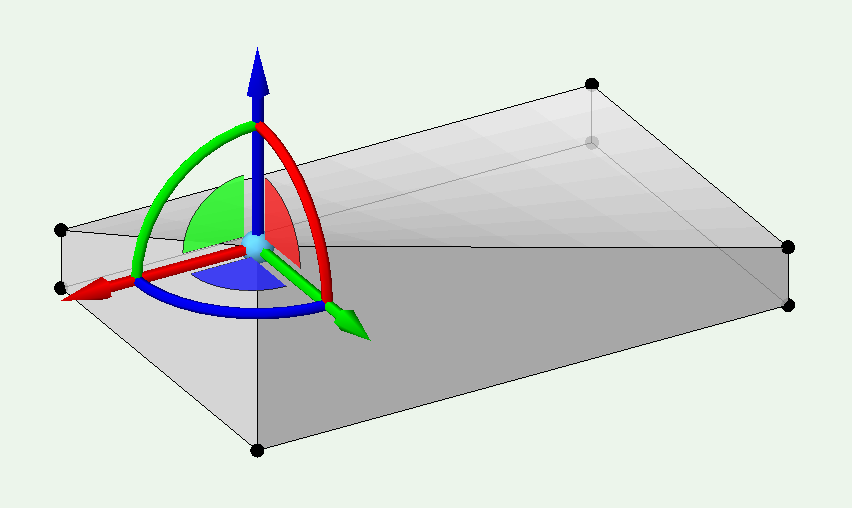
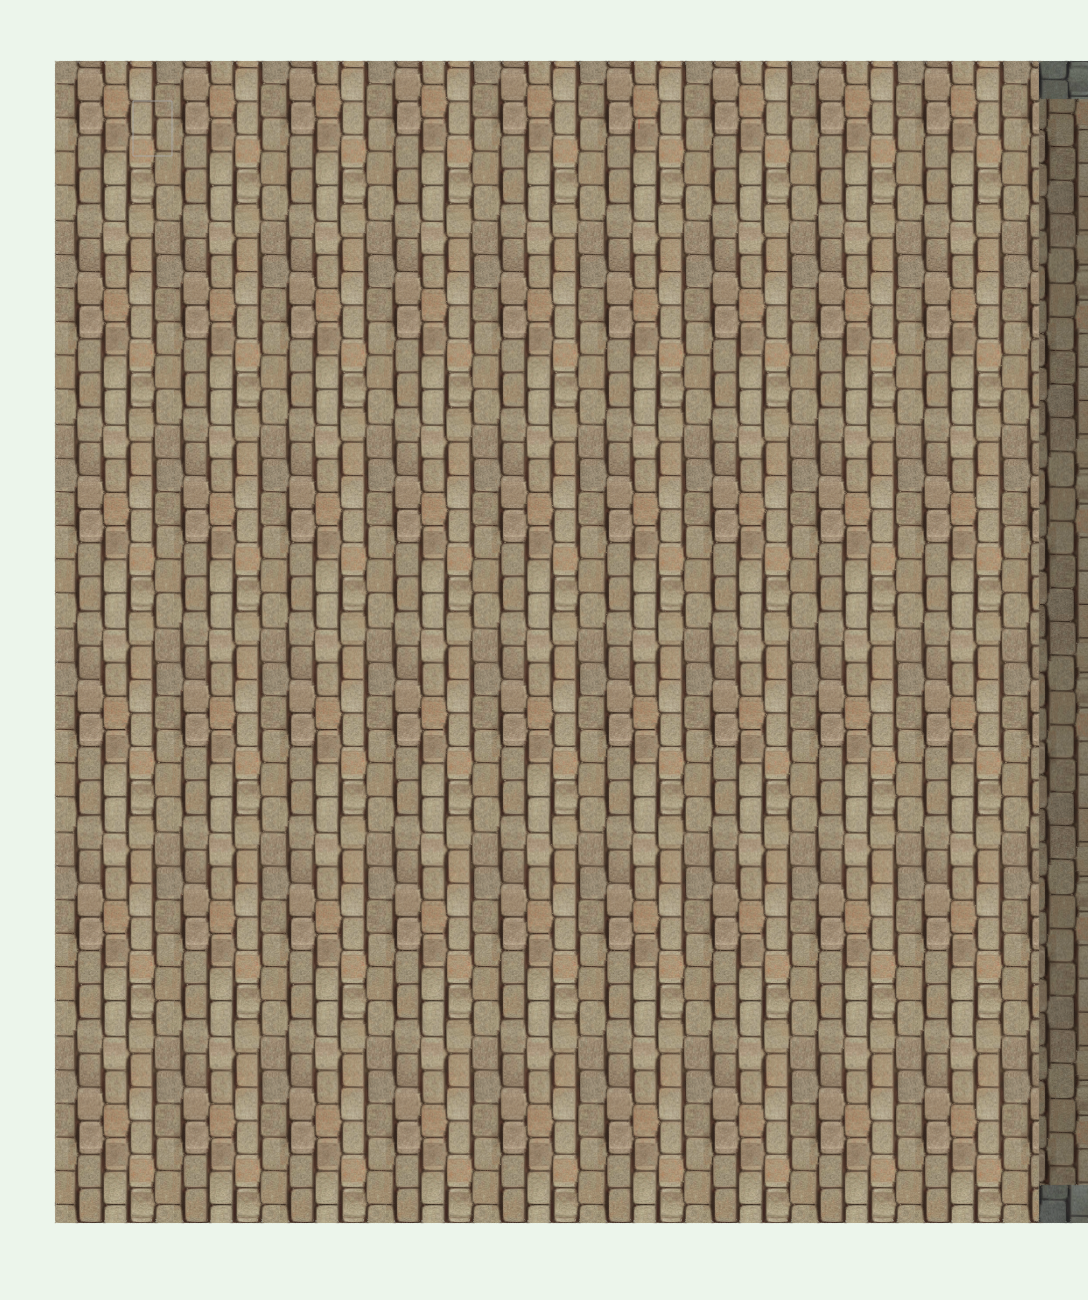
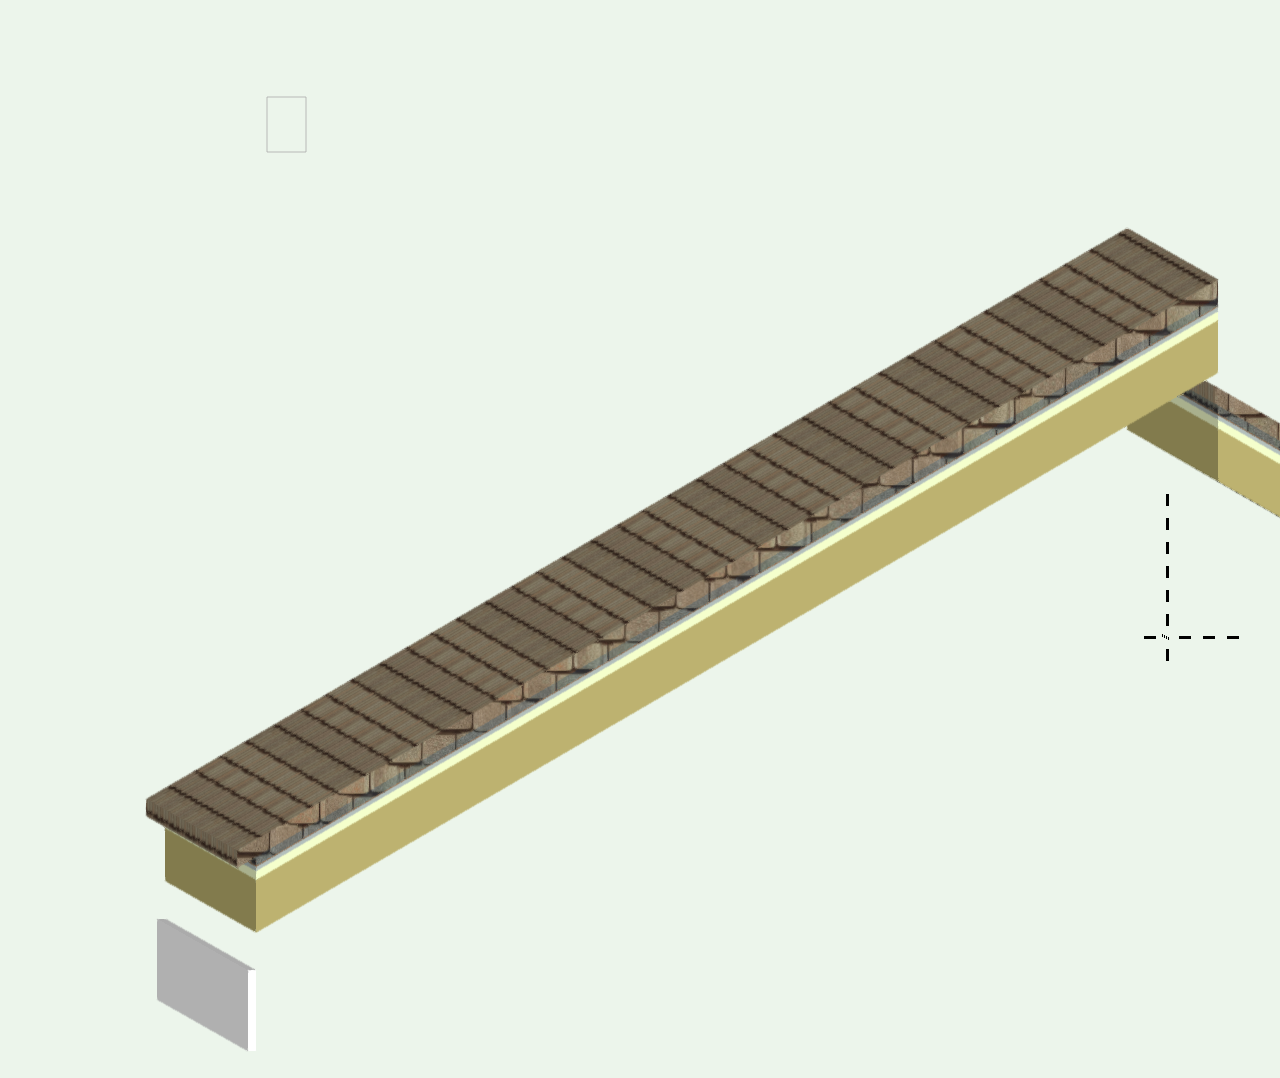
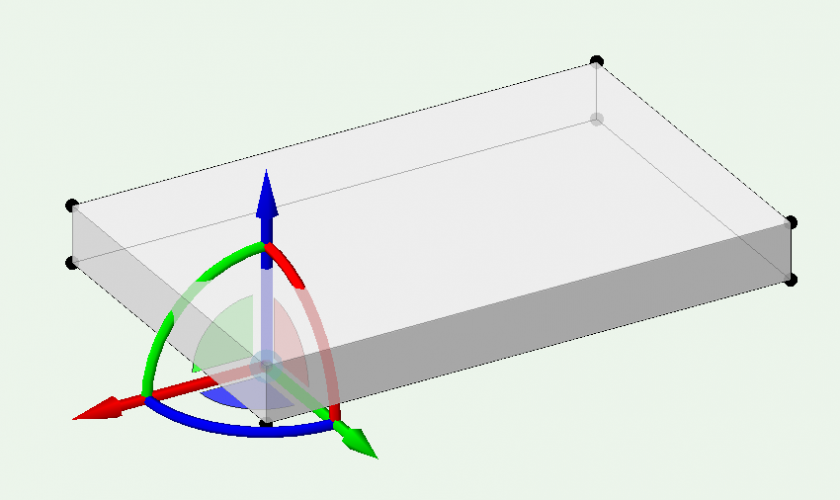
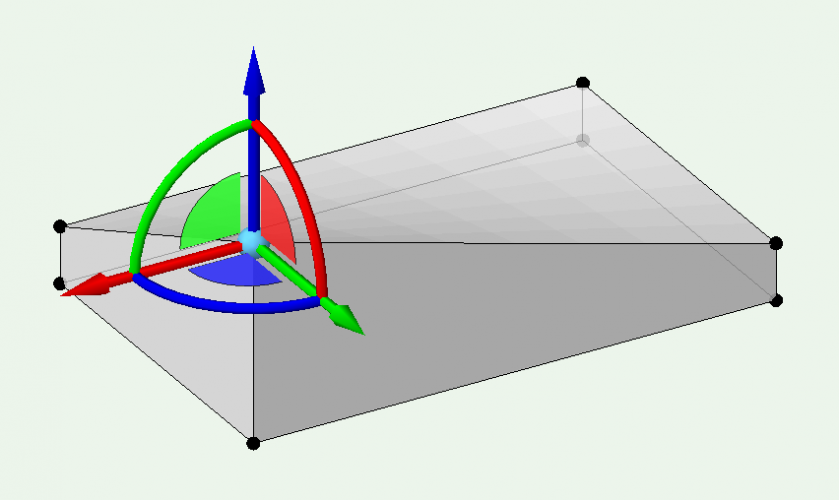
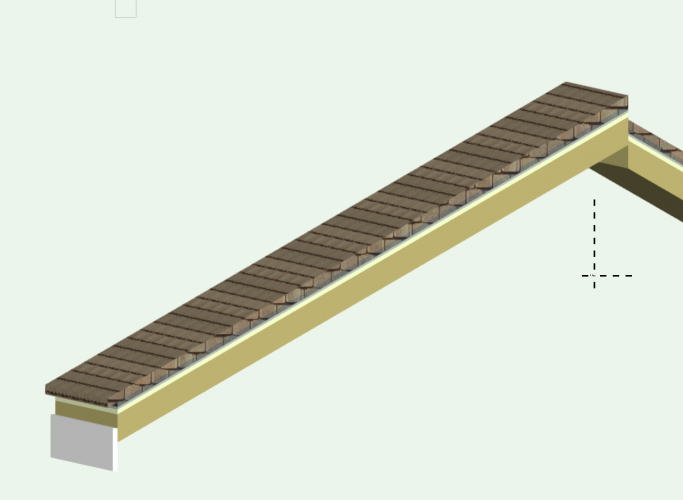
OK - heres something I just fell over. (Couldn't let it drop) View the roof in top. Here I'm concentrating on just one of the faces, but obviously any/all will be the same. The 'receding' component is to the left (which is the eaves of this roof face) Switch to Top Plan The roof axis is now available for use/positioning Move it to the right makes the top component 'recede' more. So at least that answers the receding problem (probably does have some basis to 'WAD') Move it off the model and the top component is in its correct (anticipated) position This affects the height of the roof surface though And you have to move it back to reduce the differs. This is because the axis line is the start of the pitch line This does improve it but we're still not there I can't find a position that gives the eaves offset and still has the roof pitched from the correct height In conclusion - some elements of WAD some thought over whether this is a BUG?

-
How do I move individual verticies in a 3D Polygon?
Gadzooks replied to lightnb's topic in General Discussion
Excellent - entertaining. (You in 'its Friday, get it out quick' mode?)