Search the Community
Showing results for tags 'wall style'.
-
HI I'm struggling with defining the Graphic Legend Field - (no coding knowledge) If Mark is empty on the Wall Style Data Tab, then the Legend reads the 'Name' #AnyIFCEntity#.#Pset_WallCommon#.#Reference# (default from Vectroworks original setup) If there is an entry in Mark, then it reads the Mark . How to define the 'Mark' and the 'Name' from the Wall Style Data tab? Thanks Tali (apologies - I may have posted this on a PM before) Wall Graphic Legend Trial.pdf
-
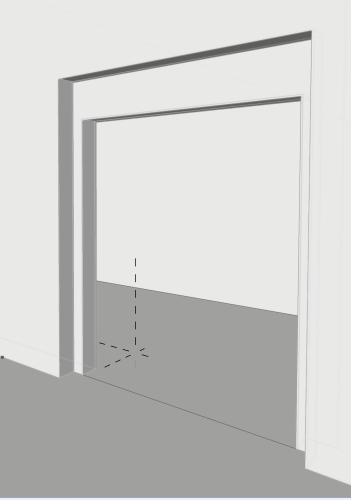
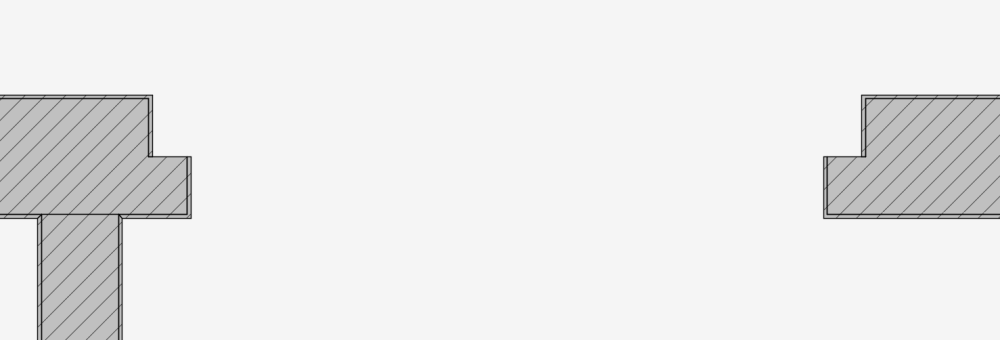
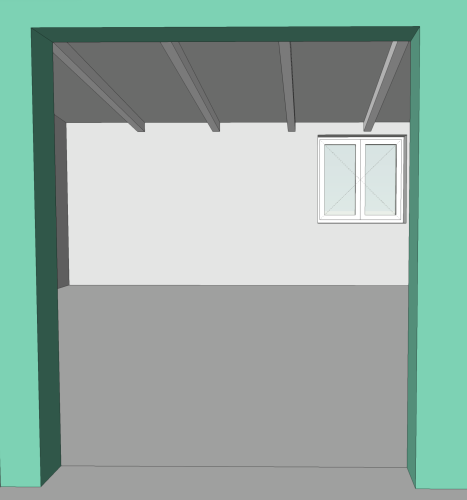
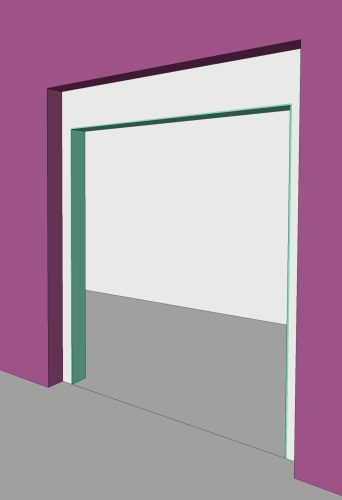
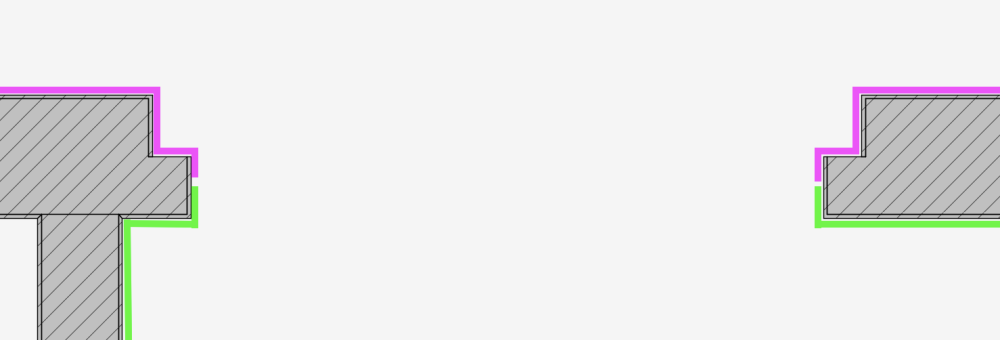
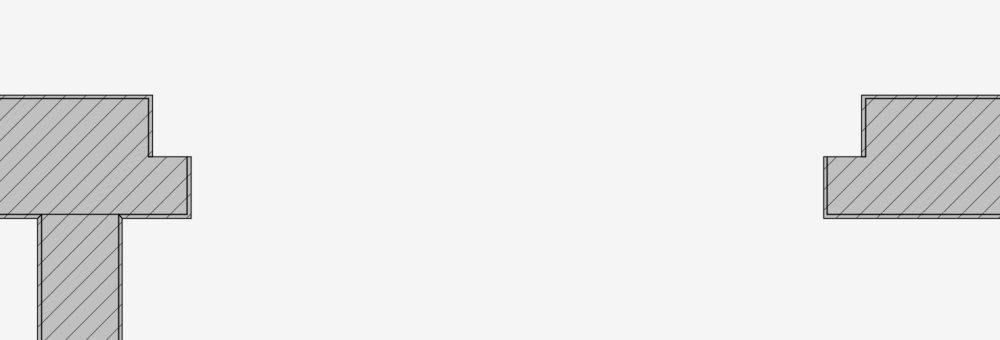
Hi, I am looking to find way to set up correct wall closure for custom opening. It is wall opening with stepped edges and am using symbol to cut it out. At the moment finish components of wall style stop where edge is stepped and will not wrap around to the desired place...tried different wall hole and wall closure components for symbol but no success so far... Here is case: view from one side (purple - finish component, gray - core, green - finish component) view from other side This is current state: and this is objective: Is it achievable using one wall style combined with custom symbol with wall hole and wall closure component? Would like to hear your suggestions. Thanks.
- 5 replies
-
- symbol
- wall closure
-
(and 2 more)
Tagged with:
-
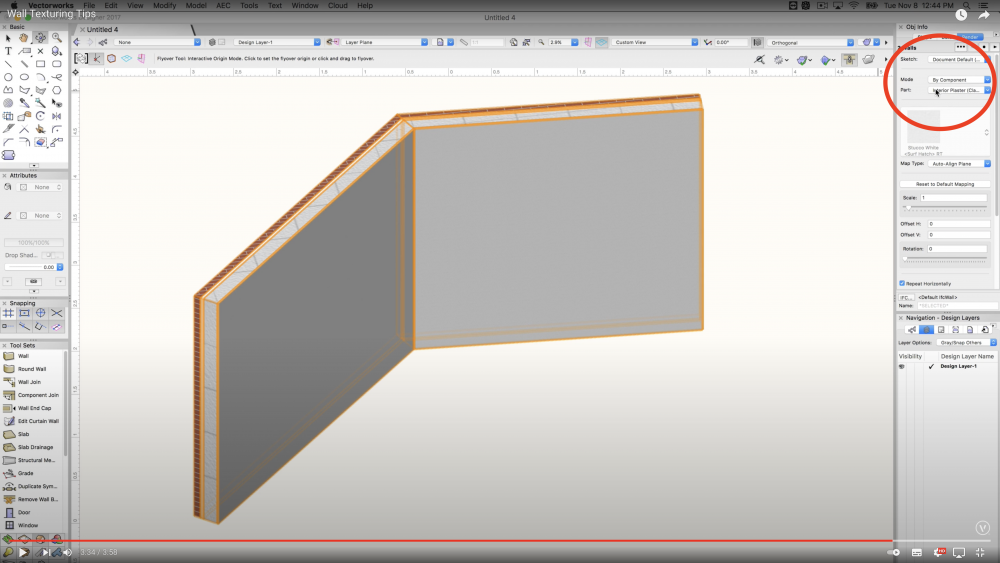
Hello, - My issue : I would like to customize the texture of one part of one styled wall's instance. In other words, is it possible to set the texture of a styled wall "by instance" instead of "by style" on one component only ? - What I found on the Internet : It seems to be possible as shown below. In my case, the "Part" button is greyed out which prevent me to modify the texture. Please, find a file with my styled wall attached. Styled wall test.vwx
- 15 replies
-
- wall style
- texture
-
(and 1 more)
Tagged with:
-
Hello, I have a simple problem. I want to connect two walls with the same component (all attributes are connected with a class) to create one wall with various thickness. As you can see in the picture VW recognises ends correctly, but uses two different line styles - for the outer and inner face as defined in the class and for the endings much thinner. Any hints? WallConection.vwx
-
-
Long time 3d modeler, new to VW, working on a residential with Hardie board Board and Batten exterior walls. Is this something that would be better to model (the battens) and if so, is there a way to have a wall style with a repeating 3d element every x inches in a certain dimension? I can control the height with a component easy enough, but am not seeing a means to make something an element like a batten. I could do this with a texture and bump or displacement map, but that's not going to look great for the hero shots when it is front and center (well, left of center, but that's immaterial). Using VW Designer 2017 SP4 on macOS, if that matters.
- 7 replies
-
- wall style
- board and batten
-
(and 1 more)
Tagged with:
-
As we use complex Styled Walls with multiple Components and individual Top/Bottom Height Level assignments per Components, by Story Levels beside an overall Wall Insertion height we most times (98%) really want to activate "Replace Height" Adjustments for "ALL" Styled Walls after changing their Style. (Especially if your Components assignments are set to have manual distances from Levels) However in rare cases we need just a few or only one Wall of that same Wall Type in a different environment with a different Height setting. In that case you either have too : - care each time and never activate height adaption after changing your Style again - create another additional Wall Style Duplicate just because of a different height setting. So I wish that : 1. the "Replace Height" check box disappears from the Style change confirmation dialog completely (always activated) 2. There will be a "Lock Custom Height Changes" checkbox in OIP, for Stylized Walls, above the Height Editing Options, that will prevent from losing any of that Custom Height Settings of that Wall on Object Level in any case (Which is the "overall" Wall Height only) 3. While keeping the ability to adapt to changes of the individual Component Level Height settings of the Style. That would save me from tons of redundant extra Wall Style Duplicates AND from recurrently, accidentally and unnoticeably destroying my few Special Walls
- 1 reply
-
- wall
- wall style
-
(and 1 more)
Tagged with:
-
I have a wall style which has skirting, gib (plaster) lining and timber framing. In plan views we dont show the skirting and gib (plaster) lining, we only show the frame. The windoors options for thickness all seem to recognize the overall width not the core component. In the setting I have replaced the 150mm (overall width) with 90mm (frame width). When I exit there is no change and when I re-enter the dimensions have reverted to 150mm. Any ideas how to fix this?


