line-weight
-
Posts
3,755 -
Joined
-
Last visited
Content Type
Profiles
Forums
Events
Articles
Marionette
Store
Everything posted by line-weight
-

2023 Benchmark Tool - How to display relative Elevations + NAVD88 Elevation?
line-weight replied to maxstk's question in Troubleshooting
Thanks, I'll bear that in mind for the future. But would probably be reluctant to spend much time explaining what's missing due to a fear that my feedback would simply disappear into a black hole, in the same manner as bug reports often do. And having pointed out the missing information, on this thread, a month ago, I note that nothing seems to have happened in response in the meantime. -
VW2022 "shaded" view flickering hatches & patterns
line-weight replied to line-weight's question in Troubleshooting
So - I am finally getting around to switching from VW2021 to 2023. And it's great that this issue has been mostly fixed in VW2023. It's not actually completely fixed, as you can see from my video below, but it's good enough. It's fine. HOWEVER now I have a new issue, which is what happens to the geometry when you want to view it closely. As can be seen in the video below. I've made a new thread about this: https://forum.vectorworks.net/index.php?/topic/104845-vw2023-is-slicing-my-models-in-front-of-my-eyes-shaded-view/ This new problem is sufficiently disruptive that I'm now wondering if I still can't start using 2023 for real work. This is software that I pay for, and under the new regime I have to pay for it every year whether I like it or not. I paid for VW2022 and it was unusable. I've paid for VW2023 and it seems it's still unusable. In a couple of months I'll have to pay for the year's subscription that will eventually get me VW2024. It's starting to look like I'll then have made three yearly payments to Vectorworks, for software that I can't use. Please please please can we get this new issue sorted. And please can VW thoroughly test new versions in perspective mode, because it feels like this doesn't happen. Or am I some kind of fringe case, working in perspective shaded view? Screen Recording 2023-01-19 at 11.03.04.mov -
JPG/PNG Quality Poor Compared to PDF
line-weight replied to matthewstuart's topic in General Discussion
Yes, this is very annoying when you need two versions of something to be exactly pixel-size identical! I have discovered (I think) that the variation is affected by the state of zoom at the moment you do the render or export. So if you don't zoom in or out in between renders it stays the same. This is of course very inconvenient to do in practice. -
2023 Benchmark Tool - How to display relative Elevations + NAVD88 Elevation?
line-weight replied to maxstk's question in Troubleshooting
That's great but do you think some of the missing information could be added to the online help documentation too? I think that would benefit a greater number of people, because then it's there and available for anyone at any time. -
VW2023 is slicing my models in front of my eyes (shaded view)
line-weight replied to line-weight's question in Troubleshooting
Is anyone out there able to test it on 2023 SP2 or earlier? Reason I ask is that SP3 fixed another long-running bug (that appeared in perspective/shaded view), one that has prevented me from starting to use 2023 until now. I'm wondering if that fix has caused this new problem, which is also liable to make it somewhat unusable for me. -
JPG/PNG Quality Poor Compared to PDF
line-weight replied to matthewstuart's topic in General Discussion
Really that dialogue should say DPI not PPI, shouldn't it? PPI is a bit meaningless for a digital image - PPI is determined by the screen you view it on. A digital image simply has a size measured in an absolute number of pixels. -
VW2023 is slicing my models in front of my eyes (shaded view)
line-weight replied to line-weight's question in Troubleshooting
It seems that it happens (at least for me testing just now) in all modes - wireframe, hidden line, shaded, polygon. But as per that old thread, it only happens in perspective, not orthogonal view. -
VW2023 is slicing my models in front of my eyes (shaded view)
line-weight replied to line-weight's question in Troubleshooting
No, seems to be there as soon as I open the file in a restarted VW session. -
VW2023 is slicing my models in front of my eyes (shaded view)
line-weight replied to line-weight's question in Troubleshooting
This sort of works but would be a very slow and inconvenient way for me to do stuff. I note that if I've already zoomed in enough for the slicing to happen, activating the snap loupe doesn't show any geometry in the sliced zone. -
VW2023 is slicing my models in front of my eyes (shaded view)
line-weight replied to line-weight's question in Troubleshooting
Have you tried with my file posted above? I've found that there seem to be quite a few problems that only appear when either or both of these apply: - The design layer scale is set to 1:1 (rather than the default 1:50) - The model is viewed in perspective shaded view rather than orthogonal Both of those are how I work - quite a few problems I find, people can't replicate but it turns out that they use neither of the above. -
VW2023 is slicing my models in front of my eyes (shaded view)
line-weight posted a question in Troubleshooting
See video. Sometimes I want to get right in close to something. In my example, I want to snap to the midpoint of an edge 1mm in length. First I do it in VW2021. Then I switch to VW2023 SP3 and try the same thing - but as soon as I get close to the geometry it starts getting sliced away in front of me. Carrying out the same operation is impossible. Because I skipped VW2022 I don't know if this was introduced in VW2023 or in VW2022. But this is making it very difficult for me to do detailed editing or drawing in perspective shaded mode which is what I use 90% of the time. Is there some setting I can change or is this a bug? Screen Recording 2023-01-18 at 14.38.29.mov cube23.vwx -
JPG/PNG Quality Poor Compared to PDF
line-weight replied to matthewstuart's topic in General Discussion
Check the resolution of your sheet layer. They are usually 72DPI by default ... changing to around 300DPI usually does the trick. -
Image effects does not not export in PDF
line-weight replied to DomasK's question in Troubleshooting
Does it make a difference if you go to "print" and then in the print dialogue select "save as PDF" as the destination, instead of a printer? Colour output has been messed up in Vectorwork's PDF export for ages - it so happened I was looking at this last week when images were being exported with incorrect colour (that's without any image effects being used). Exporting via the print dialogue seems to help in that particular scenario. -
I have the same problem. Did you find any solution to this?
-
Yes, but if you read the thread in detail, you will see that this does not fully solve the issue.
-
It seems that he is involved in the redesign of a competing (but free and open source) software.
-
For whatever reason, the youtube algorithm recently put this in front of me, and I found it, as it were, "relatable" but also quite amusing especially if you stick through the whole thing. It looks like this software might actually be more infuriating than VW but I spied more than a few common threads ... and those giant dialogue boxes felt familiar ... I think he calls them "parameter dumps".
-
Of course, the smoothing / crease angle settings are very useful in the real world and I often tweak them to get acceptable results from imperfect models. Somehow it feels like cheating though - like, if the geometry is mathematically correct, then it should be possible to set it to 0 degrees and have no lines where there shouldn't be. And when there's a line there I want to know whether it's me or VW that's lacking in precision 😬
-
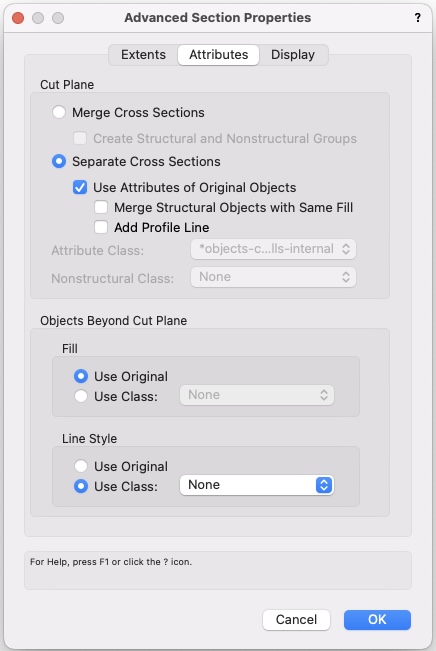
If @darienzaq wants to see wall components they need to choose these options in "advanced properties" of the section viewport
-
It also all tends to fall apart if you want to resize your wall lengthways.
-
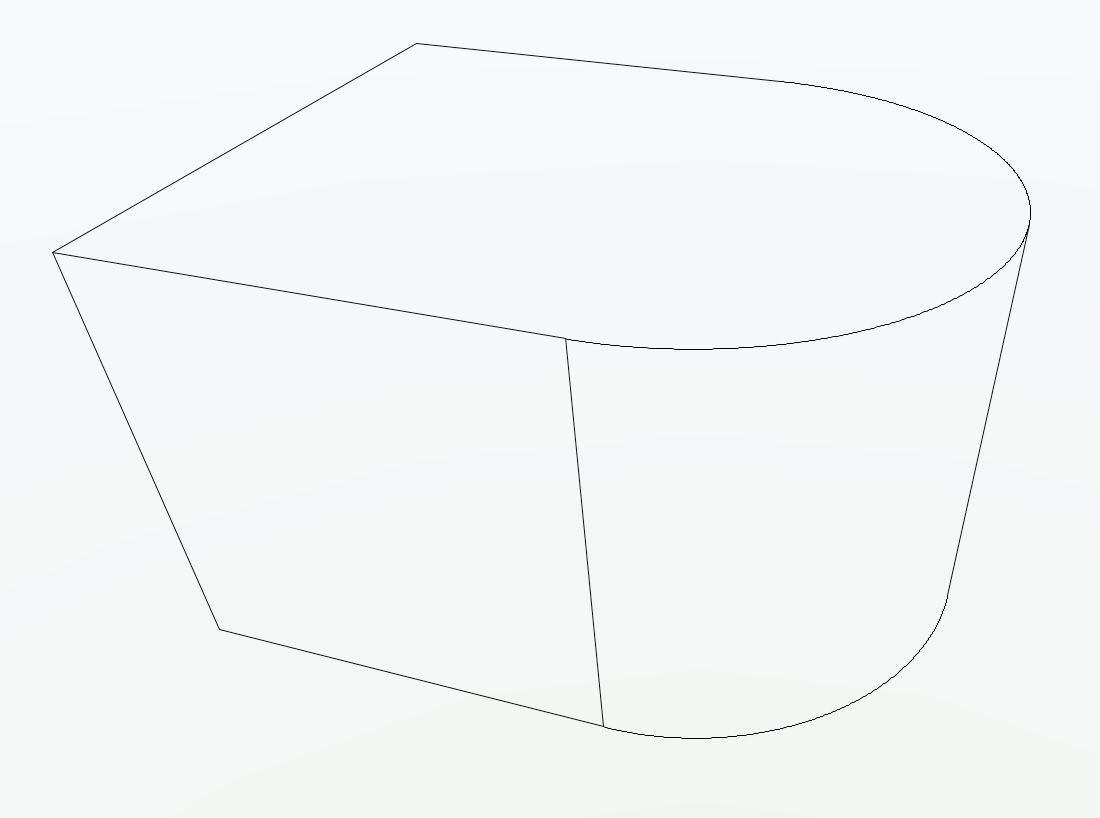
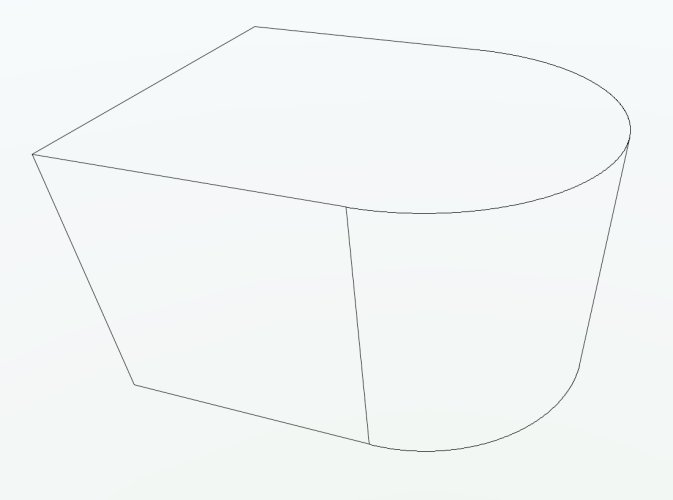
By the way, is a seam line appearing in "hidden line" actually evidence that there's a non-smooth transition between two faces? For example if I draw this shape where I know the arc of the curved end meets the adjacent flat face exactly at a tangent, and set the hidden line smoothing angle to zero, I get a line at that point.
-
Can a NURBs surface be "closed" in one or both directions ... eg like the outside of a cylinder, or a sphere?
-
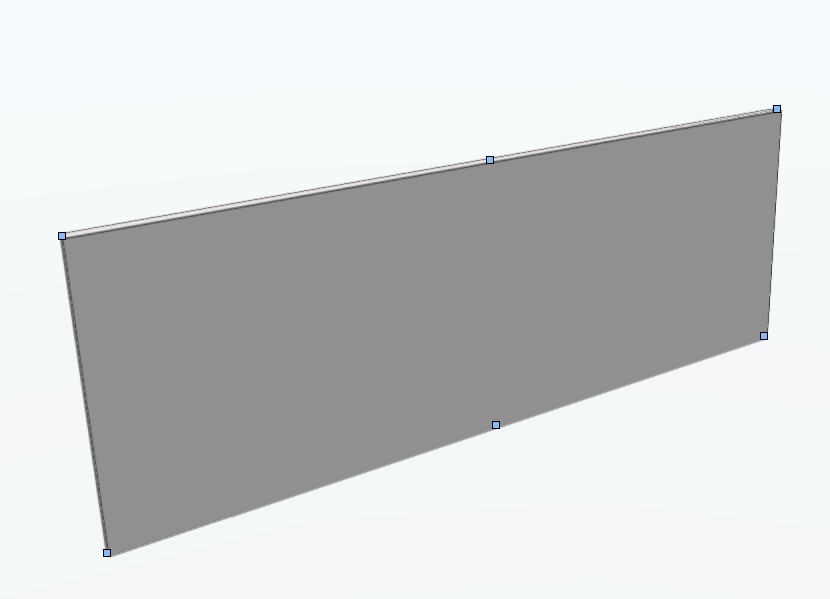
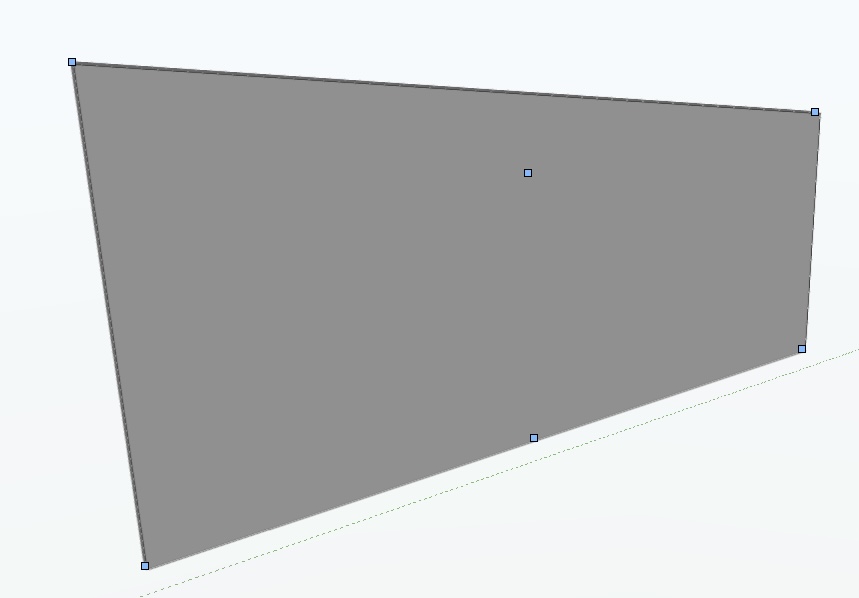
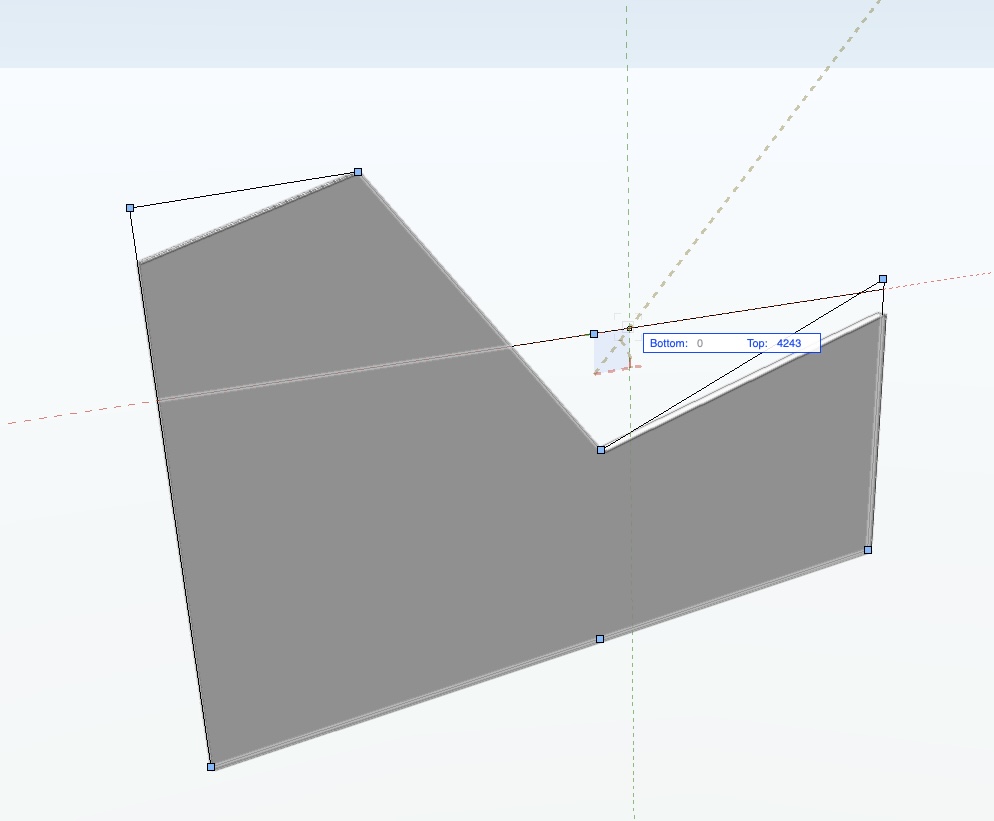
I find the wall reshape system quite confusing, because it sort-of works like reshaping something like a polygon but not quite. For example, along the top edge you start out with a node at each end and one in the middle: So far, just like a polygon. But if you move the end nodes, the mid one stays where it is, unlike with a polygon: And if you want to use the + mode to add more nodes, that mid one disappears altogether. Unlike with a polygon reshape where you can click on a mid node to make it into a vertex. Once you've added some extra "peaks", then going back to the reshape mode makes that "midpoint" handle re-appear, and moving it seems to move all of the nodes along the top edge... but the preview it gives you before the action is complete is wrong and only shows the end points moving. (I've only realised that in making the screenshots for this post. This must be a bug? It explains one of the reasons I always hate using the wall reshape tool in practice, anyway. A sure-fire way to confuse users is to give a preview of an action that doesn't match the result.) It's also frustrating that there's no midpoint handle on each of the sections along the top. If I want to move two adjacent peaks upwards by the same amount I have to do it manually, moving each one individually.
-
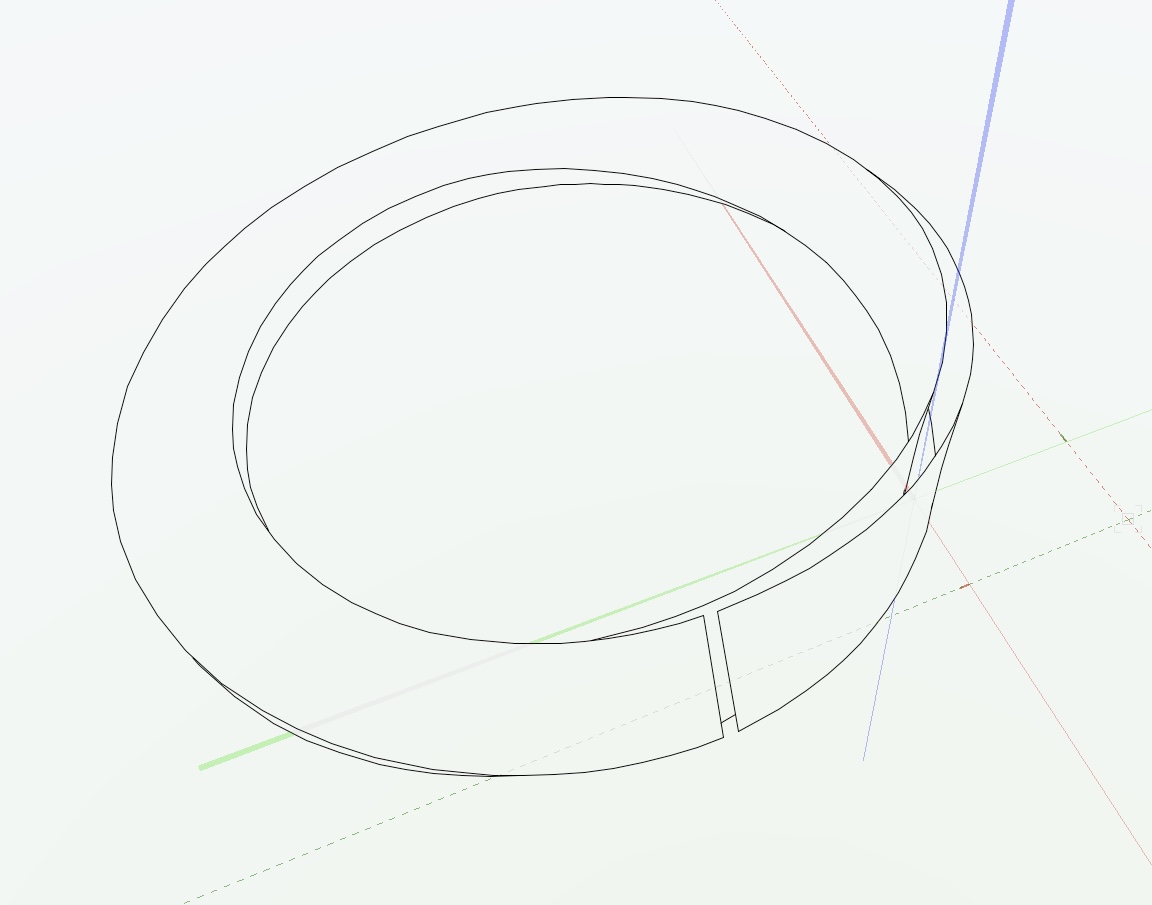
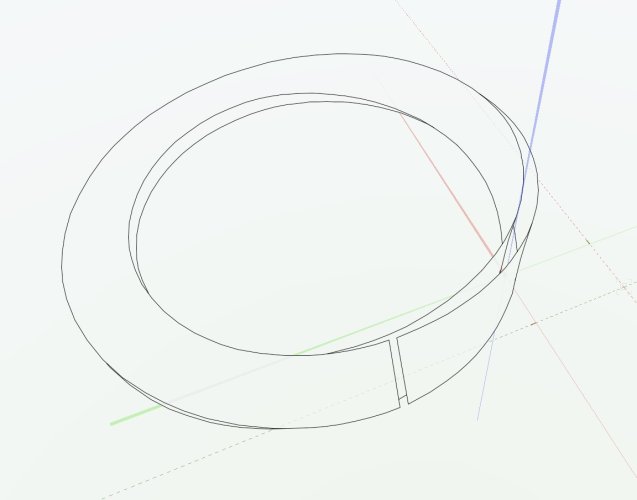
I did it with the subdivision tool. I was a little surprised when it worked. I didn't cut anything (other than within the subdivision edit) Start with torus primitive, fiddle around a bit making breaks so as to make some faces to rotate, then stick back together using the "bridge" function. My next project was to see if I could make it as a true single "surface" (rather than a solid) using the subdivision tool. However, so far I've not managed. It doesn't want to let me stick it back together with a twist in it (if I rotate things then stick back together, it adds another twist to turn it into a simple loop). It's disappointing that it leaves those seam lines as revealed in hidden line. Didn't notice that. It seems I can extract the two edges each to a series of NURBs curves. Then I can "compose" these to single NURBs curves. Then I can loft between them but the "seams" reappear. Closer inspection of the composed NURBs reveals some doubled-up nodes and removing these means that it won't let me loft. There's also a kind of doubled node at the start/end point, and if I delete this, I get a break in the loop, although it will let me loft between them, producing this (in hidden line): (but even if I'd managed to join that gap, the object produced wouldn't be a mobius strip)
-
I think what I posted above shows that it does, unless anyone can show me where it fails.