


Andy Broomell
-
Posts
3,178 -
Joined
-
Last visited
Content Type
Profiles
Forums
Events
Articles
Marionette
Store
Posts posted by Andy Broomell
-
-
Just wanted to put it out there that about 5% of the time when I go to Tools<Purge, Vectorworks crashes (when clicking OK after previewing items to purge). Haven't been able to figure out the rhyme or reason as to why, but it's been doing it for years across different files and computers. Always at that same point in the process.
Just curious if anyone else has encountered the same issue.
-
-
12 minutes ago, JimW said:
Yup, it was me!
Should be rolling out very soon, it's all ready to rock, just awaiting final checks and approvals.Awesome! Just wasn't sure if I was missing something on my browser
")
-
On 12/18/2017 at 4:54 PM, JimW said:
I am currently testing the new UI, so I and a few other employees can give reputation for the time being, but standard accounts can not. It'll be rolled out as soon as possible, but making some more changes (along with changes coming to the rest of out web presence) to maintain flexibility further down the road.
Just curious if this is this still the case? I just got a notification about someone "reacting" to a post, but I can't see what that reaction was, nor can I react to others' posts.
-
1 hour ago, Jim2489 said:
Second question - how do I get custom textures, like JPEGs, into the Resource Manager?
To make new textures - double click in a blank area of the RM (or click the "New Resource" button in lower left) then choose Renderworks Texture. Give it a name. Under the "Color" shader dropdown choose "Image" then import your custom image. Assign the texture a size in the lower lefthand area.
The new texture you create will then live in your file. If you're wanting to make it available across numerous files via a custom user library, let us know.
-
Select the Wall and go to the Render tab of the OIP. Find the dropdown that says "Part" then select any portions of the wall that don't say "from Overall." For each of those, click the "Revert to Overall" button, which then makes those faces listen to the "overall" texture assigned to the Wall.

Hope this helps
-
 1
1
-
-
Not anymore. :-/
Hoping they re-implement the ability to do this.
-
On 2/2/2018 at 7:35 AM, Kevin McAllister said:
Consistency in an interface is essential.
On 2/2/2018 at 8:38 AM, Seth Thomas said:At the same time, I wish it would just work as it should.
🙌 🙌 🙌
I just want to reiterate that the current "always-do" implementation for title block borders is decidedly wrong and inconsistent with other VW tools. I've had three unrelated acquaintances call me in the last few weeks asking what's wrong with their title blocks' double-click function. (They had inadvertently chosen to always edit the Layout, but because the layouts are all By Style, every time they double click a title block they just get an error saying they can't edit the instance's layout.)
@JimW @Nikolay Zhelyazkov Any way of confirming whether this is a bug or working "as designed"?
Right-clicking and choosing "Edit" needs to bring the pop-up back, just like it does for Viewports.
-
Urgh. Today I found myself thinking "oh this is a perfect time to use an Auto Hybrid" ....until I was reminded they don't do what they should.
Some simple flats with sliding doors:
Looks like a fat mess. :-/
PLEASE allow an option for separate cross sections
-
This happens to me occasionally on SP2 as well when typing in project values.
-
I just came to this subforum to ask where the "Edge Split" mode went in 2018... But then as looked closer it seems as though it was rolled into "Face Split" mode which is now just the "Split" mode and functions as both
-
Are you able to post a screenshot of what you currently have?
Sometimes for things I want to appear whiter, I'll add Reflectivity<Glow to the texture, then put the Brightness around 40% (depends), turn off "Emit Light" and turn on "Add Matte Reflectivity". The Matte Reflectivity is important so that it still reacts to other lighting and shadows in the scene.
-
@scottmoore THANK YOU for continually beating this drum. I don't use lit fog beams anymore because they look so unrealistic in Vectorworks. Thankfully I haven't had to render many rock concert-style shows recently, but if I were a lighting designer I would be livid at the current functionality.
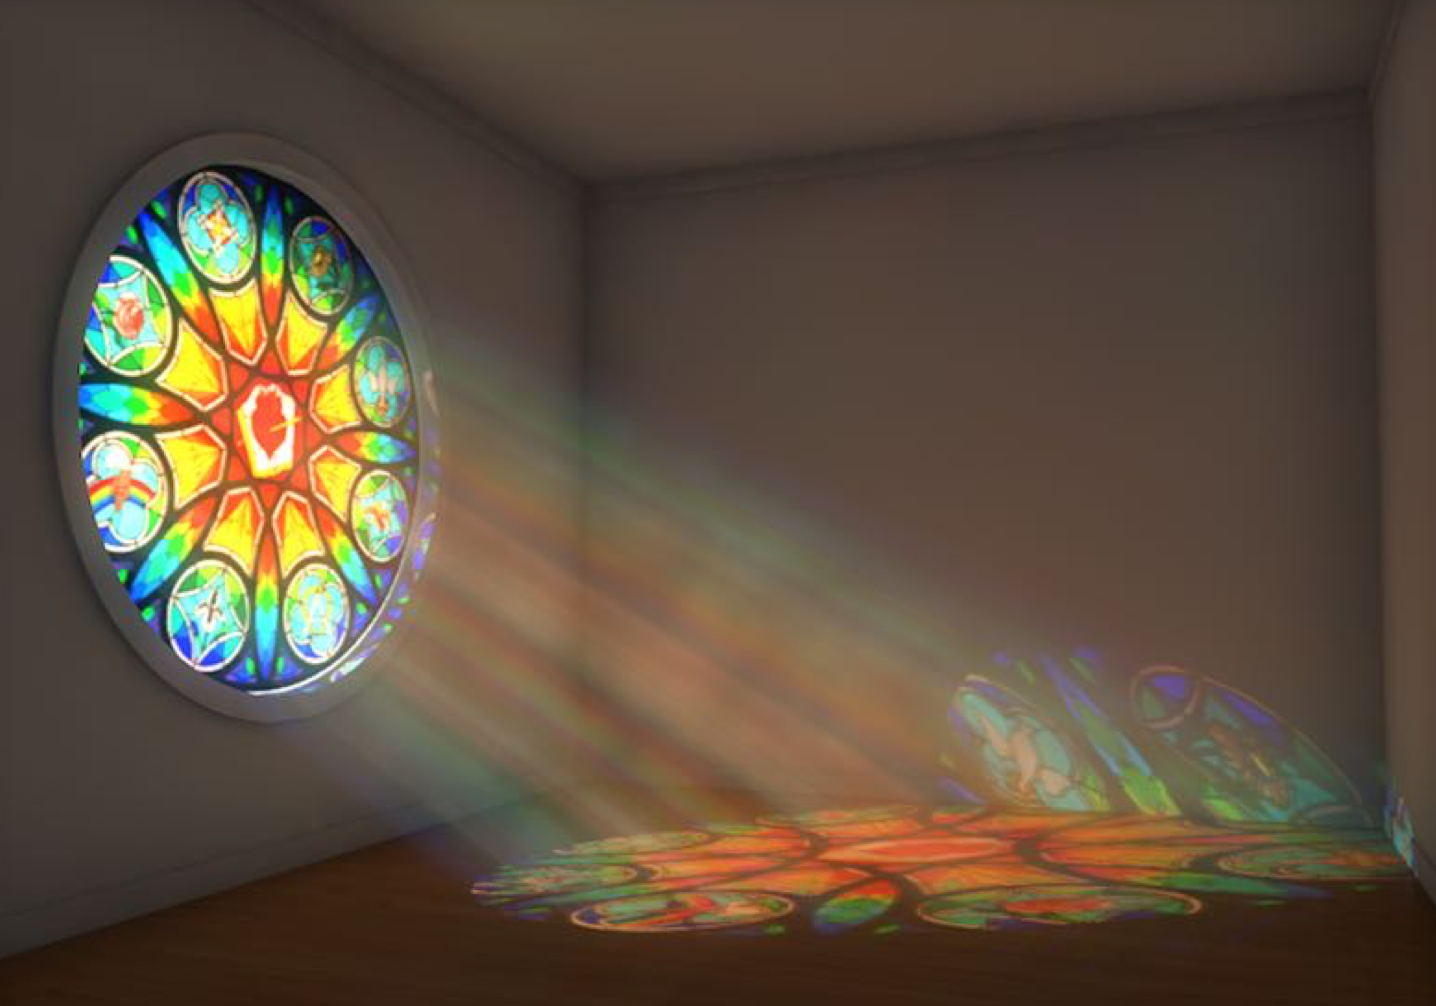
The funny thing is if you go to the Vectorworks home page http://www.vectorworks.net/ you're immediately greeted with an image that's completely unattainable in Vectorworks.


-
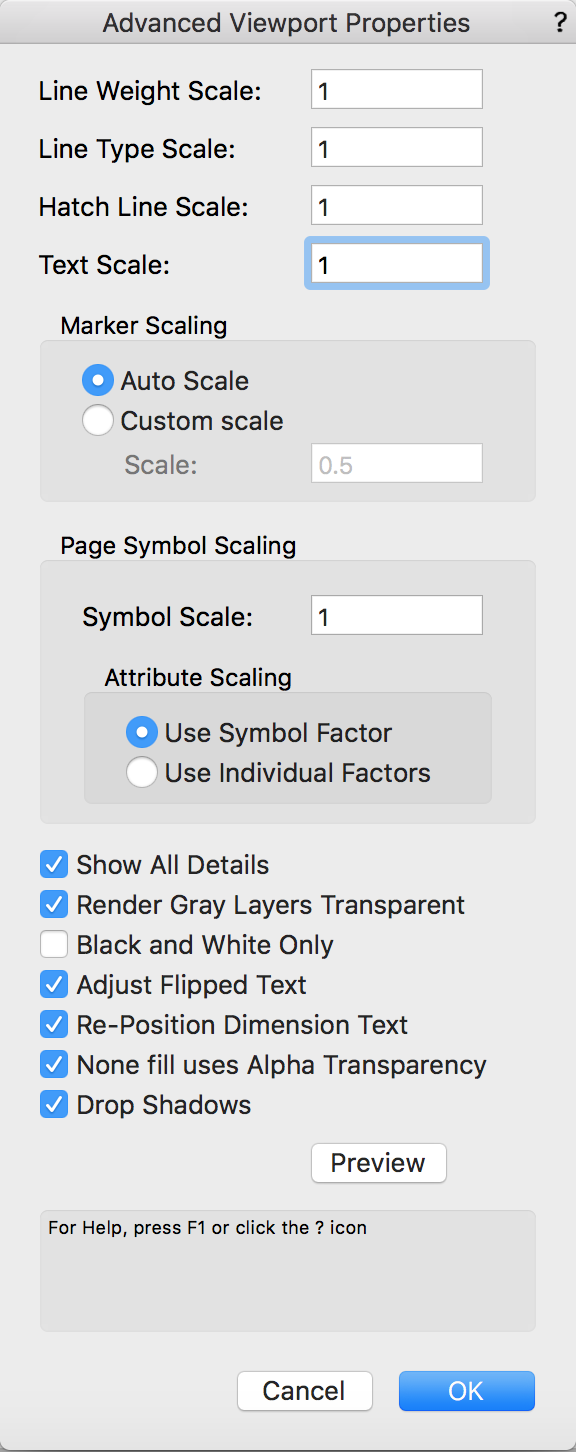
Great chart!
Are you already utilizing the "Text Scale" factor in the Advanced Viewport Properties? This should allow you to scale up and down text when the Viewport scale doesn't match the Design Layer scale.

(So in your example you'd type in 0.5 to get the text to appear as 12 point again)
-
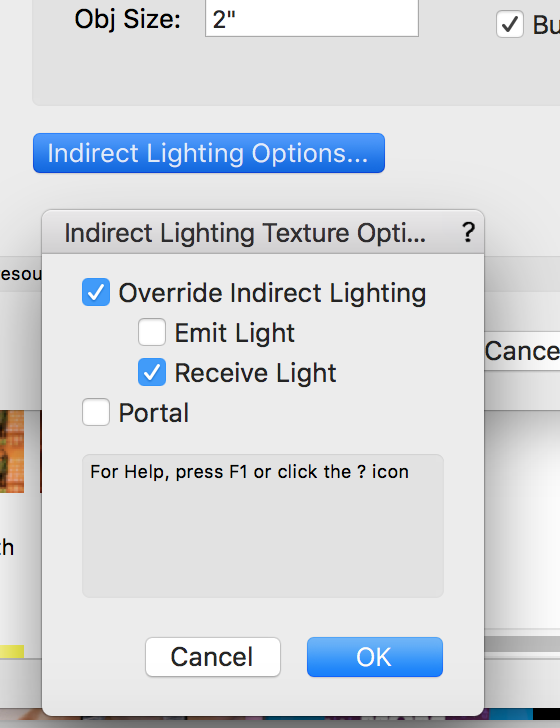
Question: the video at 0:56 mentions needing to use a Render Mode with Indirect Lighting. Lit Fog seems to also work for me with Indirect Lighting off. Of course, turning it off results in the renderings looking very different than those in the video (since they all have Indirect Lighting on), but I just wanted to bring it up as it might be misleading to suggest Lit Fog requires Indirect Lighting.
(It of course looks better with it on
)
-
On 1/10/2018 at 8:45 AM, JimW said:
Because of this thread, I'll be making a tutorial on this however. Will likely use this file from @Luis M Ruiz:

Awesome, thanks!
Any chance we could play around in this stained glass file? Seems like a good learning set-up.
-
5 hours ago, Art V said:
saving the publish set could be an option if it were not for the constant renaming of sheets that I often face, which renders the feature less useful for me
This (lack of) functionality baffles me.
-
-
This used to happen for me consistently in 2016 and 2017, though 2018 has actually been better for me, thankfully.
-
When I use indirect lighting, I tend to turn off Emit Indirect Lighting for textures that are applied to super complex geometry such as plants, grass, 3D figures, etc (as long as it's not detrimental to the rendering). Saves some time.

-
2
-
-
On 2/11/2018 at 4:16 AM, Vlad Batou said:
... and How can I replace the properties of an object the Screen Plan to Layer Plan in Object Info palette if the selected objects are in groups without ungrouping?
Take a look at this thread - there's a script that helps with this issue.
-
All excellent points and questions! This command needs some love.
-
Another approach is to make a worksheet with the criteria set to find objects on your class. Then you can then right click subsequent row headers (there will be a row for each object on that class) and choose "Select Item" which will select the object even if it's inside a group or symbol. Let me know if you need more details on this process.
-
I'd use this. In the meantime, I use the Select Similar tool (I have a preset for "Object Type") then click on a single Viewport on the sheet. This selects all the viewports, which I can then update by clicking the Update button in the OIP.


Accidental revert to saved – or something more sinister?
in General Discussion
Posted
Woah, this just happened to me.
I was in an active RW camera on my Design Layer (setting up a view for a rendering). I was using the third mode of the translate view tool to adjust the perspective amount. I didn't like the change so I hit Cmd+Z, and VW undid like 20 steps. Not sure whether it went back to a point at which I had saved or some other point. Thankfully only lost like 5 minutes of work.