


SamIWas
-
Posts
411 -
Joined
-
Last visited
1 Follower
-
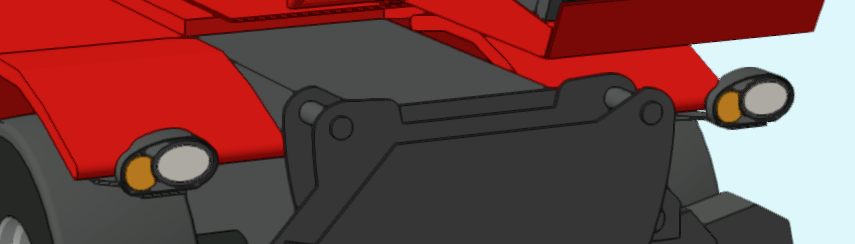
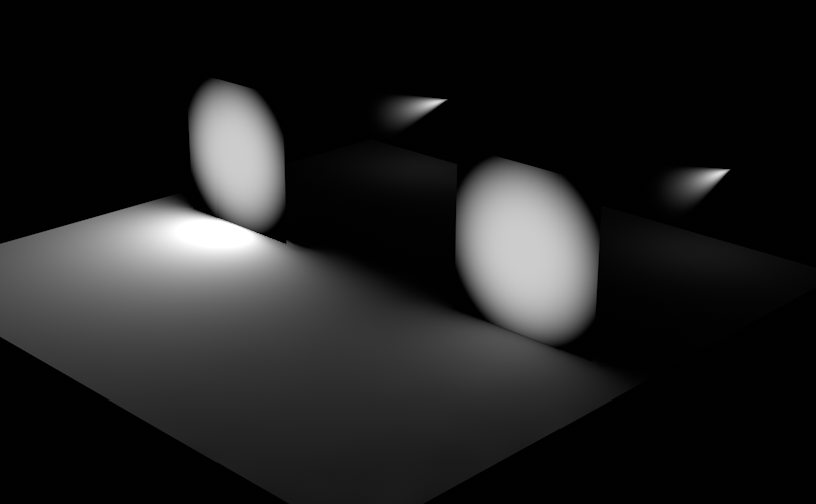
I thought I had done this before, but apparently not. So, say I create a group of 3D objects. Some extrudes and some sweeps. I close the group. Now, I need to du0plicate it and flip it on the X axis. I found that HScale3D(obj,0",0",0", -1,0,0) does not work like it does in 2D. And Flip3DObj does not work on groups. Is there any command I'm missing? I'm hoping not to have to duplicate 130 lines of code and add flips to each piece. It's the two headlights in this image.
-
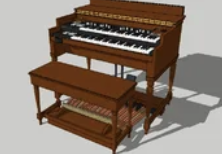
3DWarehouse has ton of options for this. No, they aren't Vectorworks models, but you can import them and they will work. Here's one of the Hammond B3 models.
-
Would be at least helpful to see a screenshot of your viewport settings in the OIP. That might help answer a lot of questions.
-
You can use the light palette, select the light, and make it brighter there. It does allow you to go above 100 in there.
-
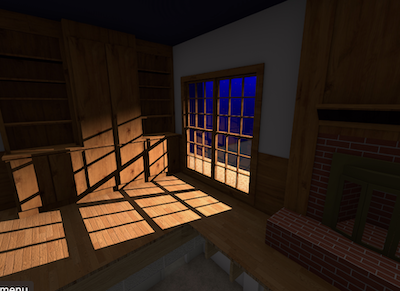
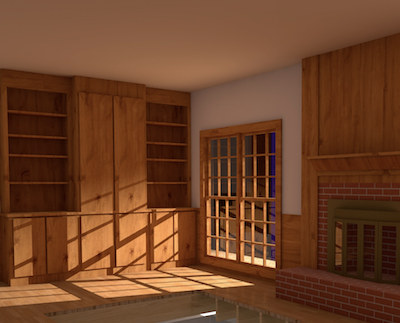
I have started rendering 360° panoramas for our team to see some plans in full view. They love it. But, I've found that the panorama doesn't appear to pay attention to the indirect lighting setting in custom renderworks. I've attached two images. One from a render using custom renderworks in a viewport, and one from the panorama render. As far as I can tell, all settings are the same. Is there a setting I'm missing somewhere, or does panorama not use indirect lighting?
-
Just after I posted, I found SetToolByName or whatever and got it started. But I'll look at yours, too.
-
Any idea what would cause this to work on some of my custom tools, but with others, it flashes the tool in the pallete real quick then returns to the selection tool? I was getting excited to write my own shortcut selector for my StreamDeck since the native shortcut system is almost full. But I can't do it if it won't actually select the tools.
-
Yeah, I saw that method. But then if I want to keep my original script the same name, but encrypt one also with that same name, I don't want the original overwritten. Do you copy one out off the directory first before you do that?
-
That is helpful info. So are you saying that I can't encrypt plugins in 2024 yet because the 2024 SDK isn't available yet? I'll download 2023 and try it out at least. That's a nifty little plugin you got there!
-
Hey Josh...are you referring to the "Encrypt Script..." command in the plug-ins menu? I am trying to encrypt some VectorScript .vso files and it won't let me select .vso . I obviously don't want to overwrite the original, so I will create a copy and do it from there, but I'm missing something somewhere.
-
I use a texture with a glow applied, assign the lens object to the lens class, then assign the lens class to take on spotlight fill colors.
-
Cool! I'll play around with this!
-
I'm more curious about getting different drop-down values conditionally based upon a different drop-down's value. Looks like something else to have fun learning!
-
Man...I've been so busy, I forgot to check the forum. I'll give this a go and see if it does anything. What I'd really love is an option in the "override environment lighting" or whatever it is in the texture, for there to be an option to multiply the amount of lighting the texture puts out. But it wouldn't affect the visibility of the texture itself. An example from cinema is attached. Two squares backlit by the same brightness light, with exactly the same texture settings, except one texture has GI boosted up to 2000%. Teh squares appear identical, but the amount of light put out is different.
-
Yeah...this was an option I thought about. But with the way everything moves and tilts and the lights inside change colors depending on the set, etc, it would be a lot of extra work to maintain the area lights. I was hoping for an option in the indirect lighting. It's not show crucial or anything.
