

Luis M Ruiz
-
Posts
462 -
Joined
-
Last visited
Content Type
Profiles
Forums
Events
Articles
Marionette
Store
Posts posted by Luis M Ruiz
-
-
This is an interesting topic and what better way than testing it. There is something to learn from this.
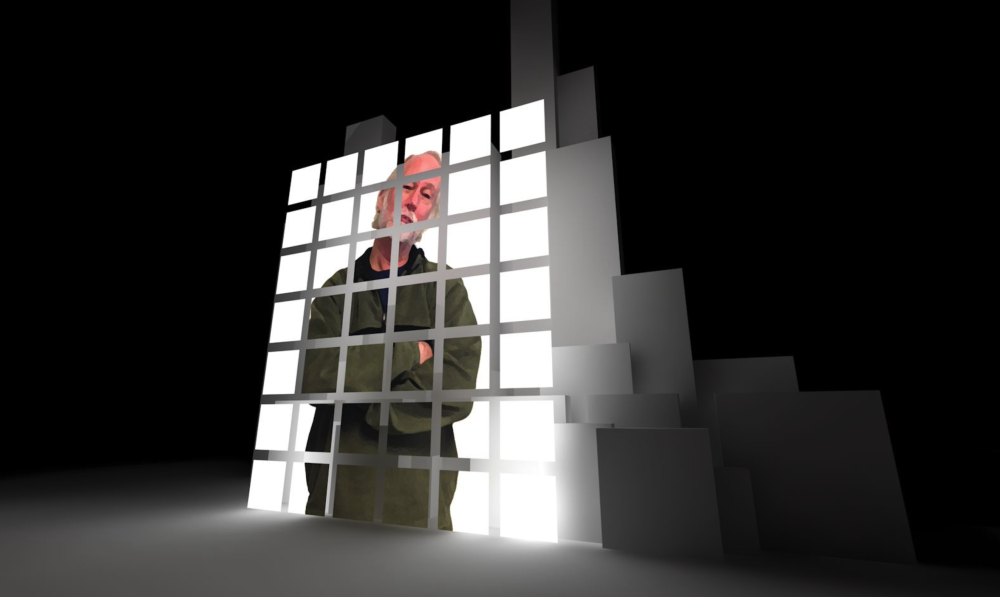
Image props, great for a quick presentation but not reliable for an astonishing rendering.Suggestion? replace human prop for a 3d symbol or, how about editing that reflective material so is more blurred? plus add a bit of turbulence noise at 800%. That'll make the rendering reflection more suggestive than perfect.
I am attaching a couple of samples. Yes, 3d human choice is ugly but you get the idea.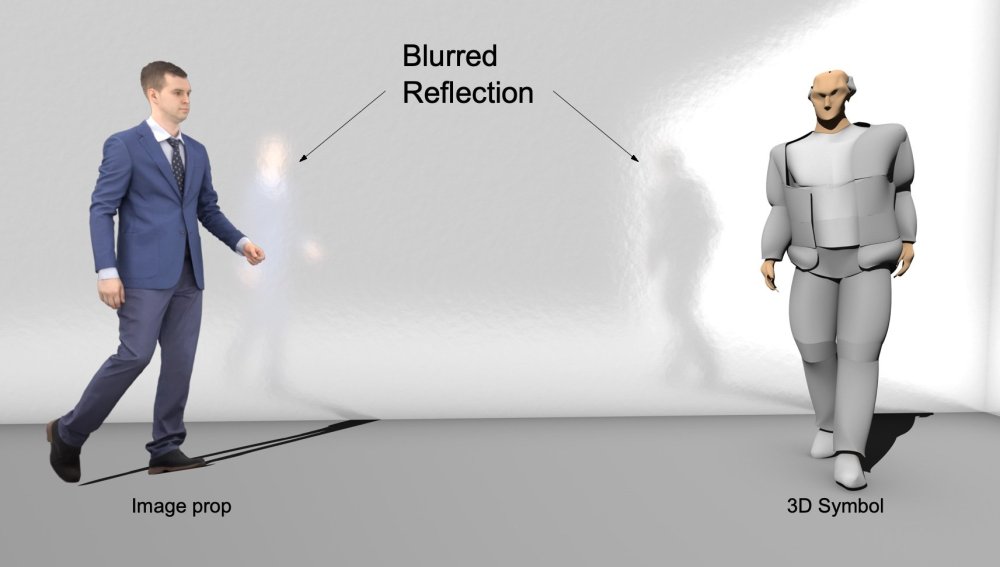

-
 2
2
-
-
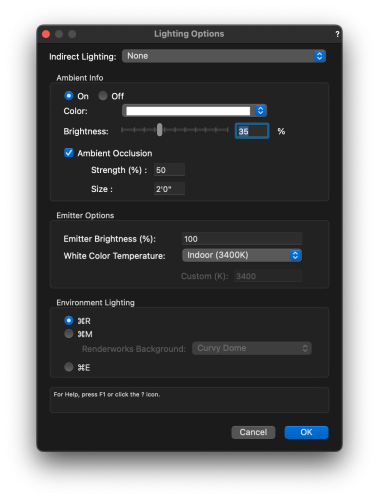
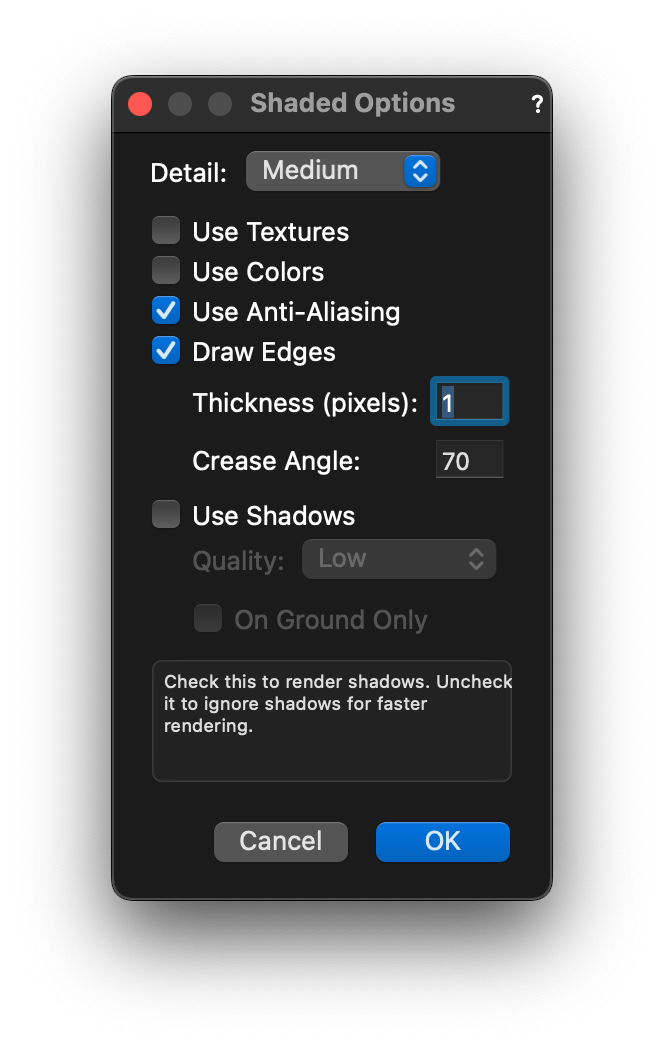
I'd say try these configurations for shaded and for lighting options. Plus I think you need a solid black background
-
1
-
-
From the look of this you are trying to export the contour lines? I'd say switch your site model style to triangulated solid, something with volume behind it. Once in TM you'll have fun applying solid texture and painting those trees, grass and bushes.
-
And better to use custom Renderworks, that way you'll have way more control over your settings. High Quality everything is set to High
-
1
-
-
I wonder if turning down ambient occlusion may help?
-
In order to see what is changing your panorama, I'd have to see your custom style or rendering style. These may have ambient light on or off and that'll produce obvious changes.
-
Take a look at the one for Onshape. That'll get you the feel you are looking for. These devices are mainly for 3d work as we all know, but not all 3d jobs are the same. Laying walls in a project are not the same as removing a pipe from under a car chassis. Sometimes you want the object be the things that rotates and others be the active observer who can walk thru a project
-
1
-
-
All 3d space mose settings can be configure to your liking.
-
1
-
-
Try STL format
-
2
-
-
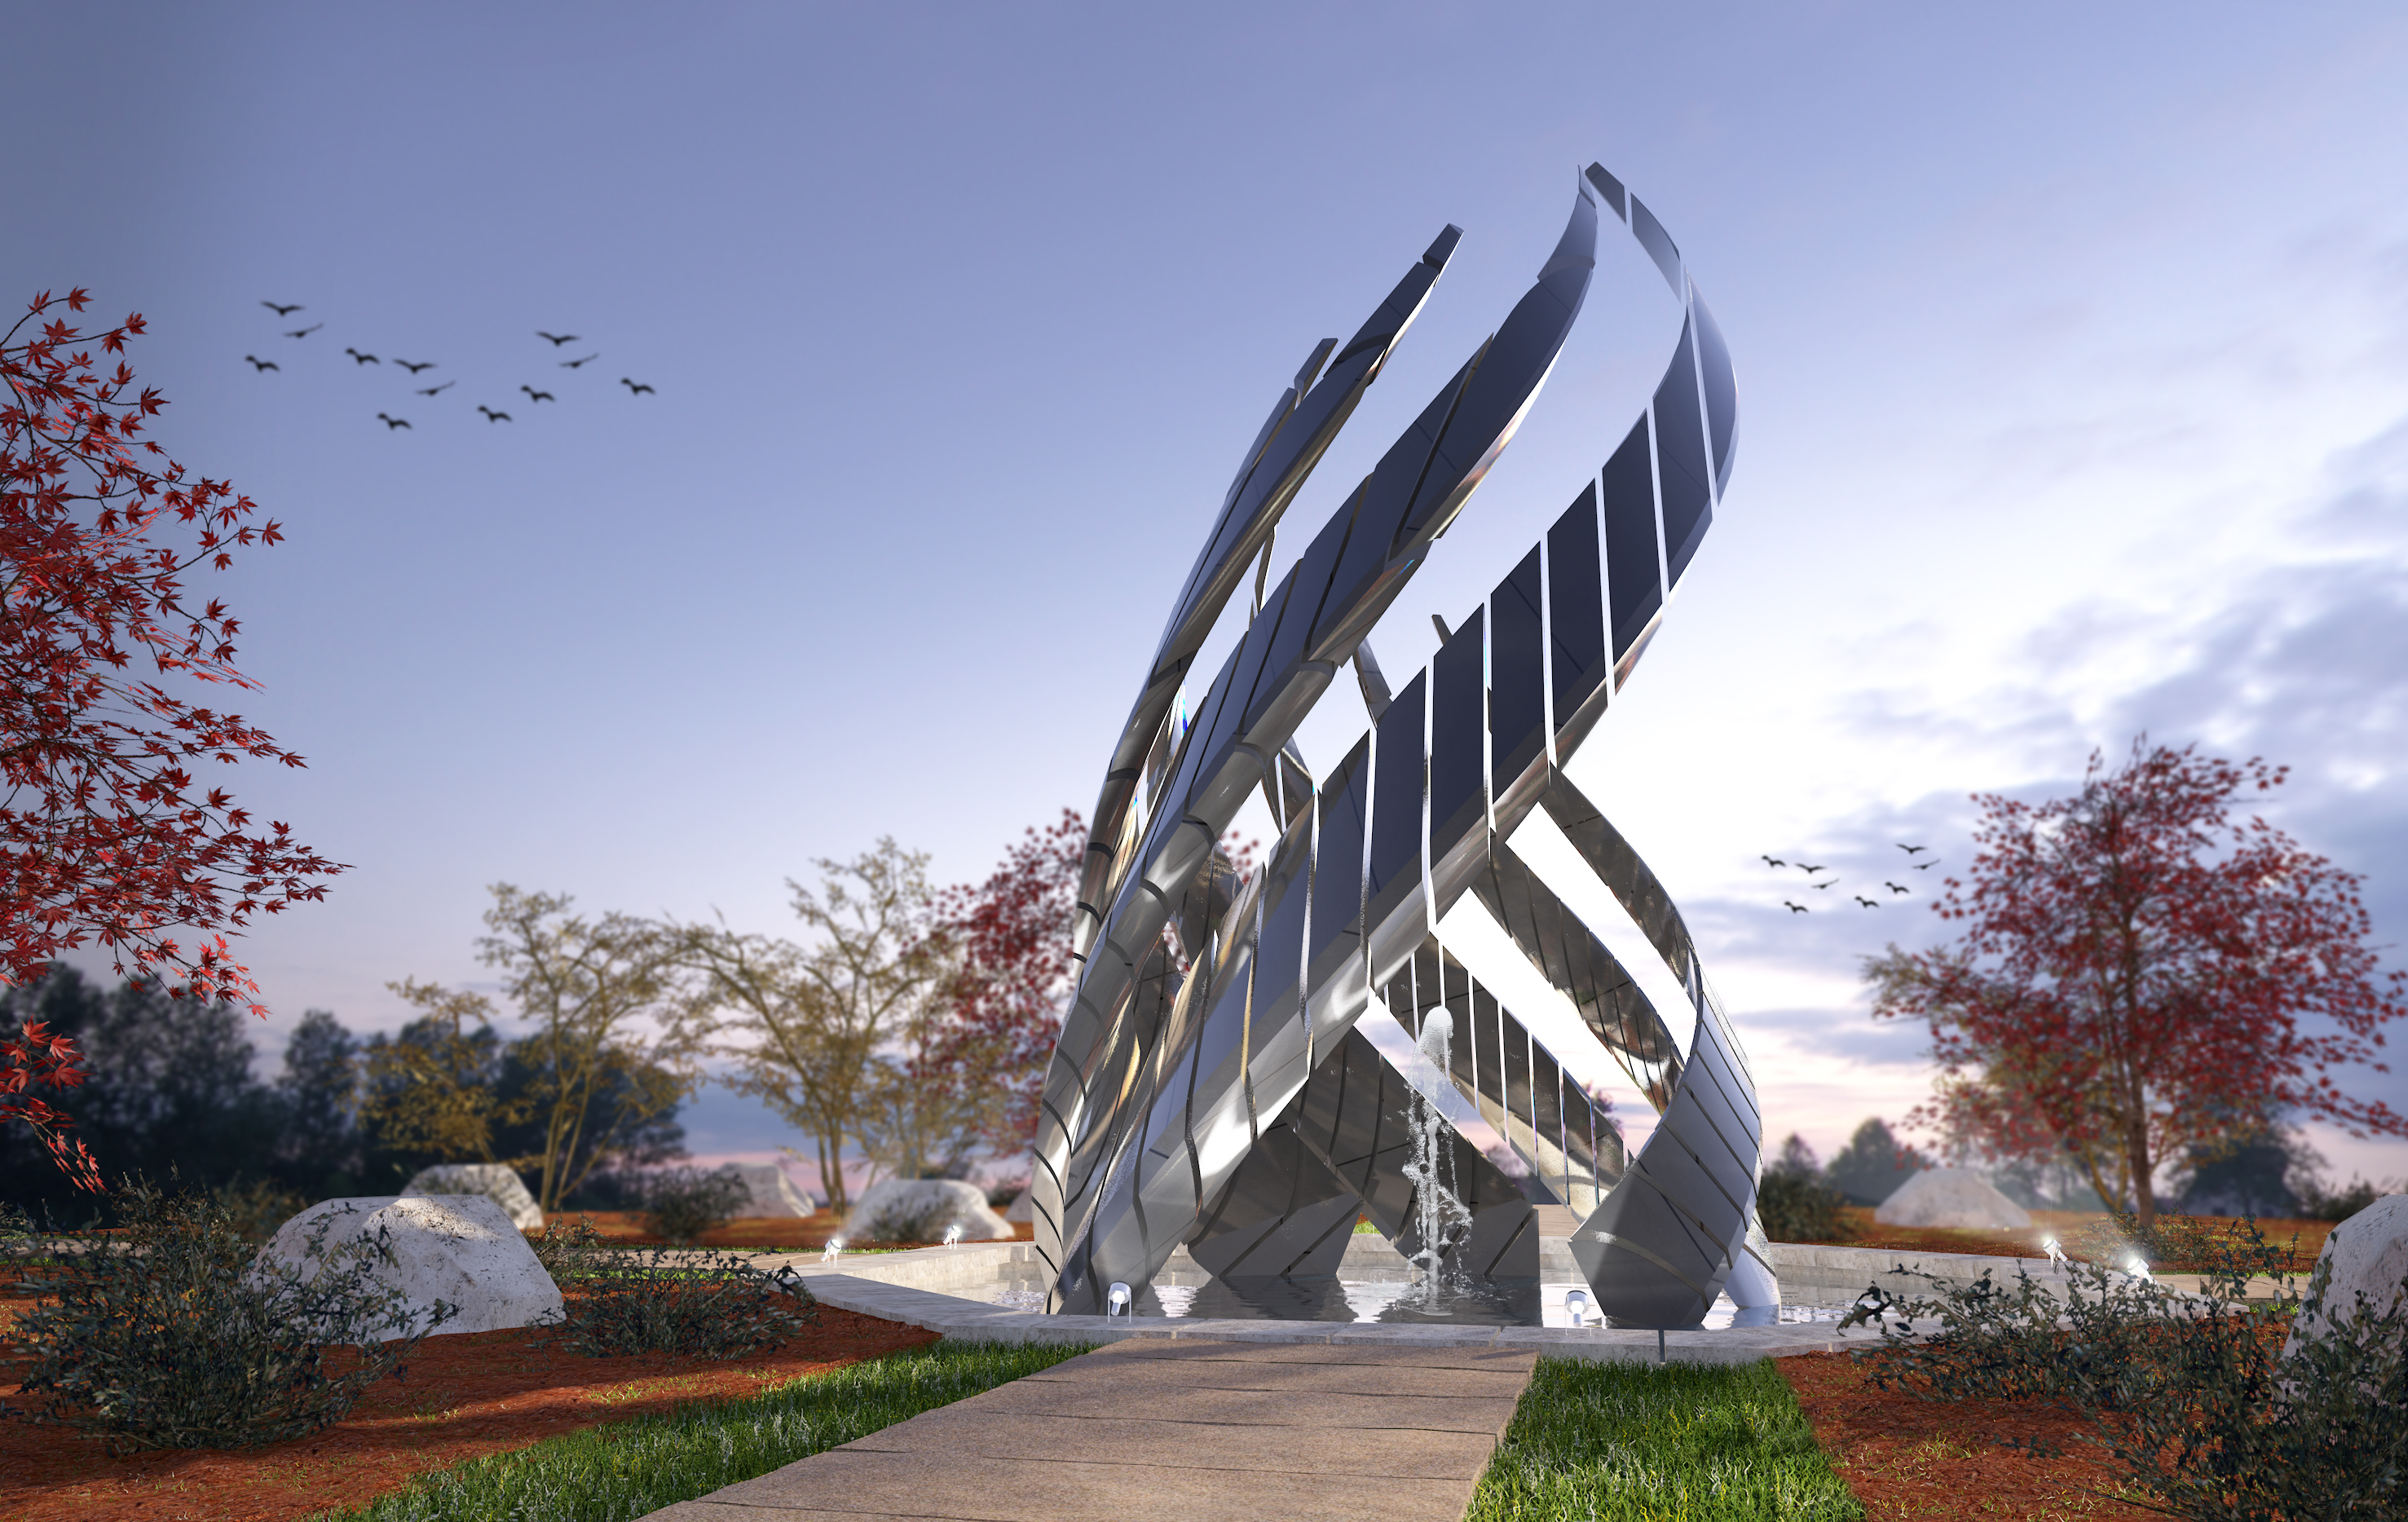
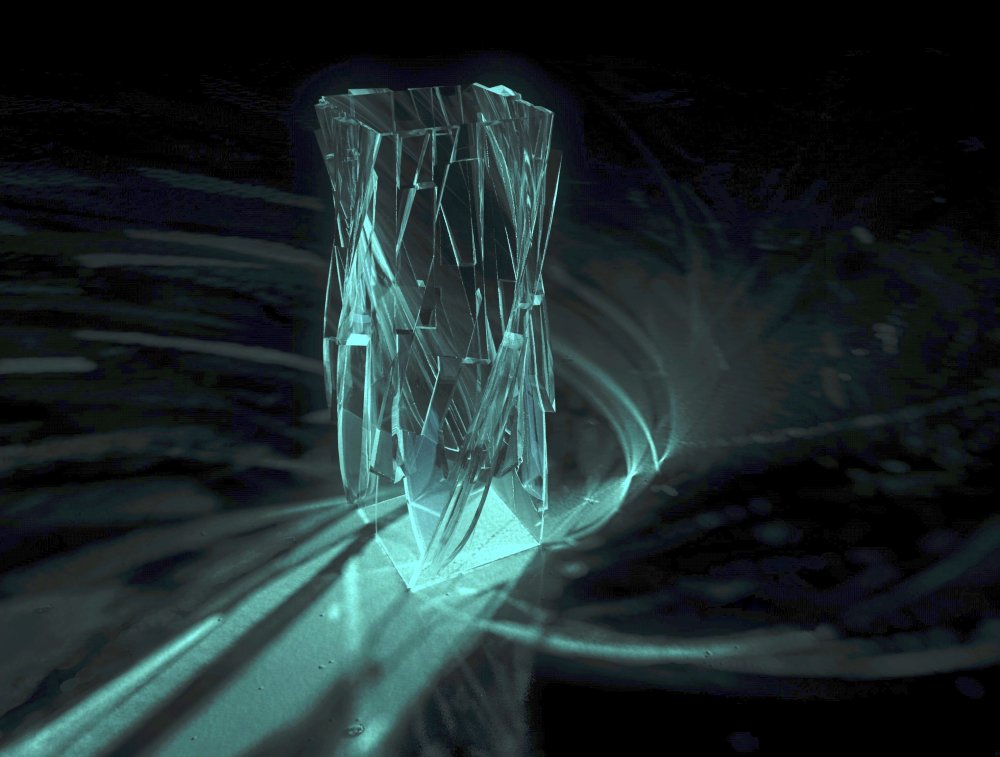
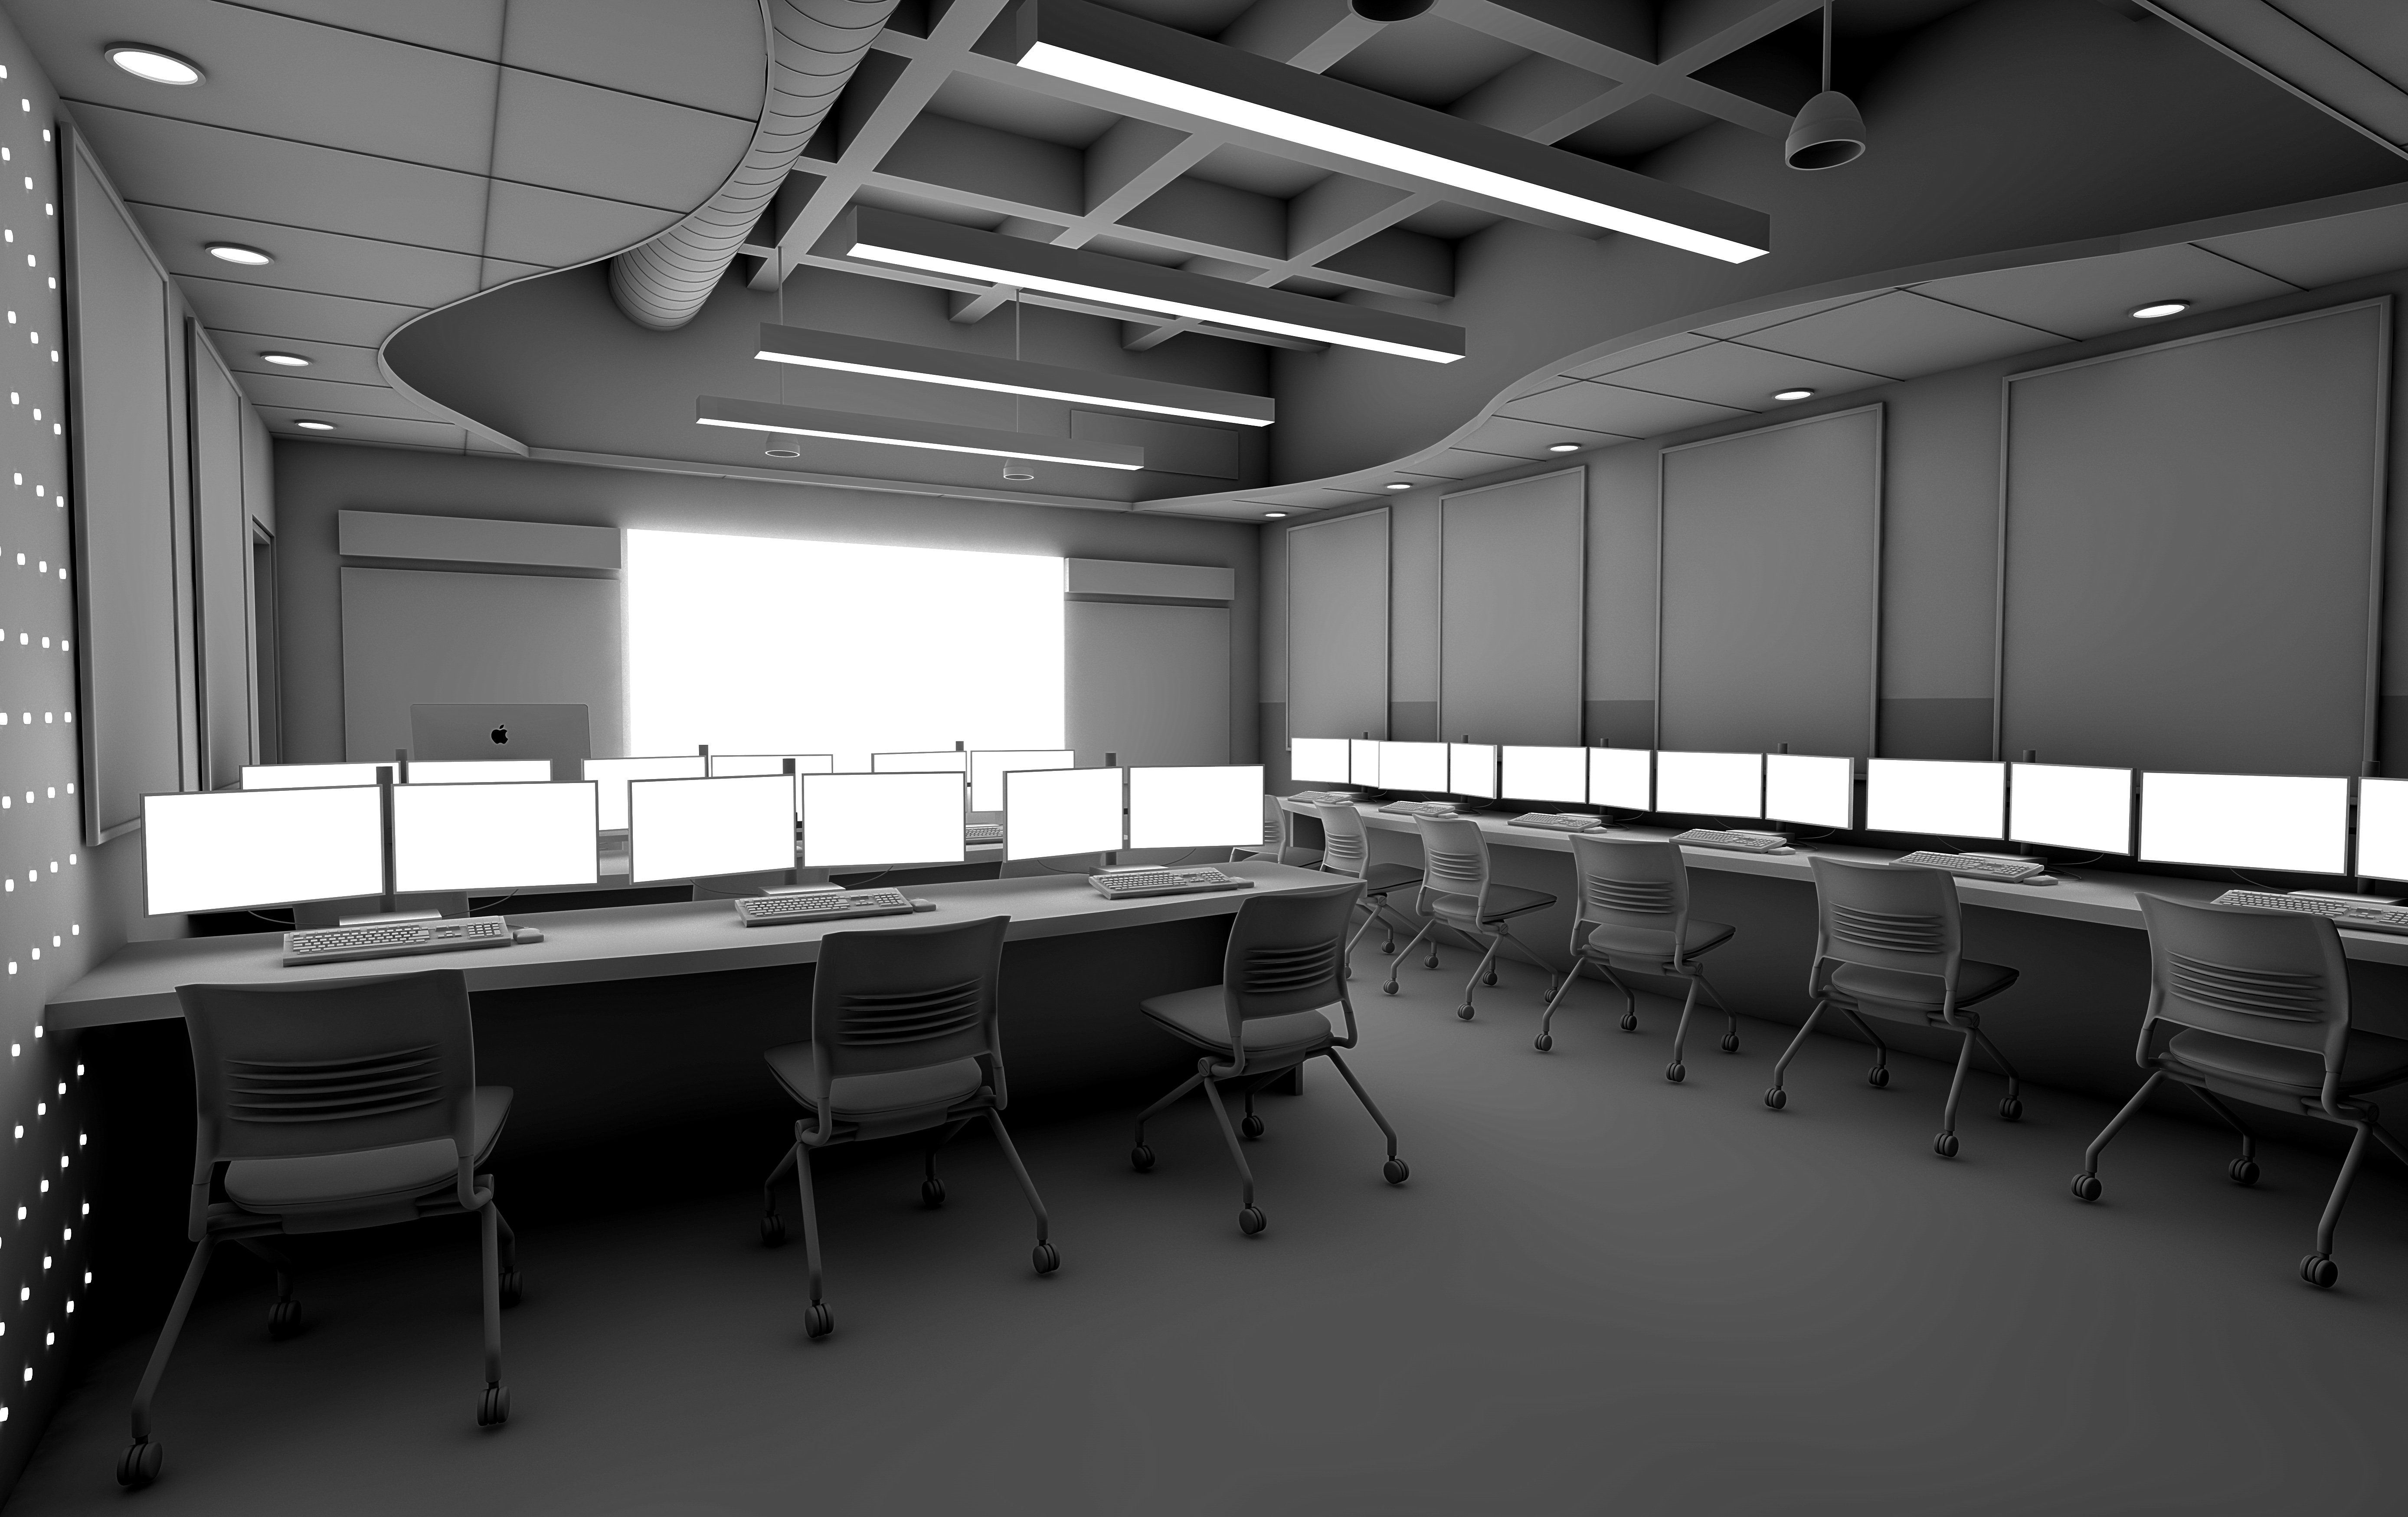
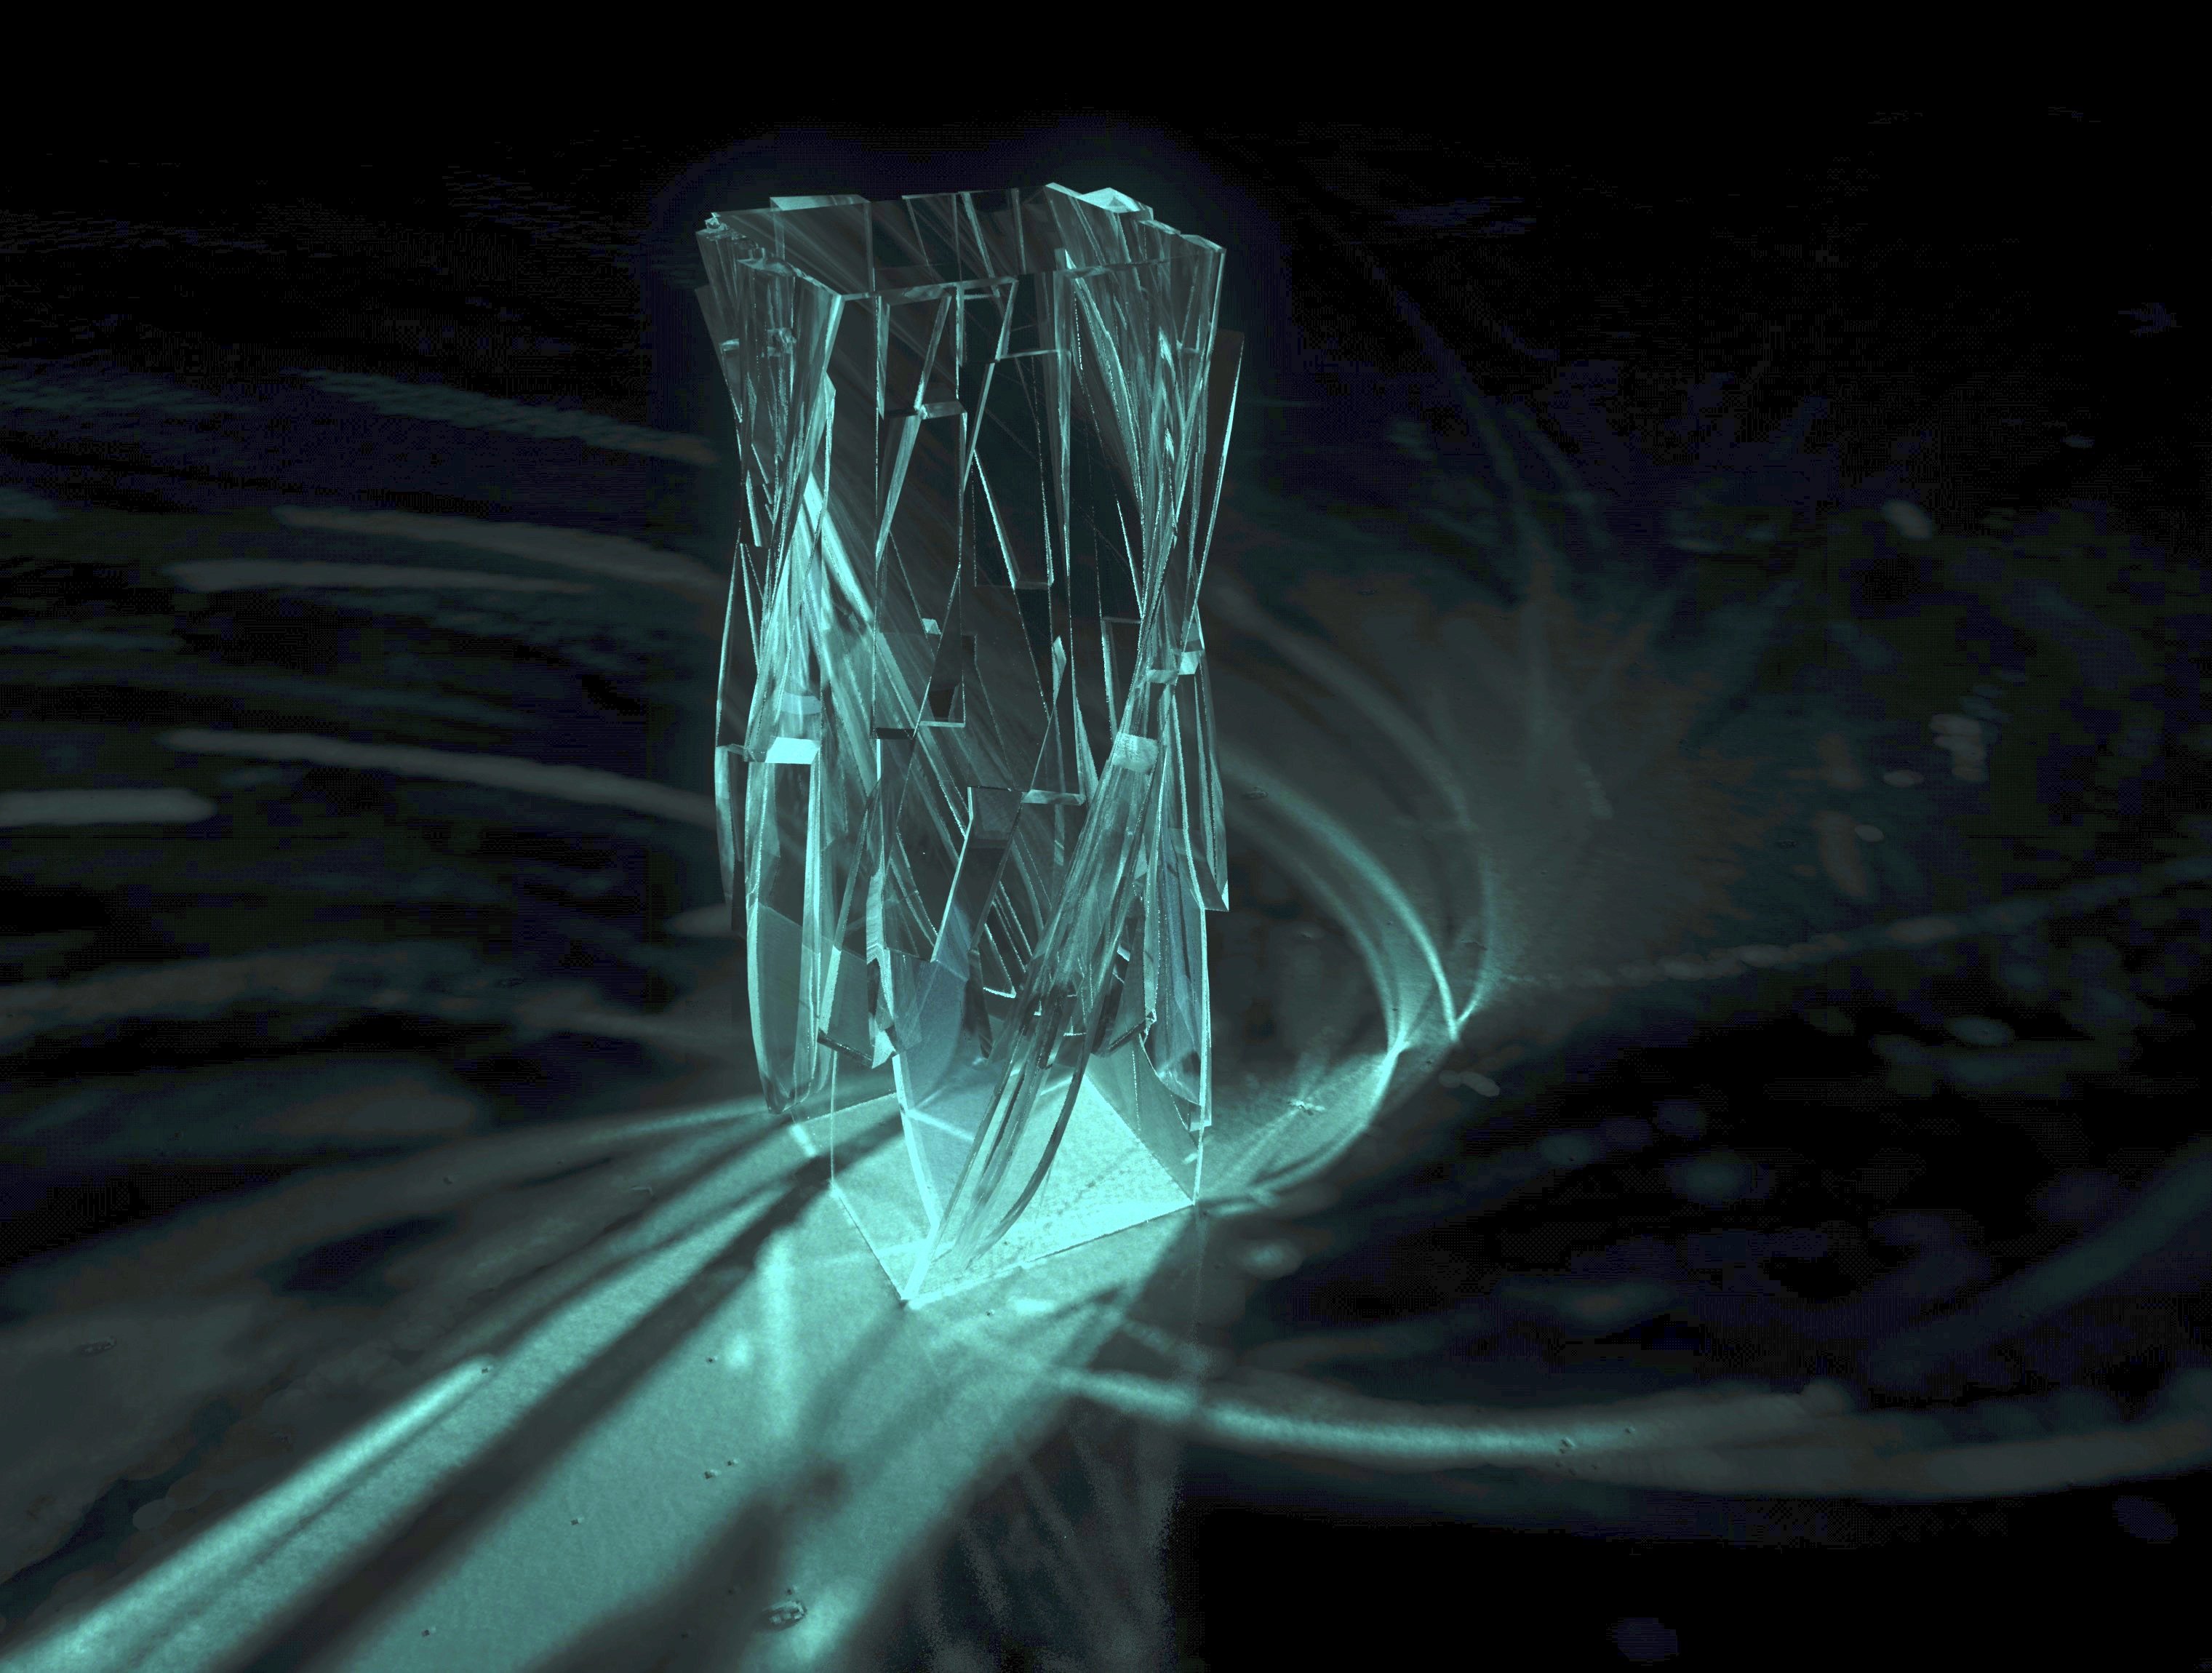
Here is another sample from my bag of goodies. I guess diamonds are forever?

-
3
-
-
Hi. Sorry for the delay.
Here is a link to the original VWX file:
https://www.dropbox.com/s/hcyovqlre52ccmt/Stained Window.vwx?dl=0 -
@markdd Congratulations on this webinar. I am always mesmerized by how projects in Spotlight are put together. I am sure many of our users will find your video informative and inspiring.
-
1
-
-
Plenty of settings allow you to go past 100. Here is another fun use of glow texture.
-
2
-
-
Just for inspiration. Here is a sample of an interior rendering using only glowing textures.
-
2
-
-
Keep in mind, with renderings, we are dealing with digital reality. The idea is to get those images out so we can keep the ball rolling with our projects. If it means to deviate from real light values, I'd say that is valid. I imagine our clients would not ask if renderings were or not created using specific lumen. I learned my lesson the hard way.
Post one of your test renderings here, or if you want, contact me directly and I could take a look at your file.
-
@RishieCan you post a rendering of your interior lights ON and the exterior heliodon object Off, and environment light OFF?
-
- Popular Post
- Popular Post
I was wondering if any super user here have created renderings including light caustics effects?
I am curios to see your applications.
To get the topic started, I thought about posting one project I recently re created testing these M1s
-
7
-
Good questions. Here are my quick answers:
1 - Morpholio trace can take these 3d formats coming from Vectorworks: OBJ , STL, DAE, 3DS. and of course flat images like pdf or jpgs2- For placing the exported pdf or image on nomad, you have to set your ipad to see the nomad integration. Check out min 2:00 of this video https://university.vectorworks.net/mod/overview/view.php?id=3056
3-I'd start saving the sketch in pdf in nomad > then import into vwx as a reference
Post some of your project here using morpholio and vwx
-
1
-
-
If you know and love sketching for jobs, you’ll feel right at home.
How to use them both?
Here is what I’ve been doing for my projects:
you can model in vwx let’s say, some massing models, bring it into Morpholio, rotate your 3d shapes until you find the right angle, then create a sketching layer on top and start sketching.
ok, all good so far, pretty fun. Now it comes the time to bring that sketch into vwx.
Export the image and save it in a Nomad, then import it into vwx but as a reference, that’s a useful ticket. If you keep making your sketch prettier or just change a few things, and replace the image in nomad, then in vwx is just a matter of updating the reference.
I personally like using this method for storyboarding videos o just doodling a future rendering. Or just for a quick floor plan sketch.
-
2
-
-
On 2/16/2022 at 1:39 AM, Tom W. said:
Thanks Luis do you still want to look at a file given the issue has been reported as a bug?
Negative. This issue seems to be on the right track
-
1
-
-
2 hours ago, Tom W. said:
Definitely something to send to Tech Support or file a bug over!
What is really annoying is every time I change a setting to try to root out what's going on the VP just goes blank so I have to create a new one.
Perhaps @Luis M Ruiz can shed some light on the matter?
Would you mind sharing the file in a private message? I'll take a look at it.
-
1
-
-
In order to set a view, nowadays many of us make use of all of these navigation tools. Once we like the view position, typically we save the view and create a viewport from it. The next level would be to place a camera object and make the camera match the view and then create a viewport. There are many advantages for using a camera object, including being able to use its rendering effects. Then the next level would be using one of these 3dnavigators.
I like the use of the Rotate 3d view but only if I know the rotation values.
-
1
-
-
Controlling the background and the reflections is one of the advantages of using rendering styles. This feature was introduced back in 2016. The use is really cool. imaging this, your background could be a desert but the reflection on your shiny model could be a snowy mountain. That sort of magic.
-
1
-
-
To start, I'd use brightness by percentage. 100-150-200%. all of these values really make a difference when using normal, smooth or realistic setting. When it gets interesting is when you make that light as a symbol. The symbol can also be control by percentage. So you could have a standard light at 100% brightness inside the symbol but when placed in your model set at only 50%.
-
1
-


different heliodon times for different viewports?
in Rendering
Posted
Here is my personal suggestion. Go ahead and create multiple Heliodon objects, each with different times. Put them in a class for better organization.
Create multiple viewports of your scene. While selecting a viewport, check out your visualization palette. You'll find multiple heliodon objects and from there, just turn off the ones you don't need. I am attaching an image for clarification. Let us know if this works for you.