


techdef
-
Posts
245 -
Joined
-
Last visited
Content Type
Profiles
Forums
Events
Articles
Marionette
Store
Posts posted by techdef
-
-
Set the sheets for low-rez for use doing previews & then over-ride to XXX DPI @ publish. For example, use 72 for day-to-day operations, but when you publish it'd re-render everything to 300dpi.
-
 2
2
-
-
Thanks Jim, I also found this in the help:
By default, a viewport’s ambient light is set according to the ambient light settings of the first visible design layer in the viewport. If there are no visible layers, the ambient light is set to on, with a color of white and a brightness of 35% (similar to the default ambient lighting for a design layer).
So for me, turning the Background off on all design layers except the ones with the sun I'm using in that particular viewport did the job too.
-
Hi, somehow I'd assumed that the Lighting Options for a viewport affected only that viewport. It doesnt seem to be the case. I'd like to use HRDI White for elevations, and HRDI Mostly Cloudy for perspective views. I cant seem to get the different viewports to have alternate backgrounds. As seems the case in VW, i can see this setting in at least 3 places but none of them do what I'm looking for. Please advise!
thanks,
-j
-
Design layer viewport referenced in some standard details - i'd like to just draw on them a bit & then show them on my detail sheets. Working great, except in the final detail viewport placed on the sheet, turning off NonPlot doesnt affect the non-plot in the reference? Is there any way to leave that on in the design layer but off in detail viewport?
-
Where do you turn off the 'feature' that occurs when one creates a viewport? As in; working in top/plan on a design view layer, create detail viewport, the window I'm working in switches to the sheet layer targeted for the detail. If i've already got both those views open on my screen(s) its highly counterproductive to have to keep resetting things...
-
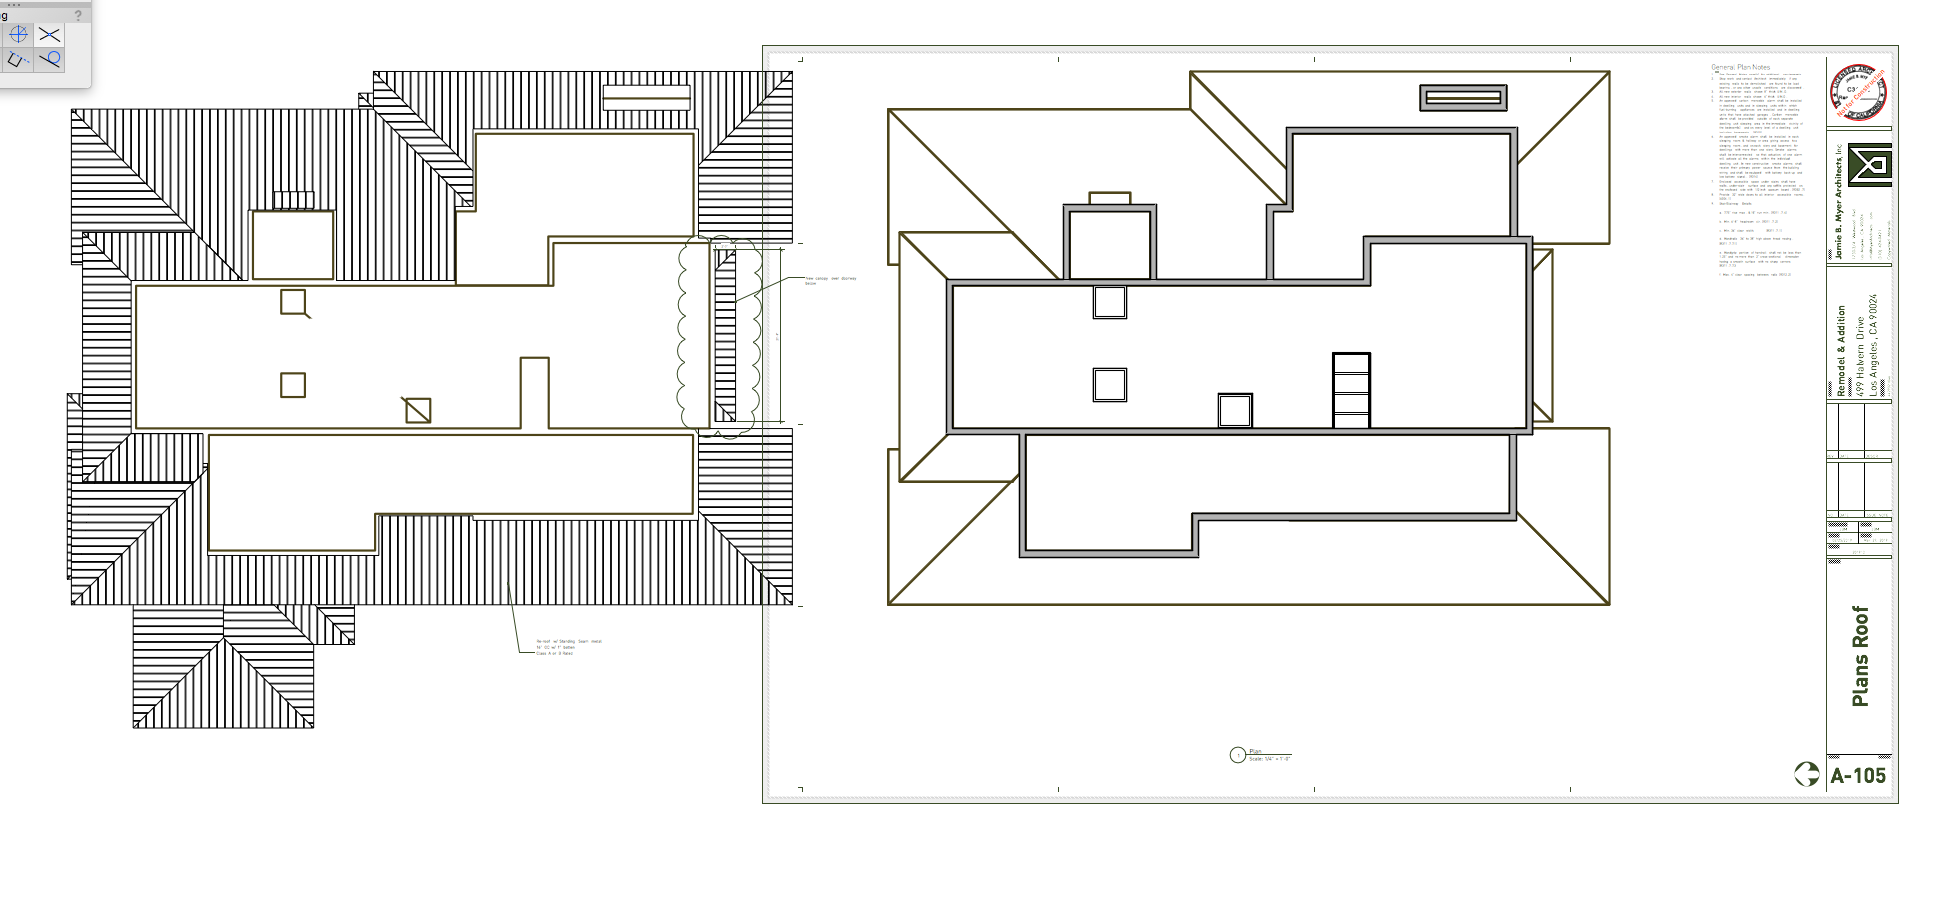
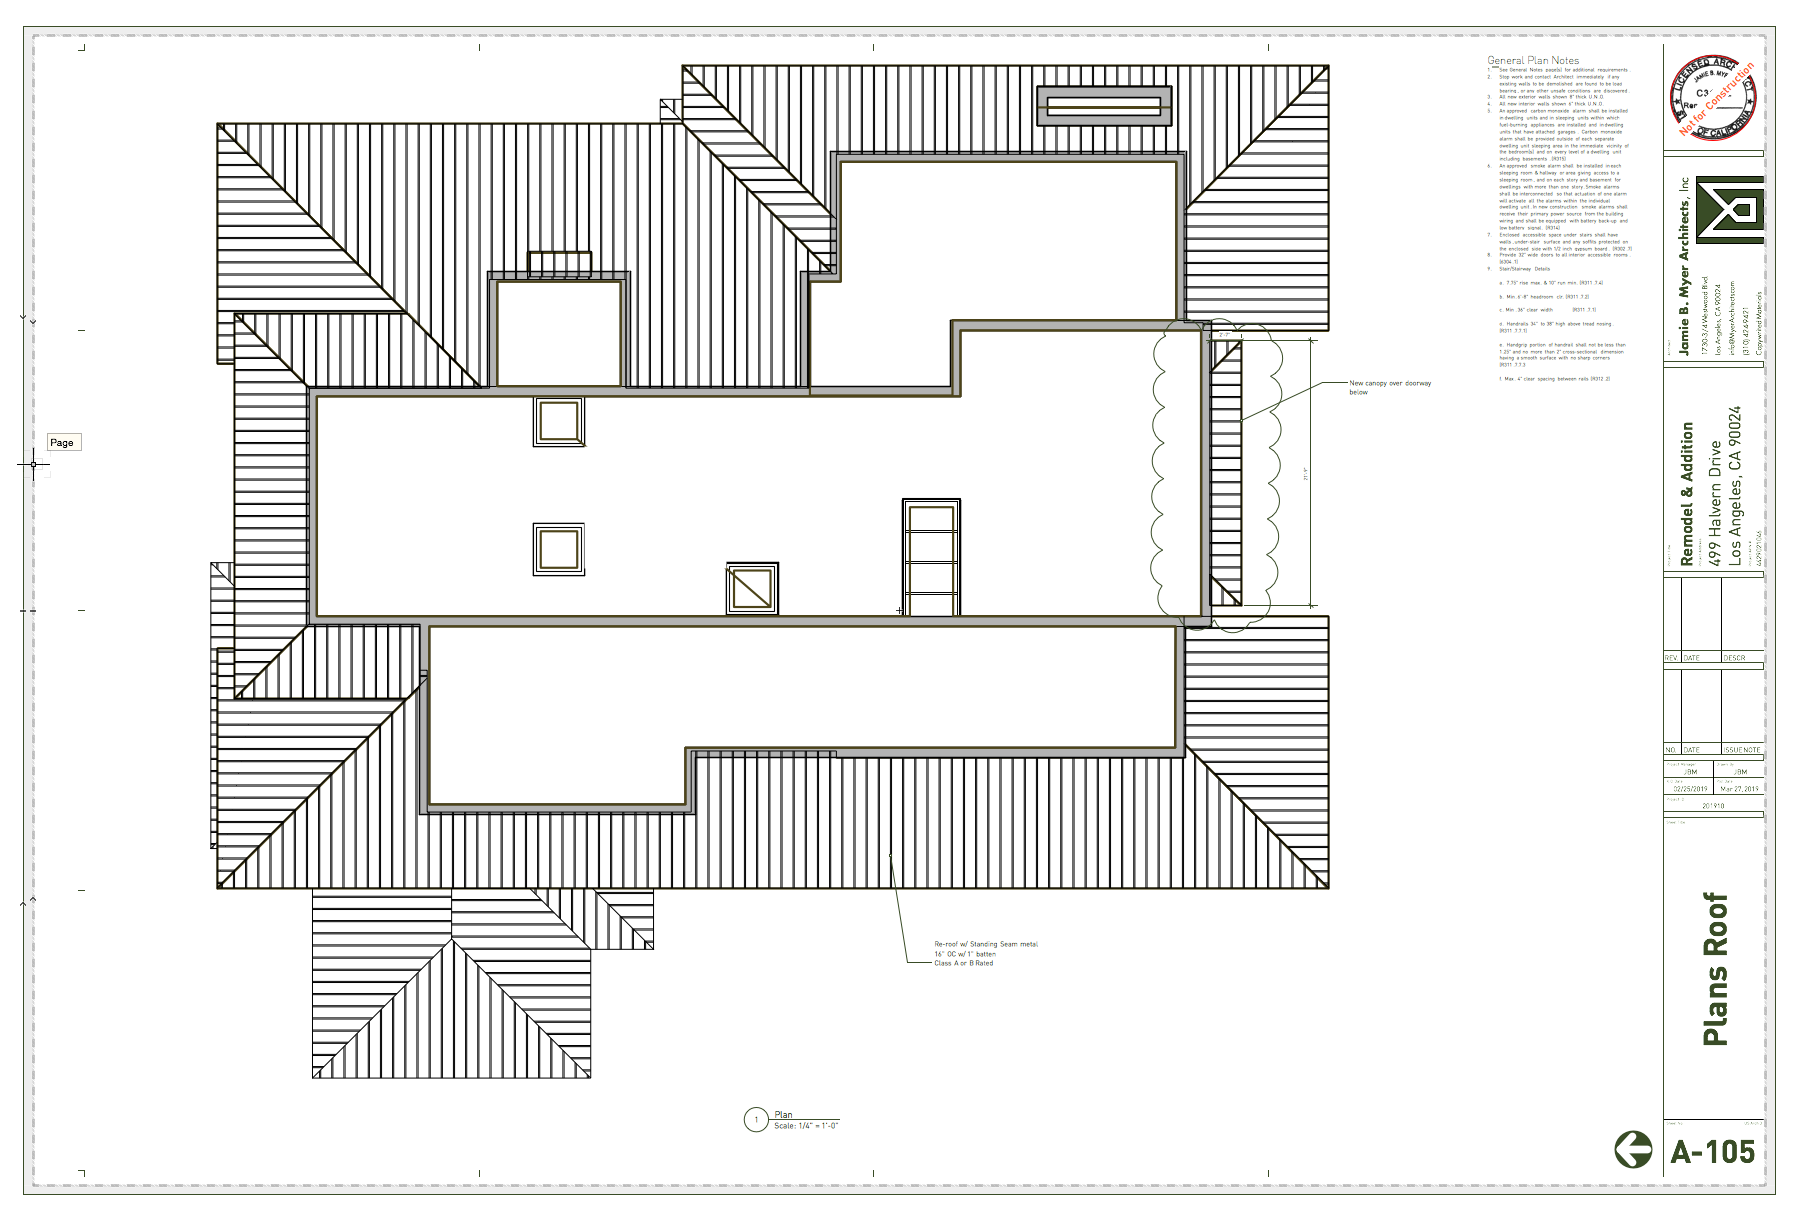
Someone probably beat me to this, years ago, but I have trouble with the search feature on this site... So, for those of us who really like the idea of the roof tool but are frustrated that it doesnt show hatch or texture in Top/Plan viewports... I had an idea today that worked rather than drawing a ton of dumb polys on top to get the hatch right,
- Get your roofplan VP up and happy in Top/Plan & Wireframe view; the default.
- Duplicate the VP. Turn off all classes except whatever your hatch is in (in this case, Component-Ext-Finish-Roofing). Change VP background render to Hidden Line. (see 2VPs.png below).
- Align the duplicate VP on top of the original. (see Merged.png below).
May not be perfect, but does 98% of what I needed, and is live geometry so no duplication of effort when the roof changes later on...

-
2
-
- Popular Post
- Popular Post
Friends,
I'm just writing in now to report that thus far, I'm THRILLED by vectoworks. We're still in the changeover process from ACAD on old projects, but I've got a 5-story over 2 basements apartment building through SDs in VW and its been a joy so far. SD drawings are really coming out legible and elegant!
As new users in 2019 we've jumped right in w/ BIM in 3D. Today marked our biggest victory and payback. Client came in, after some discussion about grading, we changed all the floor-to-floor heights. I updated them in the Story settings. Walls, slabs, sections, elevations, even story elevation markers all updated. F'ing brilliant. That would have been a few days of work in dumb CAD. Going home happy!
-
11
-
Folks, somehow stair origins are offset from the stair by the amount above 0' that their Story is. For example, B2 is 424' above 0'. Stair Insertion point is at 848'. Not a major thing, but inconvenient for zooming and for making sections/elevations. Any guidance? I cant figure out how to move 'em.
-
Hey - is this "working" still for 2019 version? I'm failing at the install instructions in the Edit Workspace portion... I cant find it on the 'left'.
-
7 hours ago, Jim Wilson said:
Jim,
Behaviour exactly as you'd described. Turned off the circle marker & new stipple works fine.
Thanks
-
"SHOULD" indeed!

-
Thanks Jim,
Nothing in blank file resources at all. Scale is matched.
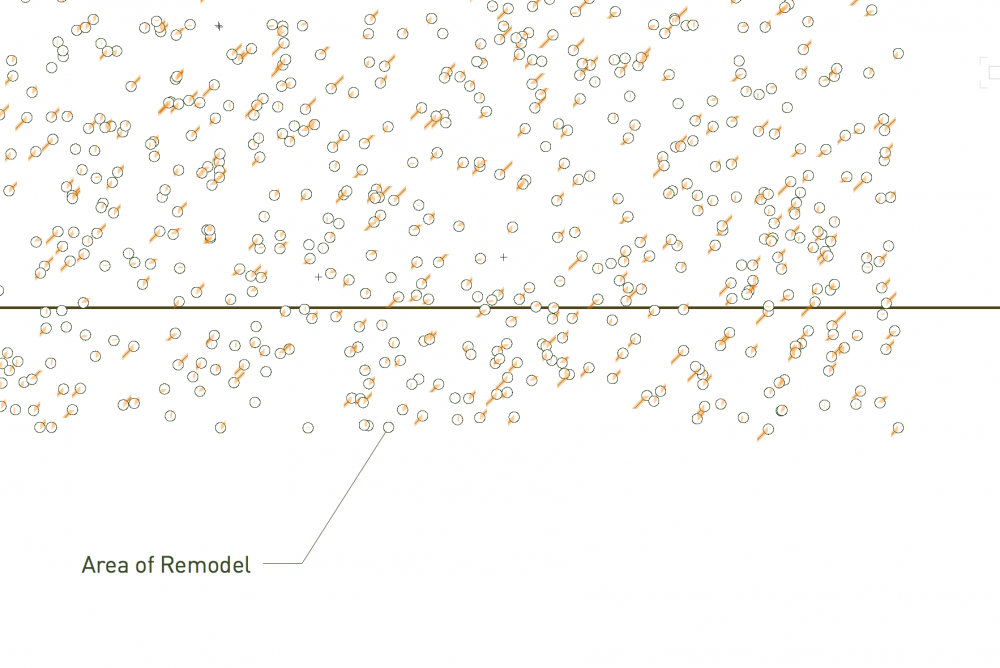
Copy/paste back and still has circles. Its definitly coming from the Class - I changed class & the circles can be changed to arrows.
How do you turn that off? There's no "none" setting in the class Marker pulldown?
-
Jim, they do NOT appear when copy/pasted into a blank file.
-
Art,
Thanks for the reply - I think you may be right. The linetype is not available for my stipple however? Those little boxes arent in the Attributes palette.
-
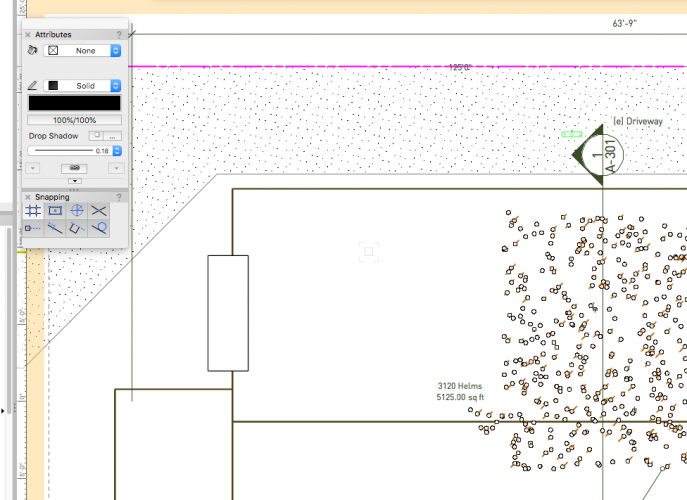
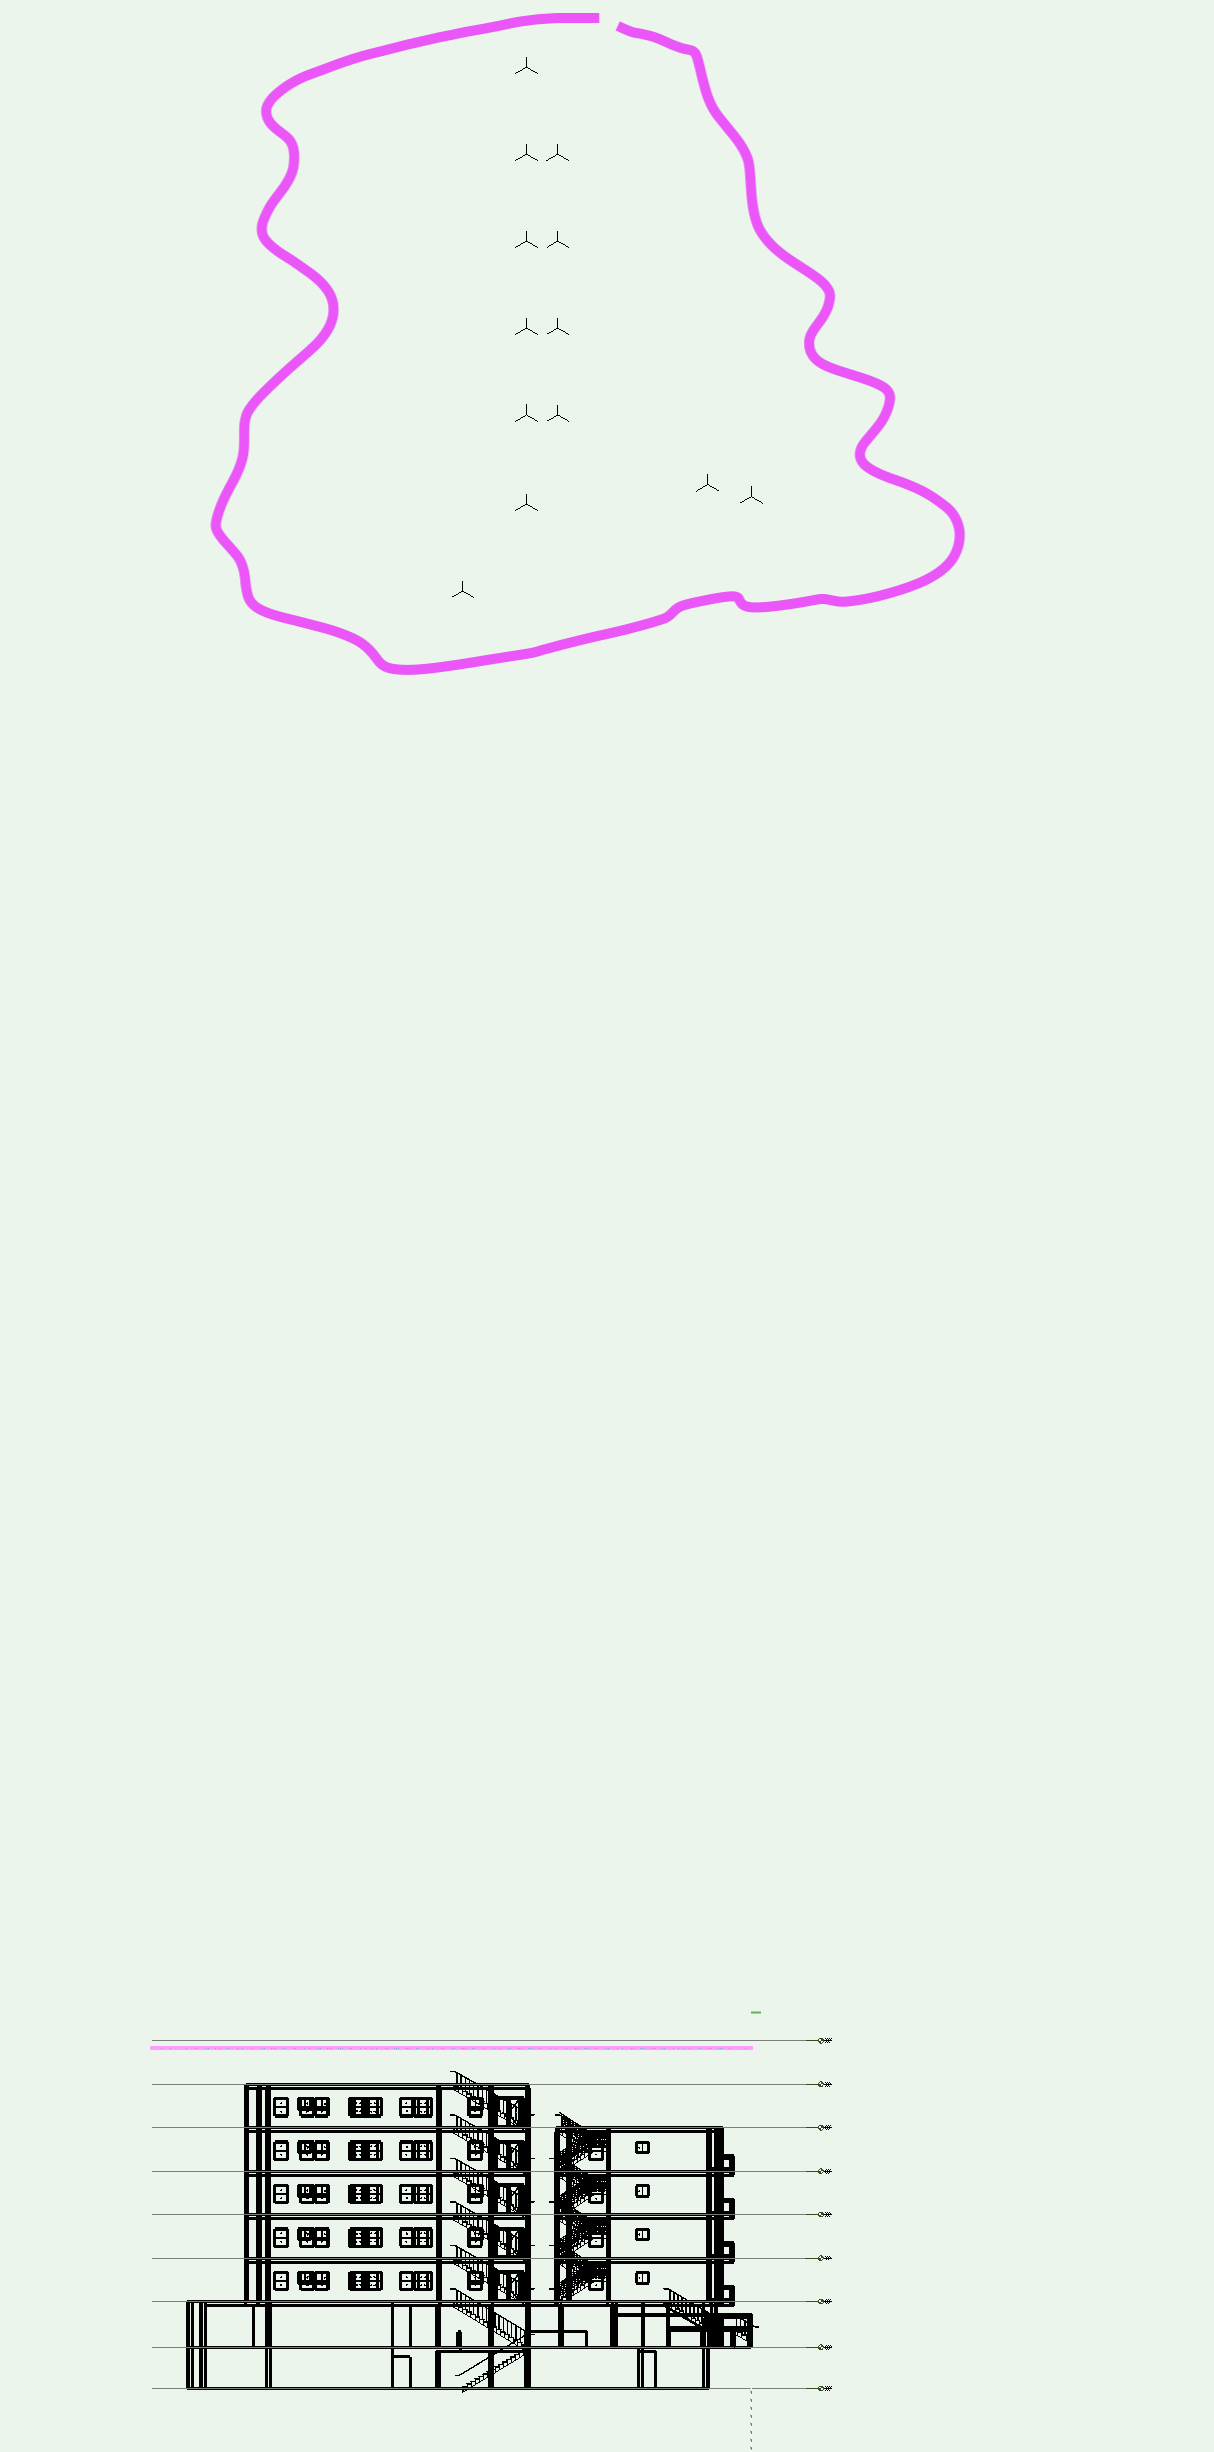
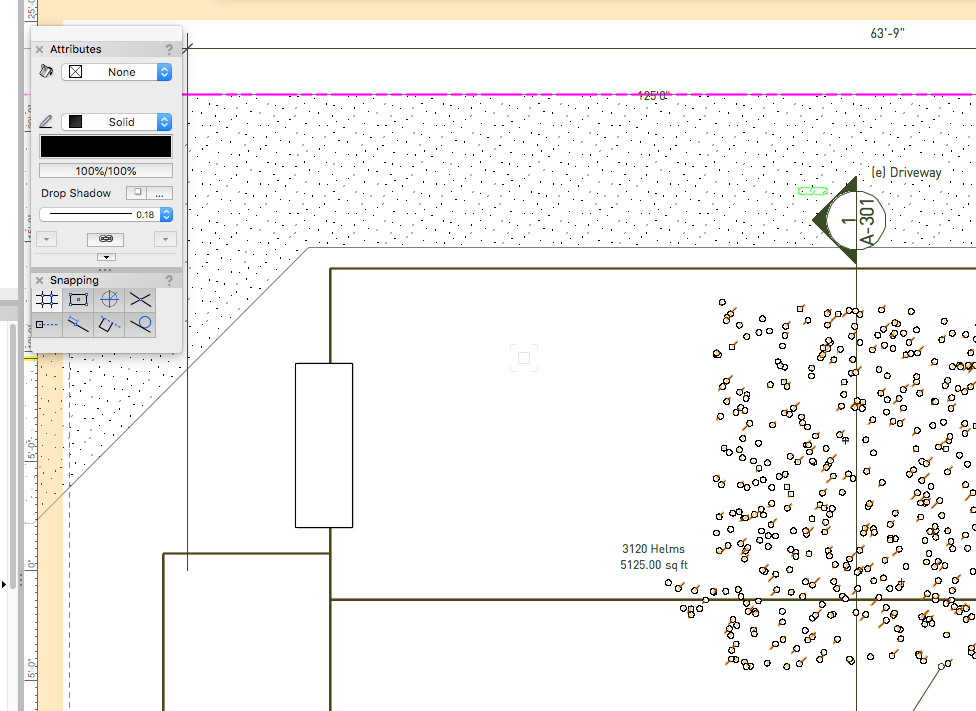
Folks - I think i have 2 related issues, please see images attached.
One is a section-elevation marker placed into annotation layer of a viewport - the "link" icon is bubbly & unusable.
Second is a stipple pattern, also all bubbly. Its supposed to be just lines. Even the PDF shows this way.
Stipple pattern is annoying, the section marker is unlinkable - cant click the icon.

-
Seems the "image" field uses whatever class color is set for Window &/or Door. I'd certainly like to be able to have those black on schedule, but not in all plans. Anyone know where that setting is?
thanks
-
nevermind - just inputing pitch works. Cant find the delete button on this wishlist post though?
-
Ah - answered: make a titleblock with nothing in it!
-
Hi - I'm trying to have a few sheets without titleblocks but access the data in the title-block manager...
For example - several letter size sheets with PDFs of the building dept. application forms. I like to print these, and as the manager already knows the address and much other info I'd like it to autofill.
Thoughts?
-
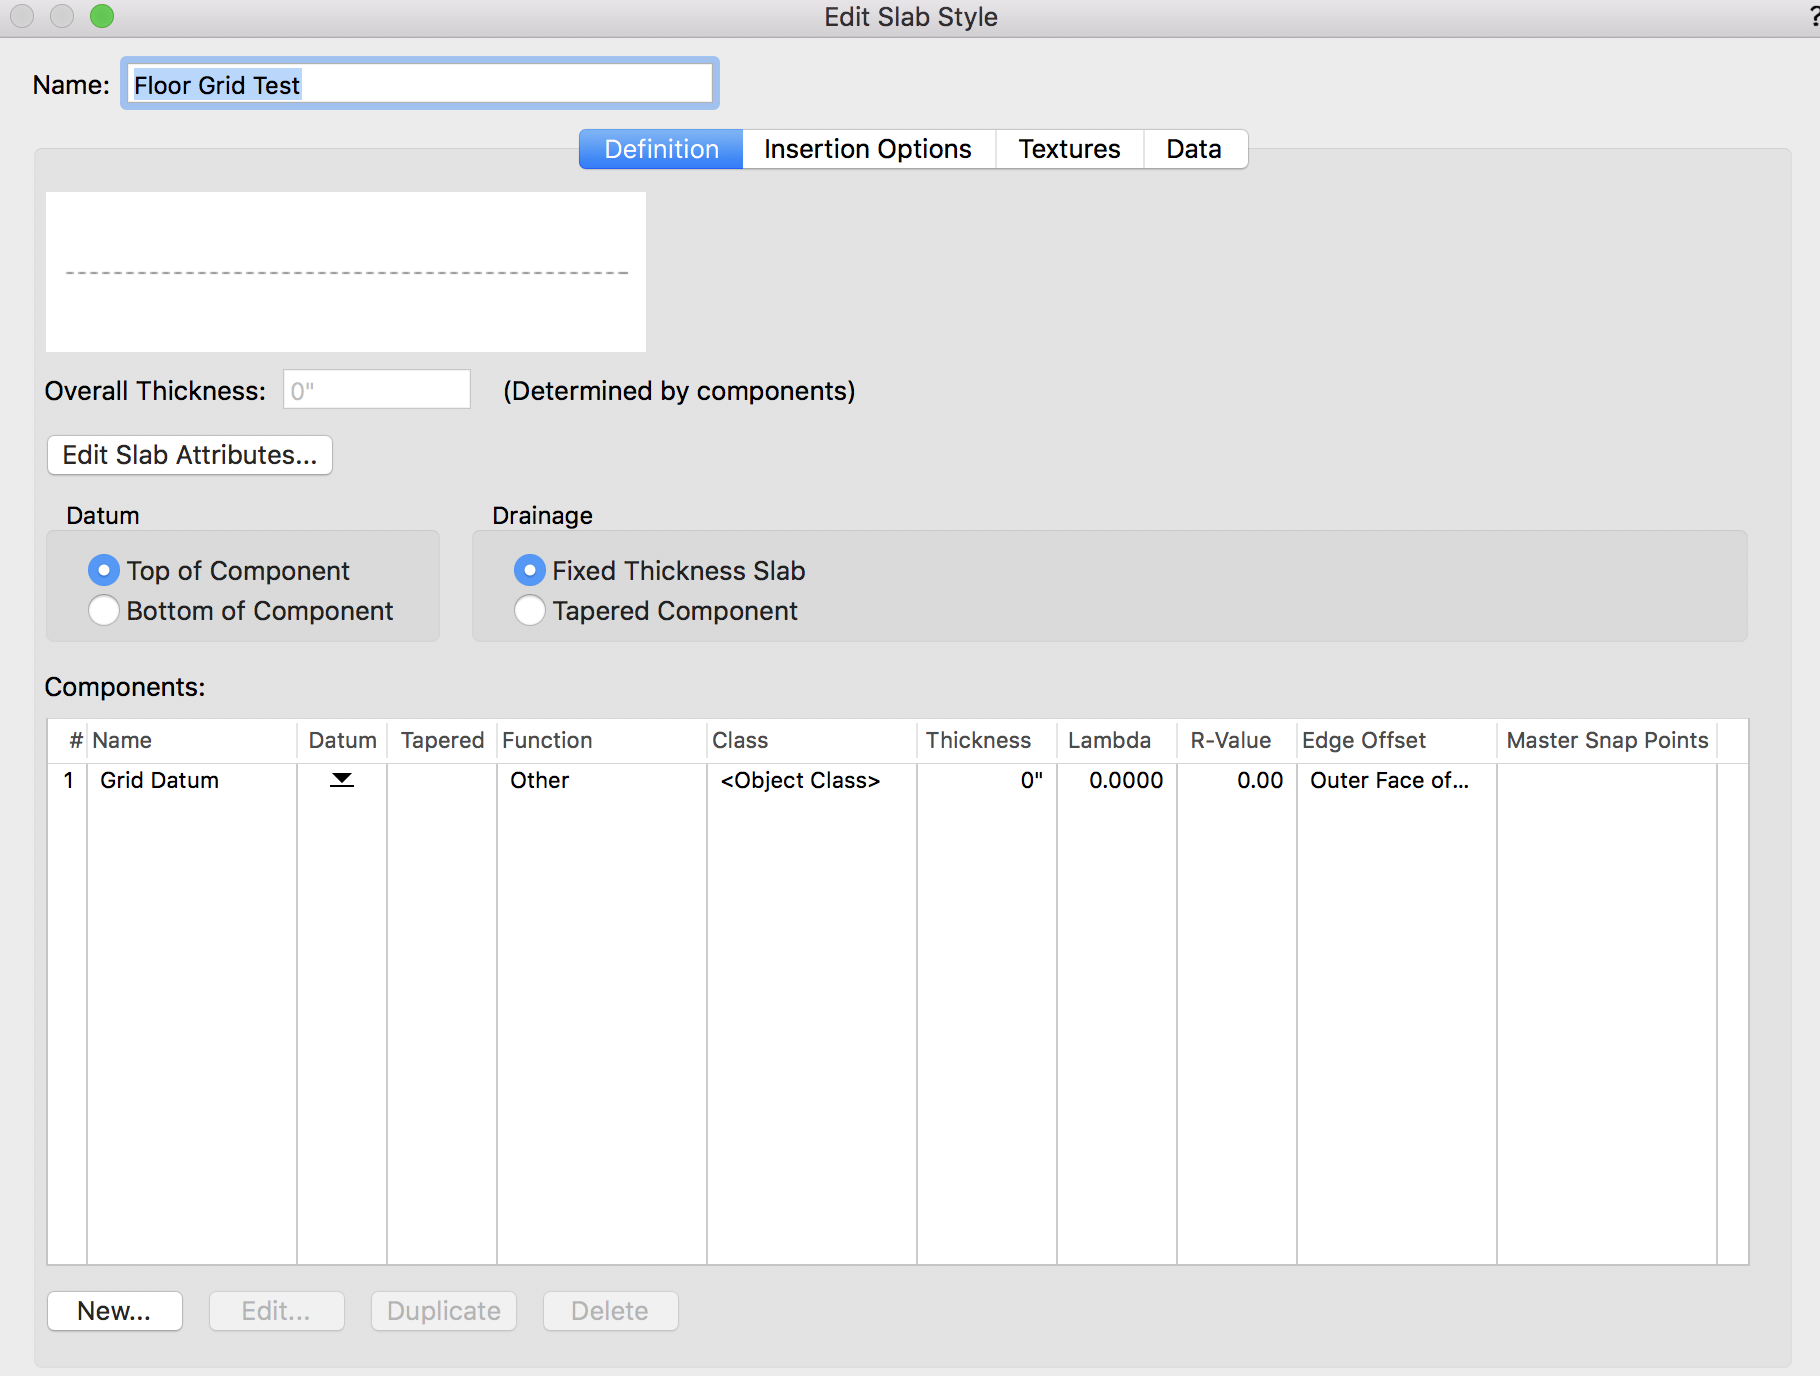
Folks,
Feel like I'm close here but still too new to VW to push it home...
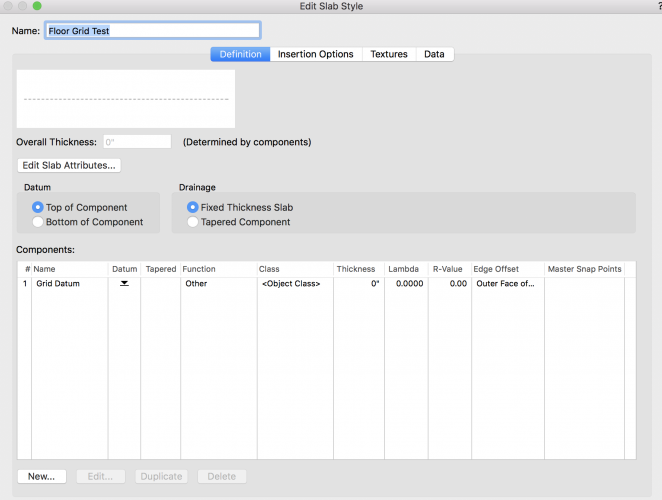
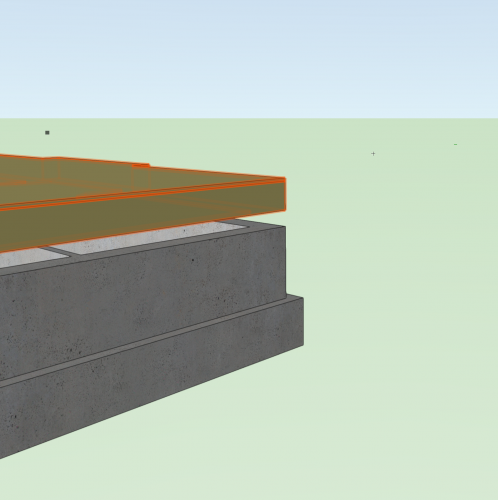
Slab of zero thickness works fine for a grid datum. That's included.
Story marker symbol, needs some help (as do I!): Made a symbol that works fine in design layers. In hidden-line elevations not so much, the filled green areas of the elevation symbol dont fill as expected. I'm sure I"m doing something wrong with classes but for the love of computers I cant make any solid color appear in hidden line (for elevations).
Alternately - using the symbol with data-tag tool works brilliantly in a viewport as it throws them all in a nice neat column. However, its somehow tagging the same symbol that was placed in design layer, not tagging the floor slabs!? Need your wisdom here too.
cheers,
-j

-
of course.
I spent about an hour with Tech support taking over the computer. They seem aware of the issue (WesR and I arent alone).
HOpefully an answer soon.
-
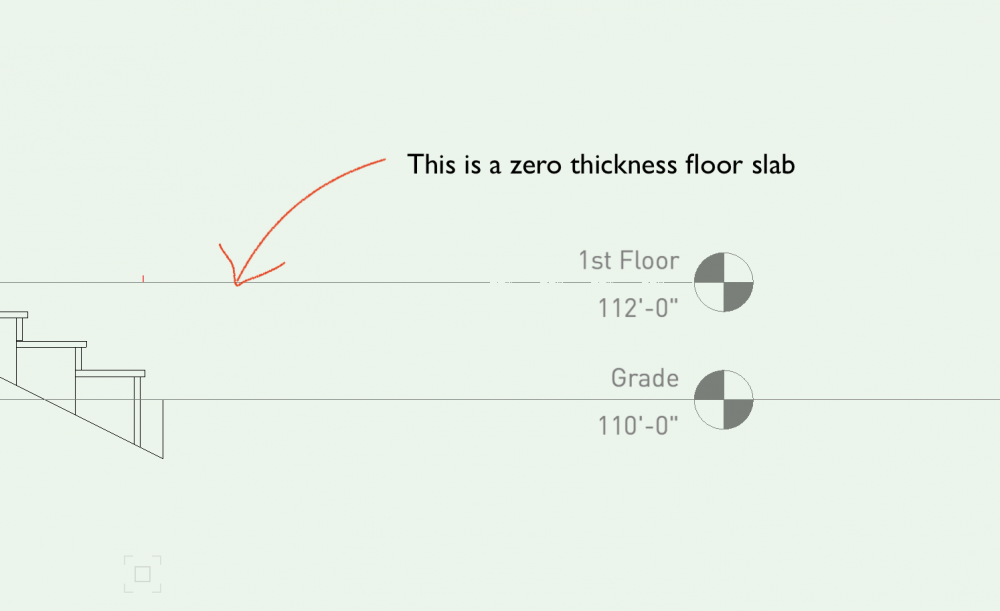
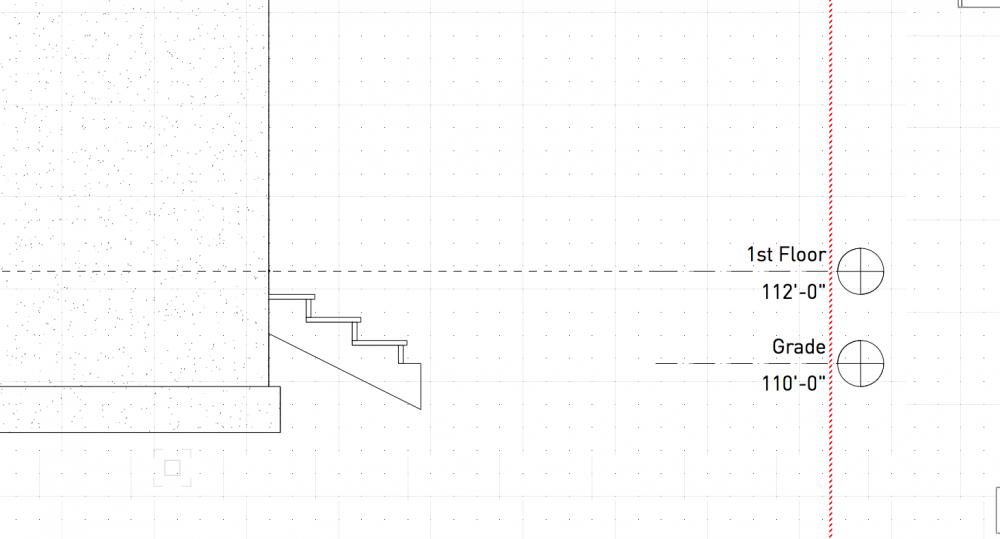
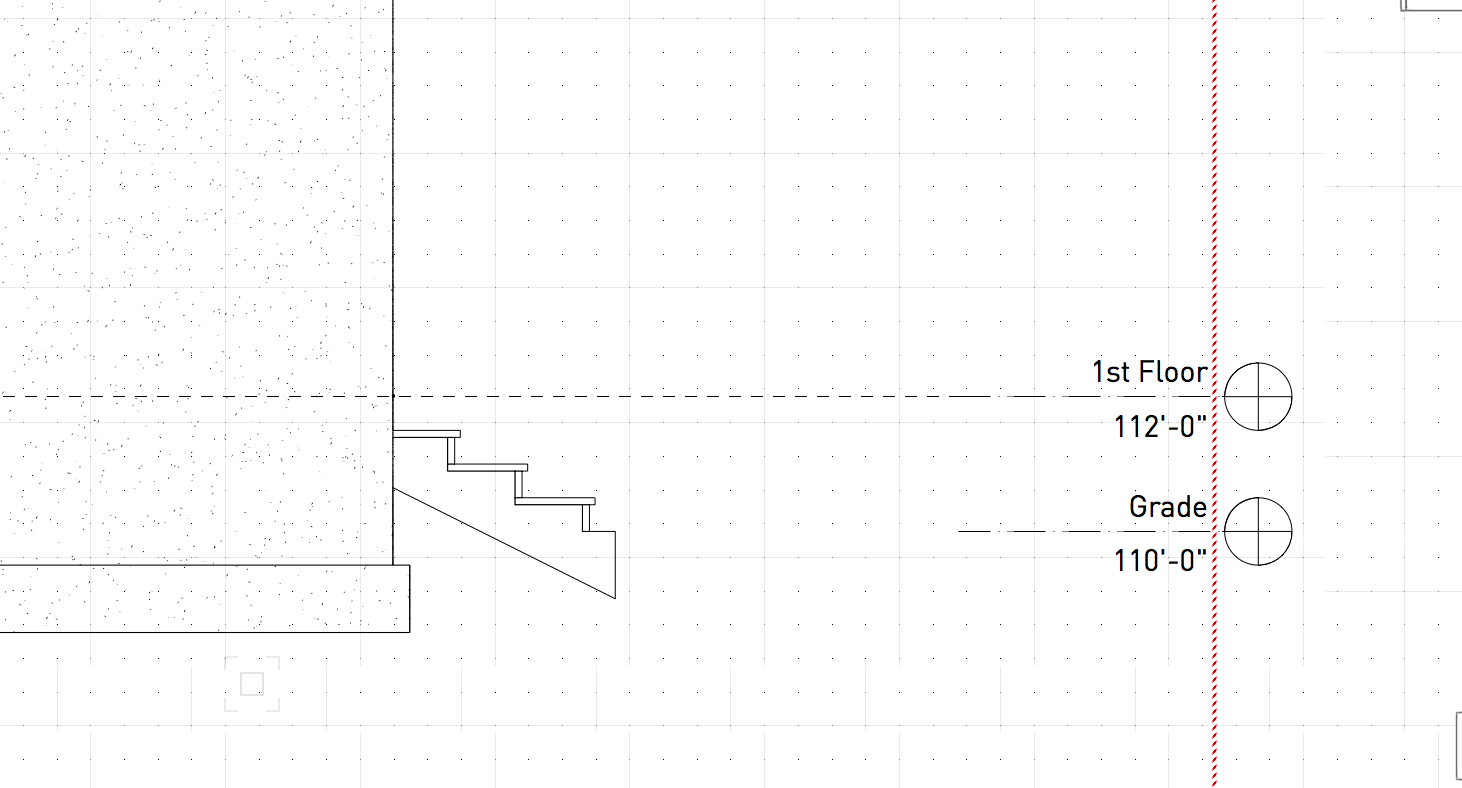
Folks, I'm playing around with an alternate idea for at least one set of grids - the heights.
Make a floor slab object the size of your grid box. New style as you see fit, no fill & no texture. I put mine by a grid class without those things. Make the floor slab object by datum and of zero thickness.
In side view (elevation) add an elevation benchmark tagged to this slab (which appears to be a rectangle). If you change the Story height, the slab (grid) and benchmark move accordingly.
Now if only I could figure out why the Benchmark Elevation bubbles arent displaying right on the Sheet... Two steps forward...
-
3
-
-
Hey folks - I've tried this a zillion times w/ no luck. Trying to make a grid bubble to attach to a floor slab (long story). Starting with a Duplicate of Window Hex, changed the current tag field definition to what I want. When I try to insert the tag it still shows as only applying to Windows. Where is that setting driven?
-
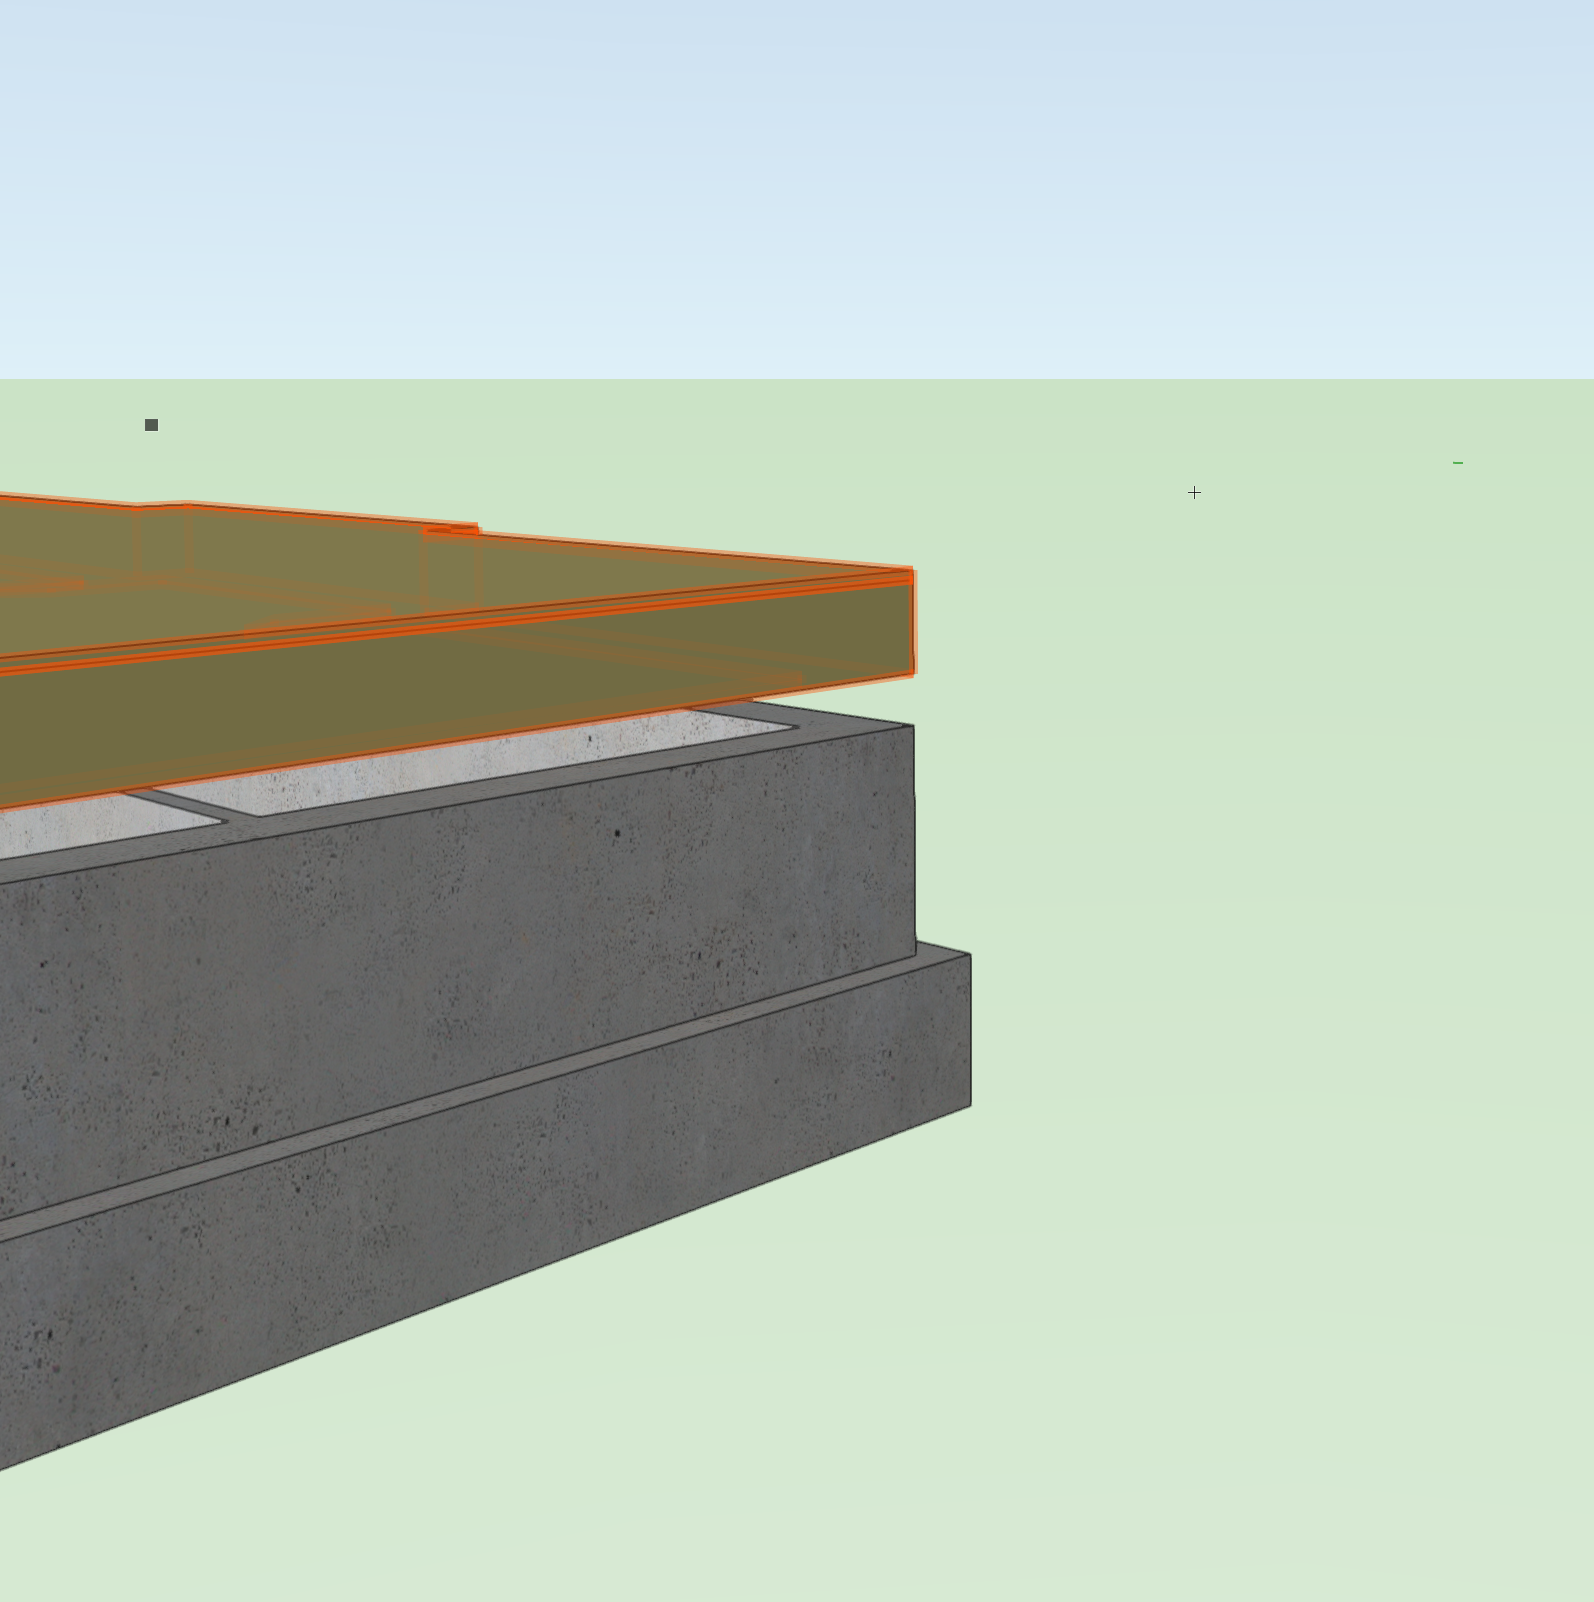
Hi there - been stumped on this for a bit. Is it possible to create a slab style that uses 2 height datums / layers?
I ask in relation to having walls below a slab which top out at "bottom of slab above", though the slab above is placed relative to "top of slab". So if you change thickness of slab, the walls below are no longer touching. It would be great if that were automagic. Engineers love changing slab thicknesses...
-
1
-


Cant keep Workgroup on VW Cloud?
in Troubleshooting
Posted
In the interests of office awesomeness we're trying to keep our VW Workgroup on the VW Cloud (so everyone shares it).
It seems that the folders with - in the name do not sync.
These folder names are default from VW.
This is a problem.