Search the Community
Showing results for tags 'wainscot'.
-
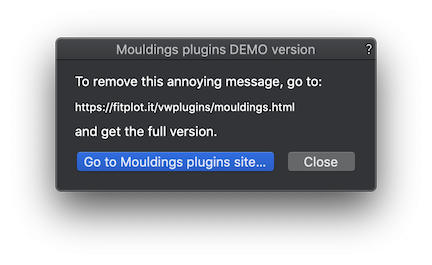
By popular demand, I have just released a Mouldings plugins DEMO version, so you can evaluate them all and, in case, proceed to buy. You can download the demo and find more info on Mouldings plugins starting from: https://fitplot.it/vwplugins/mouldings.html The DEMO plugins do all what the full version does, but they have, of course, some limitations. Each time you change a parameter of a Mouldings object, a message shows up, reminding you that you are running the DEMO. You can exit this dialog clicking the link button to Mouldings page (with the chance to buy) or clicking Close. The close button halts execution for 5 seconds, but after that, changes to the object are regularly applied. Installation… Unzip the downloaded file. You get two folders and a pdf (Mouldings plugin IV Manual). Move the “Mouldings” folder inside your Vectorworks Plug-ins folder. Move the “Moulding - Models” folder inside Vectorworks Libraries/Defaults folder. Restart Vectorworks. Edit your workspace adding the (Mouldings) plugins. Whenever you'll upgrade to the full version, you’ll just have to replace the two folders above with the new ones I'll send, restart Vectorworks (no need to edit the workspace again) and your saved works will recognise the new plugins seamlessly.
-
In the past I created an exterior wall (e.g. 2x6 stud wall) + a separate wall for masonry veneer (4" + airspace). This requires separate symbols (or breaks) for each wall to install a door or window that cuts through both. Messy and time consuming. Is there a way to use VW wall types with components to do the same thing? I can create a wall with a masonry veneer component that stops at 4' above the slab, but then there is no finish material above 4'. How do you make one wall that has siding above the masonry veneer using the VW wall tools? The advantage will be if 3D door and window symbols will insert into each component (siding and masonry) correctly. TIA


