


Luis M Ruiz
-
Posts
457 -
Joined
-
Last visited
Content Type
Profiles
Forums
Events
Articles
Marionette
Store
Posts posted by Luis M Ruiz
-
-
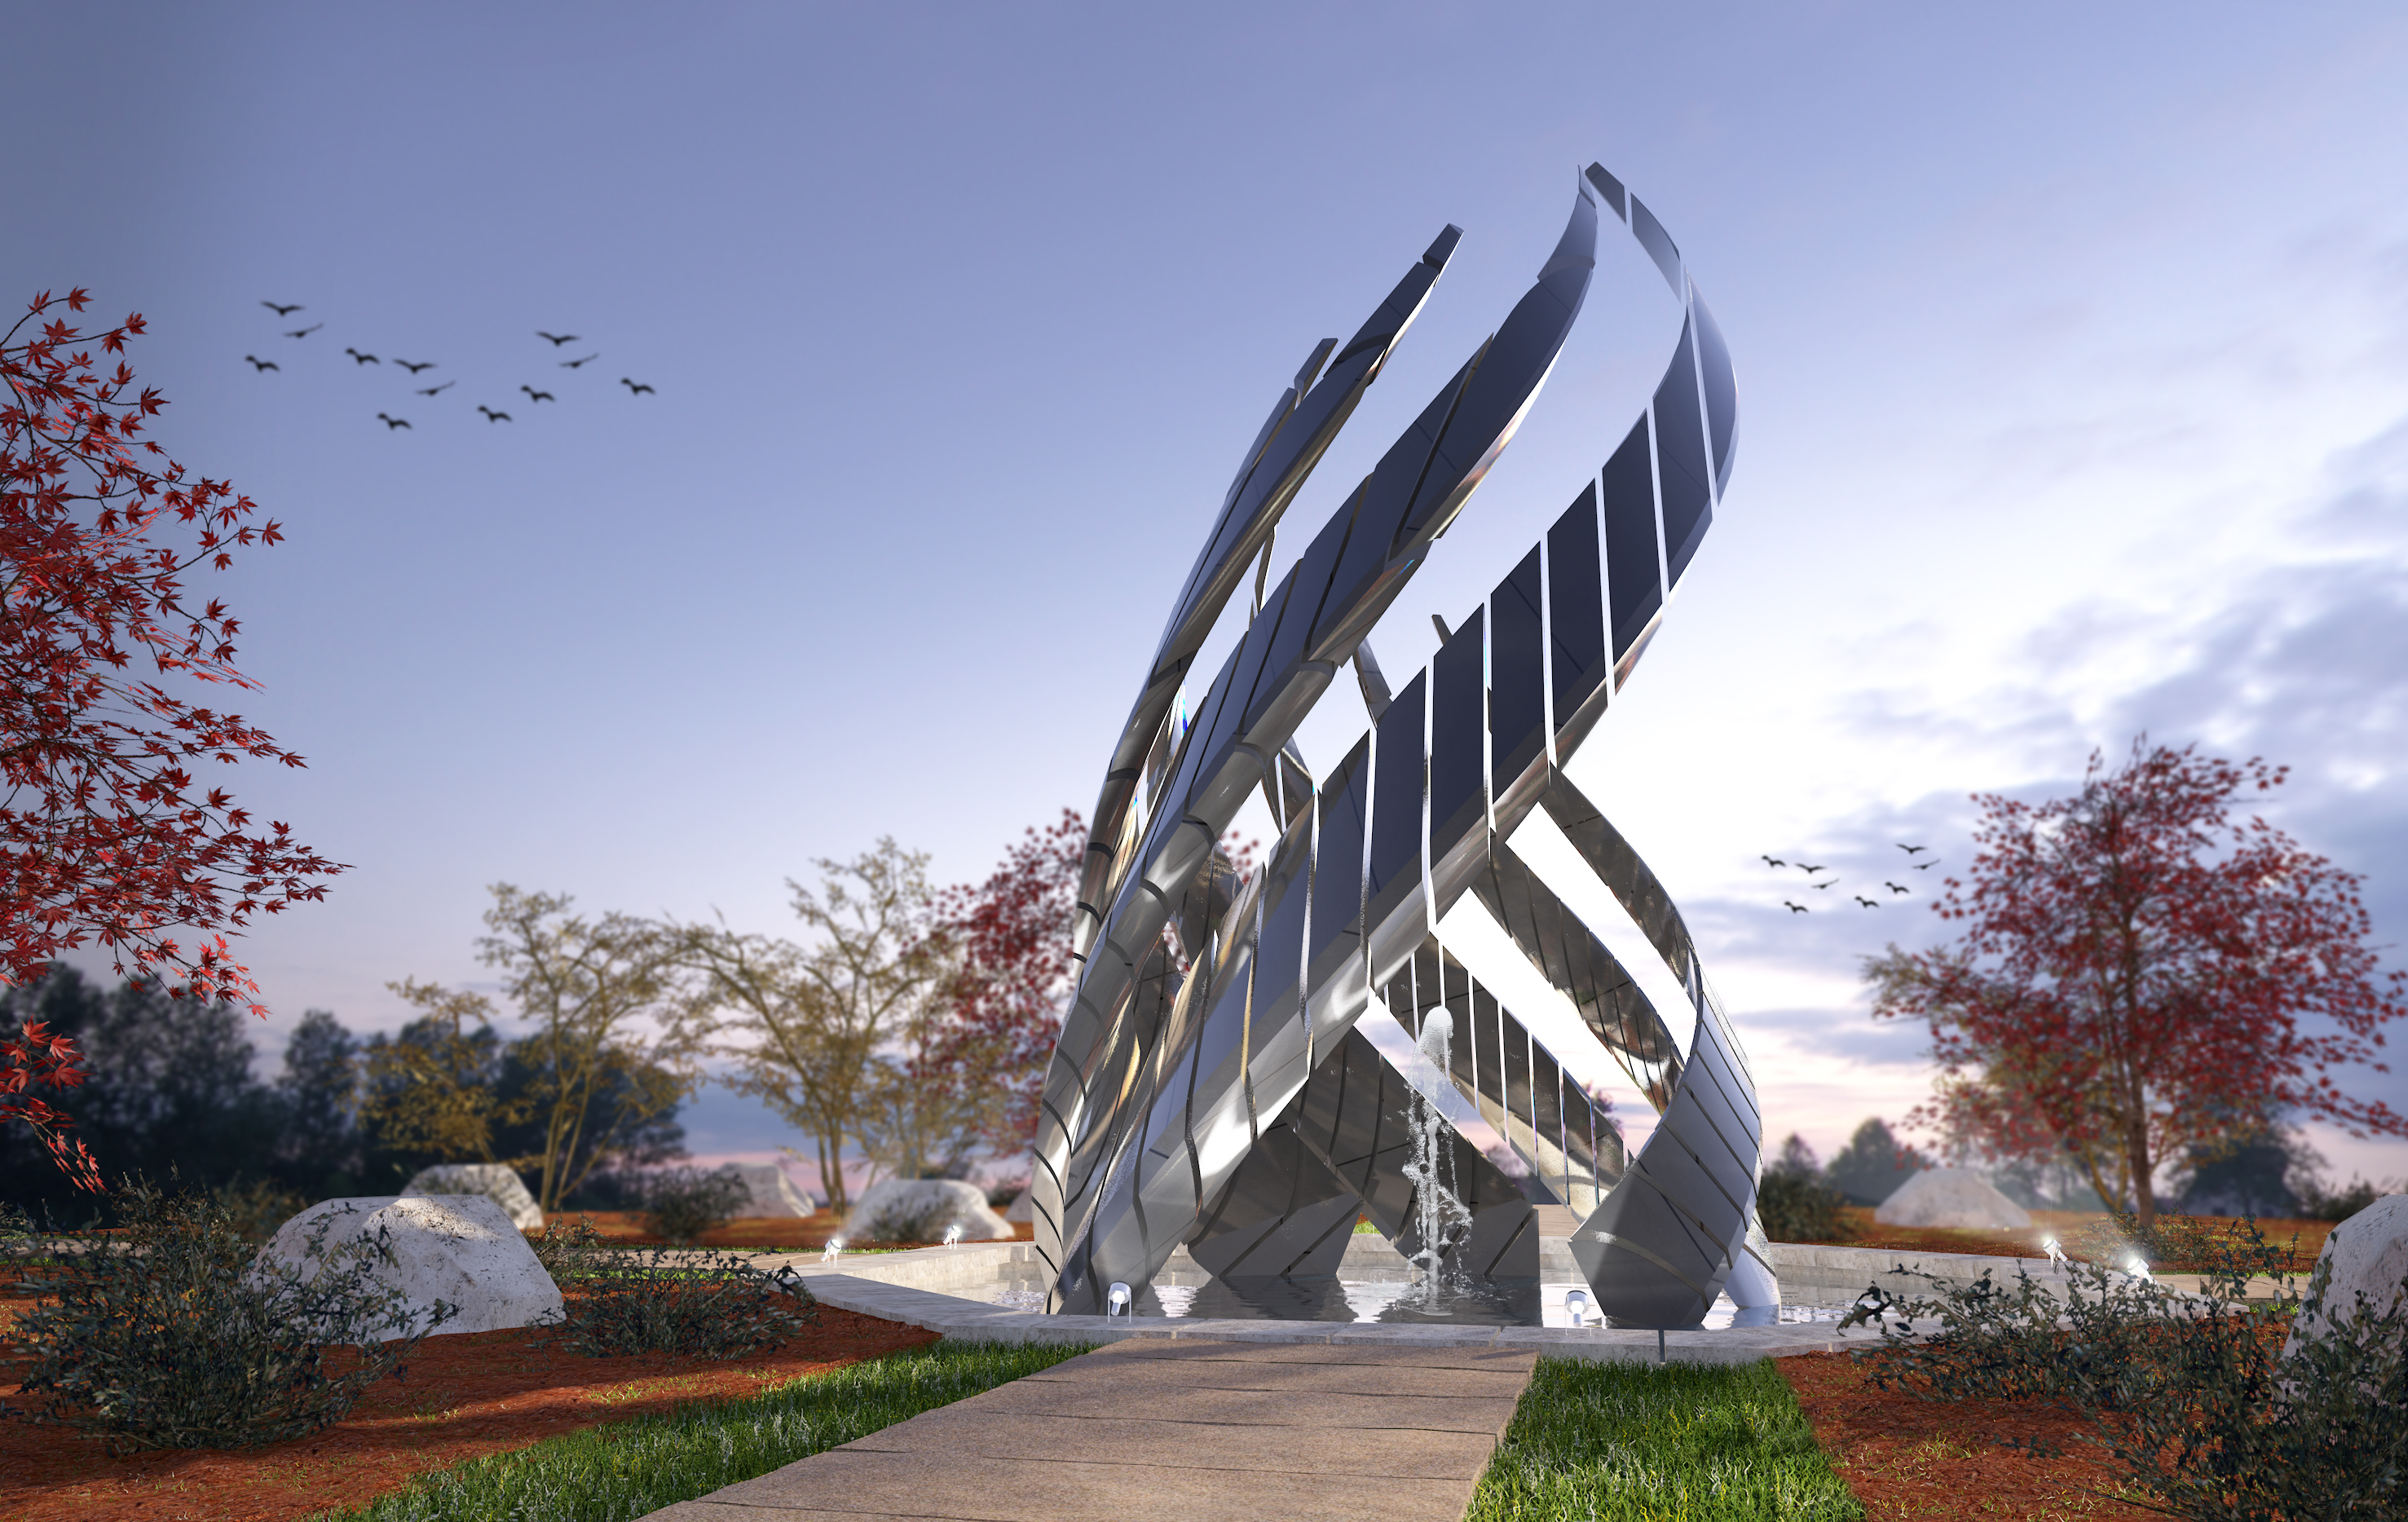
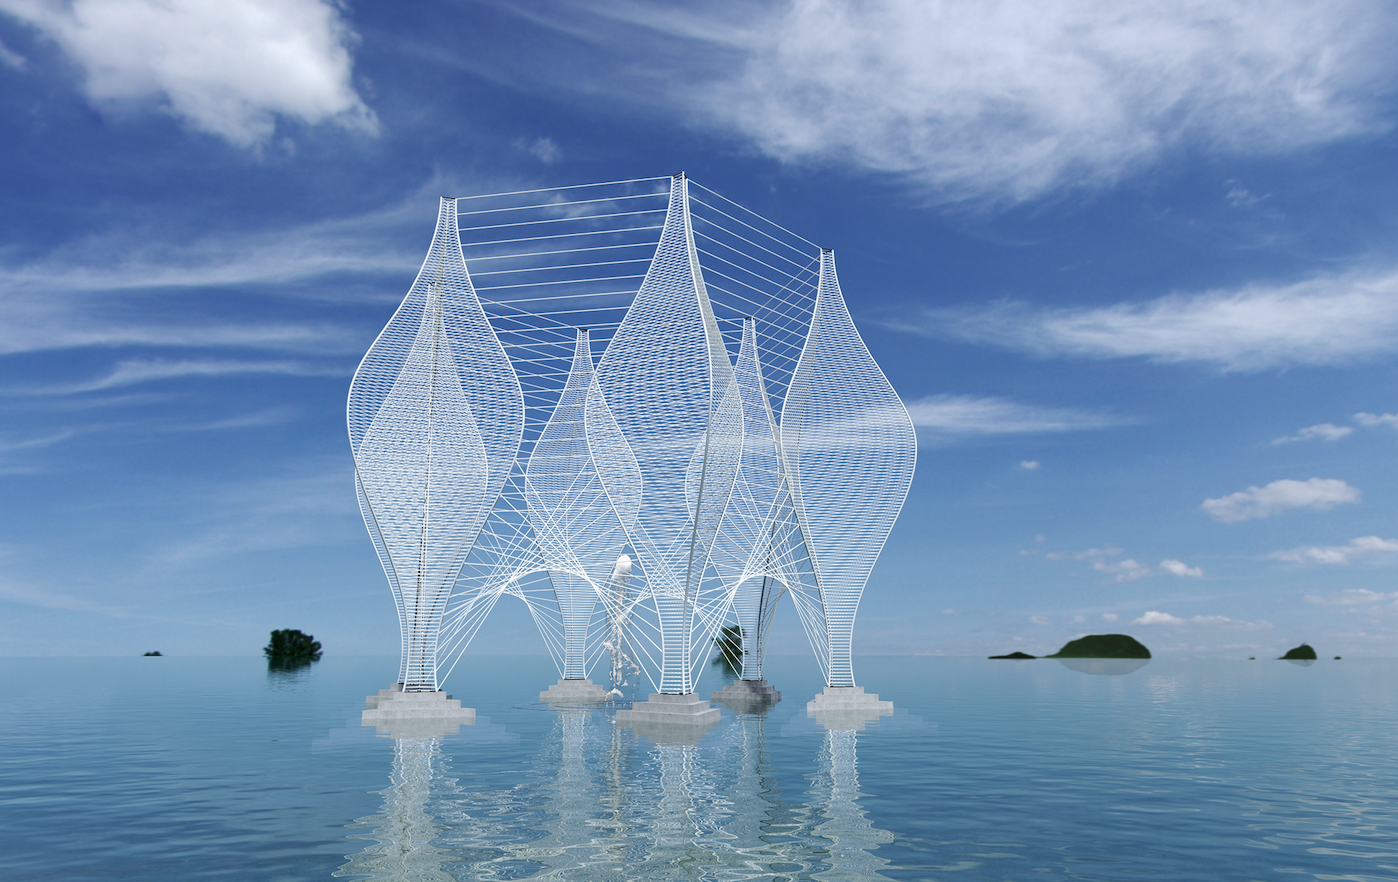
A few days ago I wanted to create a project including water. I was happy with the way the water turned out, took me several tests.
Here you have a couple of renders. I am also including the v2017 with that texture for your use.

-
 4
4
-
-
Unfortunately you wont be able to close the gap. The background is a panoramic image and that one has the cloud lines above ground.
-
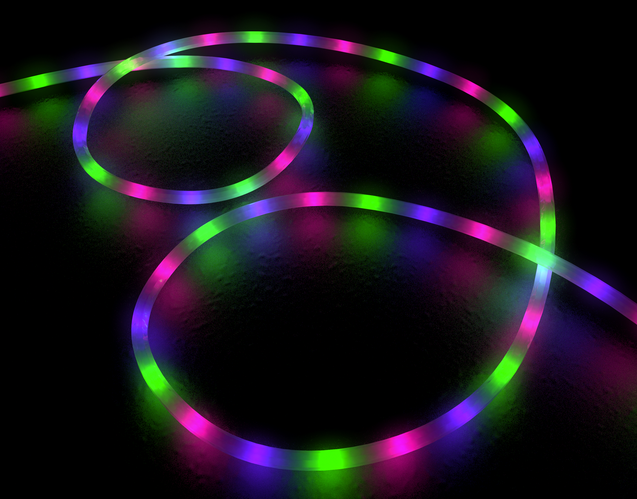
Since I read this post I decided to give it a try and test Renderworks and its ability to handle materials and lights. Here is what I did, basically is a matter of creating a extrude along path, then add little spheres inside and a point light source. The trick is on the materials and the light control. I created a render style that will allow me to create a bloom effect and wait for it to cook.
Here is a before and after photo editing.
What you think?

-
3
-
-
-
2
-
-
Keep in mind that if you are doing final renders then make use of sheets and viewports and do not rely on just screenshots from layers.
-
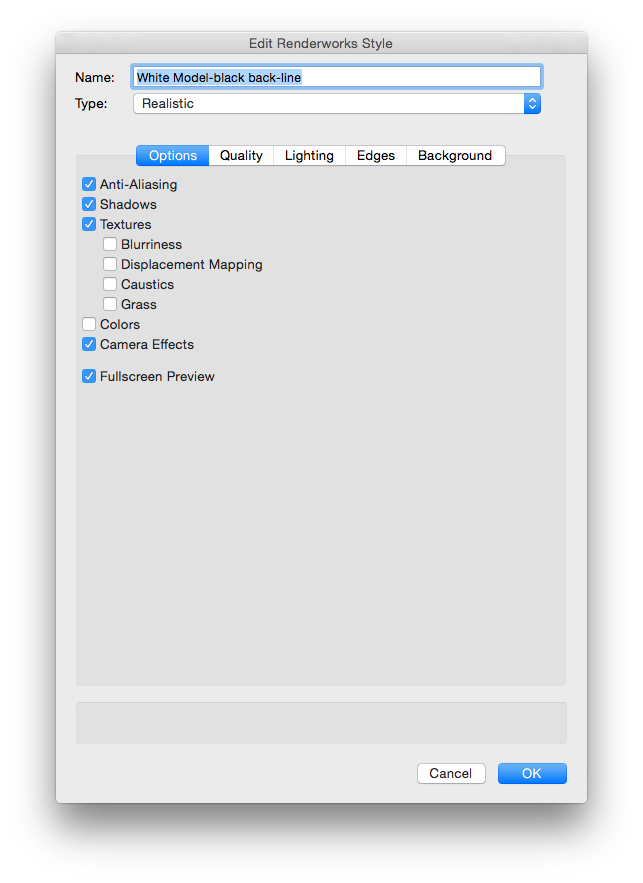
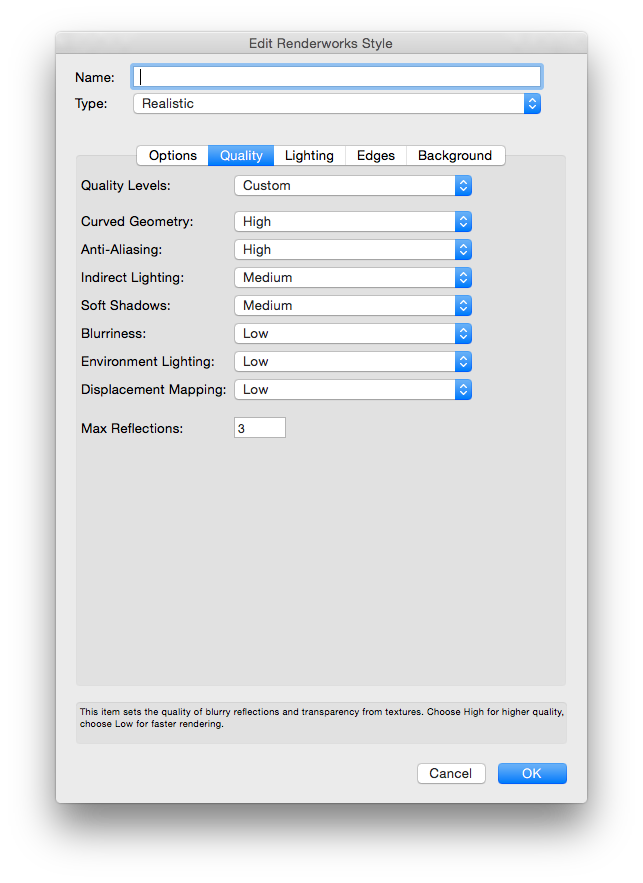
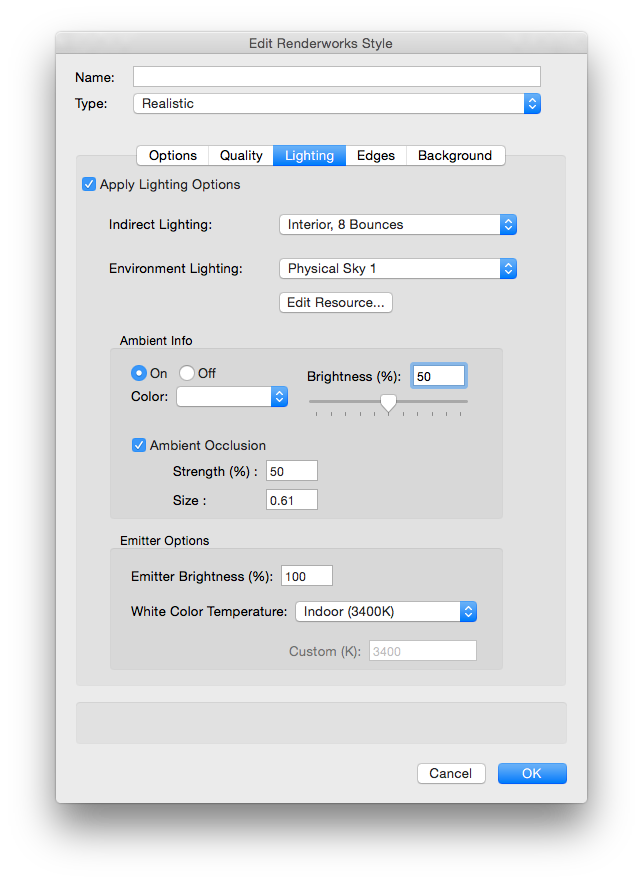
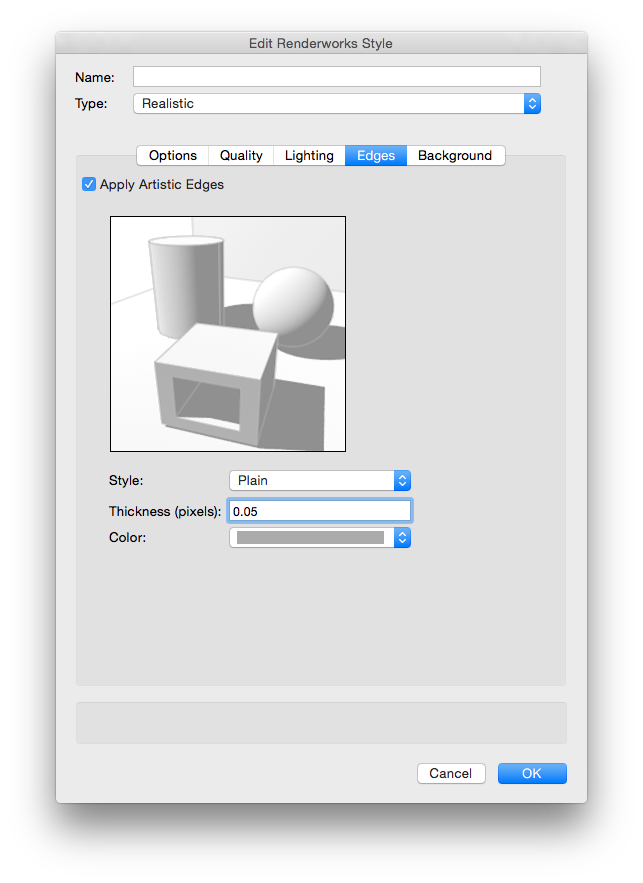
During the making of several rendering I wanted to test several Rendering Styles of my own and kept refining them as needed. Since I wanted to keep the model plain white I added only a few visible textures, the floor is a bit reflective with blur, one single light source, heliodon warm light 125 brightness and the glass needed some turbulence noise, about 500% size and very reflective. I did use a camera effect with 8% bloom.
Here are a few screenshots of one of my rendering setting for a white model with a black background and a fine simple artistic edge

-
Hello again.
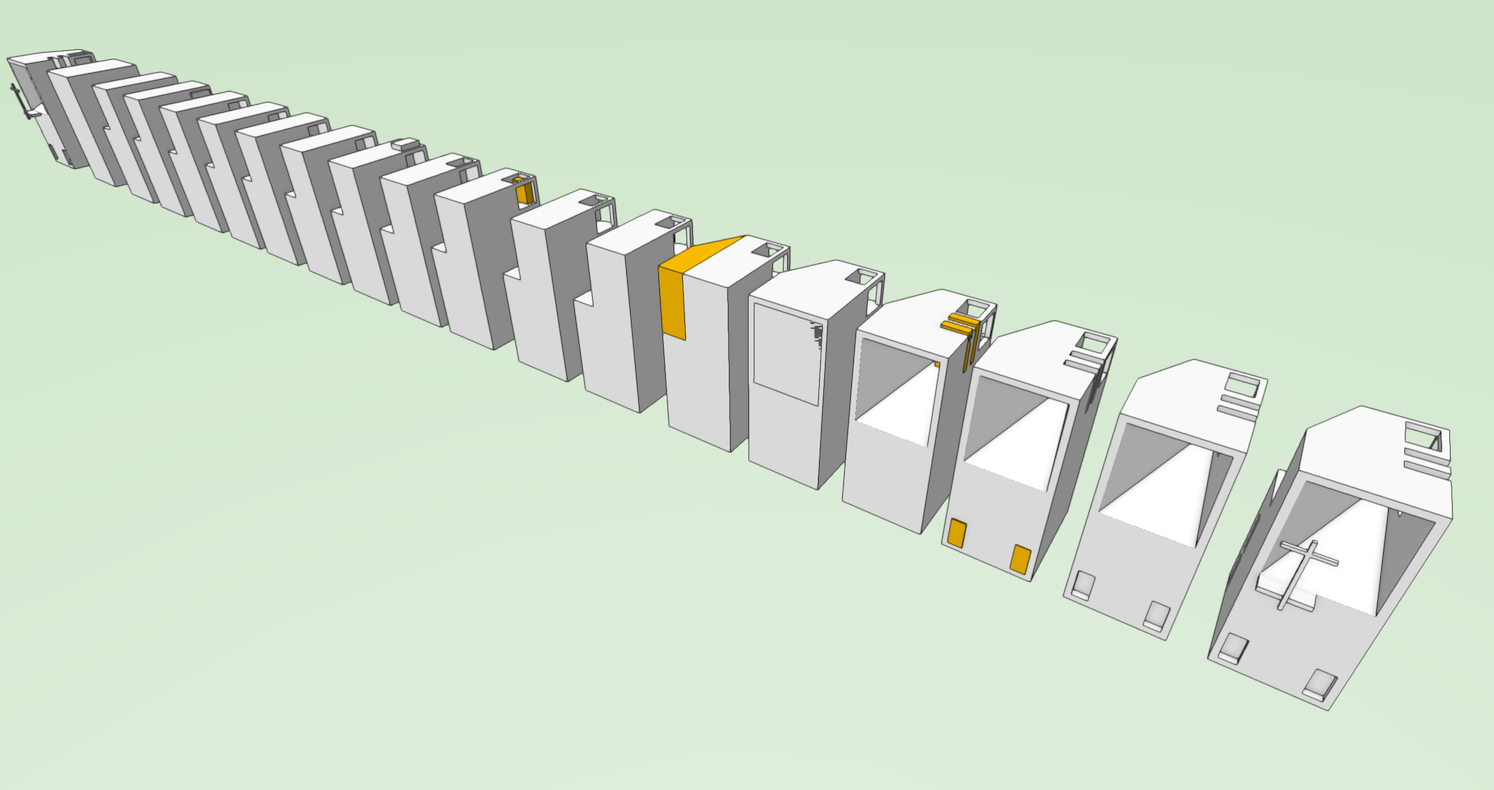
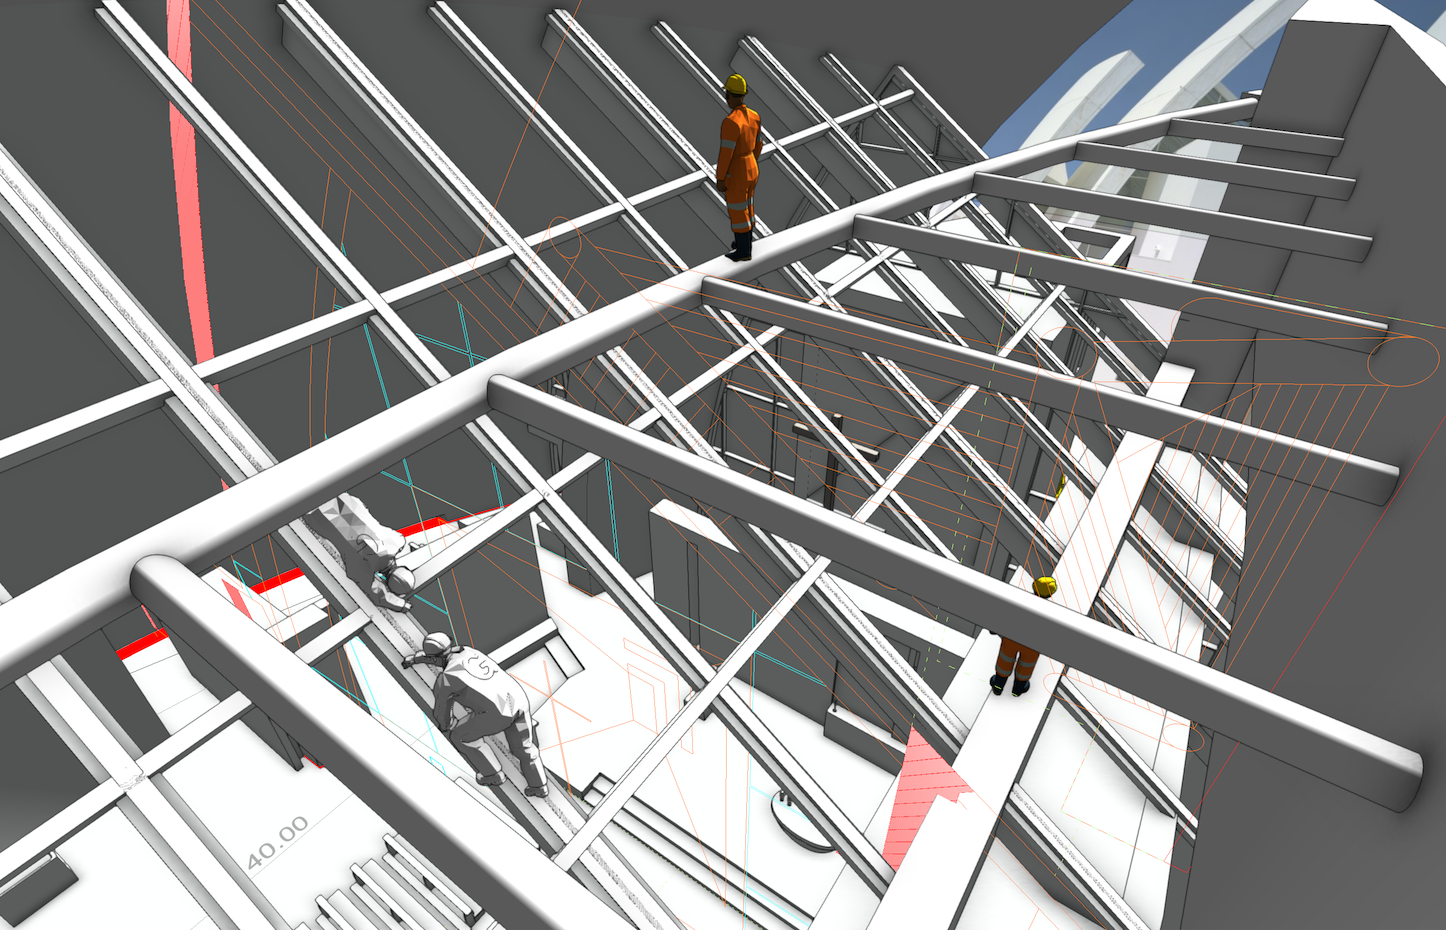
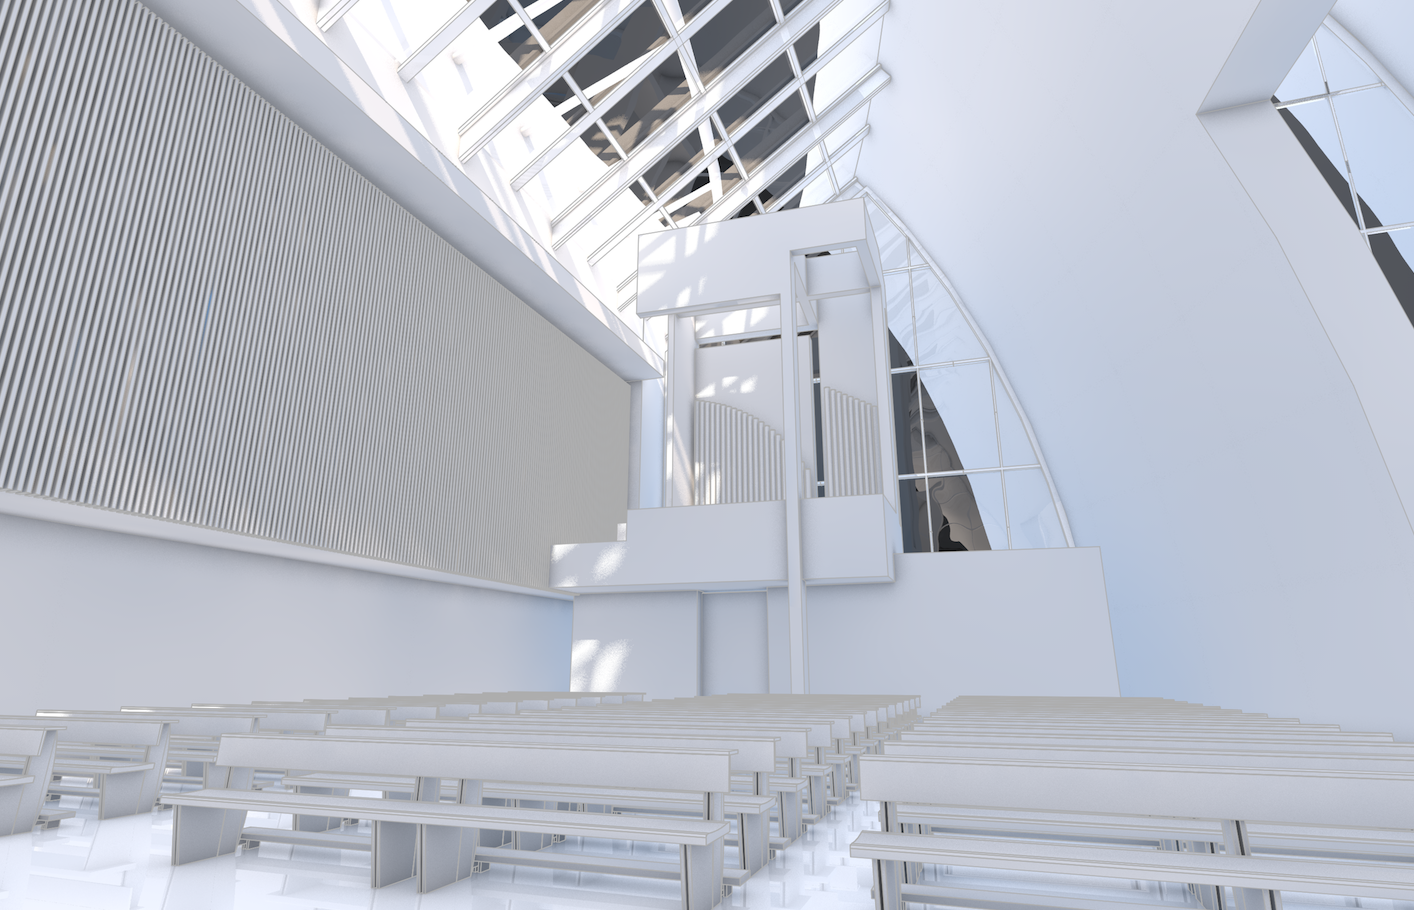
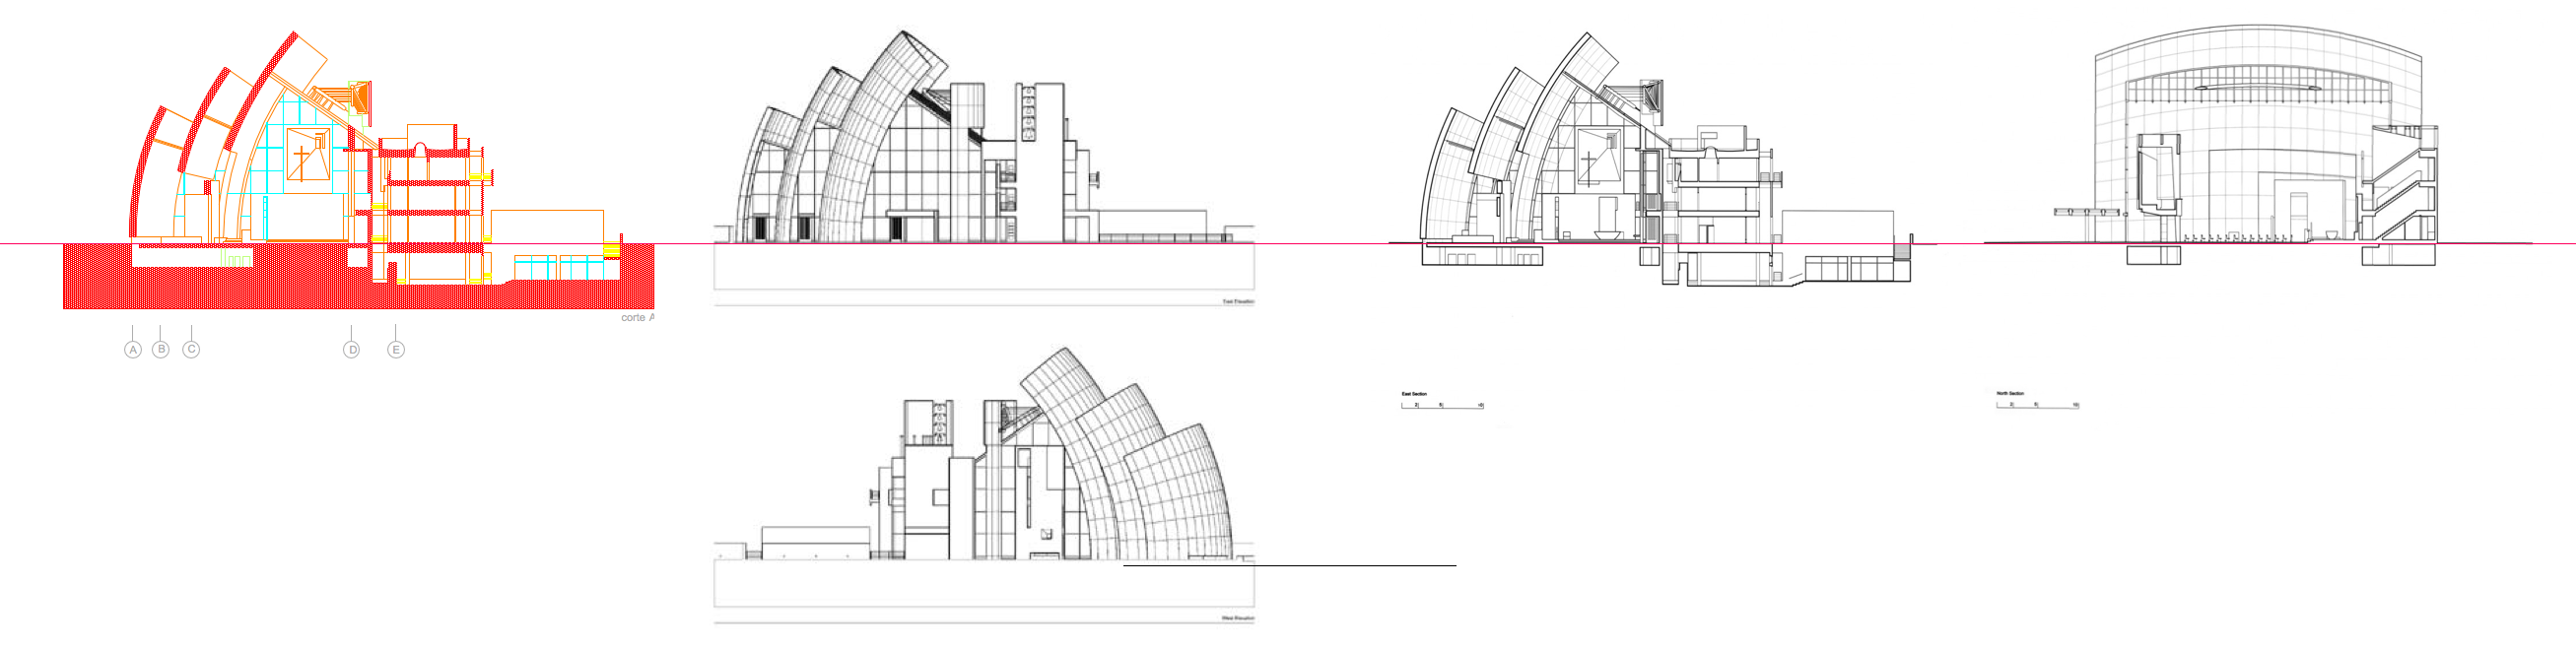
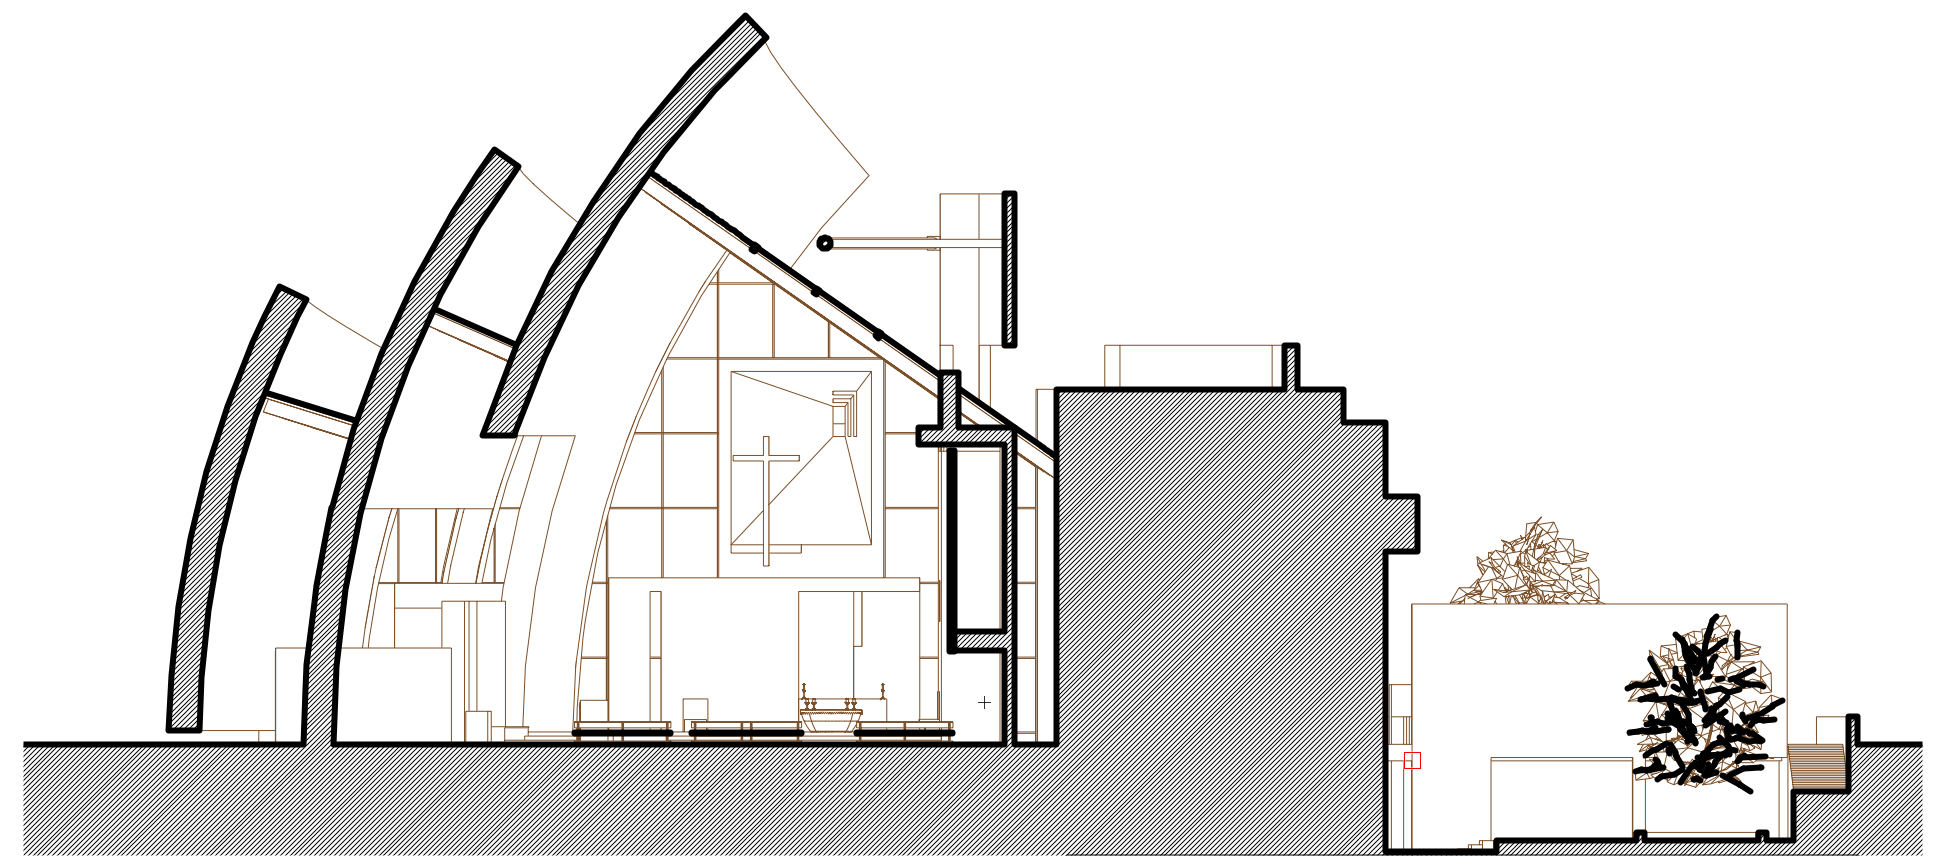
That was a fun project to make and yes it took me some time to figure out all the project dimensions. Many of them I acquired from a dwg I found on the web along with a few jpg images but later I realized nothing in this project is random, every line and edge makes sense, related or projected from another shape.
From the beginning my intention was to document the modeling process and when I was sure about the steps I’d get on to the recordings. For the west volume I did save myself a sequence and only after practicing several times the video was made.
There are also a few other parts that did not make the director’s cut, time constraints, but the east side, the main gate took some time to figure out.
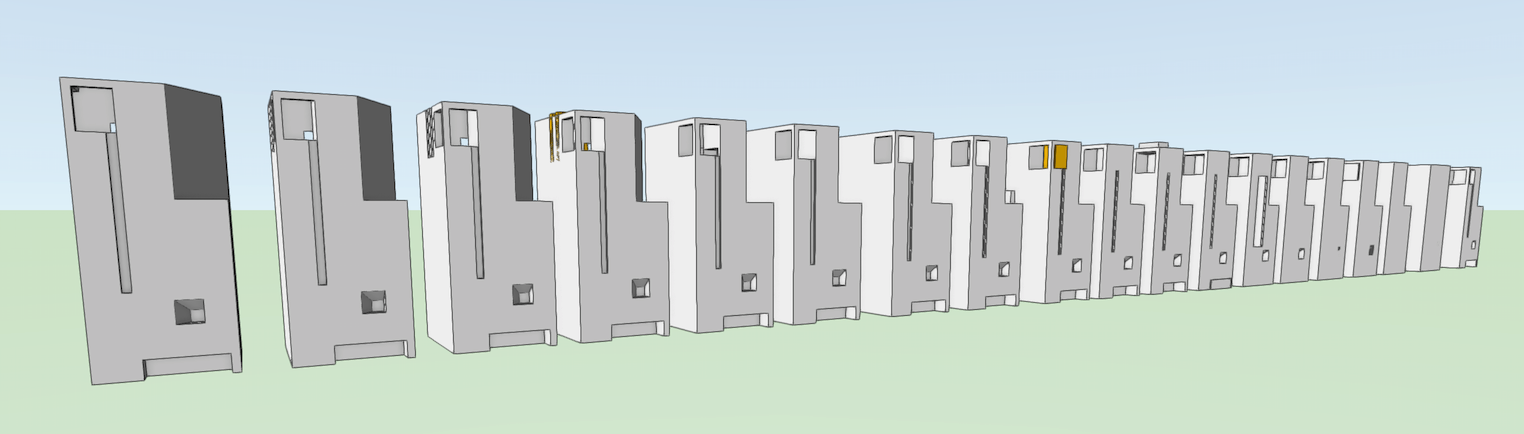
Basically while I was modeling I had on screen, all matching, images, photos, dwg lines and the main model broken in different parts.Again, I so wish we all had these tool back in the 90's when I was in architecture school.
-
- Popular Post
- Popular Post
-
5
-
How about posting a sample pict of what you'd like to achieve and I may be able to tailor a file that will include custom materials and a rendering style?
-
By any chance, is it a decal?
-
Not here and use it everyday.
What type of file are you rendering? large file? too many triangles? what operating system and computer do you have?
-
Tom.
That is a nice file. care to share?
(for demo purposes only of course)
-
I'd switch to a rendering style background and hidden line for the front. be sure your sheet is set to 300 dpi min.
-
Interesting. originally I created the vwx file for that firm. Nice project I remember.
-
1
-
-
Since over here is exactly the process we go thru every year when creating tons of renderings for brochures I have to say the best process is:
Set your view > create viewport > set layer to 300 dpi (final target) > size your page to B size > set your rendering style > update viewport at low res if need a quikc review (50dpi) > create final render > don't forget to save viewport cache just in case you close the file > export to PDF, that is if your graphic designer needs to tailor some of those vector lines.
-
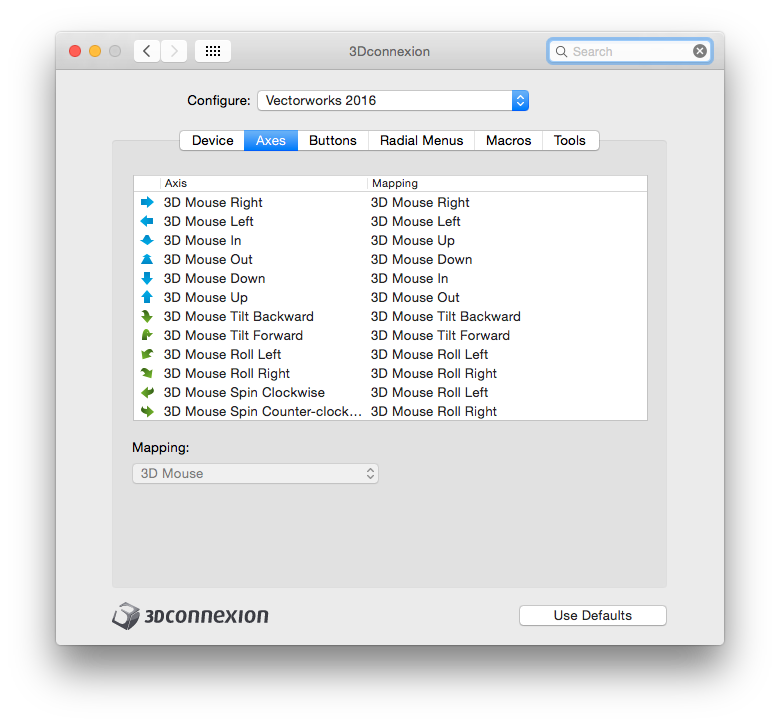
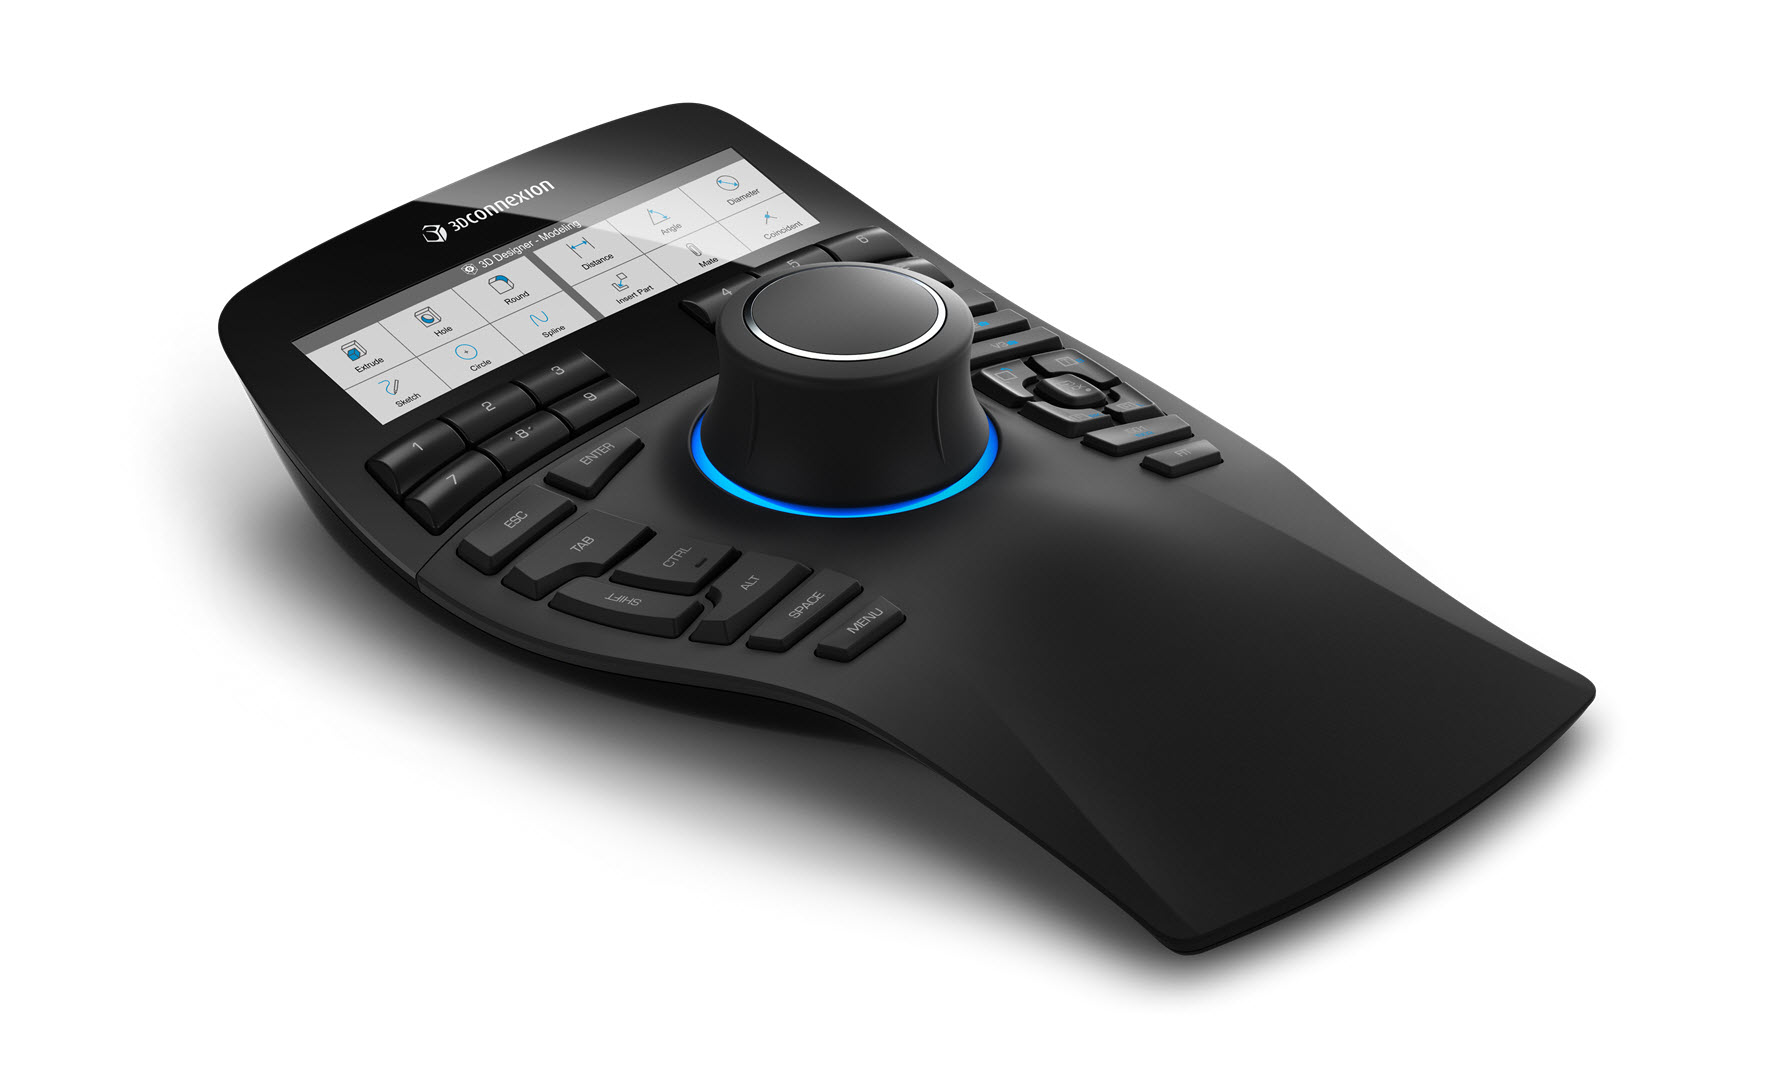
Fix is coming. Meanwhile here is the conf I use. Same works for 2017. This is the bad boy I use daily. Now, here is my tip, in order to make all the buttons work I assign special shortcuts to my favorite functions in vwx and match via macro to my the 3dnavigator. Yes, I created a my own custom workspace.

-
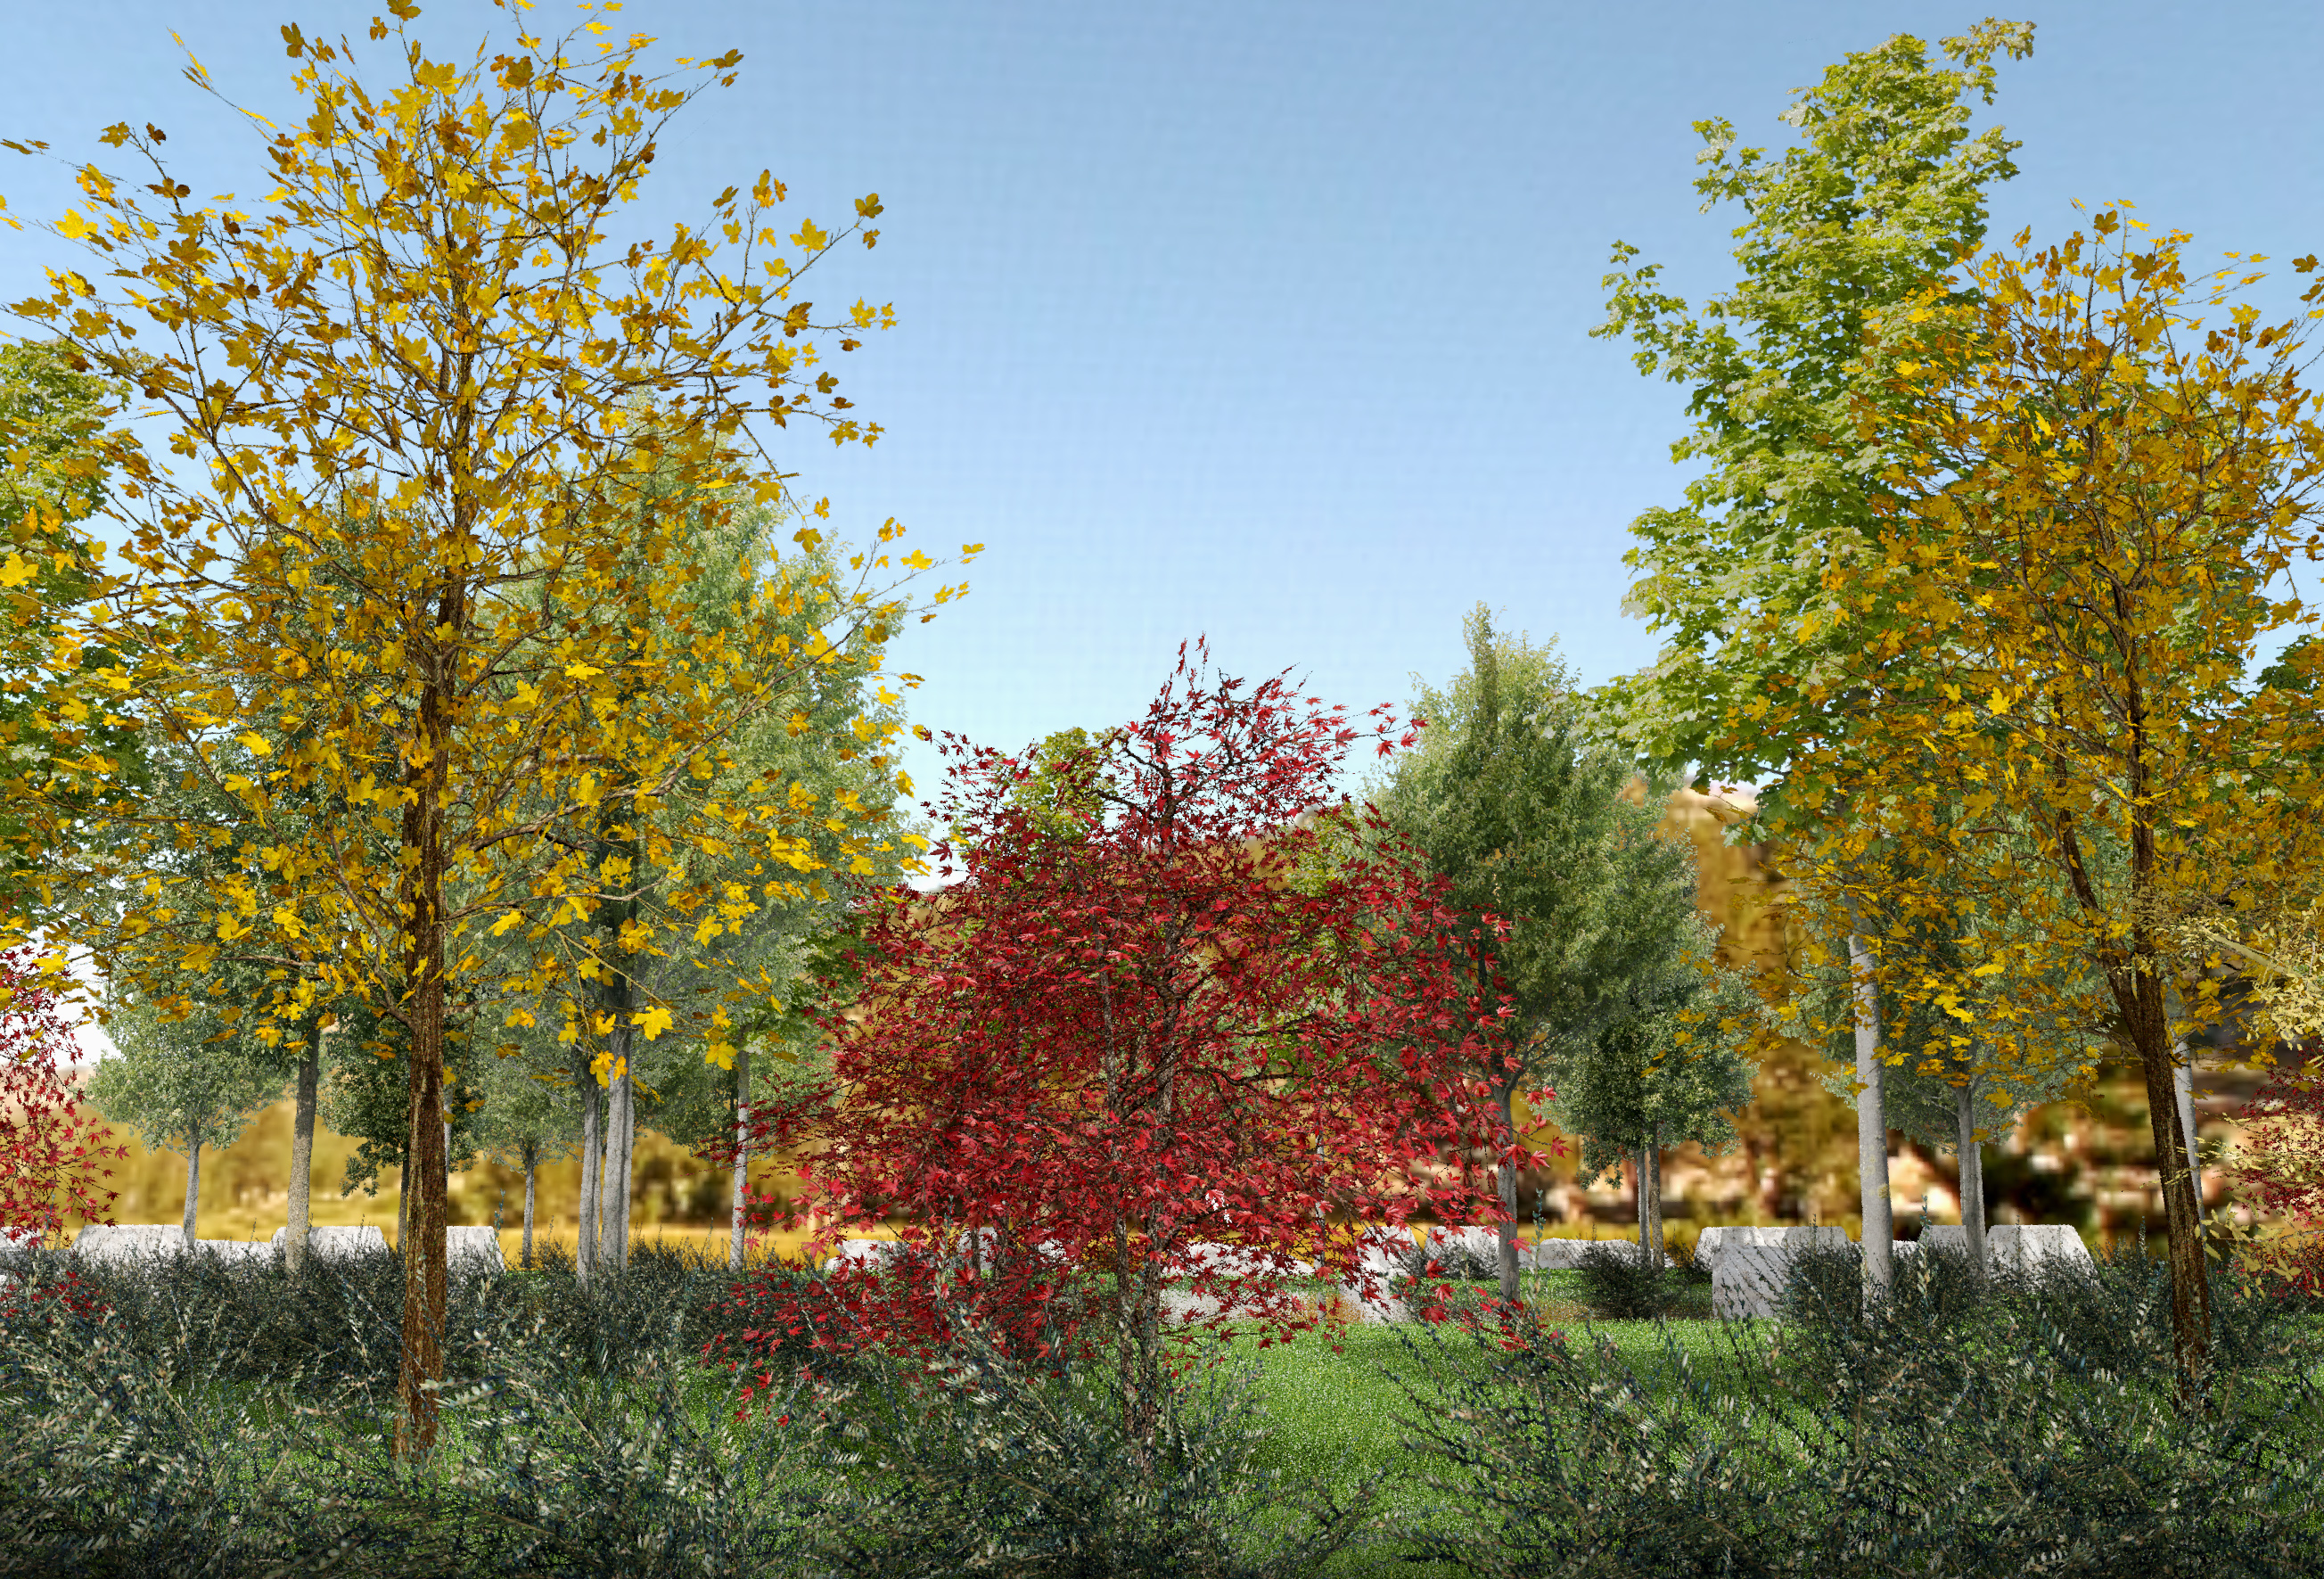
I took some time to better illustrate the process of creating a scene by layers of vegetation. vbvisuals at front with all those 3d leaves, right behind them a series of props, these are lighter and render faster. The background is a HDRI panorama just a bit blur and out of focus. I also added some grass, that took some time to render (use a render style) and a small pond just for reflection.
-
How about some 3d trees at front? and use props for the ones on the back create a forest background from a picture. Think Disney movie layers.
-
1
-
-
I also recommend to check out this wonderful series.
-
1
-
-
Ambient Light more than 75%
-
Hello Mike.
Alright, here is a proof of concept recording. It took some figuring out the correct saved views controls and classes.
-
1
-
-
By the way. This is a happy accident. When I added the shower spot light I had it inverted and look what I got. I am glad this happened so we can learn to avoid this mistakes.
Light was directed upwards and too close to a surface, so I was getting a crazy disco ball effect.

-
1
-
-
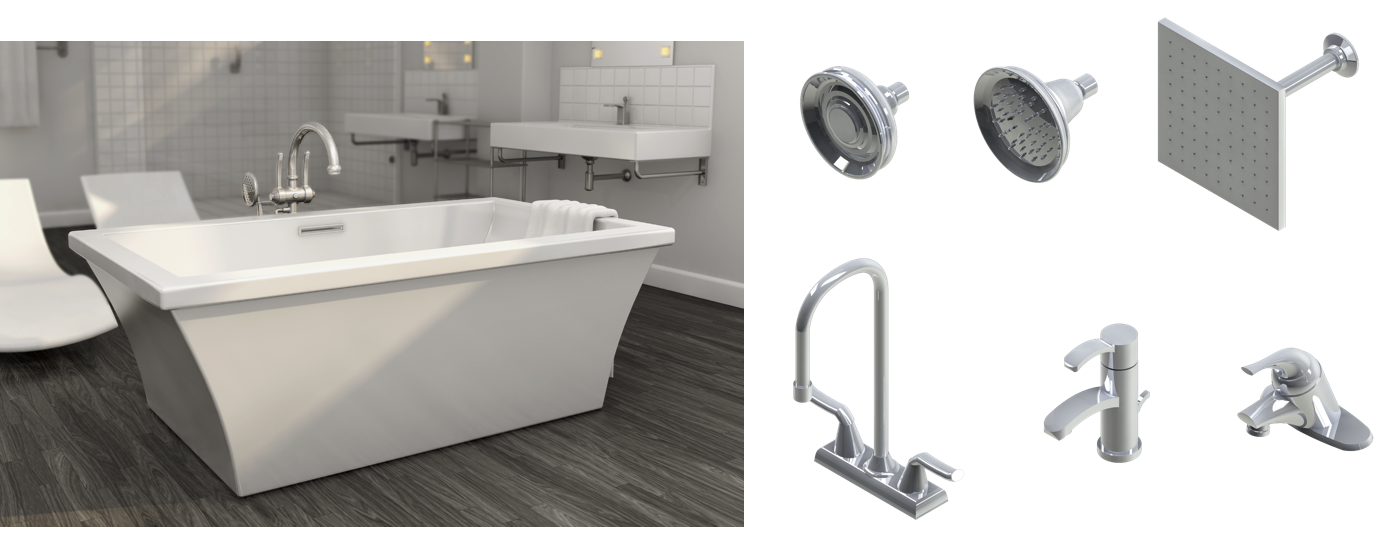
Hey. I did some tampering with the file. I hope it looks alright in your monitor. I have three over here and the colors just looks a bit different.
The shower light is a IES Custom light. The toilet texture has less reflections and more blur. The wall lights have some advance settings so I was able to fine tuned them. Floor has a bit more reflection and more blur. the scene has some ambient occlusion, see edges. The shower glass has a crazy setting and reflection and a tint of green. Wall mirror is a bit frosted and a tint of grey blue.
-
1
-
-
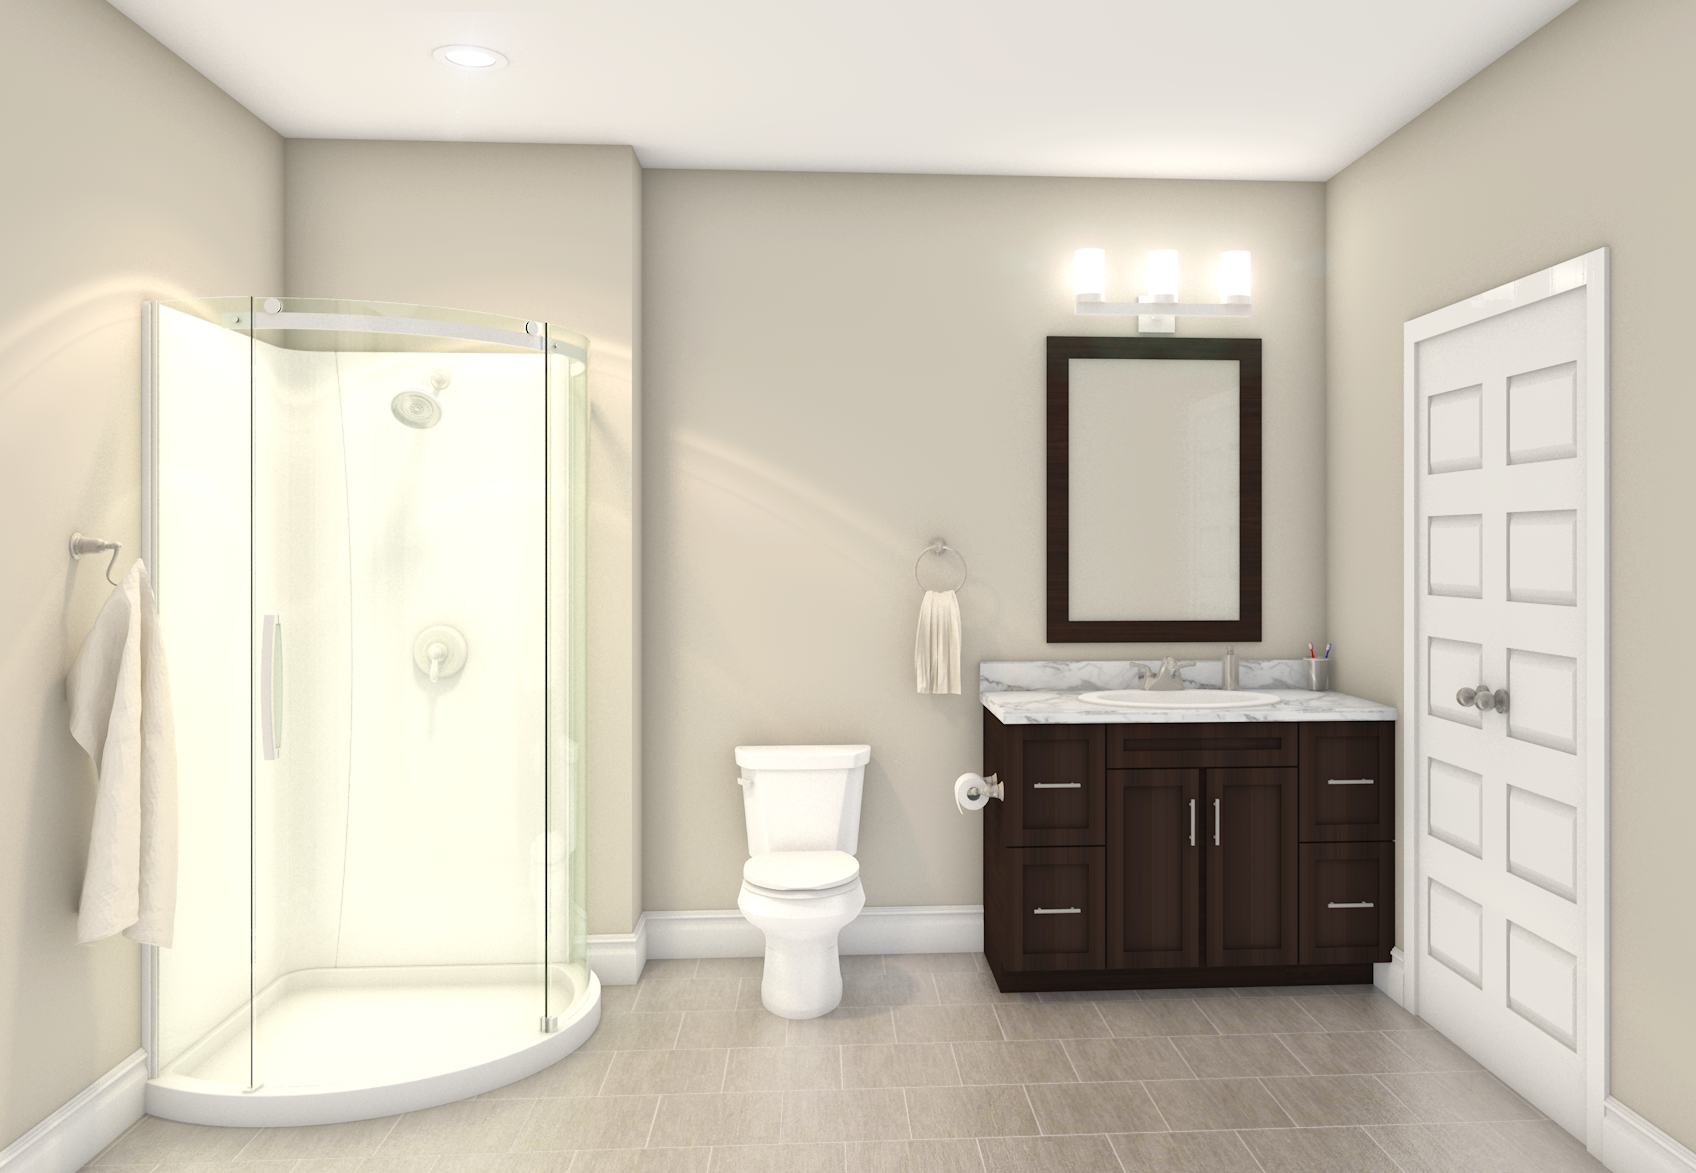
I'd recommend for this shot to move the camera behind the open door. What is the style you are trying to achieve? scene like this can be very marketing and that requires adding time modeling real bathroom props like towels, toothbrush, flower, soap bars, etc. all make the space look inviting. and don't forget to use camera effects like depth of field and bloom. Also, do not forget to add real IES lights, better than using std light point or spotlights. Model the tiles, pay attention to fillet the edges and extra attention to the plumbing fixtures, make them sing.
This first image is a professional render form another super user (not a bathroom) but you can see some of the techniques he uses for selling that magazine shot.
Second image was done by talented Tim Connors and I noticed he pays attention to small details.
Rendered perspective plan?
in Rendering
Posted · Edited by Luis M Ruiz
Here is a couple of samples for clinic floor plan. One one the perspective is set to normal but the rendering technique is a combination of white model style (background) and hidden line (front). Second sample, I personally like it more for presentation purposes a bit more contrast, no lines.