This article covers the basics of installing Vectorworks on both Mac and Windows operating systems.
First, download the Vectorworks installer for your license. Normally you would do this from your Service Select downloads page. After downloading, double click (Mac) or Right Click > Extract (Windows) to expand the installer.
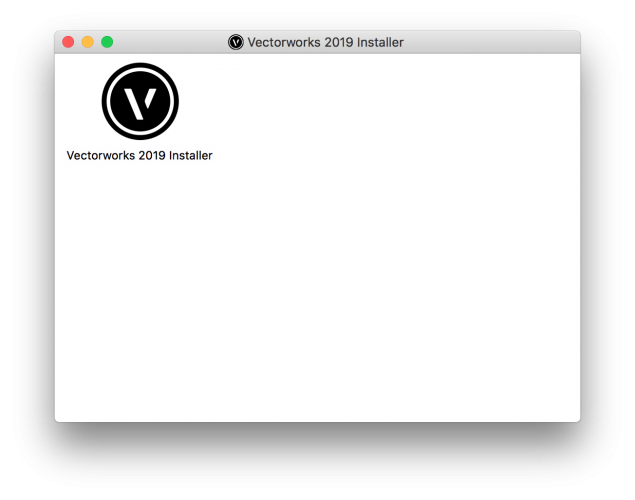
Double click in the Vectorworks 2019 Installer icon:
The installer will appear. Click Continue.
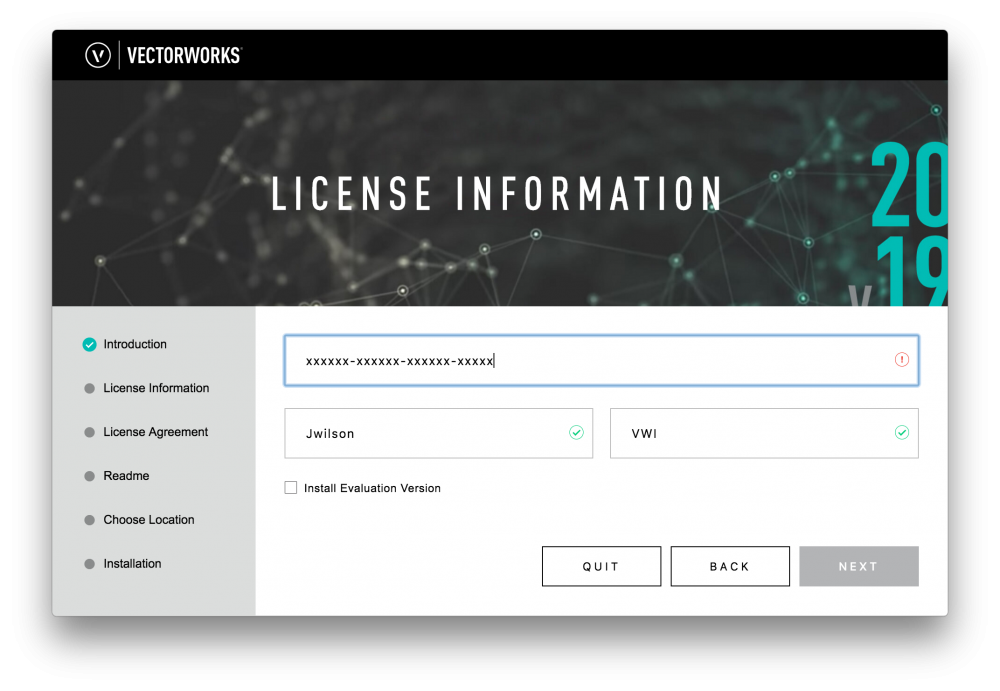
Enter your Vectorworks serial number, name and your company/school/organization name in the specified boxes. You must fill out these boxes in order to continue. When complete, click Next.
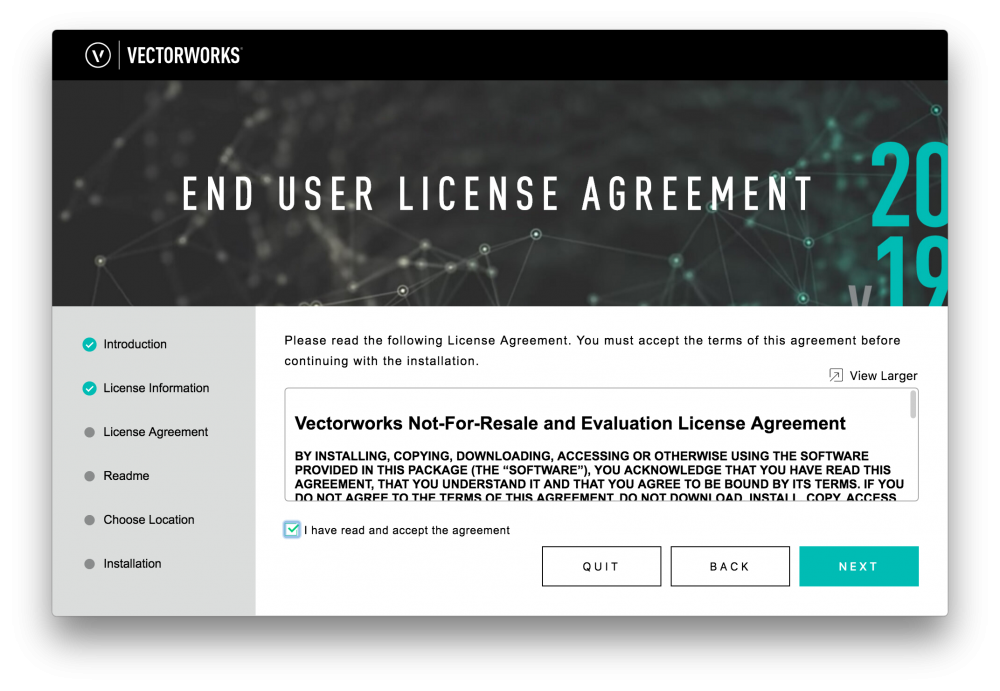
Once you have real the End User License Agreement, check the box denoting this and click Next.
Next you will see the Readme, like with the EULA, you can click "View Larger" to expand it for easier reading. Once complete, click Next.
Next, you will see the default path for Vectorworks to install to. This should normally not be modified. Click Start.
You may be asked to enter a name and password. This is your operating system login name and password, not your Service Select credentials.
During installation, you can click one of the links to learn about improvements added in Vectorworks 2019:
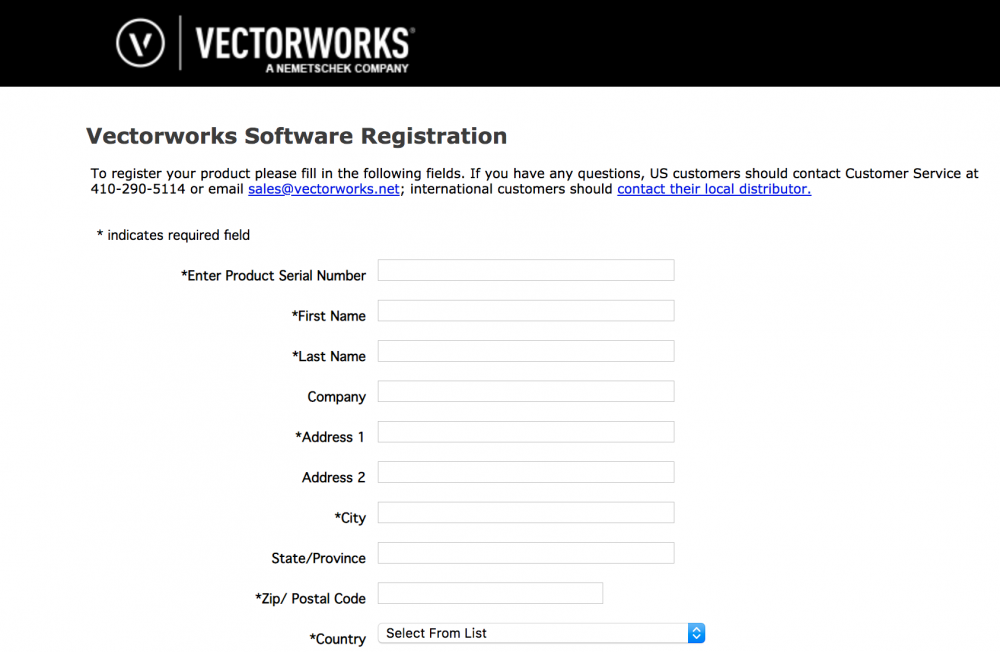
Installation may take a few minutes. You can choose to Launch Vectorworks immediately, as well as to register your product if you have not done so before. Once complete, click Finish.
Installation is now complete. It is not mandatory, but feel free to keep a copy of the installer for your records. This installer will be available to download later.
Edited by Jim Wilson
-
 1
1
Report Article






Join the conversation
You can post now and register later. If you have an account, sign in now to post with your account.
Note: Your post will require moderator approval before it will be visible.