


In order to achieve the goal of having the Lighting Device lens match the color of the “Color” field of the fixture there we must do 4 main things
- Create a custom glow texture for the lens.
- Create a custom class for the lens geometry.
- Assign the custom texture and class to the lens geometry.
- Edit the Spotlight Preferences to change the custom class color based on the Color field of the lighting device.
Create the Custom Texture:
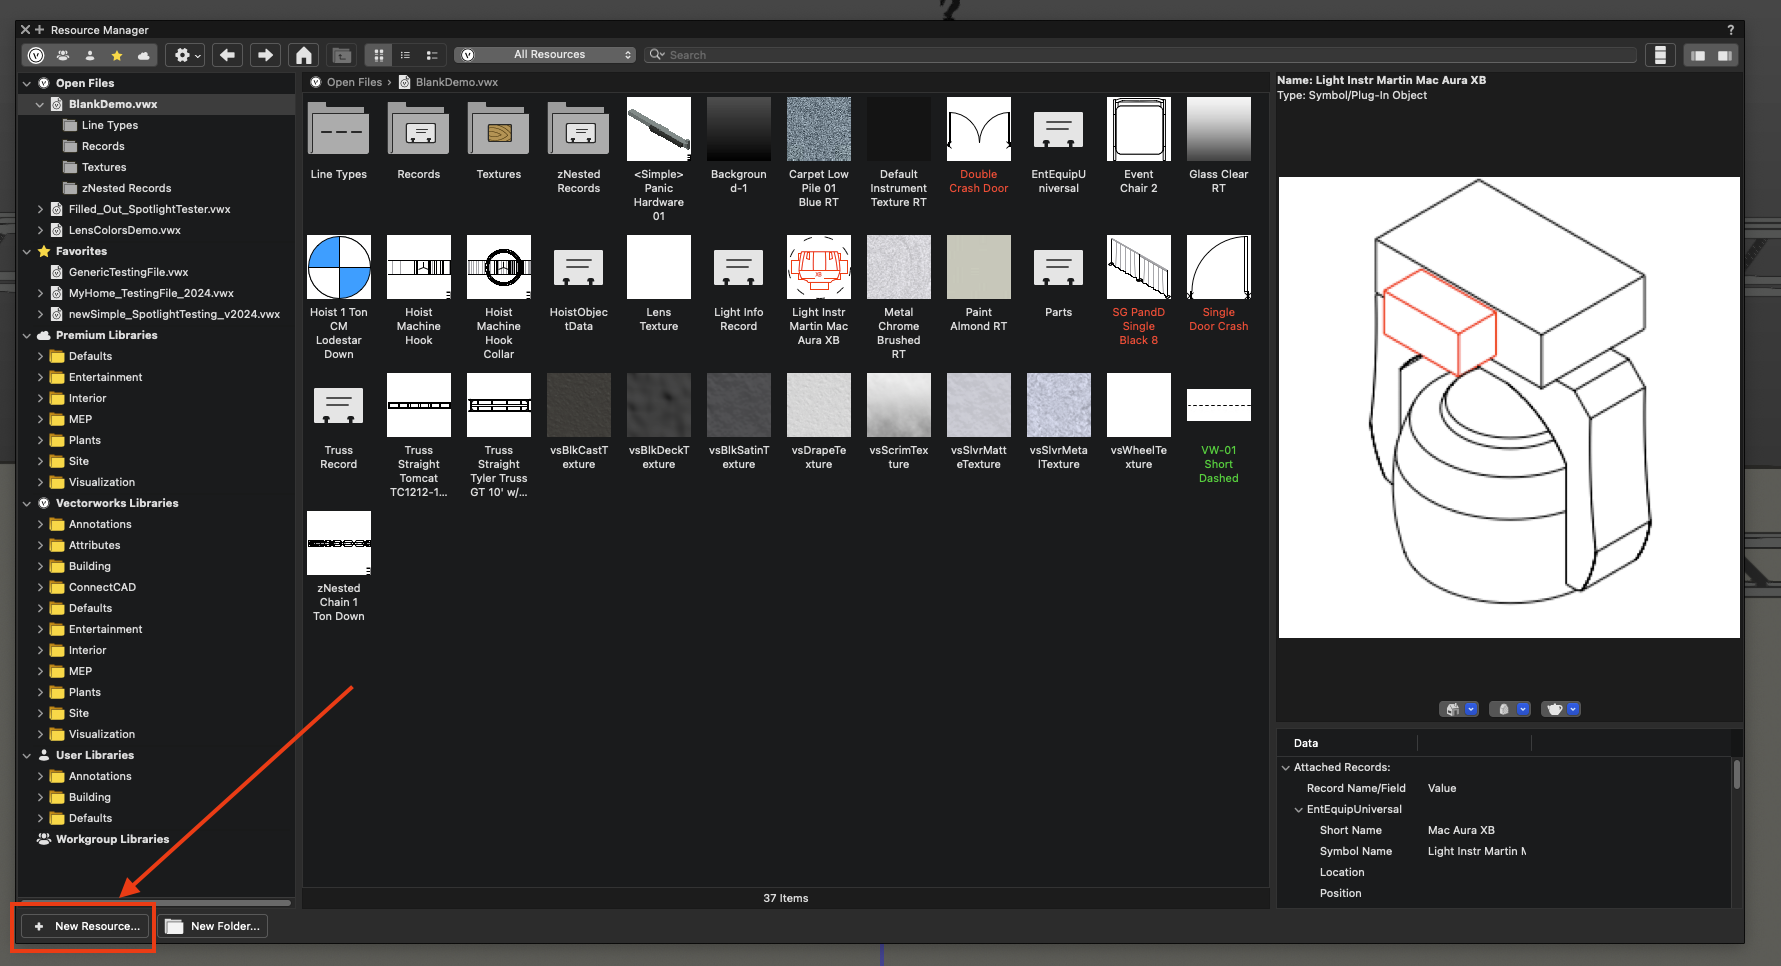
- In the Resource Manager select “New Resource…” at the bottom left corner of the Resource Manager
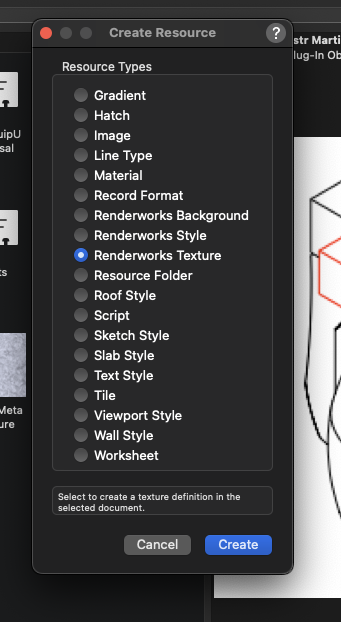
- Select “Renderworks Texture” in the “Create Resource” window that opens, and click “OK”
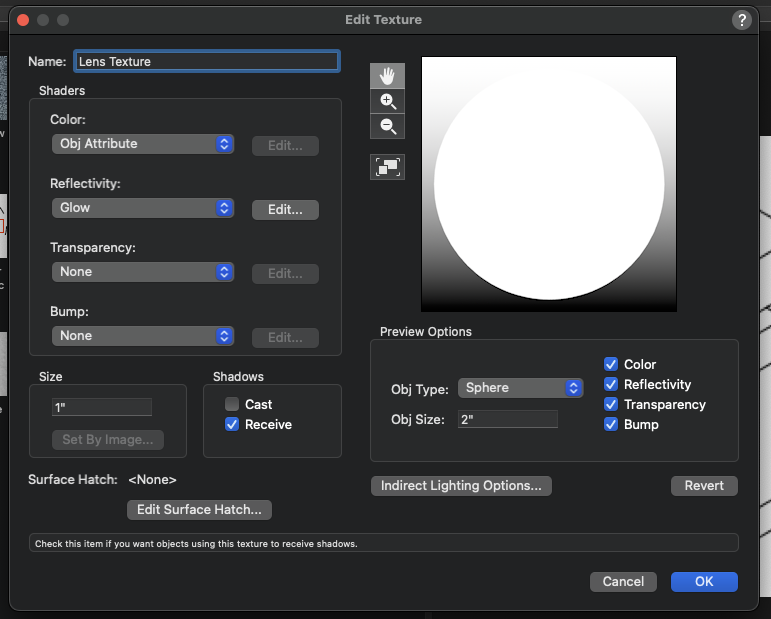
- Set the “Color” of the texture to “Obj Attribute.”
-
Set the Reflectivity of the Texture to “Glow” and click “Edit” next to the Reflectivity.
- In the “Edit Glow Shader” window that opens, set the brightness percentage to 500% (this can be edited later)
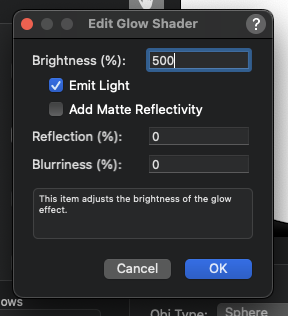
- Uncheck the box to to Cast Shadows
- Name the texture “Lens Texture” (This is a suggested name, use something that you will remember)
- See Image for settings.
Create the Custom Class
-
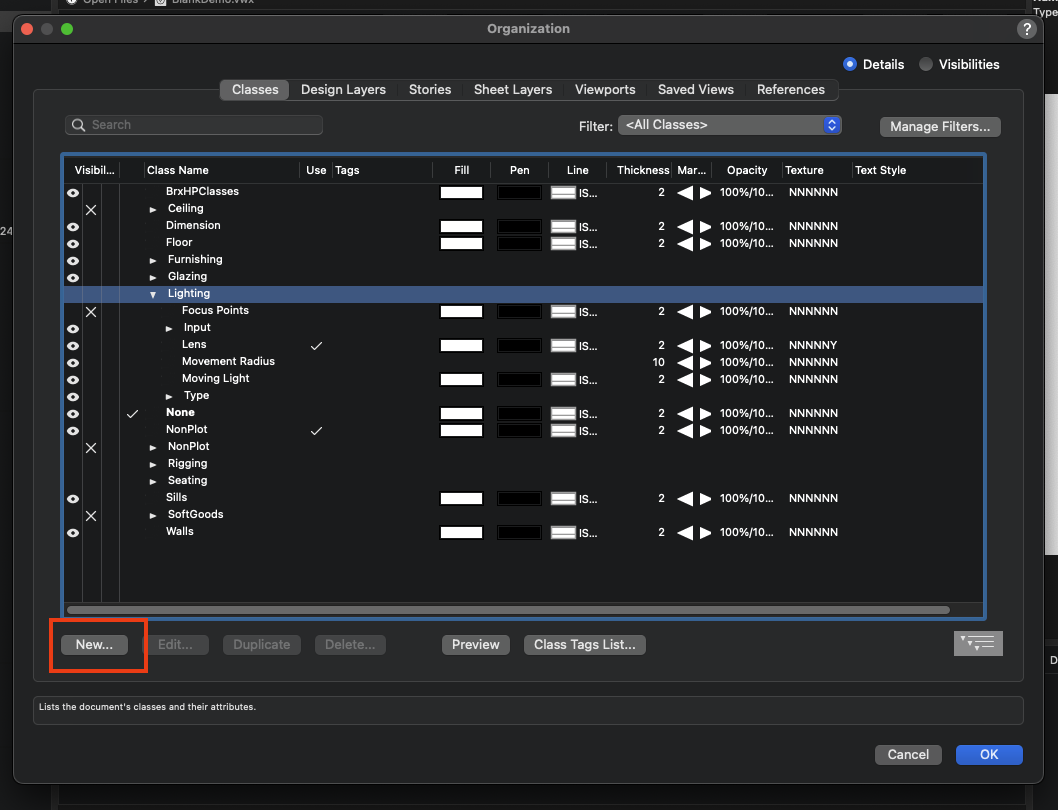
Open the Organization Window to the Classes Tab
- Tools > Organization
- Select “Classes” at the top of the window.
- Click “New” at the bottom of the classes list
-
Name the class.
- I suggest “Lighting-Lens” so that it stays nested with the other lighting classes
- Make sure the box to “Edit Properties after creation” is selected
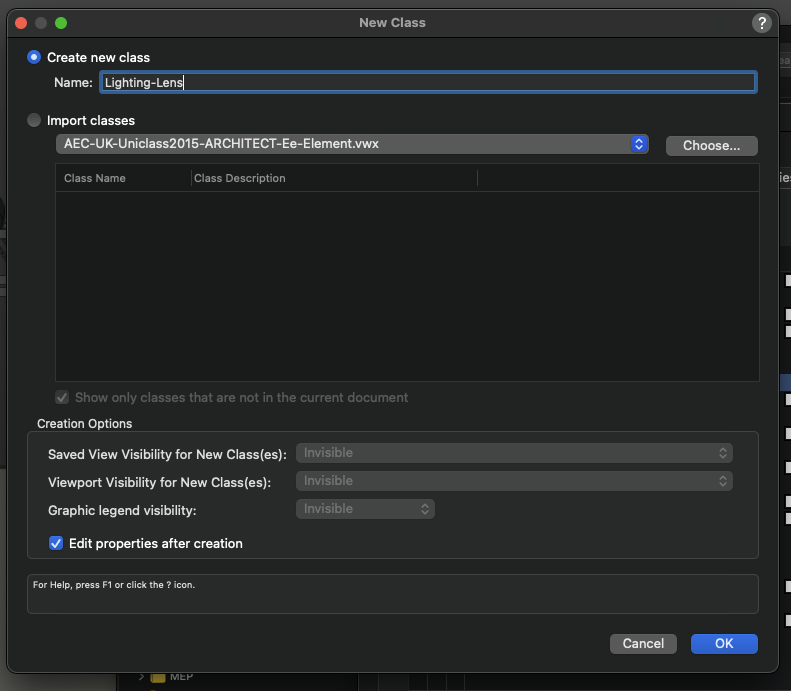
- In the Edit Properties Window make sure that “Use at Creation” is selected for the Attributes and Click “OK” to create the class.

Assign the Custom Texture and Class to the Lens geometry:
- Open the Resource Manager
- Locate the lighting symbol you wish to change the lens color with the device color field.
- Right Click on the symbol and choose “Edit 3D components”
-
In the 3D components: locate the Lens geometry (It may be within a group if the light is a moving head)
-
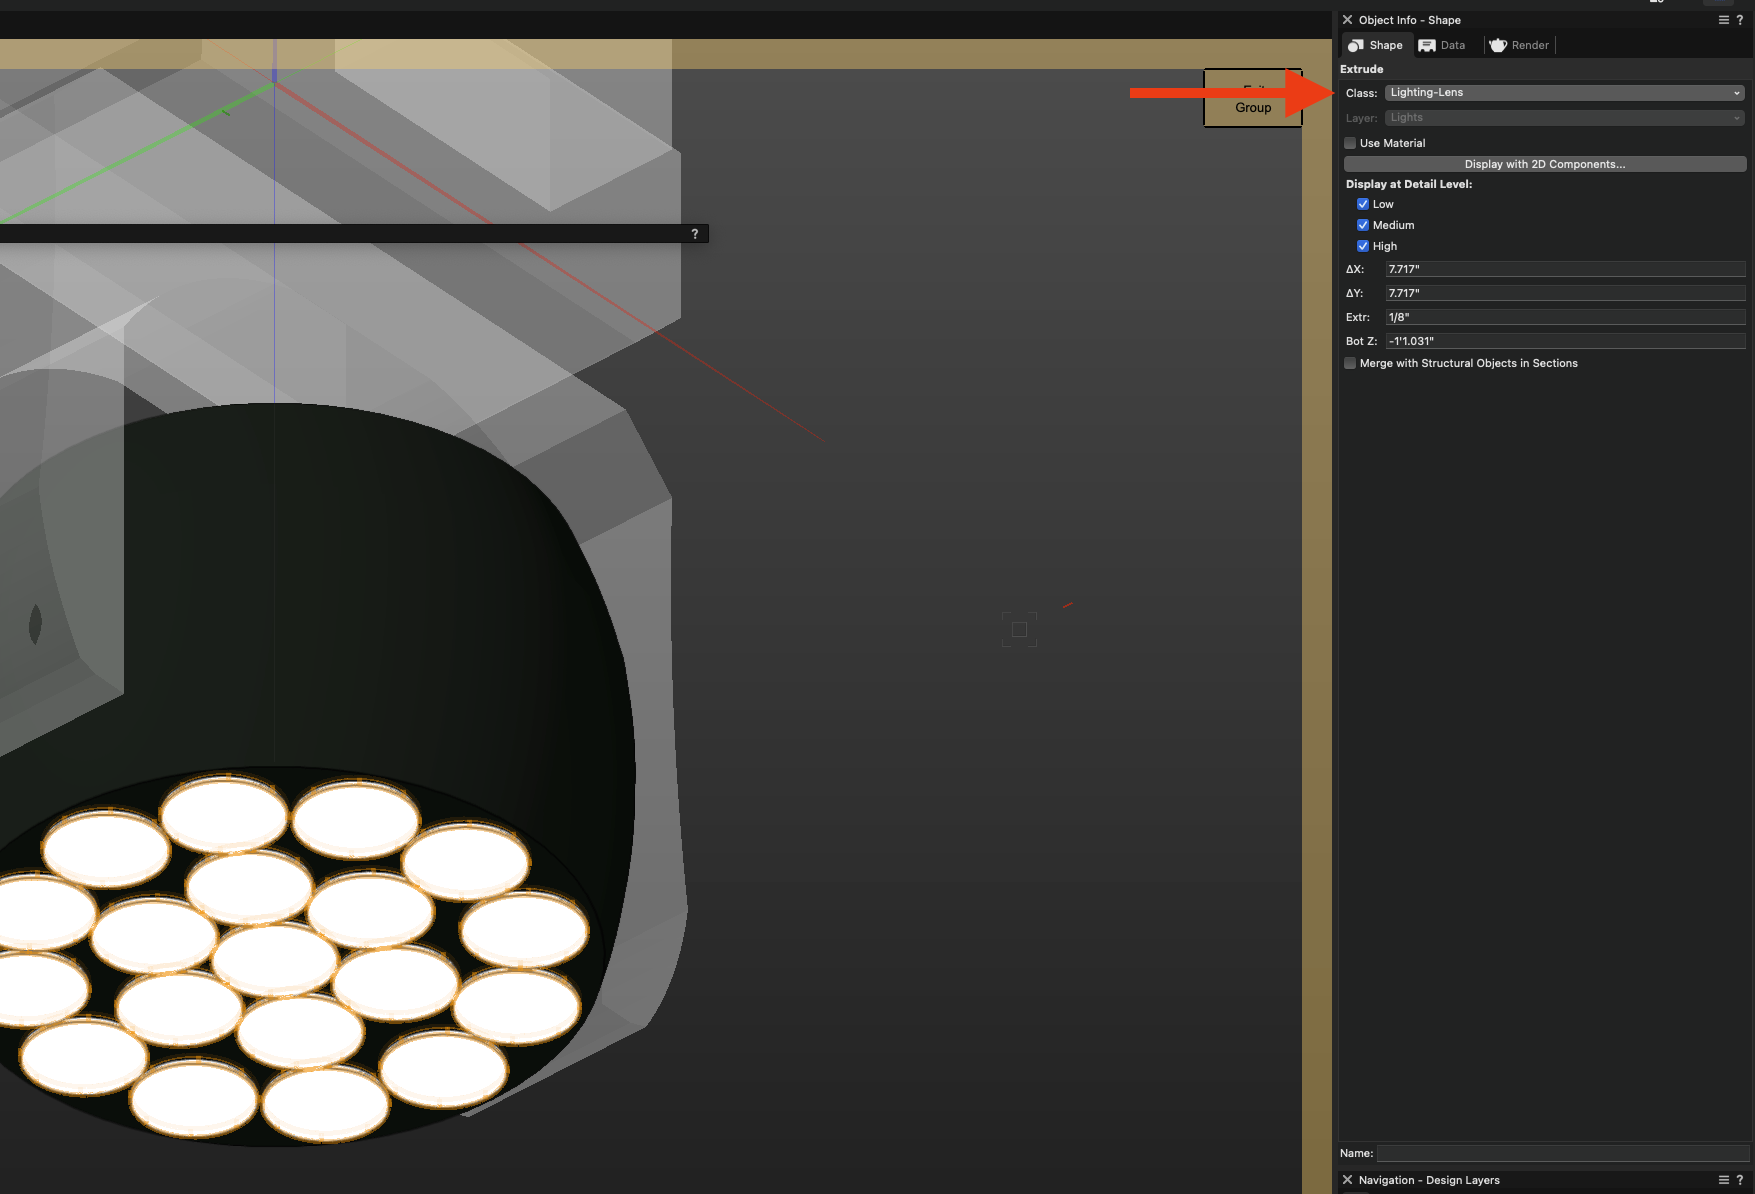
Once you have the Lens geometry selected change its Class to the “Lighting-Lens” class.
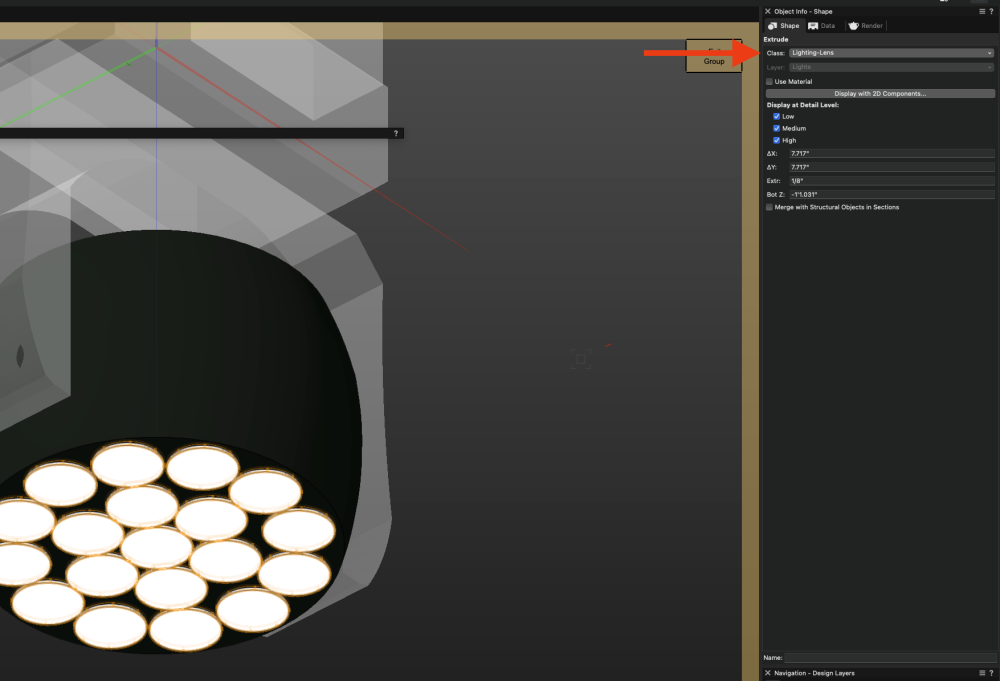
-
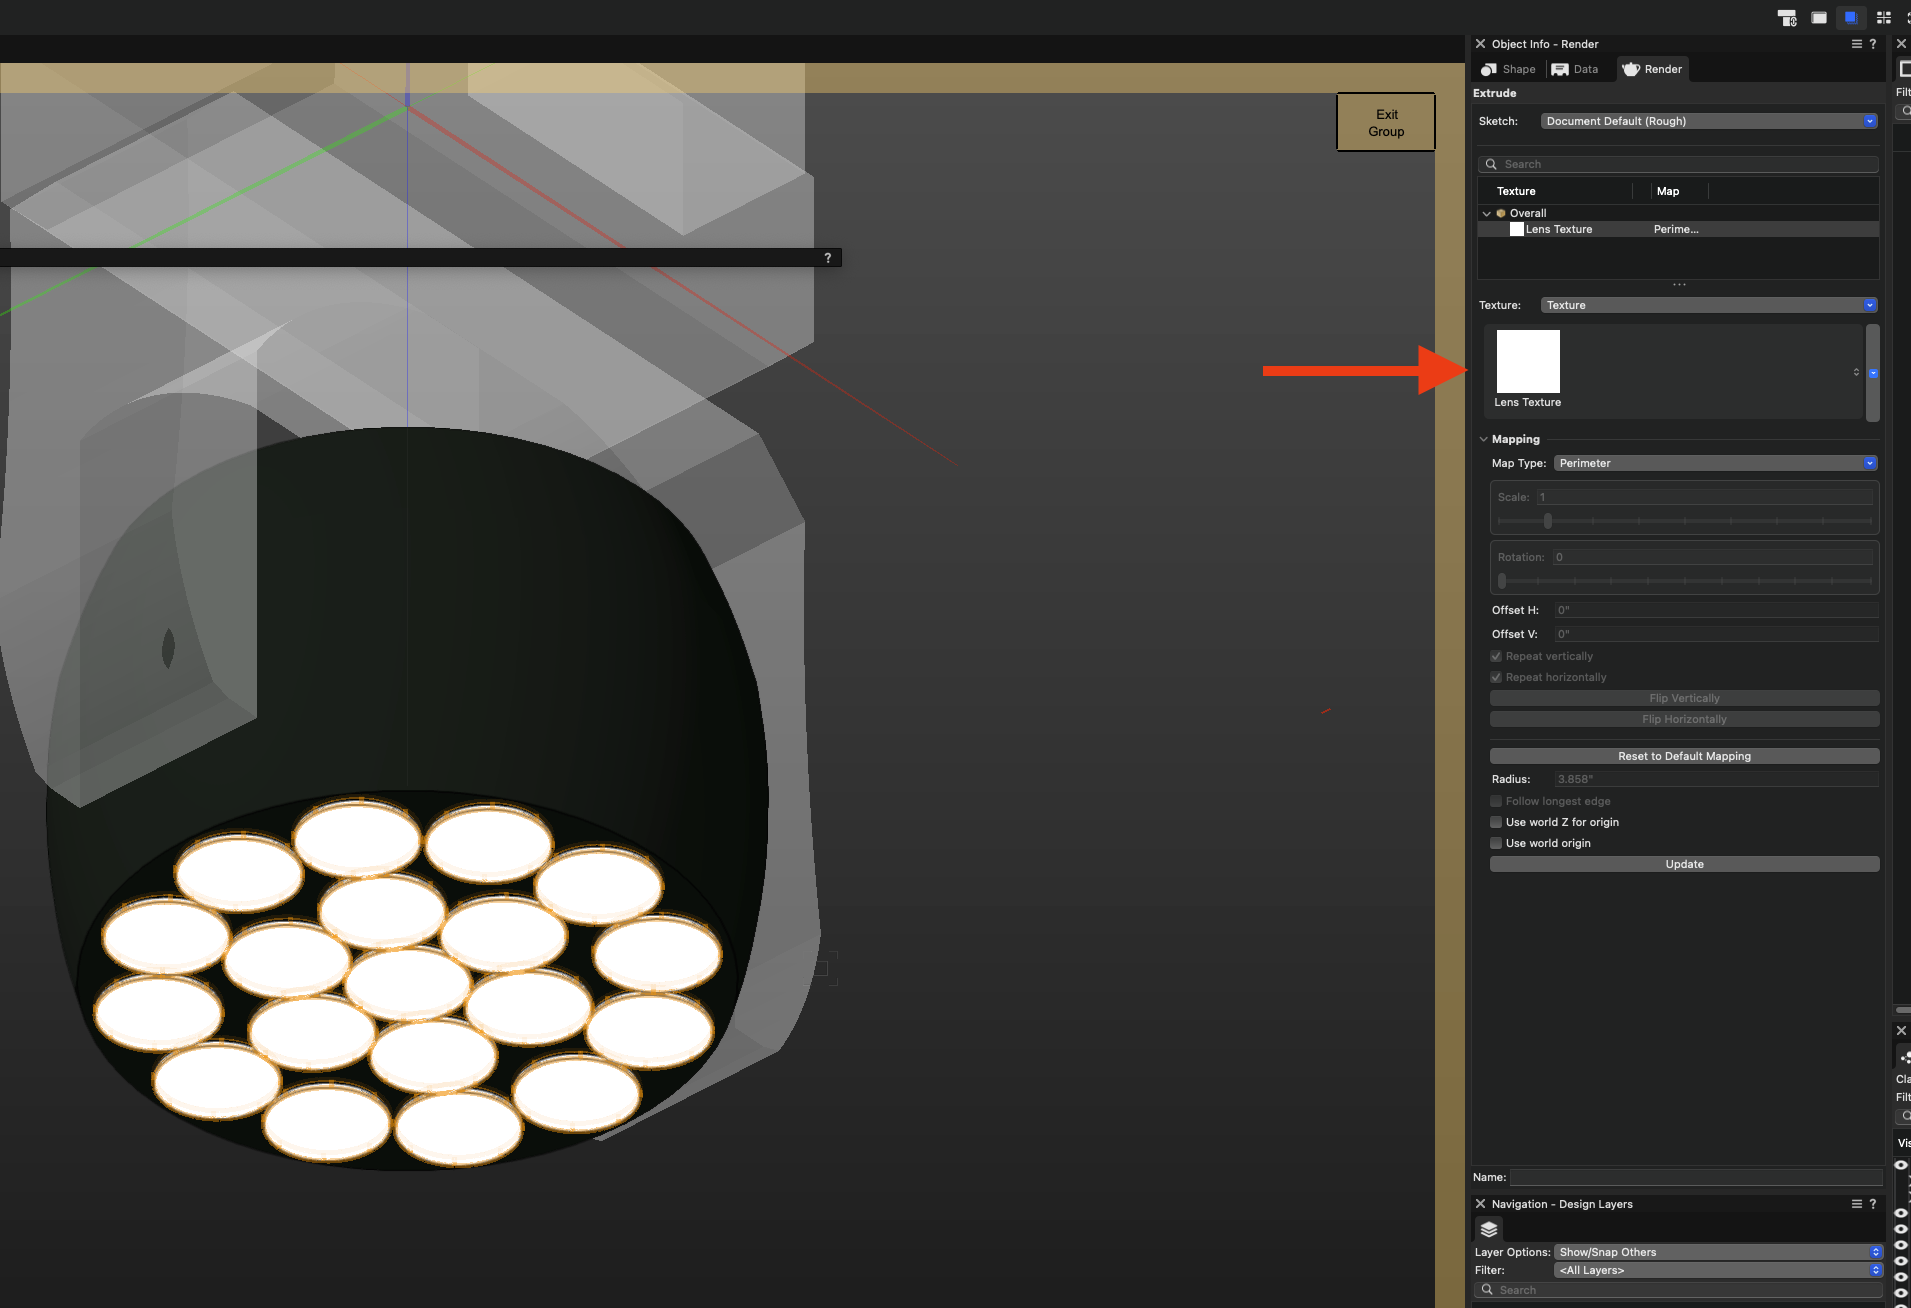
Now select the “Render” tab of the Object Info Palette
-
Set the “Texture:” menu to “Texture”
-
Choose the custom Lens Texture that was created in the first set of steps.

-
Exit the Symbol
-
Repeat steps 1-9 above for all fixtures you wish to change lens color with the device color field.
Edit the Spotlight Preferences
-
Open the Spotlight Preferences
- Designer: Entertainment > Spotlight Settings > Spotlight Preferences…
- Spotlight: Spotlight > Spotlight Settings > Spotlight Preferences…
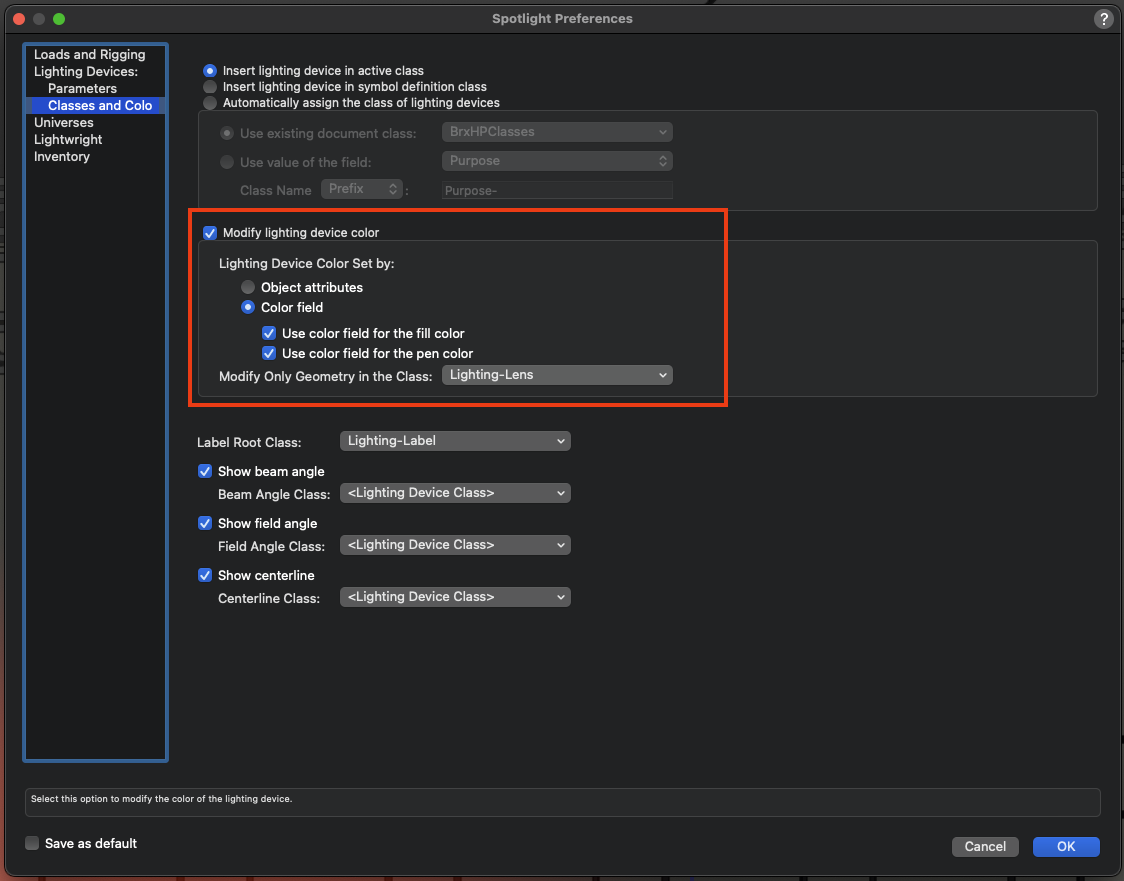
- In Spotlight Preferences choose the “Classes and Colors” on the left sidebar.
- Check the box for “Modify Lighting Device Color”
- Choose the radio button for “Color Field” and check the two boxes below for “Use color field for fill color” and “Use color field for pen color”
- Then next to “Modify Only Geometry in the Class” use the dropdown menu to choose the “Lighting-Lens” class created earlier
- See Image
Now any fixtures that we have edited to use the custom lens texture and lens class will change the lens color with the Color field of the fixture in the Object Info Palette.
Note: Since the texture created is a “glow” texture, it will not stop emitting light even if the lighting device is turned off. To stop it from glowing set the color field to “(1,1,1)”
Report Article
There are no comments to display.
Join the conversation
You can post now and register later. If you have an account, sign in now to post with your account.
Note: Your post will require moderator approval before it will be visible.