

As of Vectorworks 2012 and later, there are a number of things to keep in mind when importing georeferenced (GIS) files. To start we currently support a limited number of Projection types. There are hundreds of projection types used around the world. Some users may encounter issues with the location of imported georeferenced objects, if the projection is unsupported.
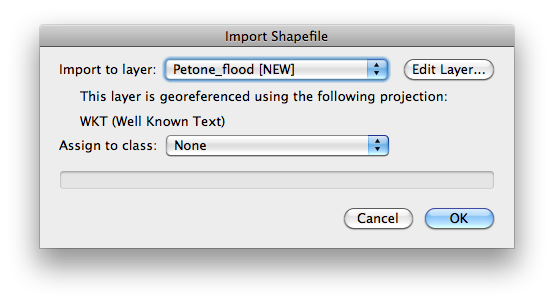
To confirm if the georeferenced file conforms to one of our supported types, you will need to confirm the projection used. An easy way to see what projection is used is to, during import of a Shapefile, click the Edit Layer button.
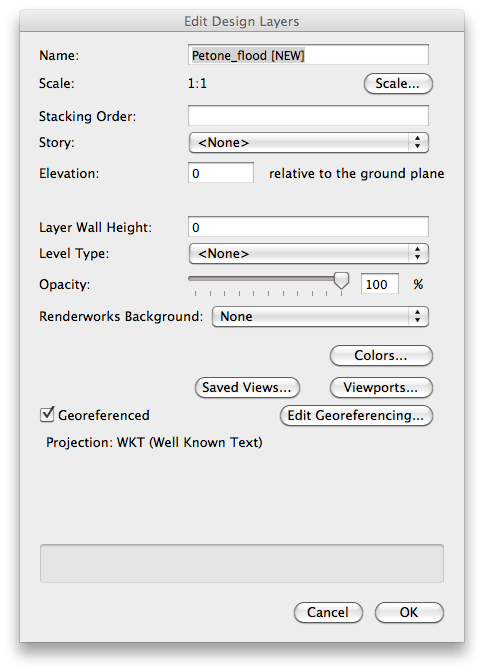
Then press the Edit Georeferencing button.
Here you will be able to see the projection that the Shapefile is using.
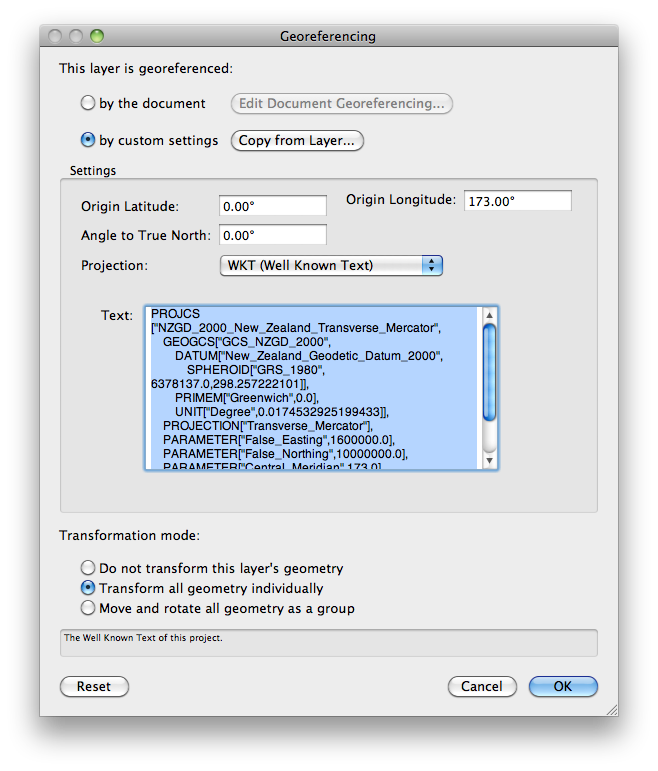
Check to see is the projection is one of the supported types. There can be multiple aspects to this, first the main projection type, second the specific projection type, and the ellipsoid or spheroid.
Example:
- Main Projection - Transverse Mercator
- Specific Projection - NZGD 2000 New Zealand Transverse Mercator
- Ellipsoid/Spheroid - GRS 1980
If it is, you should not have to modify any other settings. Simply proceed with the import.
If the projection is not supported, you should still be able to import the Shapefile to the correct location. However, you will need to manually set the origin of the file.
All projections use a False Easting and False Northing setting. Easting = X, Northing = Y. This information can also, be found in the Georeferencing dialog box described above. After importing the Shapefile, you need to go to the Tools menu, select Set Origin, choose Next mouse click is, and set the X and Y coordinates. Click OK and then click on the default 0,0 origin of the file. This will adjust the origin location of the file and the objects will now display in the correct location.
Note that the units of the file must match the units used for the projection. Normally this is set to meters. Make sure to set the document units to meters before importing. Also, this procedure is only necessary if the objects import into the wrong location. Some unsupported projections will still import properly. This procedure should only be used if necessary, normally it is best to not manually change the origin in a Vectorworks document.
When working with georeferenced Tiff files in a file where the origin has been changed, there is an additional step required. Georeferenced Tiff files will have an accompanying world file. This file will have the same name as the Tiff and needs to be in the same location as the Tiff file. When importing a Tiff image, Vectorworks ignores any origin changes. The imported Tiff images will need to be moved by the same factor that the origin was changed by.
Example:
If the origin is changed to X = 5 and Y = -10, the imported Tiff image’s X coordinate should be subtracted by 5 and the Y coordinate should be increased by 10.
Edited by JimW
Report Article
There are no comments to display.
Join the conversation
You can post now and register later. If you have an account, sign in now to post with your account.
Note: Your post will require moderator approval before it will be visible.