
Luis M Ruiz
-
Posts
451 -
Joined
-
Last visited
Content Type
Profiles
Forums
Events
Articles
Marionette
Store
Everything posted by Luis M Ruiz
-
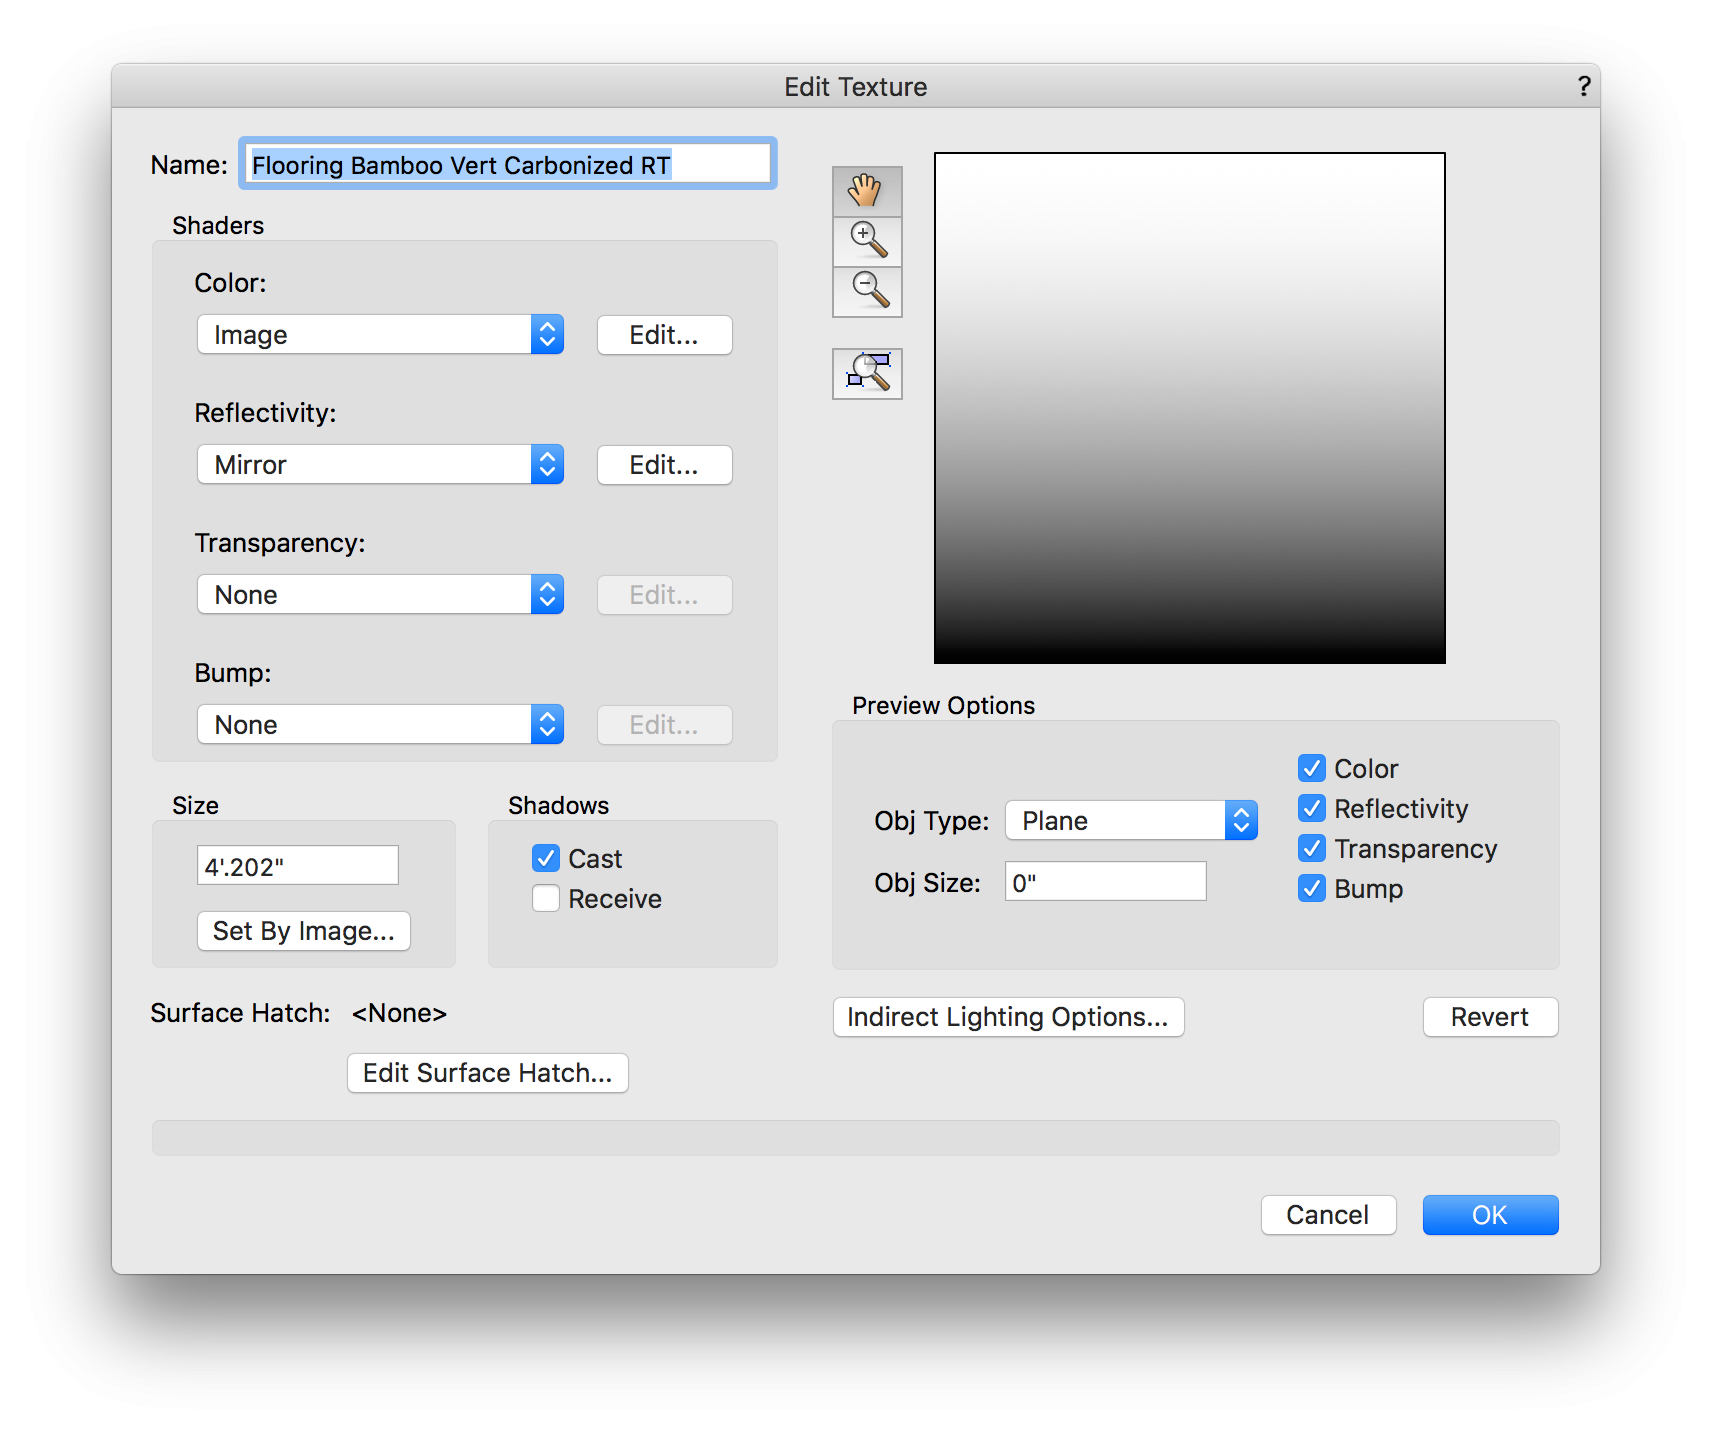
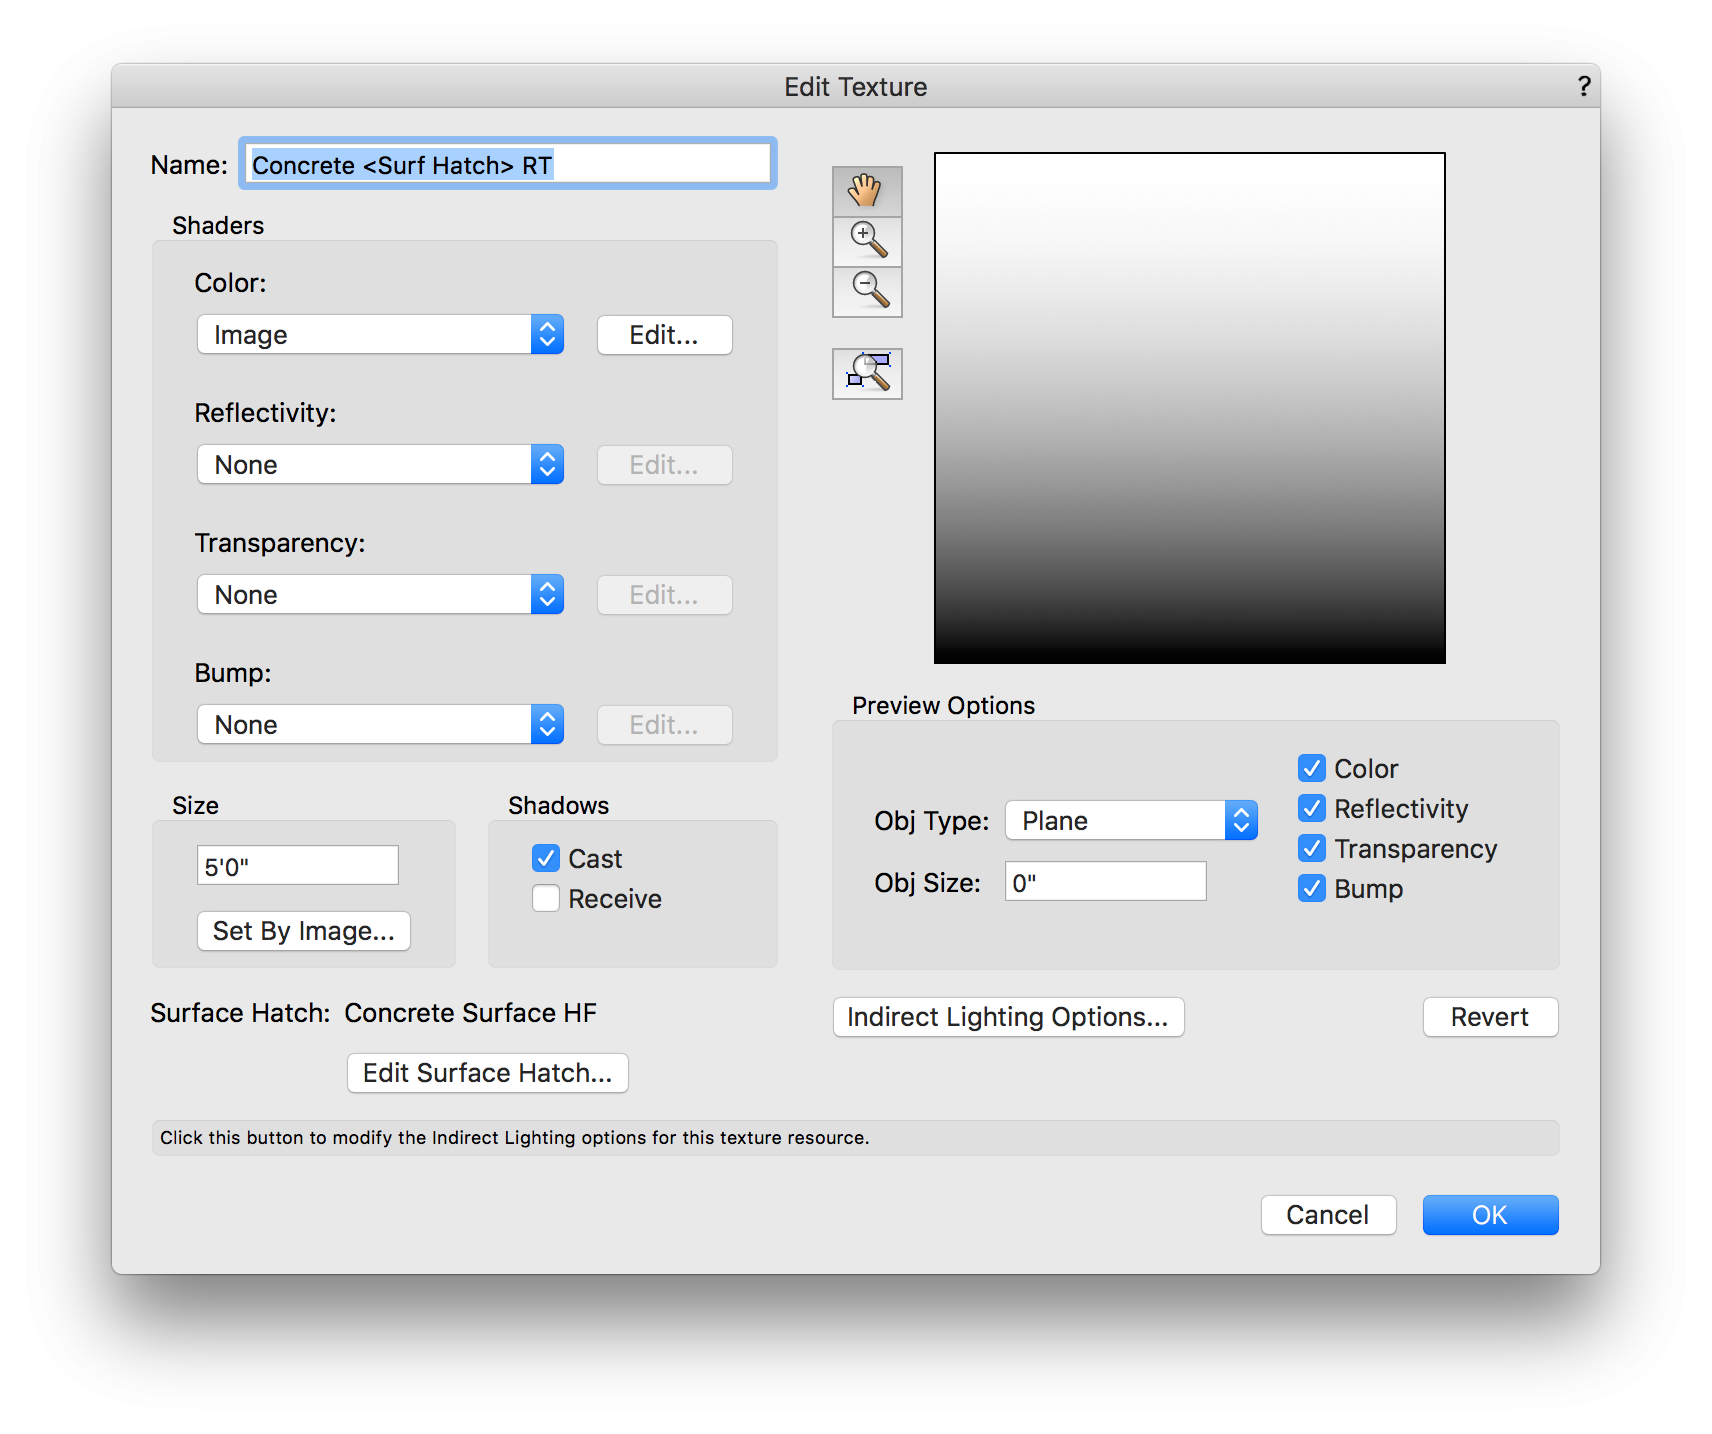
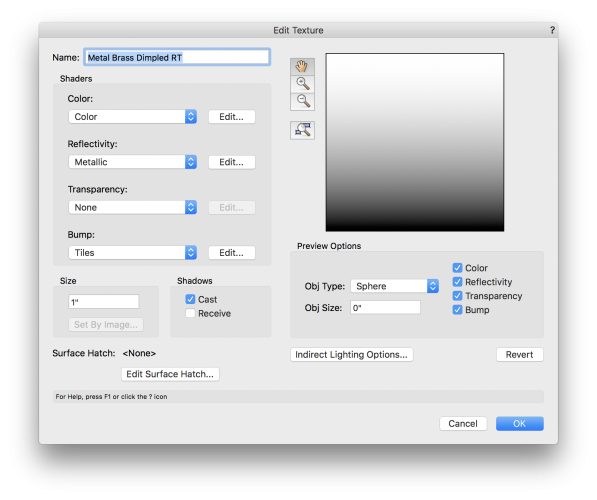
Hi Kevin. You got me thinking and yes, there is currently one way to filter textures with hatches associated to these. In your resource manager search for "surface hatch", that'll show you over 400 materials, but there are others that have hatches but the name does include the search word, for example, CMU and I am trying to locate others.

-
Where do we start? Here is my checklist. The level of detail of any rendering depends on the level of information you want to covey on this illustration. If all is needed is to show form and space then a sketchy level of detail may be sufficient. If you are going after the final presentation including all bell and whistles then you need to spend the time on deep 3d modeling and testing rendering techniques. Know all 3d modeling techniques along with navigation, learn to create and manipulates textures, learn camera setups and benefits of all its settings. Make use of viewports and resolution control, understand the difference between Custom Renderworks and Rendering Styles, learn how to preview renderings, getting other objects from other sources, lights, very important, these make renderings sing and look professional.
-
@Kingstone That was a great piece of information, the fact that you started with a template gave us the clue we needed. We are on it.
-
Linking panoramas would be super!
-
Image export of viewport with finished render
Luis M Ruiz replied to Andrew Davies's topic in Rendering
Here is my personal recipe. If my goal is to create a rendering, say size 8.5x11". I set the sheet min res to 300dpi and after being done export the whole page as an image (tiff or png). Now, if my illustration is just an OpenGL, then I set the res to 600 dpi, this makes the lines, textures, and solids look gorgeous. I must also mention that since the speed of our cloud is better than my laptop, I've been processing my files using publish. -
Try not to use that same glass material. Use other simpler glass textures, no images.
-
The problem is not with the rendering styles, it has to do with materials. Also, I noticed you added an image to the glass, something that looks wavy, frosted. I'd recommend you make use of noise-turbulence and increase the size to 400%, that'll get you the effect you are looking for.
-
I noticed in your file that all textures are set to receiving no shadows and all of them have no preview. I assume at some point you created a texture from an image? That triggered a problem and corrupted the rest of the materials. I know the solution here is to transfer all to a new fresh file but the steps for transferring the materials I'll have a ask my friends over here.


-
This one is a mystery. Working on it...
-
I think it looks fuzzy in wireframe or OpenGL but once you do a higher rendering they look decent. I'll double check.
- 1 reply
-
- 1
-

-
That is the beauty of creating panorama renderings. These are flat distorted high-quality images that can be edited and embellished when needed, and then can be viewed and shared using our mobile technology.
-
Don't be afraid to pop those colors and highlights with a little help of post editing. The raw rendering contains all the information, it just needs to be enhanced a bit. here is a sample of your beautiful rendering.
-
My mistake. @lgoodkind, file?
-
Hi Kevin. Would you post the sample file? I'd like to test something with it.
-
I'll invite you all to check out this interior rendering webinar: http://www.vectorworks.net/inspiration/industry-webinars/see-it-to-believe-it-next-level-rendering-techniques
-
Here is the file. panel.zip
-
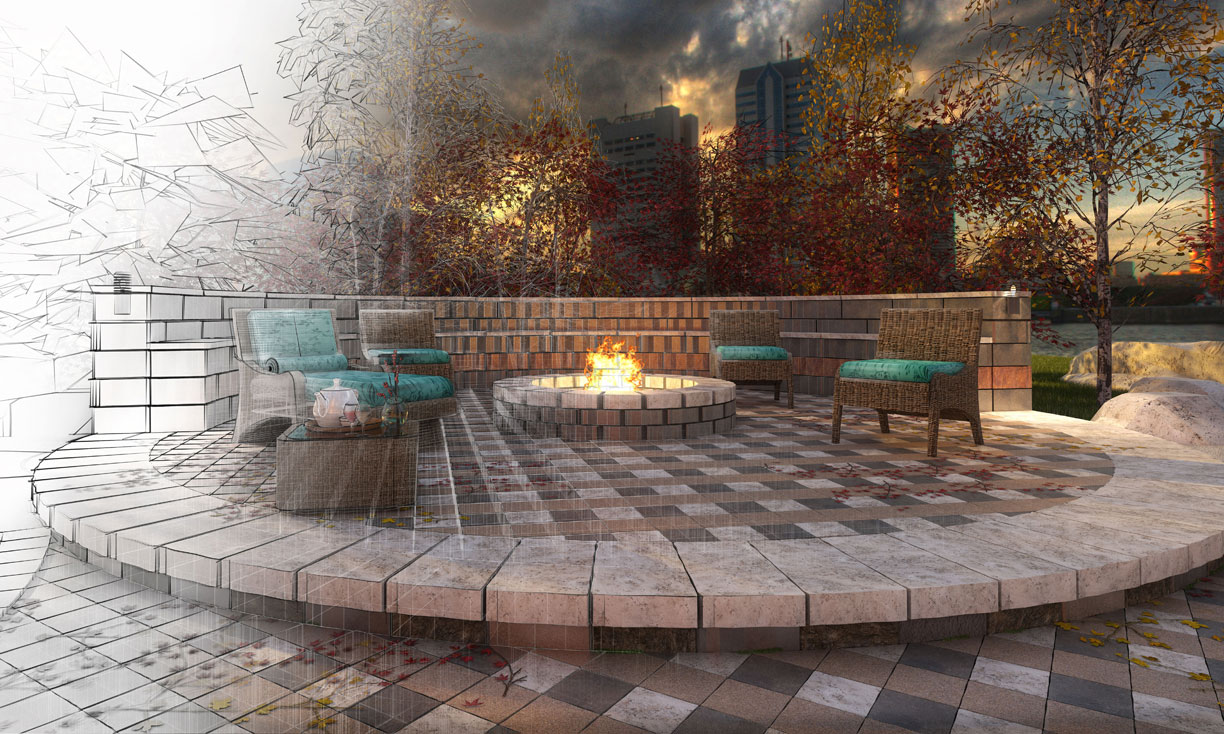
This is such a great challenge. Here is my approach., a combination of Nurbs > Create surface from curves >stitch and trim surfaces. then I wanted to test create a surface array and finally rendering the model including two colored spotlights.


-
Still, that is a great idea, same here, I have a collection of rendering styles in one of my favorites resource files and after 20 items it is hard to remember what makes each style different. "mm, meditate on this we should"
- 6 replies
-
- 2
-
-
- renderworks
- renderworks styles
- (and 3 more)
-
Hidden Line Render Mode not hiding everything in 2018.
Luis M Ruiz replied to Chintan's topic in Rendering
I just replied to a similar behavior in another post. Try for the moment creating section viewports instead of pure side viewports with a hidden line rendering. -
Here is my finding. When creating a section viewport the lines hide correctly. But you are correct, directly in design layer, a hidden line rendering does not look correct.

-
Nice work, very nice work!
-
Only if you are serious about 3d. I typically spend min 30hr per week on projects and at this point, I can't see myself without it. A couple of years back I started with the small navigator but now I use the space mouse enterprise. I need my shortcut buttons.
-
Good Renderworks settings for "architectural model" look?
Luis M Ruiz replied to line-weight's topic in Rendering
Here are a couple of styles I am experimenting with. White model, color, and sketch all blended in a single image.

-
Good Renderworks settings for "architectural model" look?
Luis M Ruiz replied to line-weight's topic in Rendering
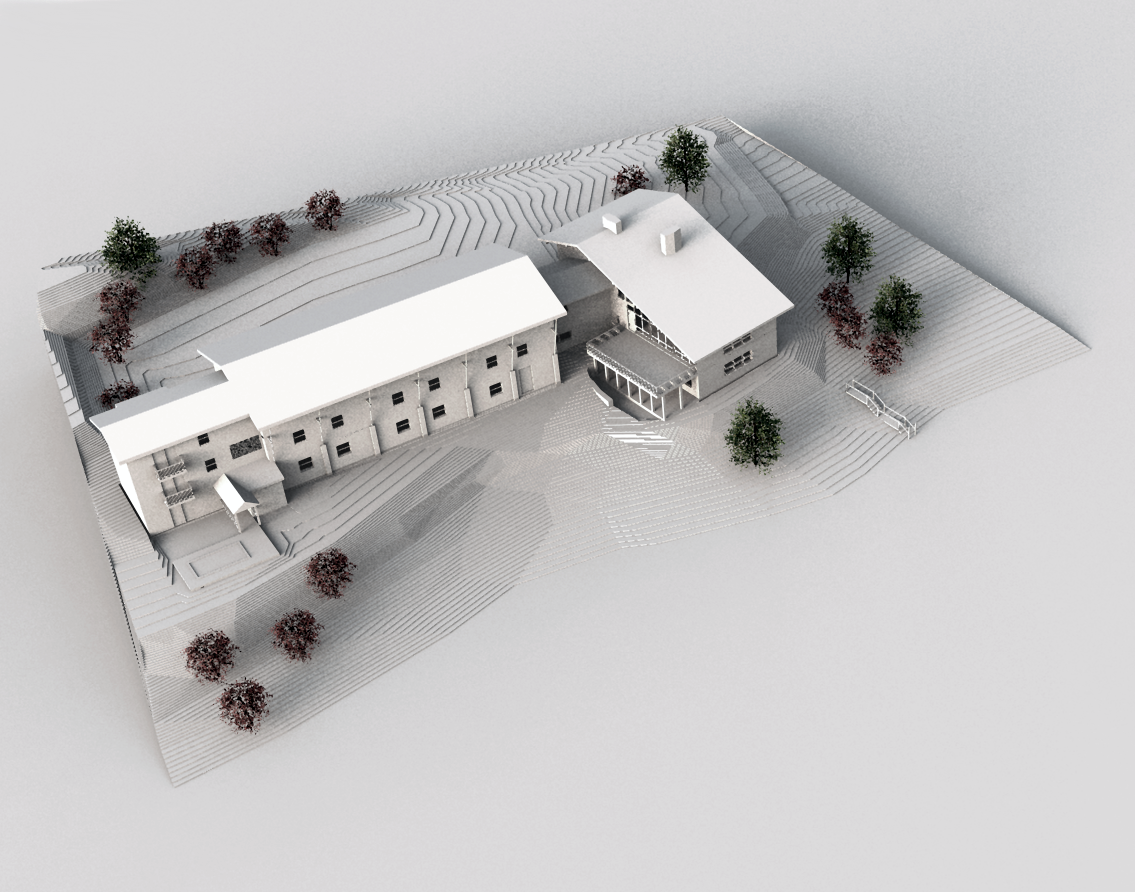
Hello again. Card models are an interesting approach, and you are correct, in reality, the final rendering is not exactly all white but a combination of plain textures/colors with a few colored entourage, like photographing a real physical studio model. I think in this case is not just a matter of creating a rendering style but also applying a class and setting up the attributes so these can be overwritten on viewports. A few years back I created my own checklist of things to consider for this type of renderings: •All objects by class •All classes need to have a texture •Cameras need to be present and effects like bloom and depth of filed need to be set •For outdoor models, s single source of light, heliodon, 125% power, 10:00 am or 5:00 pm. I like longer shadows. •Ambient occlusion on at 90% •No ambient light, I let the light be controlled for what I place on the model. • Perhaps a grey or light grey background •Let environmental light come from a specific HDRI background, that would alter the general tone of the scene. I have my favorites for every occasion, happy to share. •Create a rendering style, just 1 for a number of reflections, blur takes time but I use it depending on how close I am to the textures, otherwise, if it is from a birds view I leave it unchecked. •Create viewports, 17x11" starting at 25dpi for fast reviews and increase up to 600dpi when I am totally sure I am going to like the final result. •Export image view as TIFF I'll post sample images from back in v2011 when experimenting with my first cardboard models. my best in those days but it served for what the type of presentation I needed for the client.