jwseas
-
Posts
16 -
Joined
-
Last visited
-
Thanks Pat, I tried this and the negative is that the cladding texture doesn't align with the cladding texture from the floor above. This was also the case when using the 3D extract tool to create a 1mm thick extrude and applying the texture. I assume I would then have to use the attribute mapping tool to try and align the textures so it looks continuous but I find the attribute mapping tool not very easy to use!
-
Hi, I'm trying to do something which seems like it should be easy...... I'm trying to extend the cladding to line through with the ground floor window sills I have tried creating a new level (window sill) and bounding my first floor walls down to this but the first floor walls extend over the windows effectively blocking them up. I also tried doing the opposite by extending the top bound of my foundation wall to the window sill and applying the cladding walls to the ground floor. This also doesn't;t work because the foundation wall then covers the bottom half of the French doors! Is there any way to create more than one texture area on a single wall? Here is a link to my file - https://we.tl/t-XdNoagBNkd Any help is appreciated! Thanks.
-
Possible to override classes of a viewport of a referenced viewport?
jwseas posted a question in Troubleshooting
Hi all, There is a historical thread about this but thought I should start a fresh one. I have created referenced viewports on my site model and would like to override the classes on some of them to create different material finishes. I have tried using the old thread and the suggestions on that but it doesn't seem to be helping. Here is a link to download my site model file and the referenced house file. https://we.tl/t-CKeZawmGOO Any help would be greatly appreciated! -
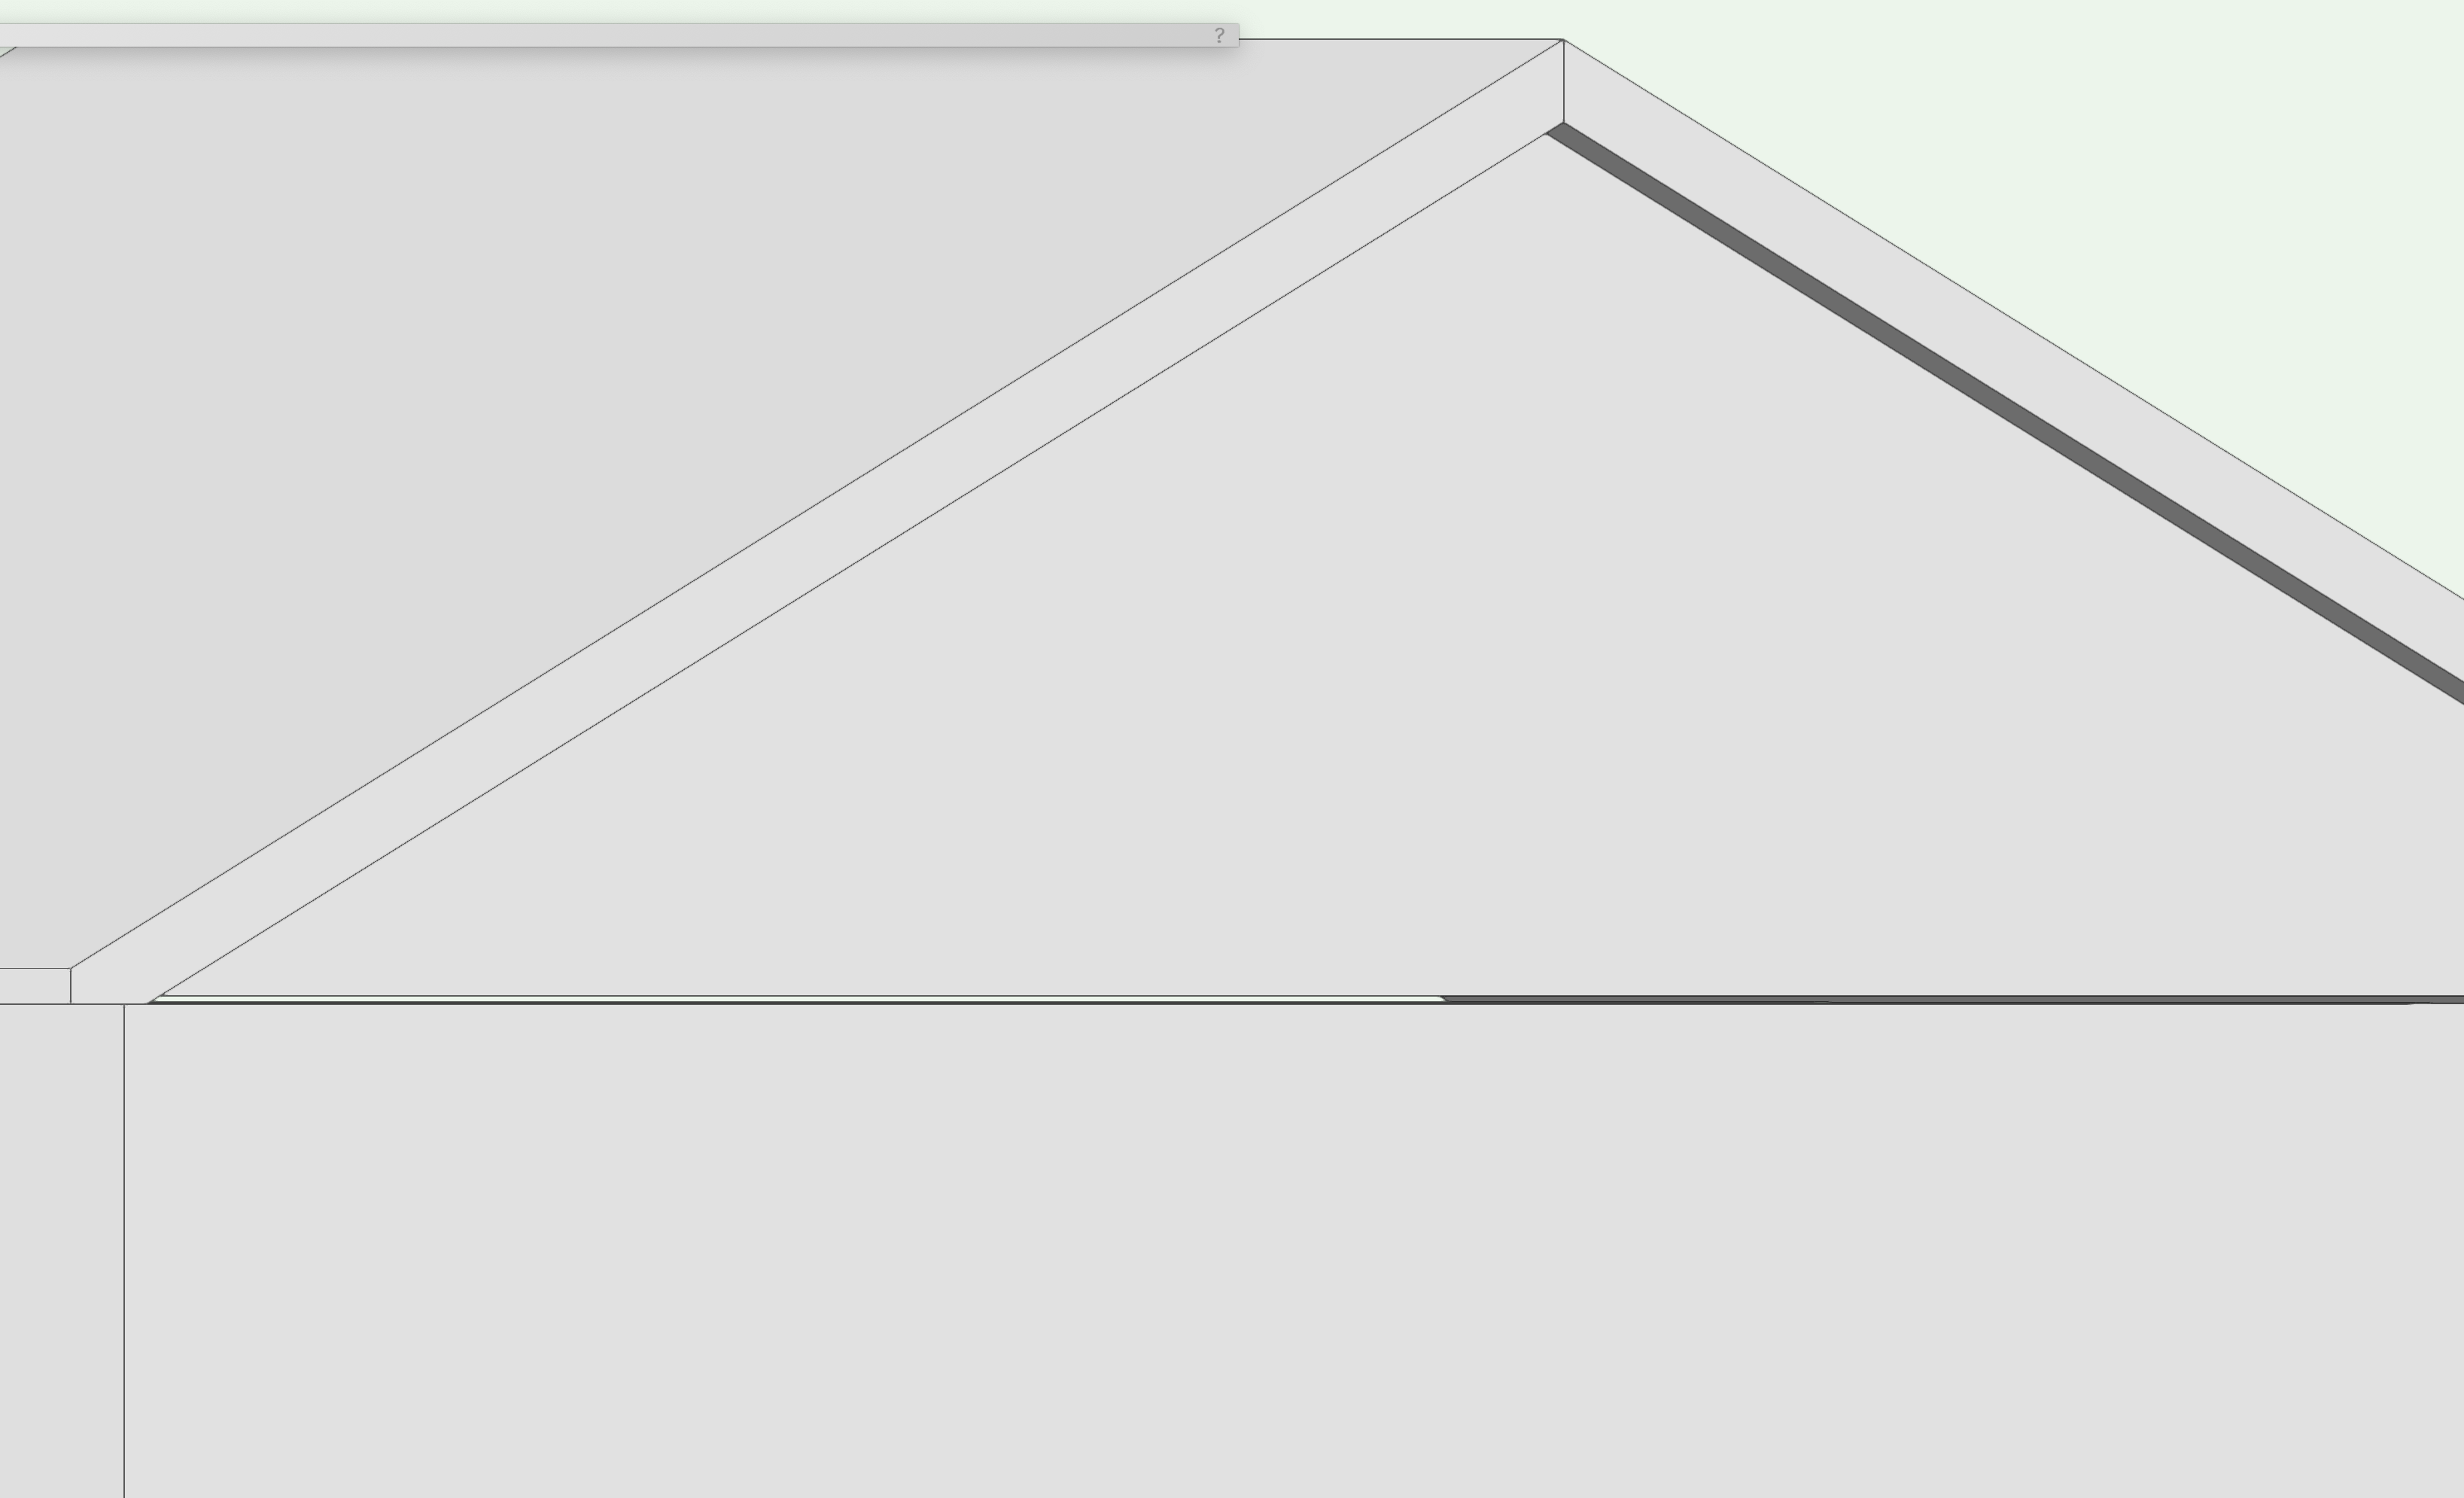
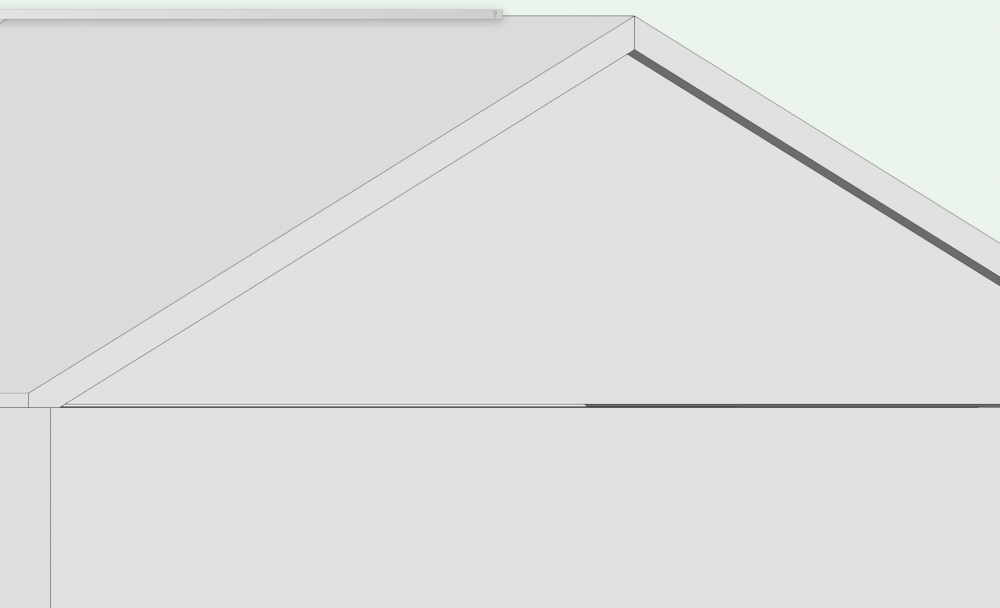
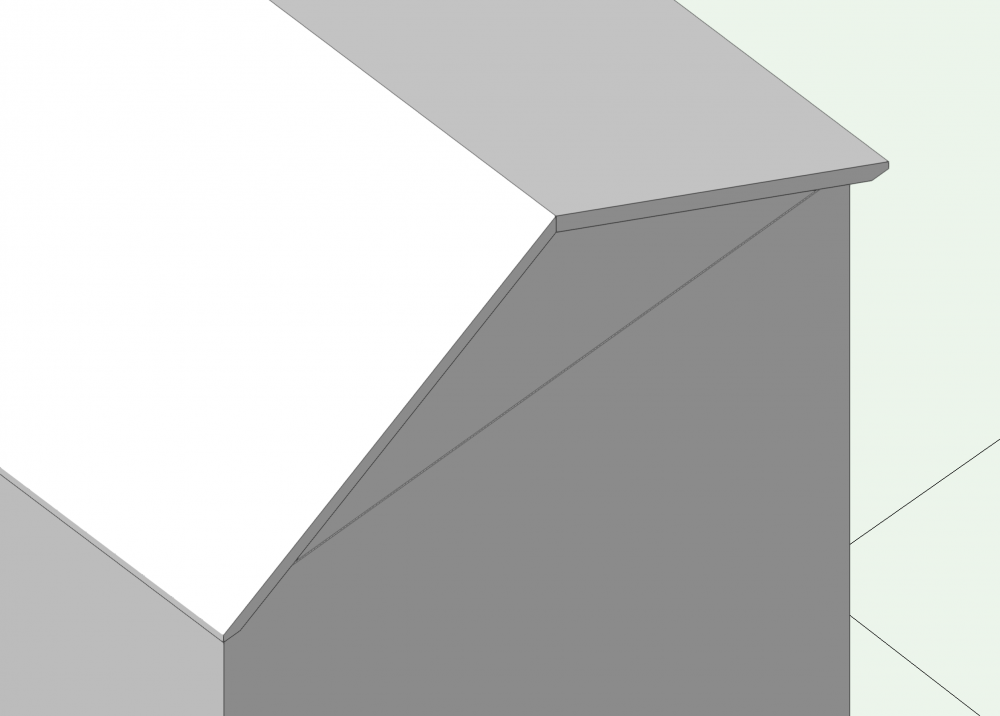
Hi, I'm trying to create some simple massing models with gable ends. I have created a custom roof by editing the massing model. With the 'fit walls to roof' command unavailable, I have chosen the option to show the gable wall in the roof in the roof design preferences. This seems to have a set back from the wall and create a ledge. There doesn't't appear to be a way of setting the massing model wall thickness and when changing the gable wall thickness, it only sets the wall further back into the roof leaving the ledge. When looking straight on at the model, there also seems to be a physical gap between the top of the massing model wall and the gable wall. If anyone can shed any light on this, it would be much appreciated. James
-
Thank you both, it makes sense to have duplicate layers with one for existing and one for proposed. I'll give it a go.
-
Hi all, Having successfully designed my first house in 3D, I'm now trying to implement BIM into a residential extension project but I am struggling to work out the best way to show the original property and the property with the extension added. Would it be sensible to build the existing model and then duplicate the entire model and add the extension? This seems the easiest way but it doesn’t feel like the correct way? I’m sure it can be done using layers and classes and turning them on/off etc. but I can't see how when it comes to merging the roofs together how to differentiate between old and new? This link should allow you access the existing model if needed. Thanks in advance. James
-
Thanks @Christiaan , I really appreciate the time you have taken to look at this for me when I'm sure you have fee earning things to be getting on with! The updated settings in the model is a really good reference to have. When you see it written down, it makes more sense. Thanks again.
-
2665mm would be FFL to FFL based on the above dimensions. I think I may be quite far out (especially the 1st to 2nd floor)!
-
Hi @Christiaan , 1. I selected a pre-configured floor build up. As you have questioned it, I've checked the build up and it's 175mm joists with 18mm flooring. I would usually allow 225mm joists and 22m flooring. 2. Ceiling board will be 13mm with 5mm plaster over 3. Yes, 2400mm from finished floor to finished ceiling applied to both stories. I look forward to seeing the changes! Thanks.
-
Thanks to everyone for their input. I proceeded with @Nikolay Zhelyazkov 's workaround but it feels like I haven't set the model up quite right! It allowed me to finish enough to get a proposal out to the client! Thanks again. James
-
Offsetting by -200 allows the walls to fit to the roof but there is now an overlap with the walls at each layer. I guess I will have to offset the walls on each layer? Alternatively, I could raise the bearing height of the roof?
-
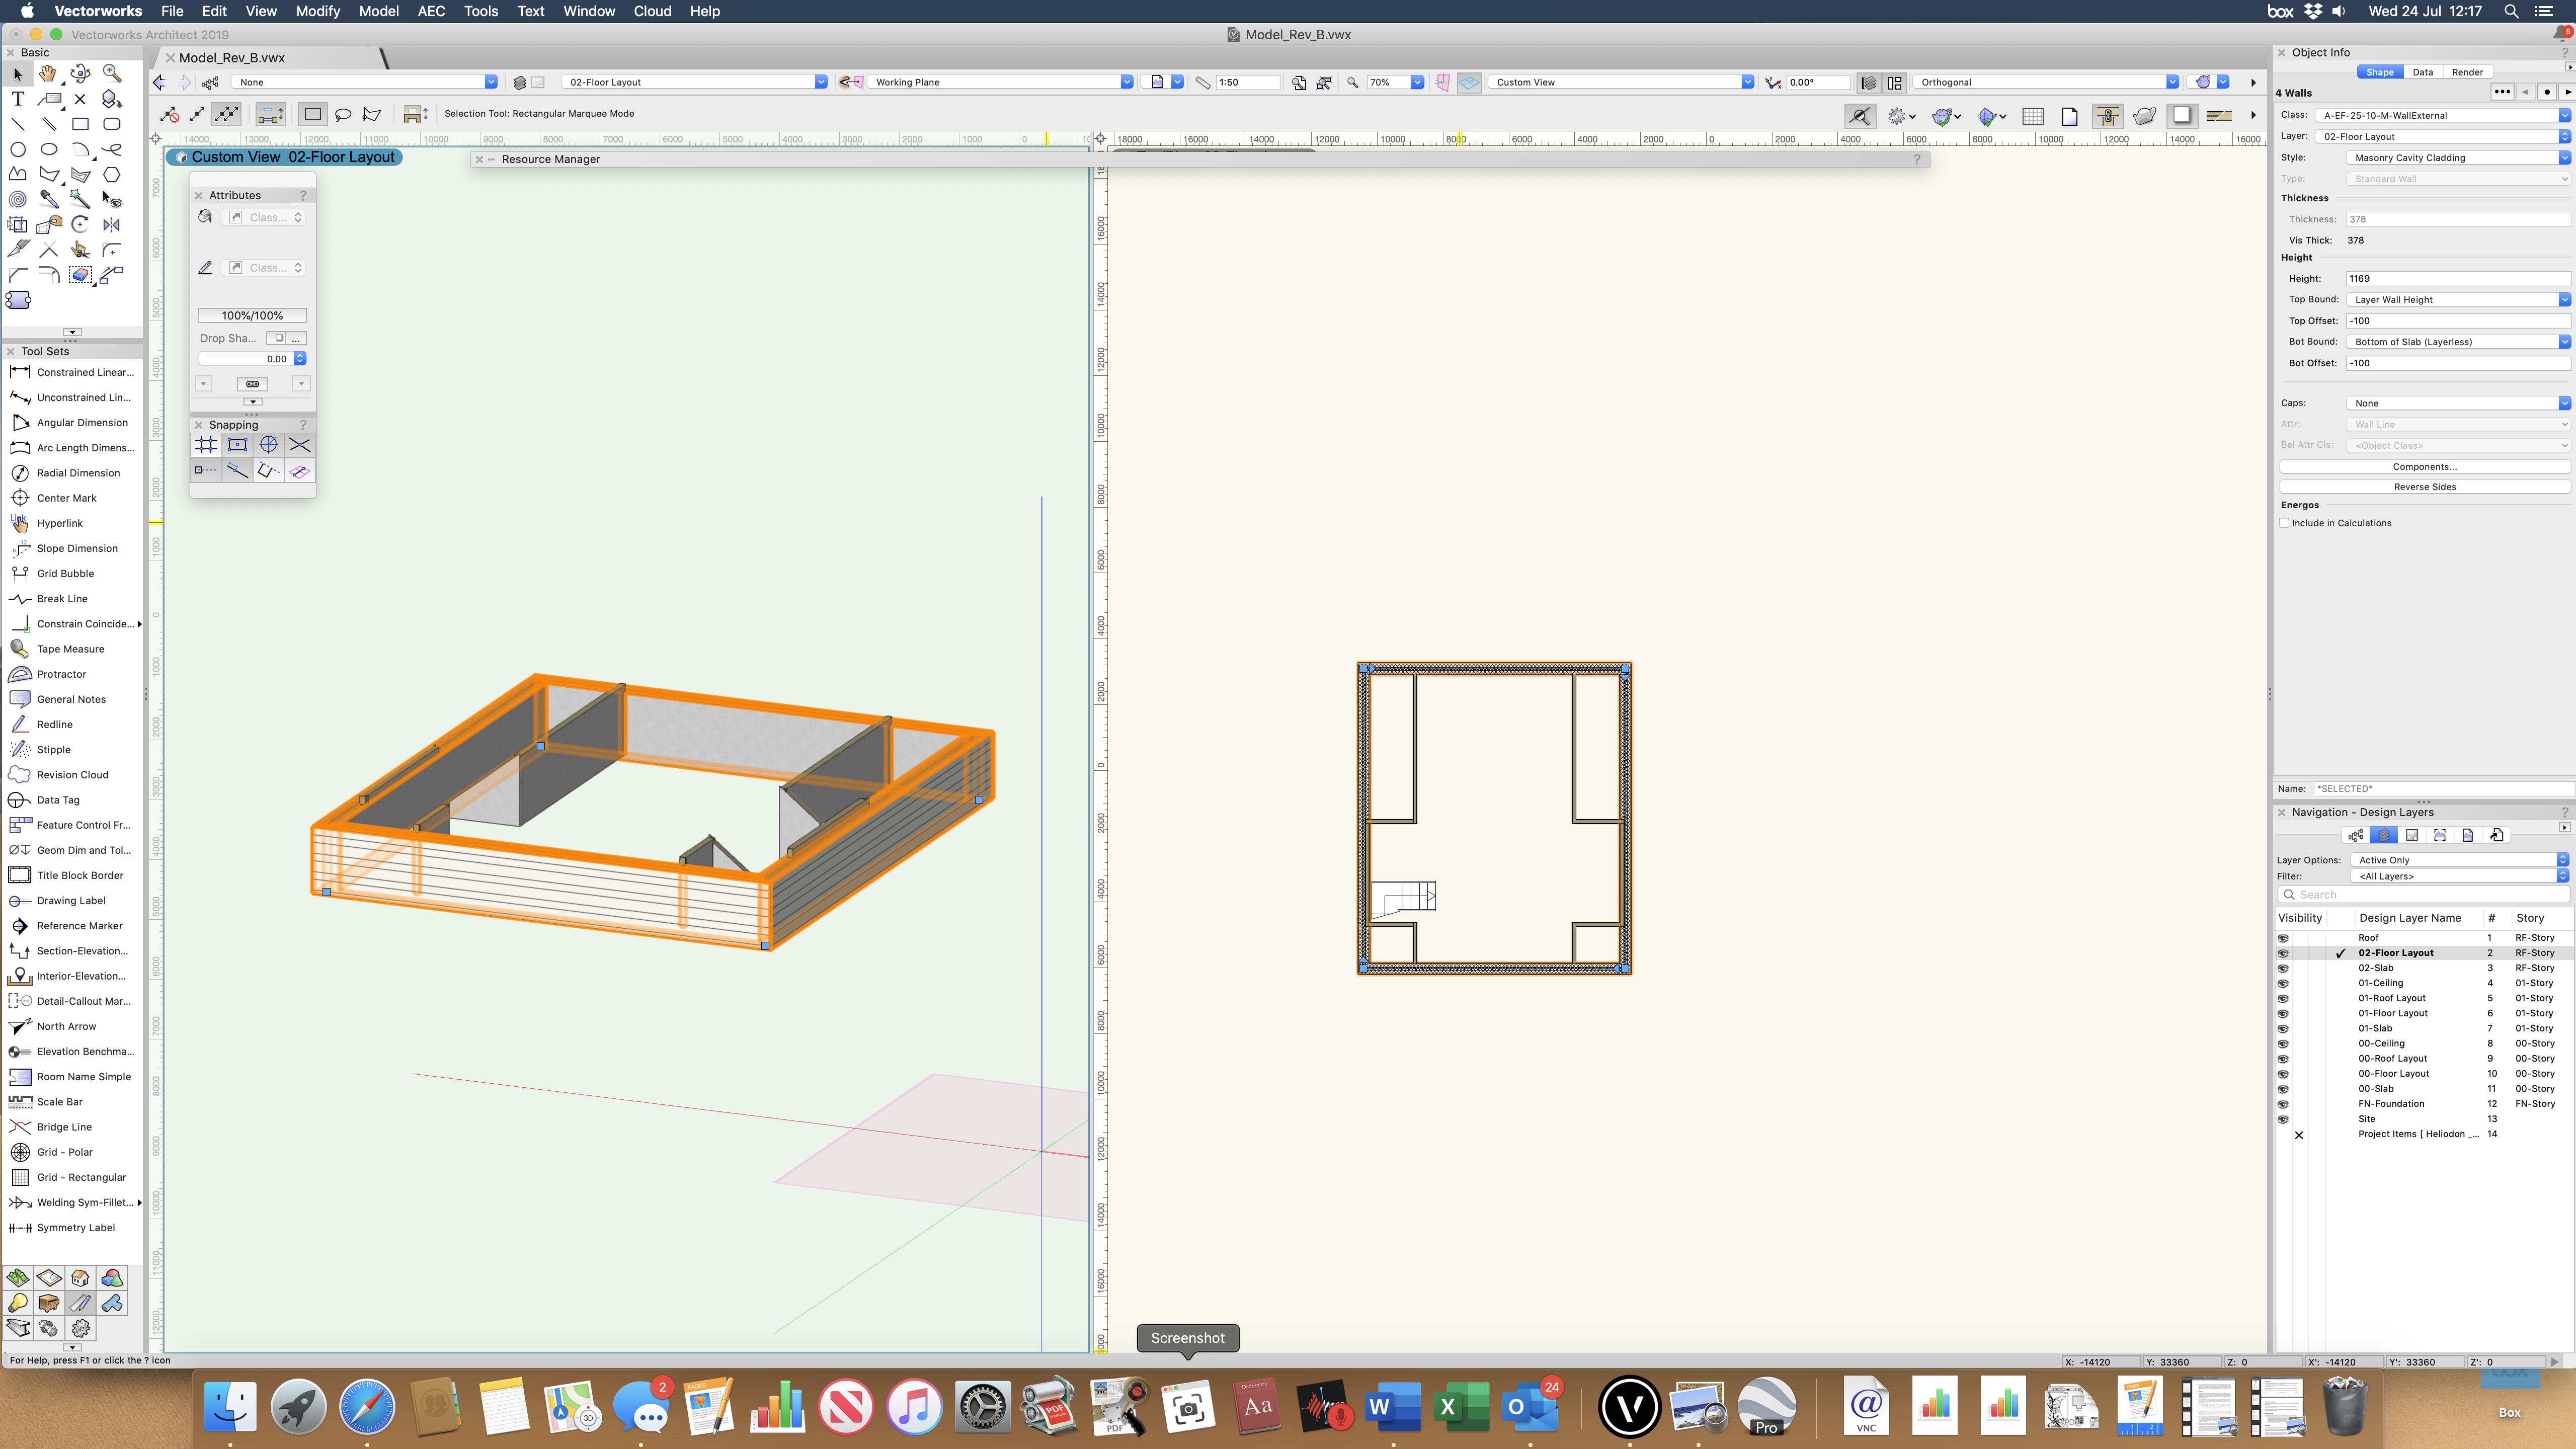
@Nikolay Zhelyazkov Yes, I did move 3D which I assume is a long way round of creating a bottom offset as when I did move 3D, it automatically adjusted the offsets as is shown in the object info palette on the screenshot?
-
@Nikolay Zhelyazkov Thanks. I have tried implementing what you suggested and this makes the external walls 900mm high (layer wall height) but they still won't fit to the roof above?

-
Here's the Dropbox link - https://www.dropbox.com/s/jkr8stgpk4a4zhy/Model_Rev_A.vwx?dl=0 Any help will be appreciated!
-
@Christiaan I'm having trouble uploading it even though it is smaller than the 60mb allowed. I've emailed Vectorworks to find out why. Hopefully, I'll be able to upload it soon!