


kufuffin
-
Posts
70 -
Joined
-
Last visited
Content Type
Profiles
Forums
Events
Articles
Marionette
Store
Posts posted by kufuffin
-
-
Have you created a grading limit around the road (site modifier tool)? My models always look wacky like this until I have placed a grading limit, but I'm not sure how that applies to the NURBS road.
-
 1
1
-
-
The way Landmark is set up means that once I draw a polygon I have to convert it to a landscape area, an irrigation design area, a hydrozone area, and an irrigation drip area. Having all of these different objects works up until the point at which the design starts changing. Then I have to edit the size/shape of each object individually every time the architect changes their design or the planning department asks for a change. This is a huge time waster in my office and incredibly mind numbing work.
Can you either link all of the areas so editing the size/shape of one of them edits them all -or- allow one area to contain all of the same information?
-
1
-
-
Sorry, I was hoping to understand better how the software works. I'll try your solution, but I'm still not understanding how it functions.
On 10/24/2016 at 10:02 AM, kufuffin said:Whats the correlation between the perspective setting on the camera and the perspective settings accessed though the view menu at the top?
To clarify: You're saying view>perspective>normal perspective should be greyed out (not an option) when I am using the camera? You're saying there is no correlation because I shouldn't be able to change it?
The perspective option on the camera was the one that looked tilted and stretched out. Changing the perspective view through the view menu was how I fixed it.
-
Whats the correlation between the perspective setting on the camera and the perspective settings accessed though the view menu at the top? When I have custom perspective selected and am in the camera I get very strange looking perspectives (objects stretched out/tilting over). In wide perspective the foreground objects become too large, and in narrow things actually look normal.
-
I really like the features advertised in this vwx video. Wouldn't it be great to have the plant stroke and shadow opacity in an open window at all times with a slider (24 seconds into the video)?
-
Can I add a 4th and 5th comment? How? Thank you.
-
Can you make it so I can find the railing style in the resource manager and right click>apply? It's very clunky going to settings>current document>(choose style). Also it's not letting me choose styles from other folders from that drop down window so I already have to look it up in the resource manager so I can import it.
-
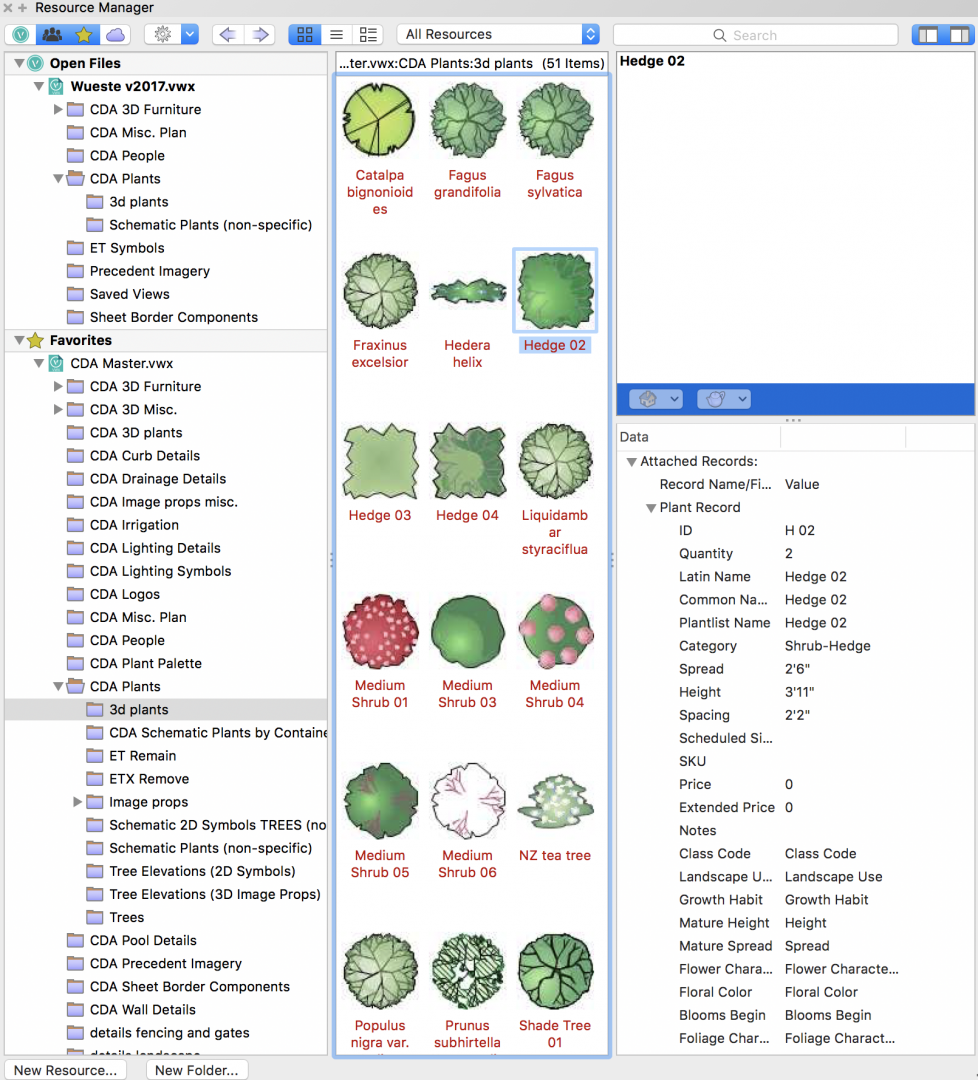
I got an answer from tech support. Apparently in Plant tool>wrench> annotation you can turn on/off settings for the tool to use on every plant. When opening a file these settings change to something random since I last used them so I have to manually change all the settings back to none.
-
1
-
-
I don't want to use a tick size, mass outline, etc. Most of these I want set to none, however all the plants have these settings turned on when I place them. Is there some way to make the default none? The amount of time spent changing these 10 boxes for every plant on every file is immense. Thank you.
-
I'm having the same problem with all of the plant symbols (2d and 3d) that I created. The 2d symbols vwx give you are too colorful so I had toned them all down, now I'm faced with the same chore. I have been opening up old files just to import all the content I had created.
-
I have made symbols of all my plant images and keep them in a 'plant palette' folder. To create a new one I just duplicate an existing symbol and copy paste the new jpg into the symbol and size it like the existing image. This way they're all the same size and have the same title font & size. The only draw back is the name of the symbol has to be unique, so if you have a plant symbol called 'citrus' you have to name your image 'citrus img' or something unique.
-
It looks like you can only access the schedules by navigating to the file in the resource manager and importing them. When I opened the file they are not there. Curious.
-
Whoa, I wasn't aware of that! It seems now that I have the 3d view that they're unusable- they're so pixelated that every 3d shrub i have looks undistinguishable!
-
I would love to find out if we missed downloading something for the work group folder. However, the resource manager doesn't let me access the workgroup folder so I can't find out if it needs to download something. I have it the folder set up in the vwx preferences. Is there someway I get can the resource manager to show the files in the workgroup folder? Thanks.
-
I see, you have to right click all the symbols and choose Set thumbnail view.
-
Hi, in my experience the new resource manager does not let you set the thumbnail view to show the 3d object in a symbol (it only displays 2d). Is this true or am I missing something? Also, it appears that when browsing favorite files the little preview image on the right will not display the 3d object. It only displays 3d objects in a symbol that are in the file thats open.
Is there somewhere I can change this? I need to be able to see the all the 3d objects at the same time (not clicking on one by one).
-
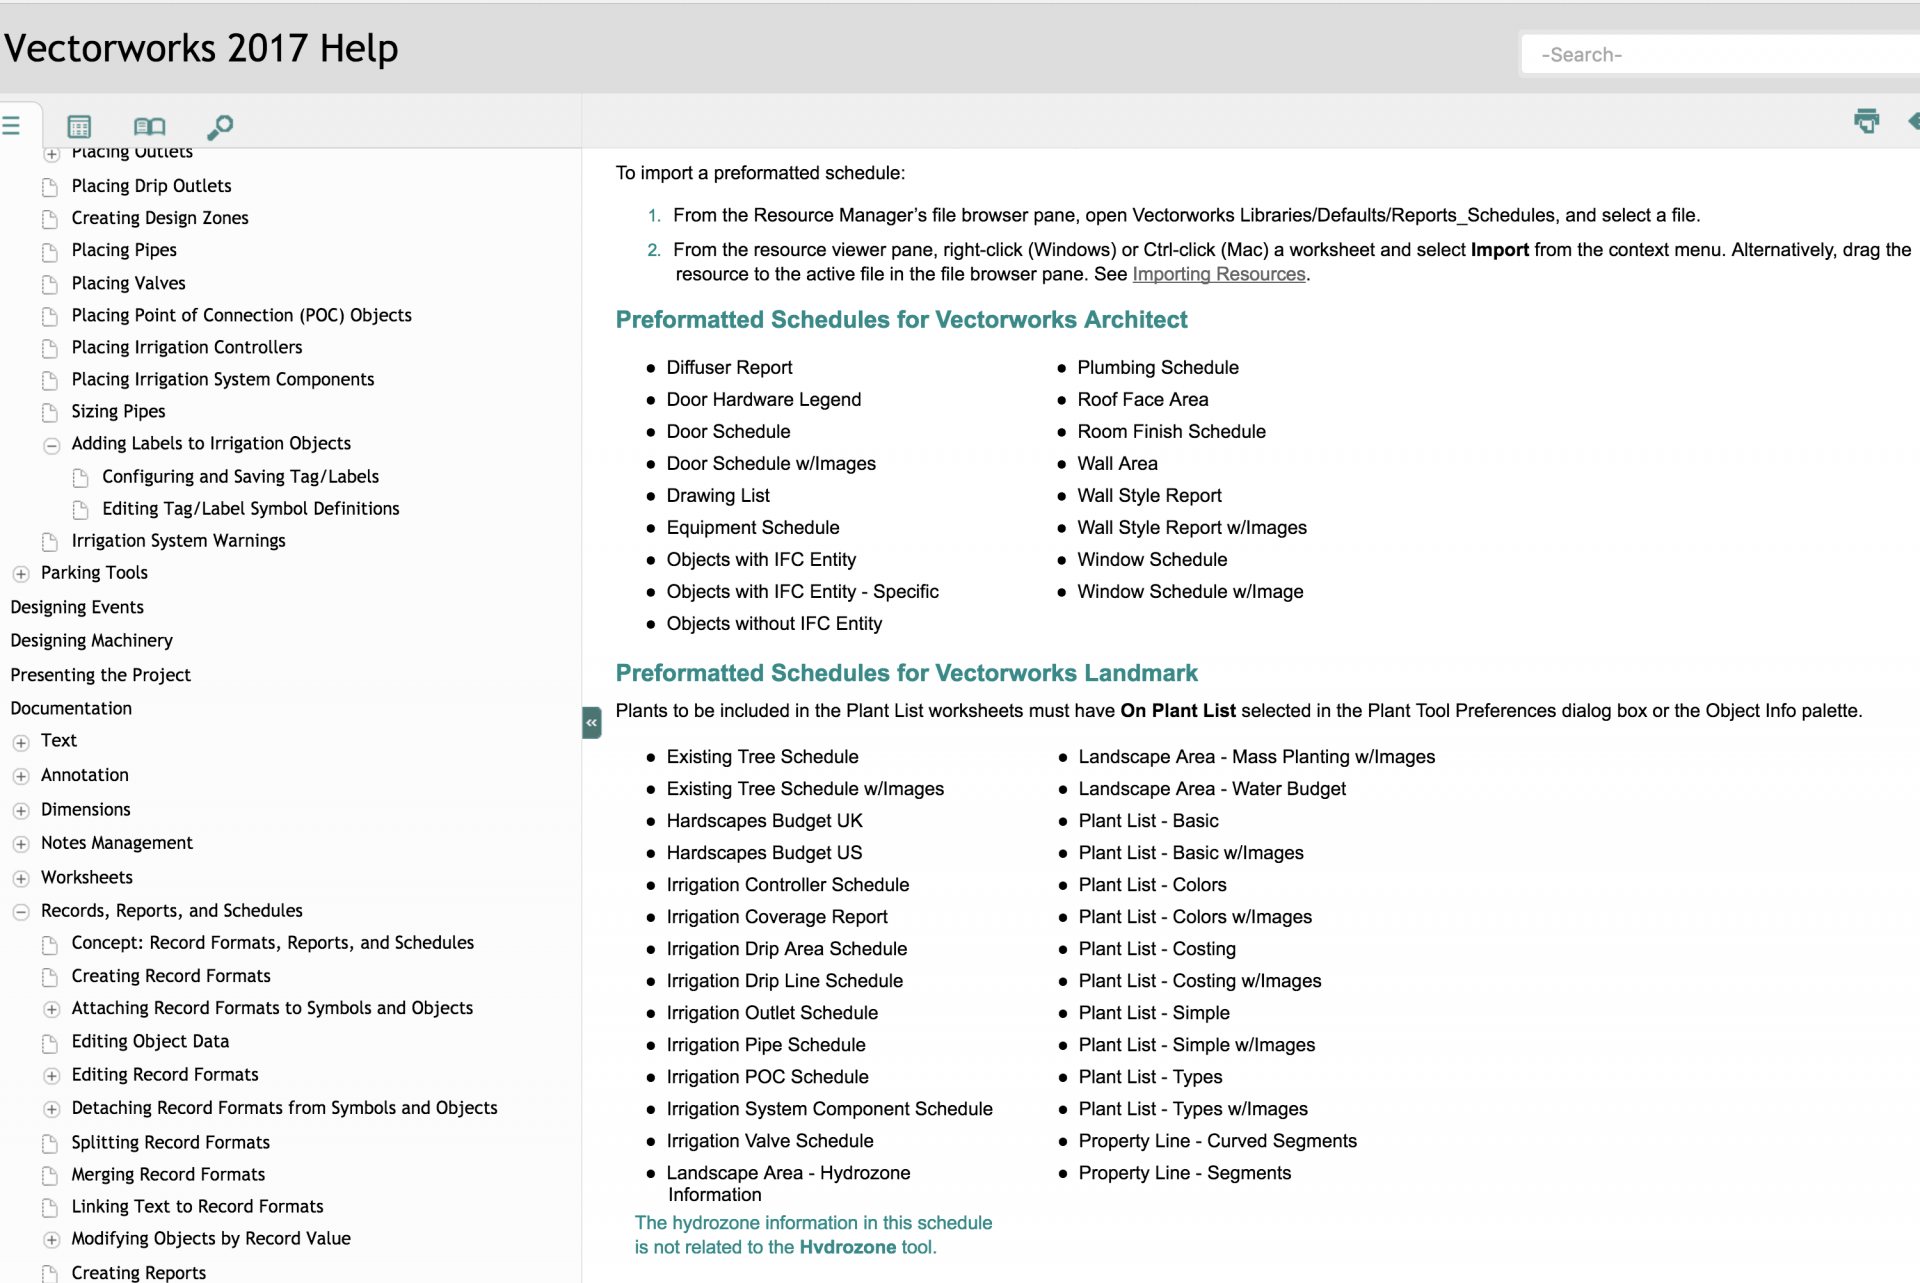
I'm looking for some of the preformatted schedules for irrigation that were supposed to come with vwx 2017, such as the Irrigation Drip Line Schedule (looks like there are 9 total). The only thing I see in the Reports_Schedules folder is a file called Irrigation Reports and it only contains the Irrigation Head Schedule and Irrigation Line Schedule. Am I missing something or is everyone else in the same boat?
Thank you
-
Instead of having a button to push to access a window that displays the opacity slider can you just put the slider there on the palette (no button)? It would be such a time saver for me. Thank you.
-
1
-
-
Is there any way to create this hatch? I have tried for a couple hours now, not sure if I'm missing something. My experience has been that I can control when the line repeats only in one direction. So for example the longest line, the one on top (30"), repeats collinearly in 210". However I can not control when it repeats in the same column, so to speak. The next time that line repeats directly vertically to it is in 126", but I'm not able to make that happen.
The pattern I'm trying to recreate:
My settings:
-
It looks like the tree symbol was too small. It was 8' diameter spread in the definition and the outline was an 8' diameter circle, but the interior linework was slightly larger than 8'. So although I had a 6' diameter circle, it shrunk it slightly so as to make the whole symbol fit into 8'.
It seems I'd have to give up the interesting aesthetics that I want to achieve technical accuracy or spend too much time tinkering with every symbol to make them exactly match the definition.
-
I have attached a record to my tree and shrub symbols. The record is attached to a 6' diameter circle in a class, so it's 28 sq ft. This is used to calculate the water needs of that plant (MWELO). However my worksheet is not adding up the sq ft accurately. For example:
6 Trees x 28sq ft= 168 sq ft.
My worksheet says it's 144 sq ft. So it's off by 4.26 sq ft per plant.
The problem isn't consistent, so on some shrubs it's off by more, on others it's off by less. Example:
8 shrubs x 28 sq ft=224, worksheet says 218 is the total, so it's off by .75 per plant.
15 shrubs x 28 sq ft=420, worksheet says 389, so it's off by 2.06 per plant.
Does anyone have advice on solving this? Thank you!
-
Thanks Jim. I just tried your suggestion, but I'm not sure if that makes anything easier. The existing tree is now a Plant and I can not edit it in the resource browser as I would an existing tree, also my worksheet that looks for the existing tree record does not find it.
-
I have 100s of trees I need to document with the existing tree tool. They are currently represented as circles (for the trunk) on the survey. Is there some way I can automate turning every circle into an existing tree instead of placing each one individually?
I tried: modify>convert>replace with symbol
But this only turns them into plants, not existing trees, it seems...
Thank you
-
Convert to Polygons- thats what I needed! Thank you!


Landsacpe areas automatically generate unique names
in Site Design
Posted
When placing landscape areas the program automatically names them Landscape Area-1, Landscape Area-2, Landscape Area-3, etc. Does anyone know why? Is this useful for some reason?
Personally, I only ever need worksheets to show the total landscape area on a project. So this new naming convention means I have to erase the -# from every landscape area before it will show a total the way I want it to in a worksheet. Making more work for me than before. Can I turn it off? Thank you.