Phil hunt
-
Posts
943 -
Joined
-
Last visited
Content Type
Profiles
Forums
Events
Articles
Marionette
Store
Everything posted by Phil hunt
-
 Hi I am in the same game as yourself and have to use this method quite a lot as it seems to be the in thing these days fortunately i model in VW and render in Artlantis which when mapping the image onto a wall will allow the image if enlarged by 50mm on all edges fold around and map perfectly without no distortion creating a perfectly wrapped canvas wall or frame in VW I am wondering if you could create a say 1mm thick extrusion 50mm bigger than the face of the panel and bend the edges 50mm in at 90 degrees just trying to think how to do the folds
 -
hi just sent you a pm
-
Do you have an illustration of what you need .
-
Permenant or freelance?
-
this was jims quote "If you are finding that it is extremely cumbersome to apply a decal texture at the moment, then you are using the tool correctly. (I don't mean to be so snide normally but this tool really does need some work to become stable.) Currently trying to add a decal to a surface, especially a cylinder or a sphere is very difficult and is prone to "sticking" and the user would need to start over again to re-map the decal and get it to the proper place." this was jims quote....sorry haven't worked out how to resend a previous quote......!
-
thanks for this BKS...its seems to me that a lot of people would have struggled to find this tip including me leading to a lot of frustration.......it defiantly looks like applying a decal should be made easier....i think jim commented some time ago when i brought this up that if i was finding it difficult to apply a decal i was doing it right.....maybe something for 2018 release.......i also find it strange that you have to first apply a texture to a surface before you can apply a decal.....sometimes i just have a white fill colour to represent a white wall for instance....but i have to create a texture in white....then apply and then i can apply the decal....how strange i guess there's a reason ....
-
i did try and replicate your question and came to the same result......but i lost my decal to
-
i guess it's like modelling any other project....treat is like a building.......i would first of all, find out how far the 2 towers are apart...how high the openings are on the towers to receive the bridge....are they level.....hopefully on your first attempt they are! and build a model accordingly the pictures you sent are complicated i feel for a starter maybe you could simplify just a bit and see how you get on.....alternately you could buy a model.....but i doubt if one would fit your criteria looking at your pictures but here's a link to see what there is about https://www.turbosquid.com/3d-model/bridge
-
Solid Subtractoin Having Odd Effect on Extrusion
Phil hunt replied to Josh NZ's topic in General Discussion
i think alan deserves a gold star for his contributions to our forum for all the time and effort he puts in to help other thanks -
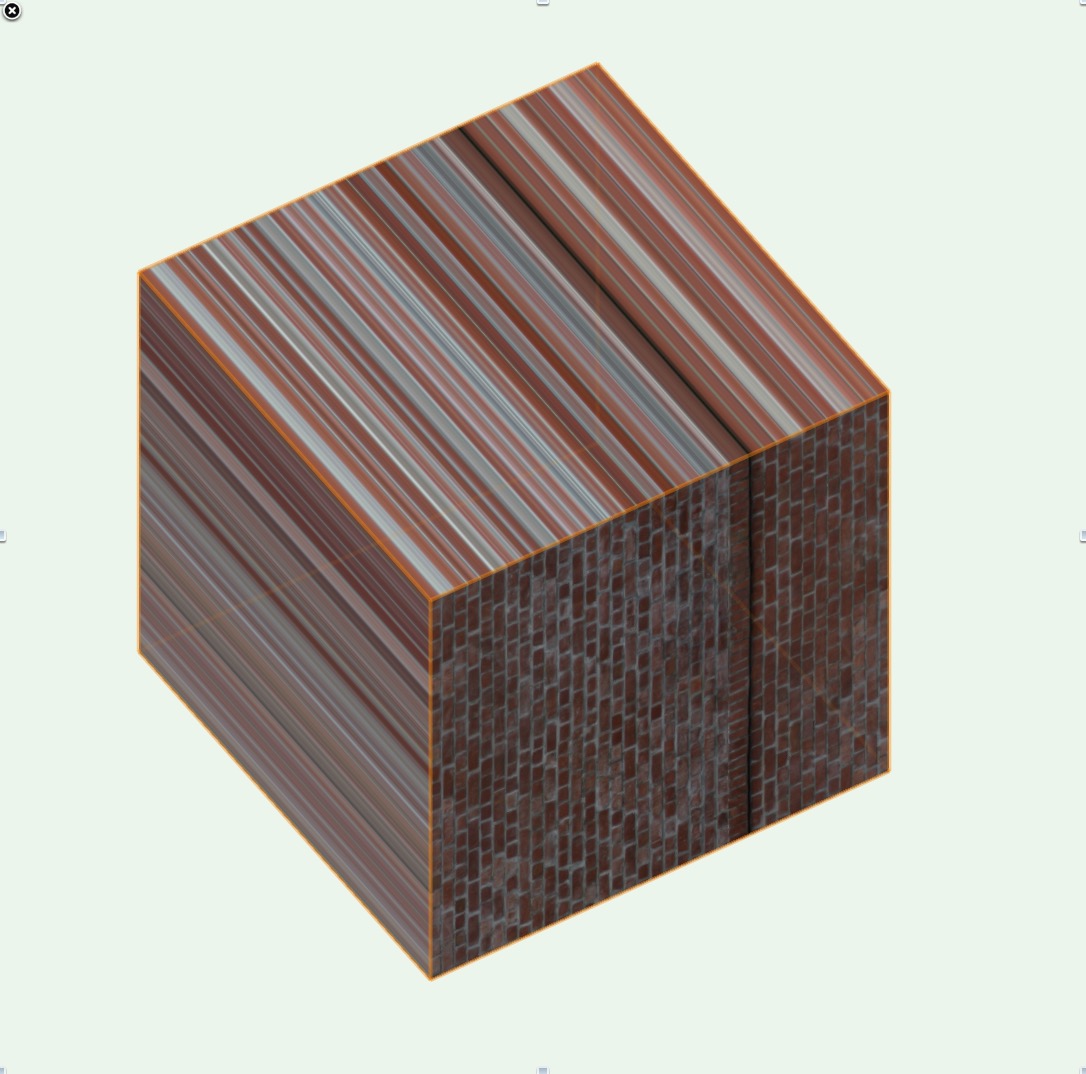
That seems very odd have you created a separate surface for your brickwork on the cube ....if not why don't you try this and then apply a decal
-
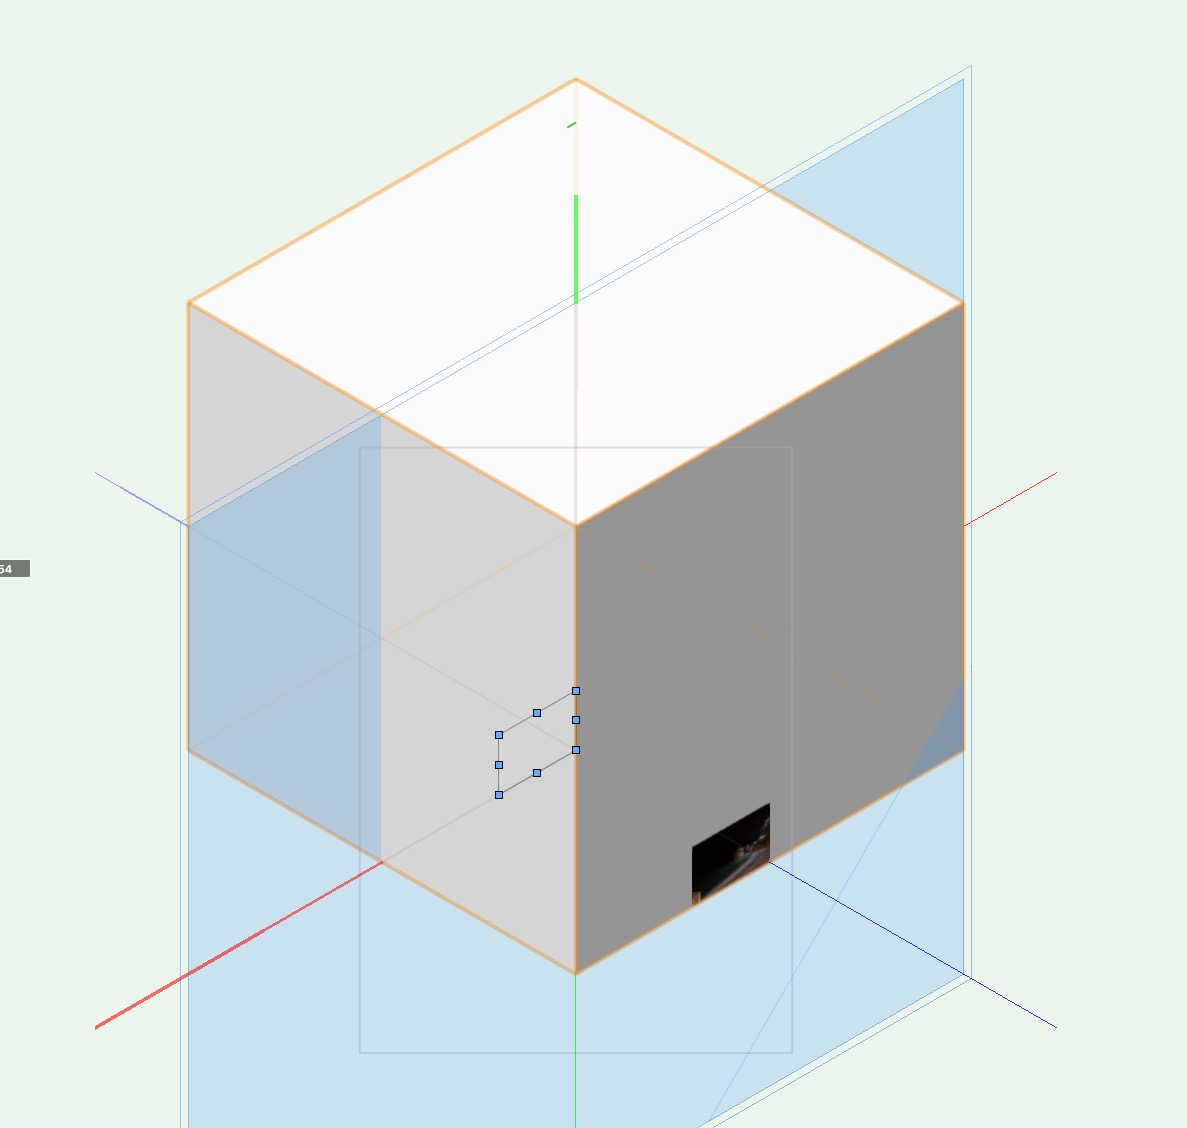
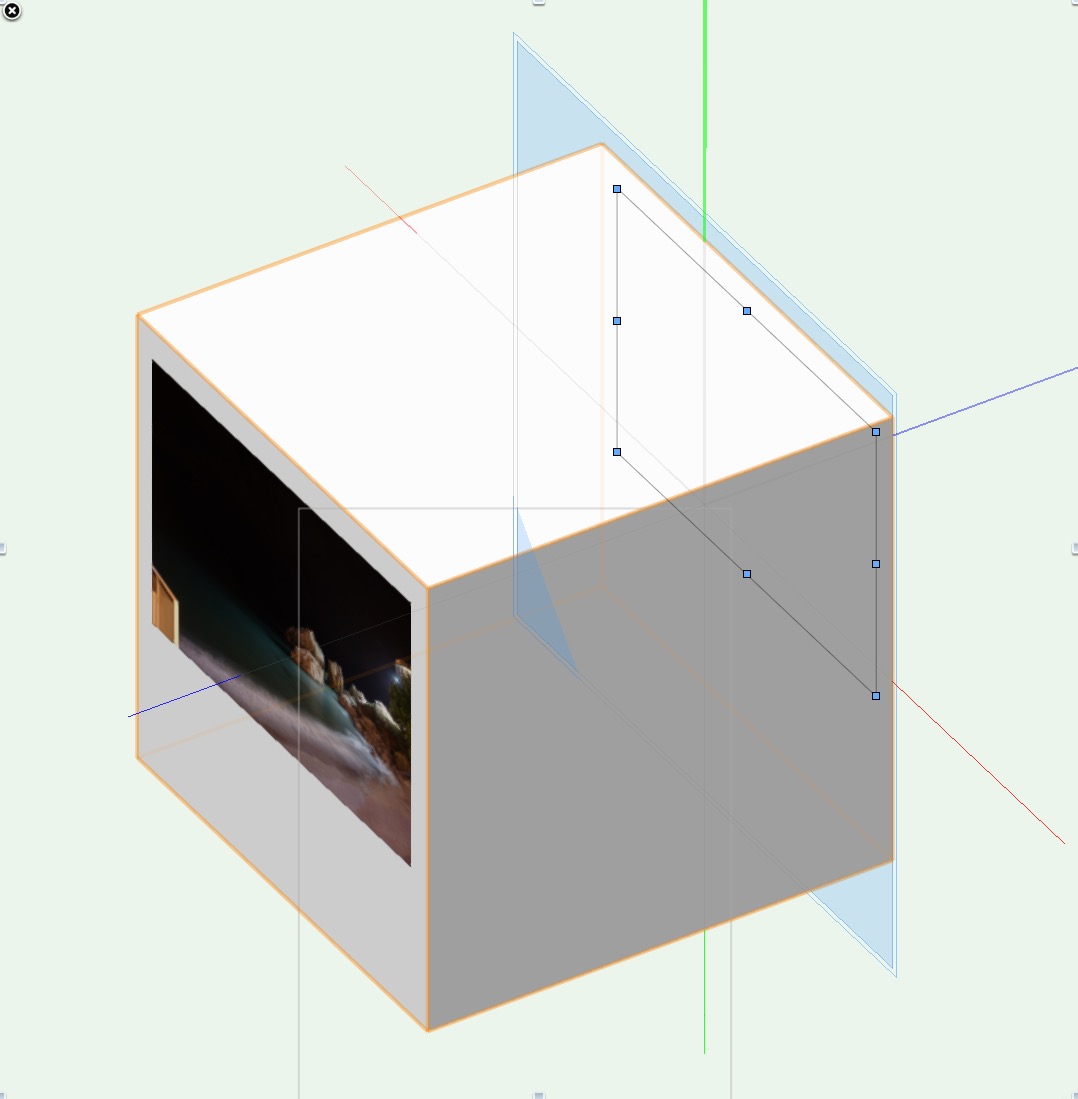
hi the texture of the object should not change in it appearance....shown is a simple sq block with the 4 sides extracted to 1mm given a class name and then a simple white texture applied to each of the 4 surfaces i have mapped a figure at differing sizes to illustrate that the texture should not change in its appearance and that it will not show through the other side of the cube thanks Phil 4 sided.vwx


-
i did post a find sometime ago when i had the same problem.....i made an image prop with a decal using an alpha channel which means your background will be transparent....and then using the deform tool (bend solid mode) made the image prop into a curved surface which meant you could place the image prop over the curved surface.....you need to get the bend to match the bend on your model but it alleviates deforming the decal worth a try phil curved_image_prop.vwx
-
is the default application of a decal set to perimeter.....just wondering why you can't use the attribute mapping tool with perimeter.......should it be set to plane as a default so this box does not appear or am i missing a setting
-
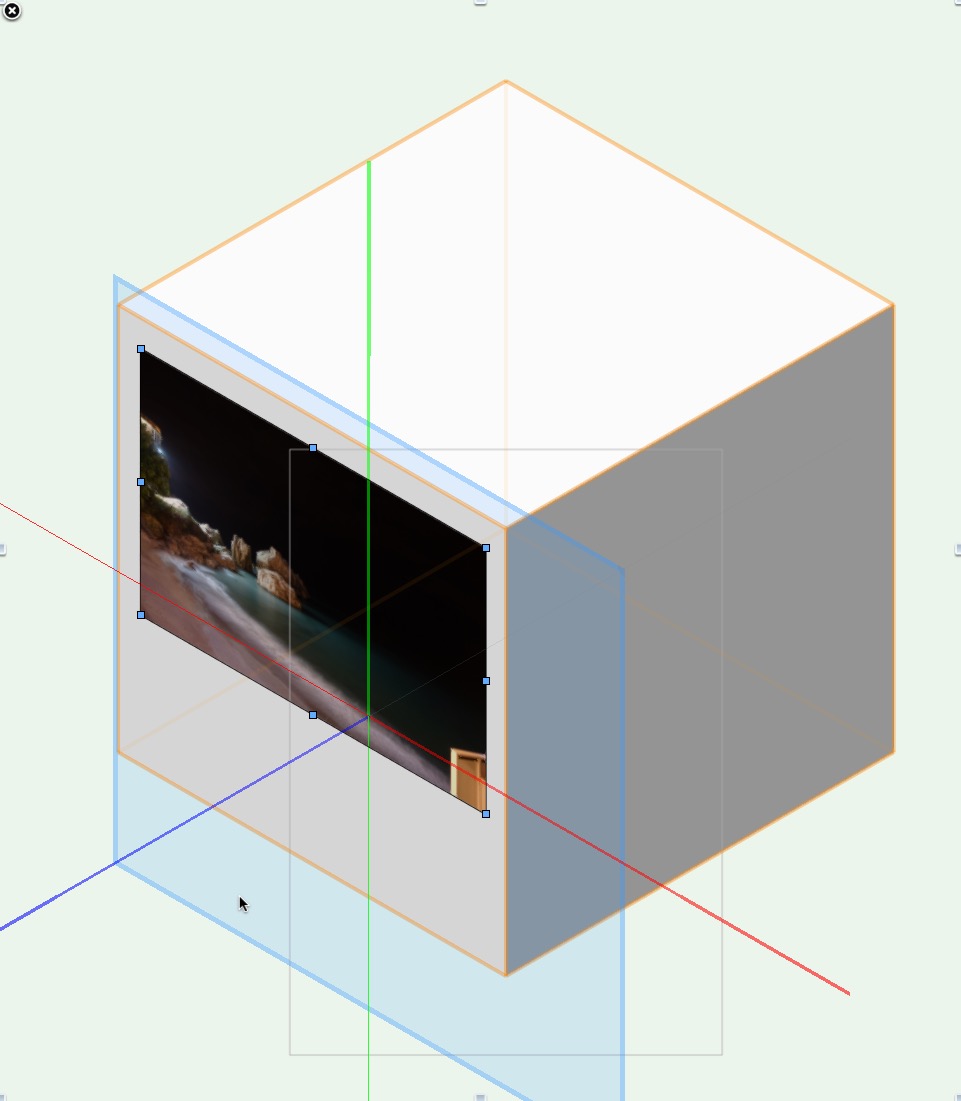
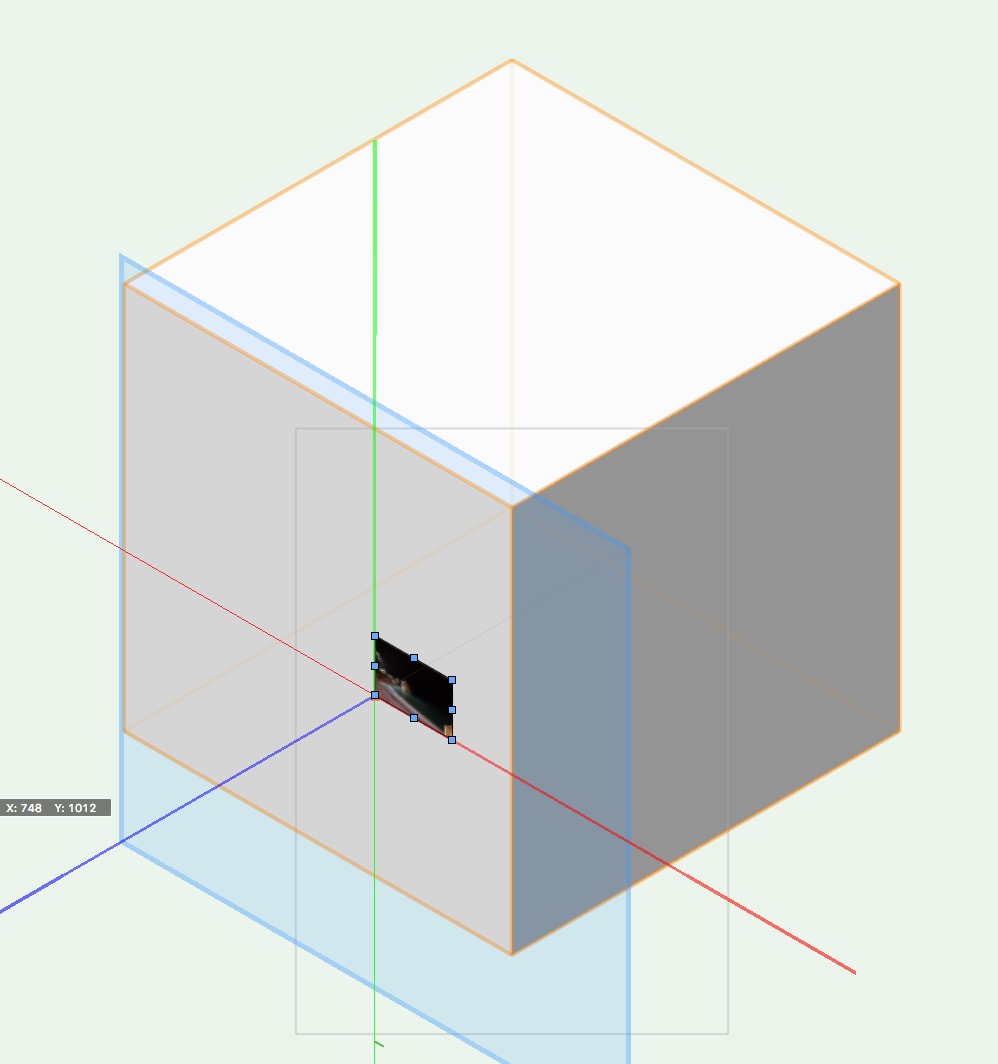
good question i have tried this as a sequence...i don't know if you can control where the decal first appears but from jpg 1/4 this is what i have found......to get the decal to where i wanted i pressed the surface it appears as a small hand with a rectangle you can then drag this around as you wish.....i guess you may know this but if you don't create a surface on its own where you apply the decal it will come throught the other side as shown on no 4jpg


-
Hi thanks for going to all this detail.....fantastic....thanks....I did download the SU for free....my task for in the mornings.....cheers
-
Rob is this something you could expand on when importing an actual SU file into VW.....To allow me. An easier workflow to change the colours of say an actual car that had a green colour in SU to say a dark grey inVW Your input would be appreciated. Thanks
-
Thanks for the information
-
Thanks for all your help. Downloaded the free software and again many thanks..... Mac man but again would consider a windows machine but Would probably have a job switching it on LOL
-
well i think it was a sketchup file....but came in with only 1 texture...so was easy to copy the item and then edit
-
yep i remember now.....just don't have sketchup.....dont use SU....and as i said £500.00 is a lot to pay for this one command.....but in the long run may have to get SU to make life easier thanks though
-
its when i import an su file.....i can't separate the blocks.....tried to convert to a group but still find it hard to pick apart the items i need to make the changes...i know there is a work around if you have sketchup.....there something you can do in SU to alleviate this problem but i don't want to fork out £500.00 for the privilege....i have made a post before and this came up.....can't remember what you have to do in SU.......i have tried to convert the SU files to other import models but this makes the VW files large and very slow to work with......just need some bright spark to write a programme that will convert other files to vectorworks entourage....but i don't think this will ever happen....but you never know
-
this was the render i mentioned with a bit of the render blurred for obvious reasons

-
in reply to the decal problems....once you get the idea it is simple enough to do but i do like to use alpha channels and this takes a bit more time to do but in my opinion well worth the effort...i know there are other commands to remove the backgrounds but i do like the AC method...... you can always use an image prop with an alpha channel for decals and just nudge it in front of the surface.....you have more (and this is my opinion) better control on the size of the logo....also you have this as a symbol if you have a load of logos on visuals.......
-
I think the main problem in using renderworks is that you have to render everytime you want to see what the lighting looks like and such like, i think and hope there will be a real-time window in the future to alleviate this problem although i have to say when you do get it right in renderworks the results are outstanding......i think it definitely has the edge on artlantis but usually takes twice as long to get there in fact a client did comment on the quality of the renderworks renders only last week..........you can defiantly get better quality textures in renderworks with the use of noise and such like to achieve bump map effects......i still do however struggle with the importing from sketchup.....as most of my work is automobile lead.......only today it took me ages to get to the core of a model so i could change the texturing to another colour.......if only i could crack this i would defiantly use renderworks for my bigger jobs......but with the lack of entourage libraries for cars......sketchup is my only avenue to get the correct and brand of vehicles i need......
-
good tip alan thanks