
Andy Broomell
-
Posts
3,168 -
Joined
-
Last visited
Content Type
Profiles
Forums
Events
Articles
Marionette
Store
Everything posted by Andy Broomell
-

Title Block Border Settings Tab Between Fields
Andy Broomell replied to Wesley Burrows's question in Known Issues
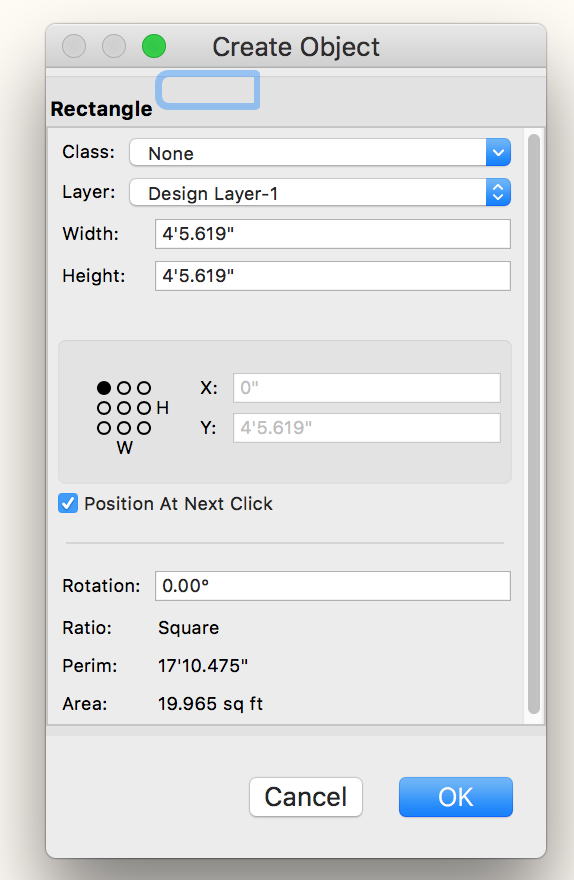
To tag onto Kevin... Changing the System Preferences option to "All Controls" is absolutely not a solution. Another example reason to not change this setting is that when you double-tap the "4" key to quickly insert a rectangle at a specific size, the dialogue box's focus now defaults to a non-existent field at the top, and you have to tab 3 times to get to Width. Compared to leaving the setting as it was, double-tapping "4" would default to "Width" (as one would expect, and which allows for the fastest entry of data). Blue rectangle at top is result of changing the tab setting as described above.
-
Different markers on each end of a line in 2019?
Andy Broomell replied to Rossford's question in Troubleshooting
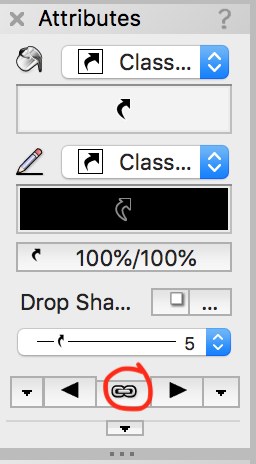
Have you checked that the chainlink icon is turned off?
-
Speaking of the message center... mine looks like this (SP0 and SP1): The "Settings" and "Done" buttons remain obscured even if I resize the dialogue box...
-
Eyedropper Tool with Callouts
Andy Broomell replied to Andy Broomell's question in Wishlist - Feature and Content Requests
Hi @Jeremy Best! The post was indeed in the Wishlist forum, but it was a long time ago so thank you for bumping. Essentially there needs to be a way to copy parameters like Bubble Style and Text Margin from one Callout to another without it also copying the text from one to the other. And to your point, I am also seeing a bug where eyedropping pen color isn't working properly for Callouts. -
VW2019 - Is dashed hidden line rendering completely broken?
Andy Broomell replied to Kevin McAllister's question in Troubleshooting
Also... it defaults to a "continuous" linetype which is an odd choice. But even so, the obscured edges don't initially display. -
VW2019 - Is dashed hidden line rendering completely broken?
Andy Broomell replied to Kevin McAllister's question in Troubleshooting
I've found that if I start with a "blank" file that has no linetypes (as opposed to starting with my template, for example), there is a bug in which Dashed Hidden Line does not work until you go into Line Render Settings and change the linetype to something else, then change it back. Do you find the same? -
Align Distribute Tool. Is it broken?
Andy Broomell replied to Bruce Kieffer's question in Troubleshooting
The Spotlight "Align and Distribute Items" tool is not in my Designer workspace in 2019. Have you edited the workspace at any point where you may have inadvertently added it to Basic? I really don't think it's supposed to be there.
-
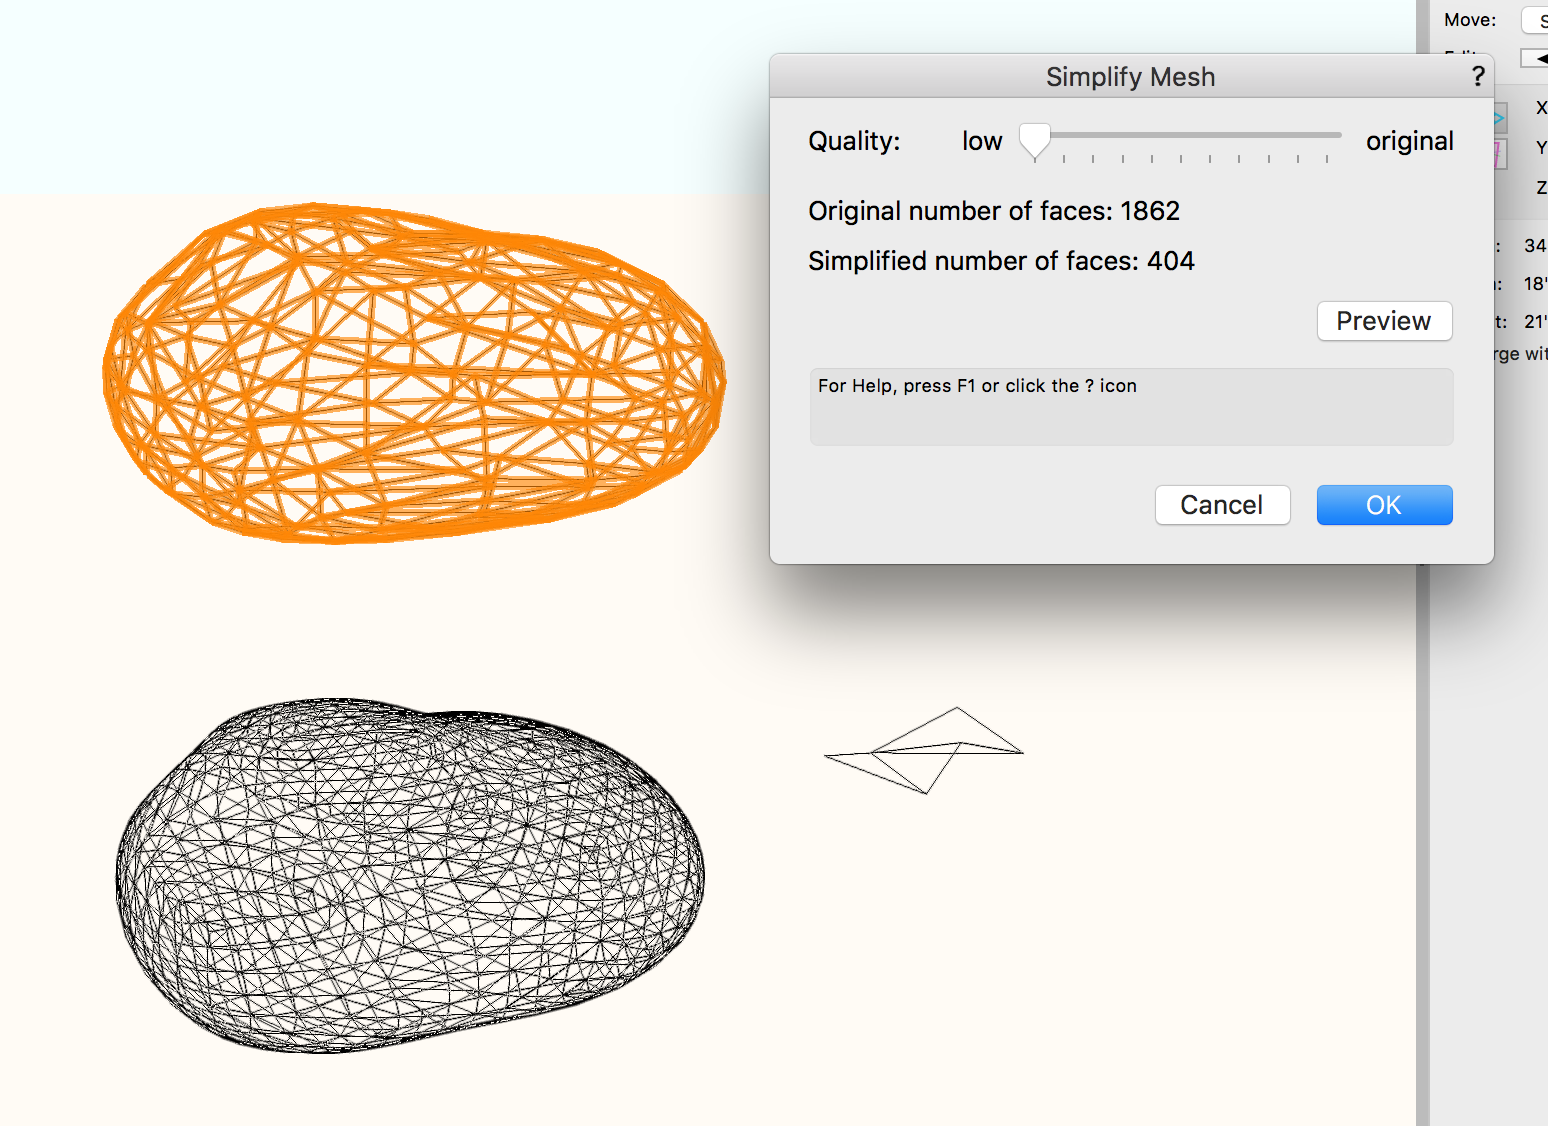
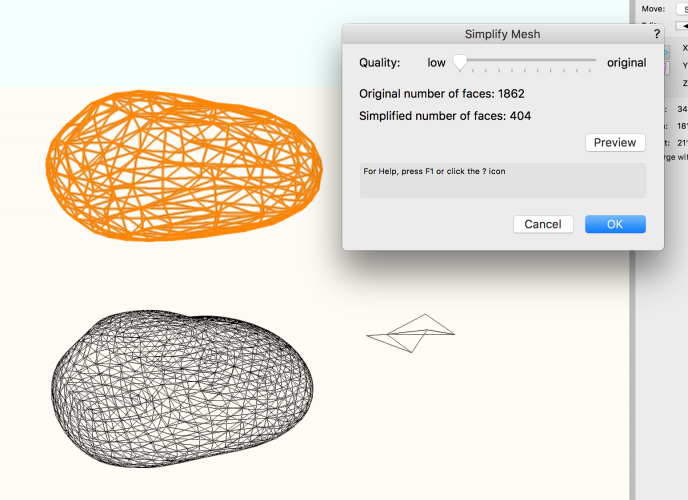
The two simpler objects don't work for me, but I think they're already too simple to simplify. The large object let's me reduce from 1862 to 404 polygons, if you take the slider to the left and hit Preview, then OK.
-
I use it all the time, and it seems to work pretty well. What kinds of things are you working with? Can you post a screenshot of your mesh? Or the file? Once in a while I'll encounter a mesh that just can't be simplified for whatever reason, but it's been pretty rare and reasonable.
-
OIP Data Tab - Bottom Half Minimized
Andy Broomell replied to Andy Broomell's question in Troubleshooting
My 2019 workspace (migrated from 2018) seems to be working correctly. 👍 -
I noticed that 2019 automatically added another field to my Title Block Borders: "Page Number" - this is in addition to Sheet Number. What's the purpose/use of this field? How is it different than Sheet Number? (I mean, I understand how some people might want to add a page number field to their titleblocks, but why is it default and un-deletable?

-
Cameras - Design Layer Fine Tune vs Sheet Layer Viewport Fine Tune
Andy Broomell replied to Kevin McAllister's question in Troubleshooting
My only solution to Vectorworks' poorly-implemented cameras and crop situation is: When modeling: work in uncropped perspective. When setting up camera views and making viewports: work in cropped perspective. And I switch back and forth quickly with the help of Pat's script here: https://forum.vectorworks.net/index.php?/topic/50116-cropped-perspective-script/&tab=comments#comment-251547 I've found that the camera view is better represented on a Design Layer when working in cropped perspective.- 1 reply
-
- 1
-

-
Record format assigned to a symbol
Andy Broomell replied to Andrew Davies's topic in General Discussion
Looks like if you hit the "Edit Values" button with the format selected, it lets you set defaults.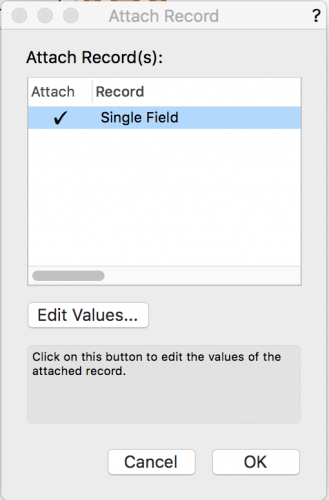
-
Record format assigned to a symbol
Andy Broomell replied to Andrew Davies's topic in General Discussion
Thanks Rob! I just noticed there's also an option to right-click the symbol in the RM and choose "Attach Record" - that seems a little more efficient than going into the symbol. I wonder if this function was added with the new RM? I don't remember it being there a few years ago, but who knows... -
Record format assigned to a symbol
Andy Broomell replied to Andrew Davies's topic in General Discussion
If you want to set the default value for a Record Field for a Symbol Definition, is the proper way to go into Symbol Edit mode via the RM, make sure nothing in the symbol is selected, go to the data tab, and enter the default value in the correct format/field? Is there another way to do this? Are there any relevant menu commands? I haven't dealt with records much the last couple years so just curious if this is the best way. -
I've had surprisingly few crashes (yay!); however, I have found a handful of reproducible bugs. One was within a minute of trying 2019 for the first time. Nothing has been catastrophic to the point where 2019 is unusable (knock on wood), but I can't help feeling like we're acting as beta testers for paid software, which is a little cringey. But I do love the improvements that were made this year! Hopefully Vectorworks expands their beta testing group in the future, and/or devotes more resources to resolving bugs that are found by the beta testers before releasing the software to the public.
-
"publish" command acts like screen shot?
Andy Broomell replied to djobbins's question in Troubleshooting
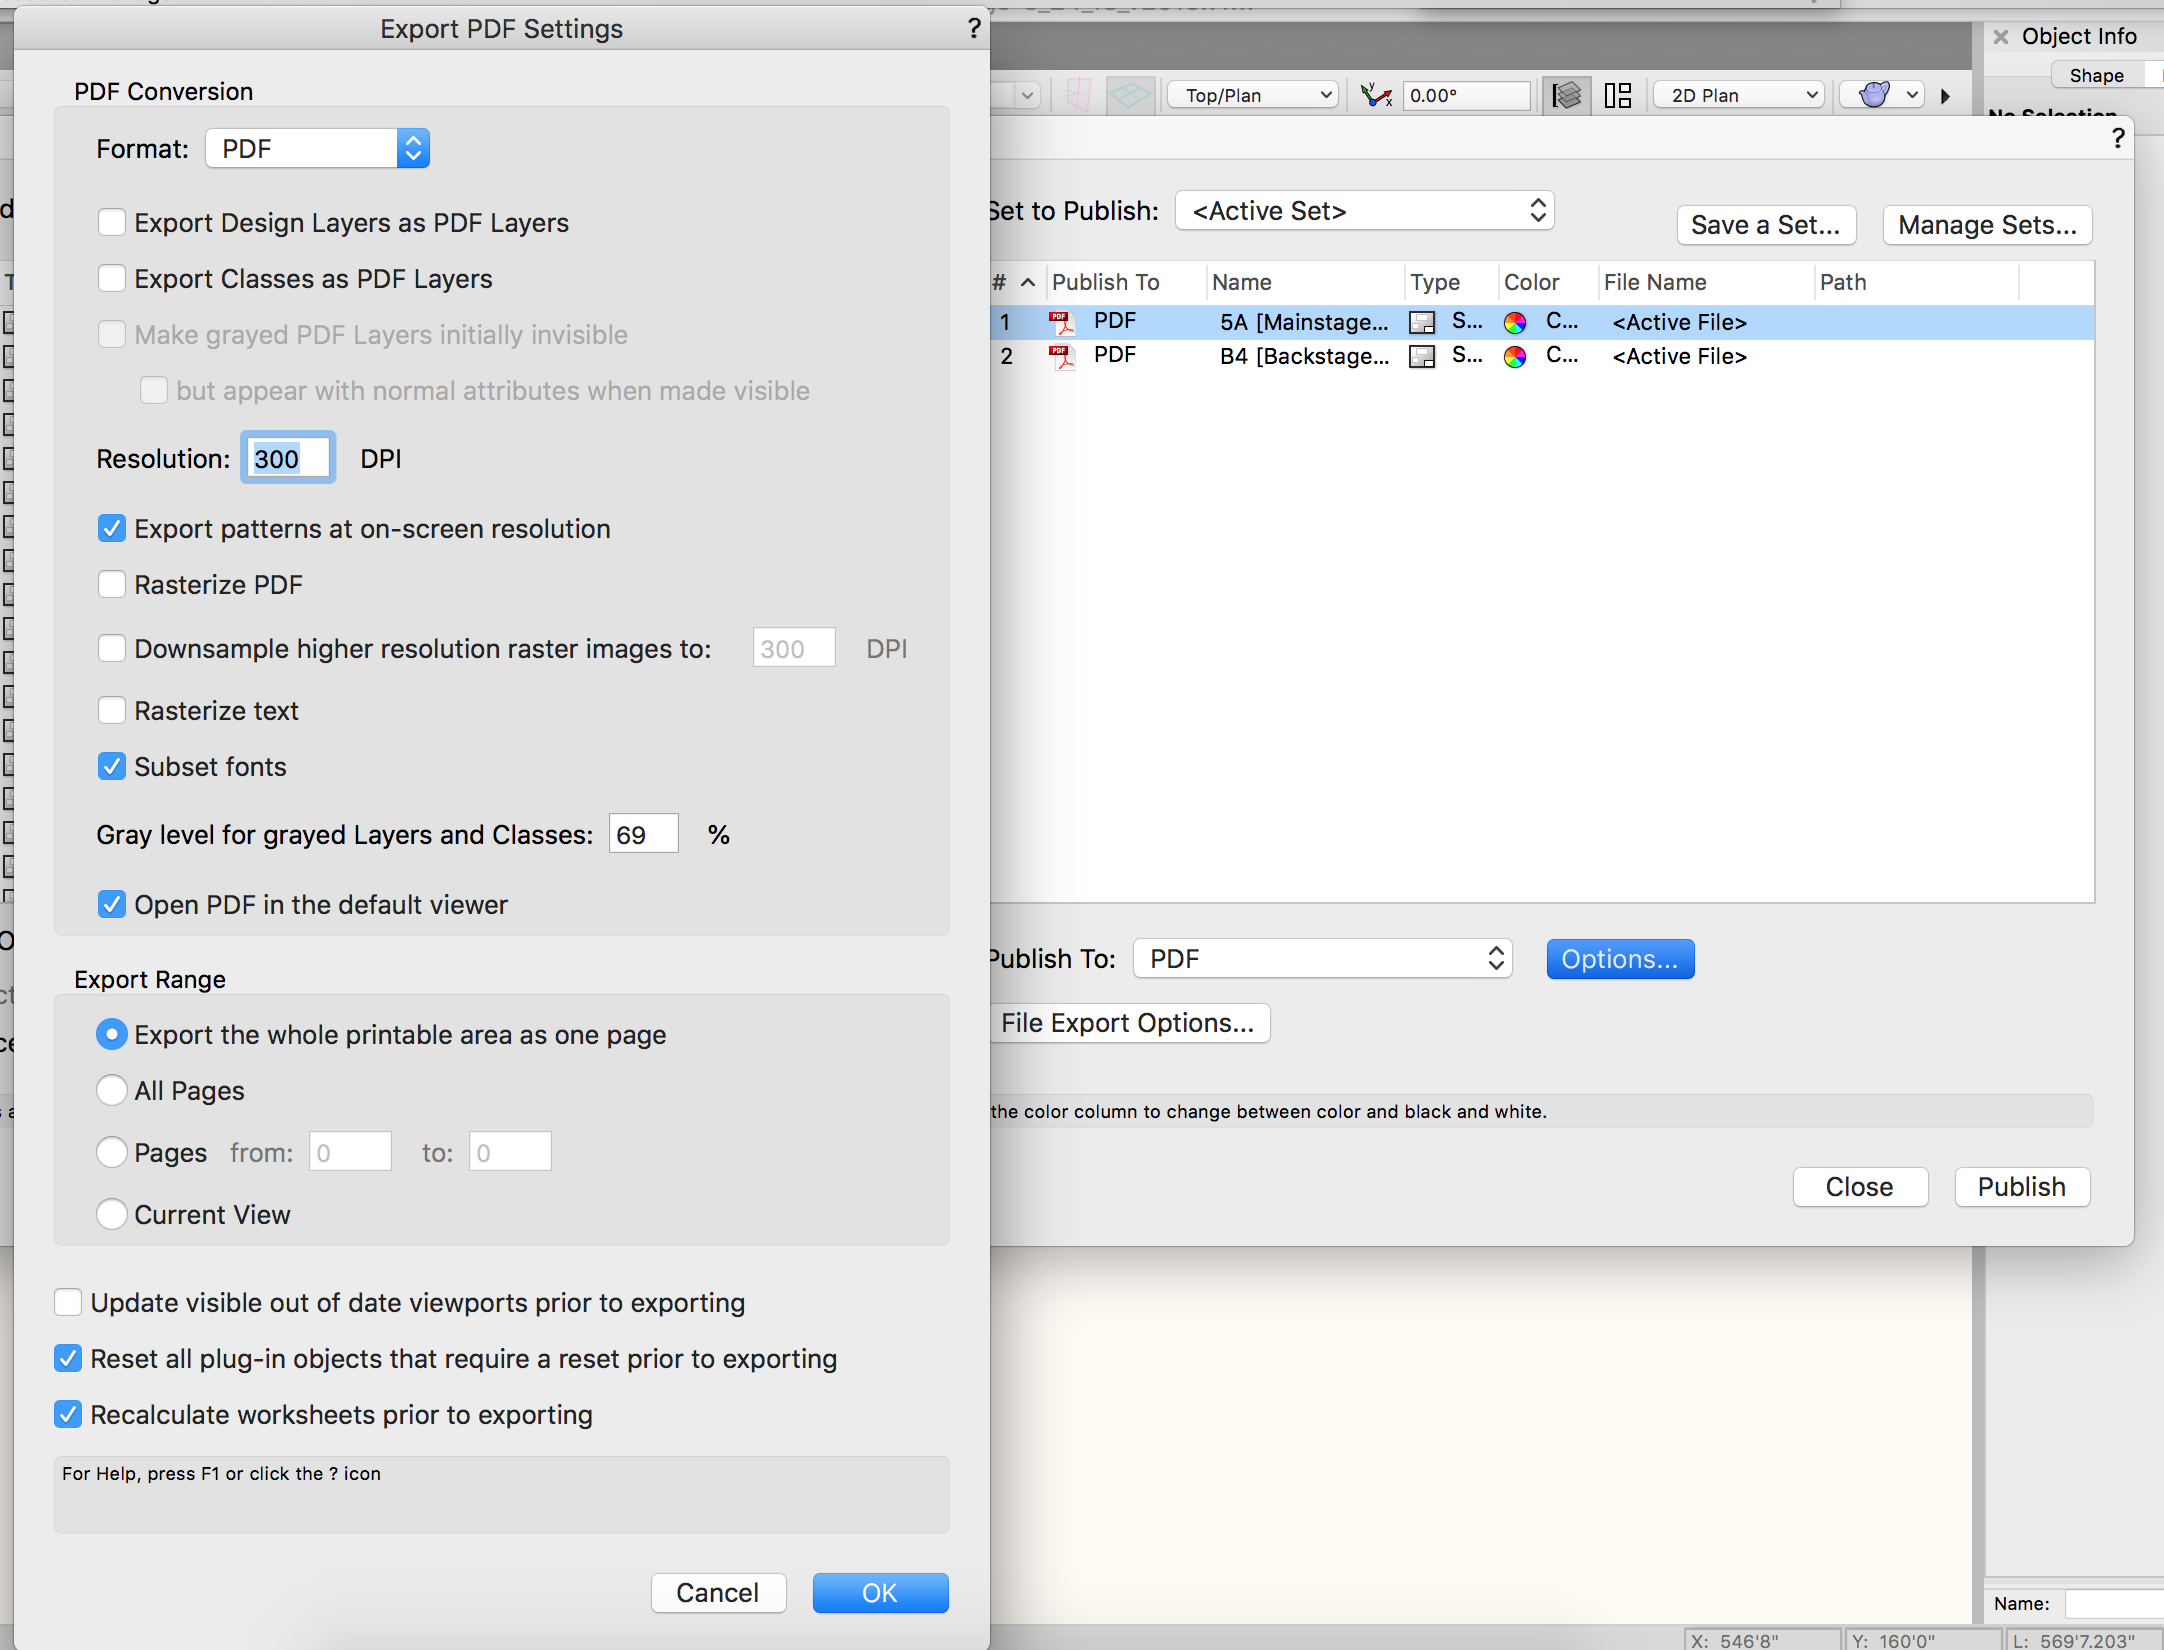
In the Publish dialog box, click the Options button and double check that the "Export Range" is set to Whole Printable Area rather than Current View.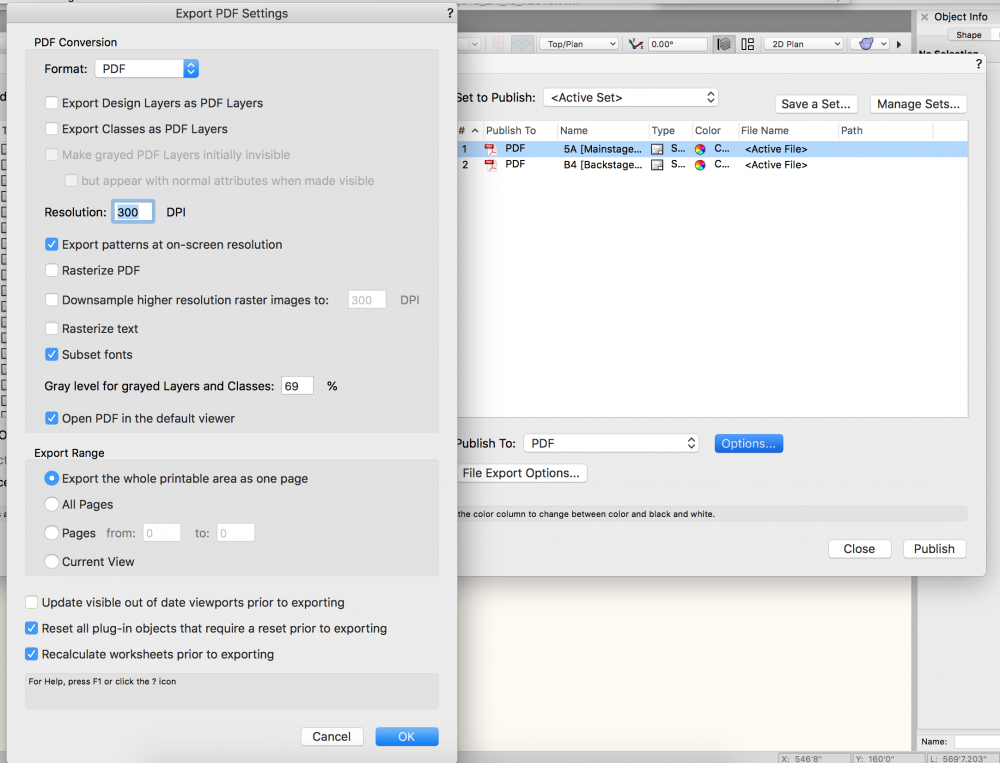
-
VW 2019 some Shortcuts not working
Andy Broomell replied to gfebres@gfarch.ca's topic in General Discussion
Another thought.... 2 is line and Cmd+2 (or Ctrl+2) is front. I wonder if one of the keys on your keyboard is being pressed down inadvertently? I once had a similar issue, which was fixed when I realized my external keyboard was underneath some crap on my desk and keys were being pushed, haha. -
Fencing tool for Crowd Contorl Barricade?
Andy Broomell replied to Ethan R.'s topic in General Discussion
Agreed. Would be a good wishlist item. -
Callout tool streamlining
Andy Broomell replied to Ross Harris's question in Wishlist - Feature and Content Requests
Yesssssssss. -
Callout text justification to leader line
Andy Broomell replied to Gadget's question in Wishlist - Feature and Content Requests
Prior to VW 2015, it used to do this automatically. Then in 2015 they introduced the ability to manually set the "Horizontal Text Alignment" to Left/Center/Right/Justify; however this took away the ability to have it automatically adjust based on the direction of the leader, which I find SUPER annoying. They should definitely add an "Auto" option to that field. -
Want to share them? 😁
-
If anyone can help, @Jim Wilson can! 😃
-
Edit texture image
Andy Broomell replied to Andy Broomell's question in Wishlist - Feature and Content Requests
Bump. Image effects are great, but they definitely don't replace the want/need for an easy way to edit base images in your default image editor (such as Photoshop). It can be done in Cinema4D. Vectorworks should be able to do it as well 🙂 -
Can't extract image from existing RW texture
Andy Broomell replied to line-weight's question in Troubleshooting
Agreed.... Upvote this topic: