

INSTALLING SANDNET
Step 1: You may have selected to install Sandnet when you initially installed ESP Vision. If not, you can install Sandnet onto your computer now by going into your ESP Vision folder. There is a folder named sandnet_files. Run the UpdateSandnet.exe. If you are not running the latest version of Sandnet (or are not sure), you can also run the UpdateSandnet.exe file to make sure that you have the most recent version. If you are satisfied that you have the most recent version installed, proceed to SETTING UP SANDNET TO RUN WITH VISION 2.3 PC 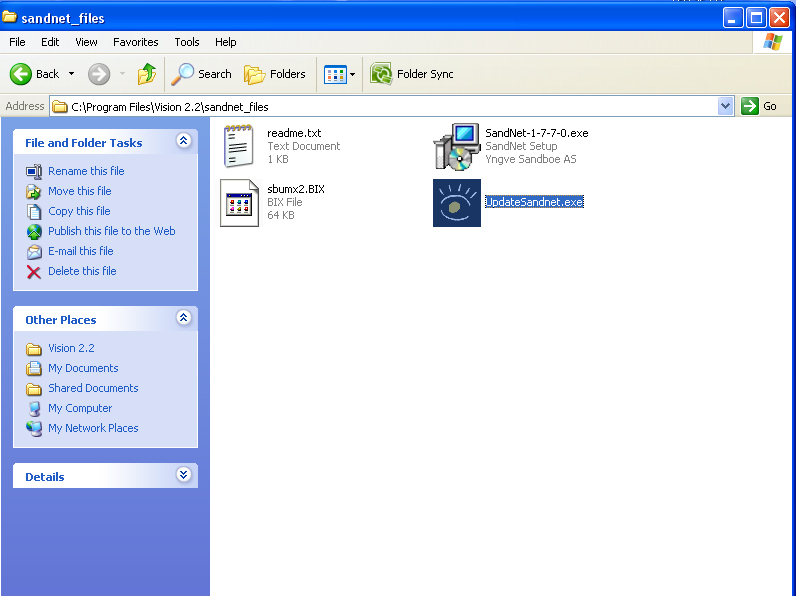
Step 2: Make sure to select the Full Install when Sandnet prompts you to do so. 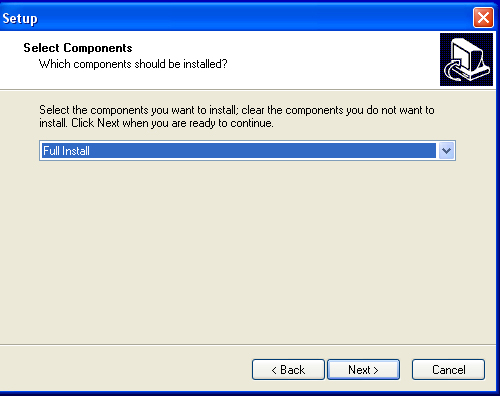
SETTING UP SANDNET TO RUN WITH VISION 2.3 PC
Step 1: Click on the help button, and select the About Sandnet. 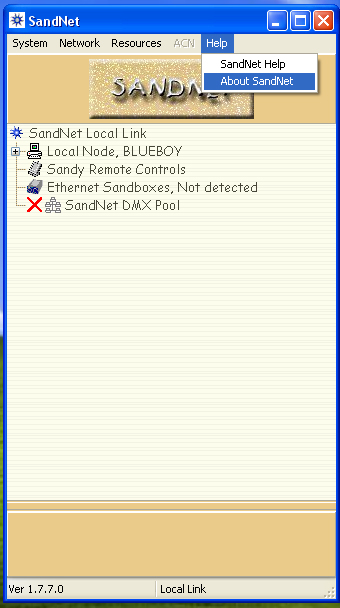
Step 2: When the Sandnet About dialog box pops up, make sure Run as Local Link is selected. You only have to do this step once after you initially install. It will remember the setting from this point forward. 
Step 3: Next, expand the Local Node. Expand DMX Adapters as well. Inside of the DMX Adapter, you will see the Sandbox/VBOX that is connected to the machine. If you do not see any listed, make sure that your Sandbox/VBOX is connected to the computer using a USB cable. Windows should install a driver the first time you plug in the Sandbox/VBOX. 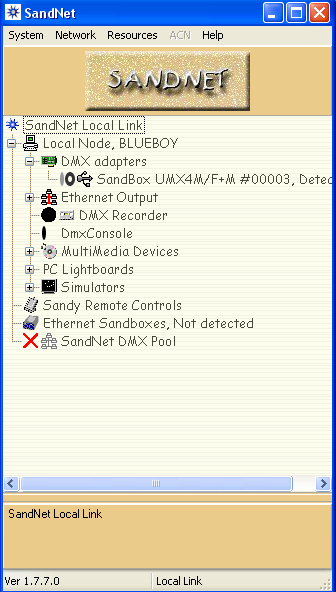
Step 4: Double-Click on the Sandbox/VBOX you wish to configure. Another dialog box will open up. Click on the "Input [to Sandnet]" tab.

Step 5: Click in the box next to Enable. The black dot on the right-side should turn green (if the Sandbox/VBOX already has a DMX cable attached.) Repeat this for the other inputs that are being used. 
Step 6: After the green light turns on, click on the "Show Input" button. This will let you see the DMX being output by the console 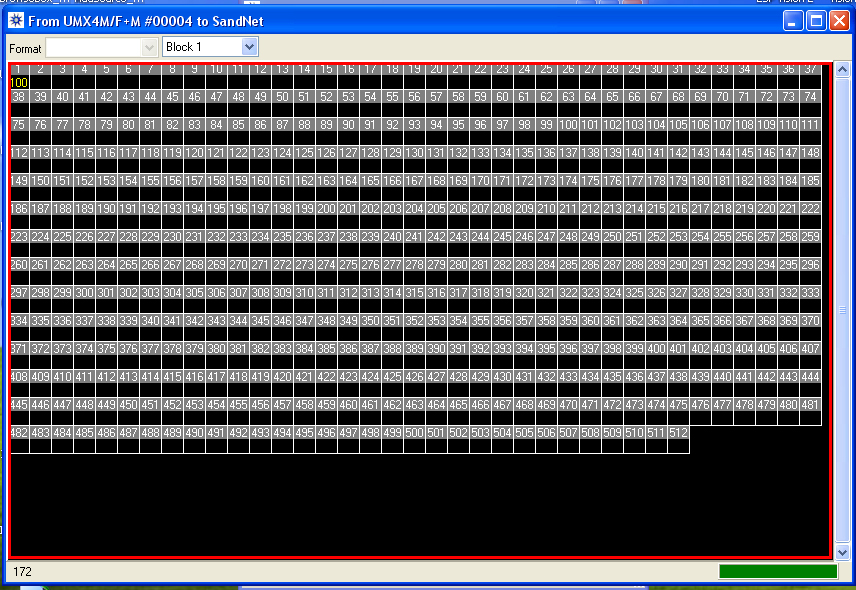
Step 7: Close the dialog box, where you just configured the inputs. Go back to the Sandnet window. Now there should be a green dot next to the Sandbox/VBOX that was just configured. 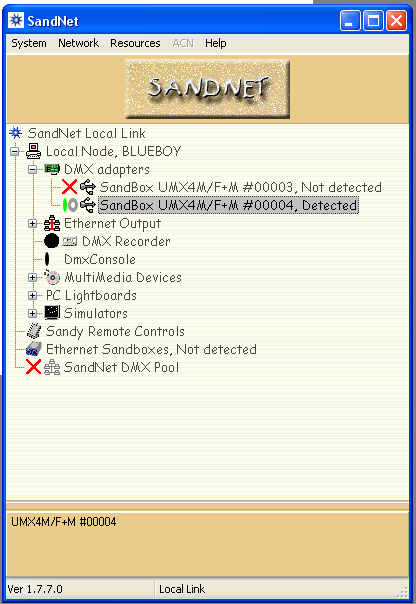
Step 8: Now expand the simulators, and double-click on ESP. Another dialog box will open. 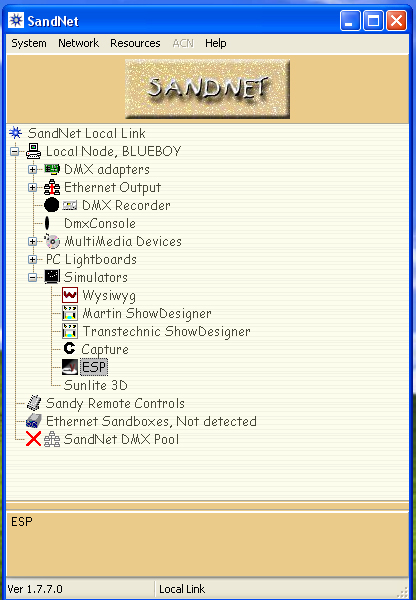
Step 9: Click clear all so there are no sources defined. In the left column click on the universes you want enabled. 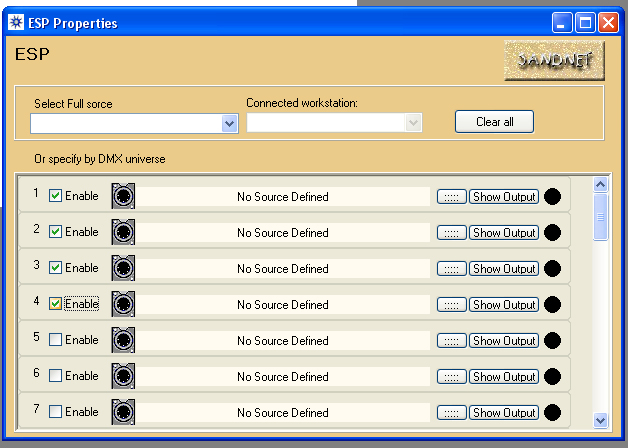
Step 10: Click the browse box next to the universe for which you wish to configure the DMX input. 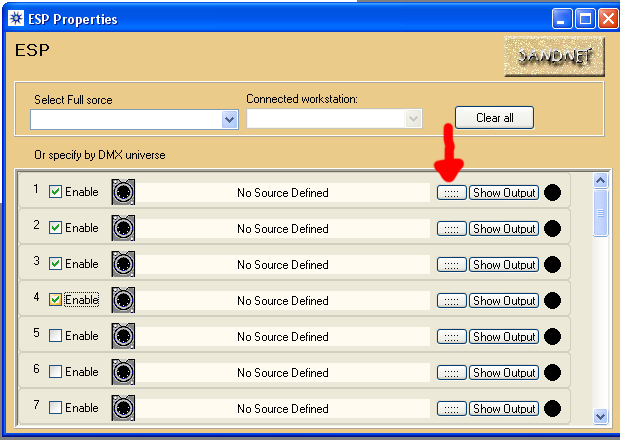
Step 11: Click on Add Source to add the input from the Sandbox/VBOX 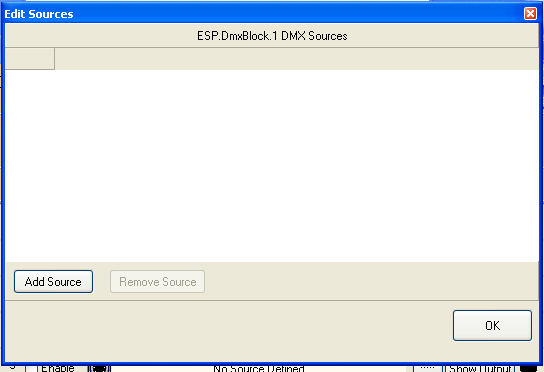
Step 12: Expand the the selections until you get to DMX Block. Choose the DMX Block that you are using on the Sandbox/VBOX. After selecting the DMX Block, Click on OK. (Repeat this for all the universes used). FYI, you can find the DMX BLock ID stenciled on the bottom of each Sandbox/VBOX. 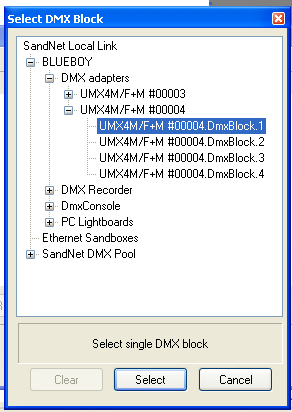
NOTE that the dot to the right of show input should be green 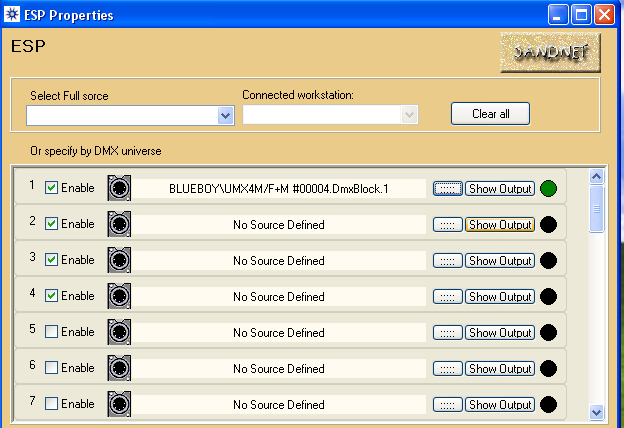
Step 13: After seeing the green light click on the"Show Output" button to see the console and sandnet "talking". 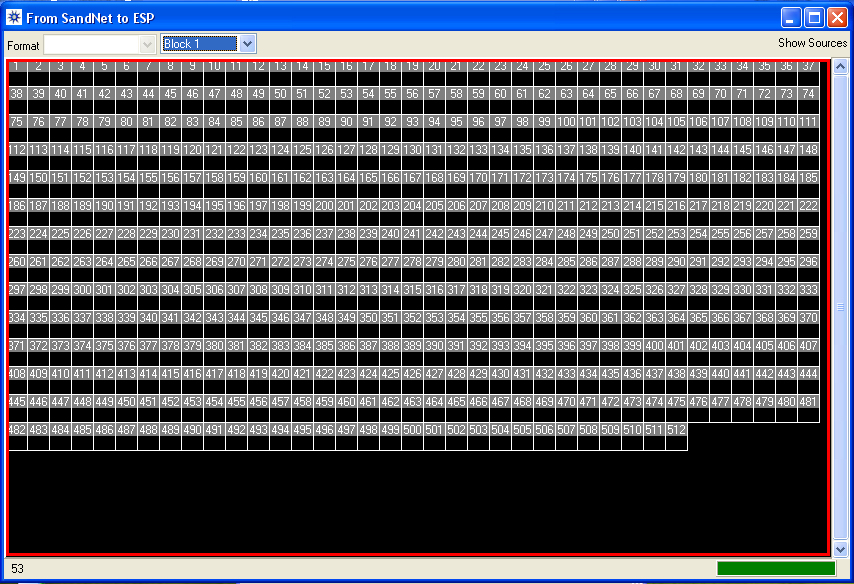
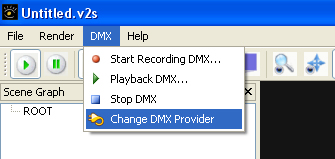
Step 14: Now that Sandnet is ready to output DMX, Launch Vision 2.3 PC. After Vision launches, click on the DMX, select Change DMX Provider.
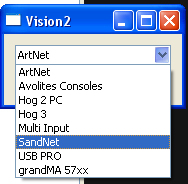
Step 15: The dialog box will open up, choose Sandnet as the provider.
NOTE: An ESP-Sandnet Interface dialog box will open up after selecting the Sandnet as the provider. 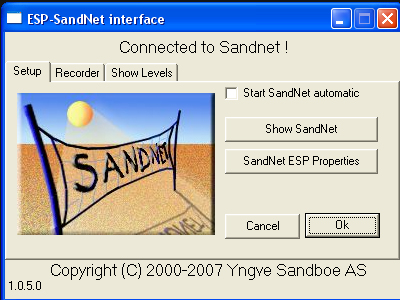
At this point, you should have control of Vision 2.3 PC from the Console that you are using. You can minimize the ESP-Sandnet Interface box shown above. Also be aware that once you have configured your Sandnet environment, you do not need to do it again unless the specifics of your configuration need to change.
If you are running a 64-bit Windows Vista or Windows XP operating system, check out the unique requirements of installing in a 64-bit environment at http://espvision.com/forums/viewtopic.php?t=497
Edited by JimW
Report Article
There are no comments to display.
Join the conversation
You can post now and register later. If you have an account, sign in now to post with your account.
Note: Your post will require moderator approval before it will be visible.