

The quality of your photo set has a big impact on the success of the Photos to 3D model generation, so it is very important that you follow these guidelines when taking photos.
Desktop
- Take photos in a well-lit environment, and do not use the flash. Overcast days work best for shooting outdoors. Avoid direct light sources that cast shadows and hide surface areas. Shooting toward the sun or other bright light can create lens flare, which should be avoided as well.
- Keep the exposure consistent across the photo set.
- The area covered by one photo should significantly overlap with the next. The more overlap, the better. In the case of aerial photography, both forward overlap (between images on a single flight line) and side overlap (between images on adjacent flight lines) are needed.
- Shoot scenes with lots of detail and texture. Avoid flat, monochromatic surfaces. The visual texture is what ties your photos together.
- Reconstruction requires opaque objects. However, shiny, reflective objects can be reconstructed if they are textured, or if light and lens flare are constant.
- All images in the photo set should be clear and sharp. Remove blurry photos, but make sure that remaining photos have sufficient overlap.
- The more photos you have, the better results you get. Your photo set can include 5-500 photos. Generally, 10-40 photos is enough for a quick reconstruction.
- Supported image file formats are: .png, .jpg, and .jpeg.
- The minimum image resolution is 720p (1280 x 720 pixels) and the maximum is 5k (5616 x 3744 pixels). High-resolution photos can produce more accurate models.
- If you plan to take measurements based on the reconstructed model, you will need at least one real-world measurement to scale the model to correct dimensions. Do not forget to locate at least two markers with a known distance between them on the object. Alternatively, place a ruler within the shooting area.
- We recommend the following shooting scenarios:
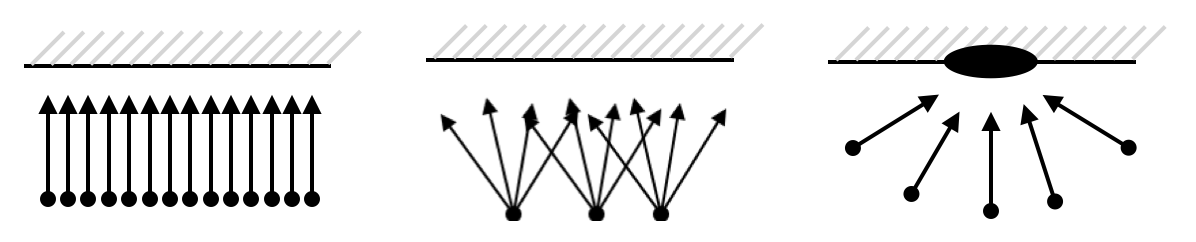
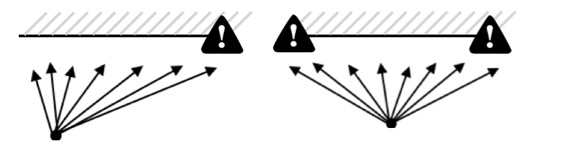
- We do not recommend the following shooting scenarios, which are prone to error in the marked areas:
Examples
Using burst mode
In burst mode, you can take multiple photos in quick succession by pressing and holding the shutter button. This method creates sufficient overlap between images, which is very important for successful reconstruction. Focus on the object of interest and hold the shutter button as you move the camera slowly around the object, as if scanning it across its surface. Motion blur is likely to occur. Remove highly blurred images from the photo set.
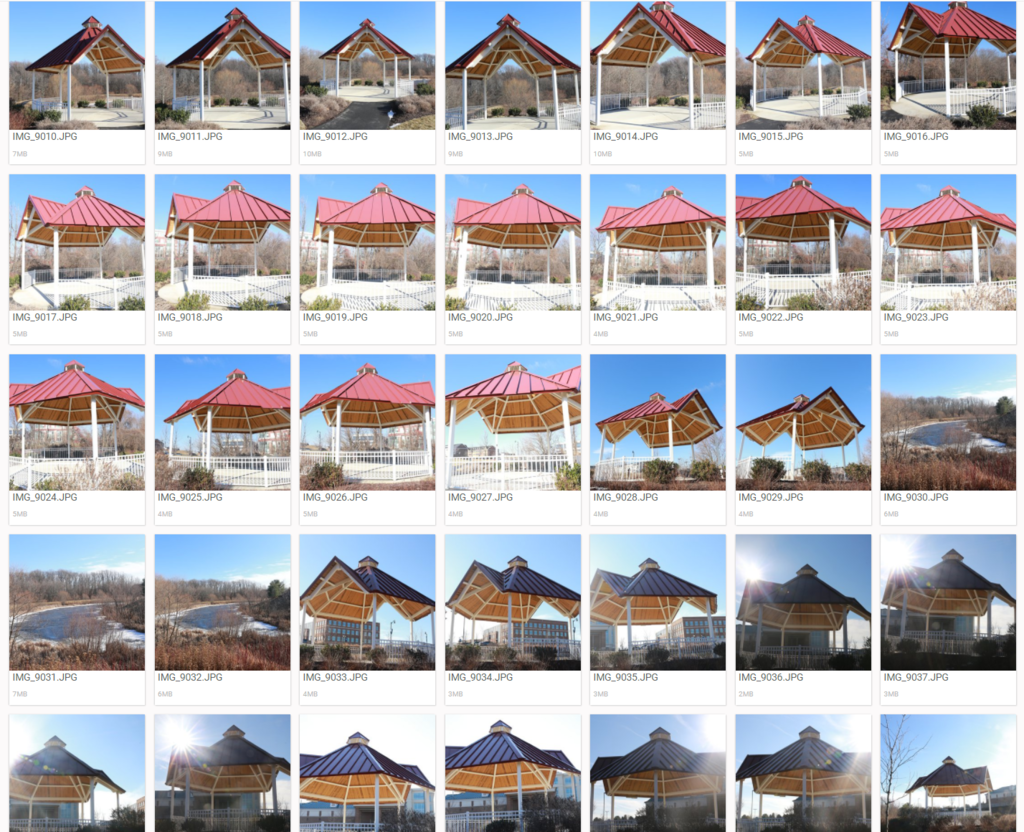
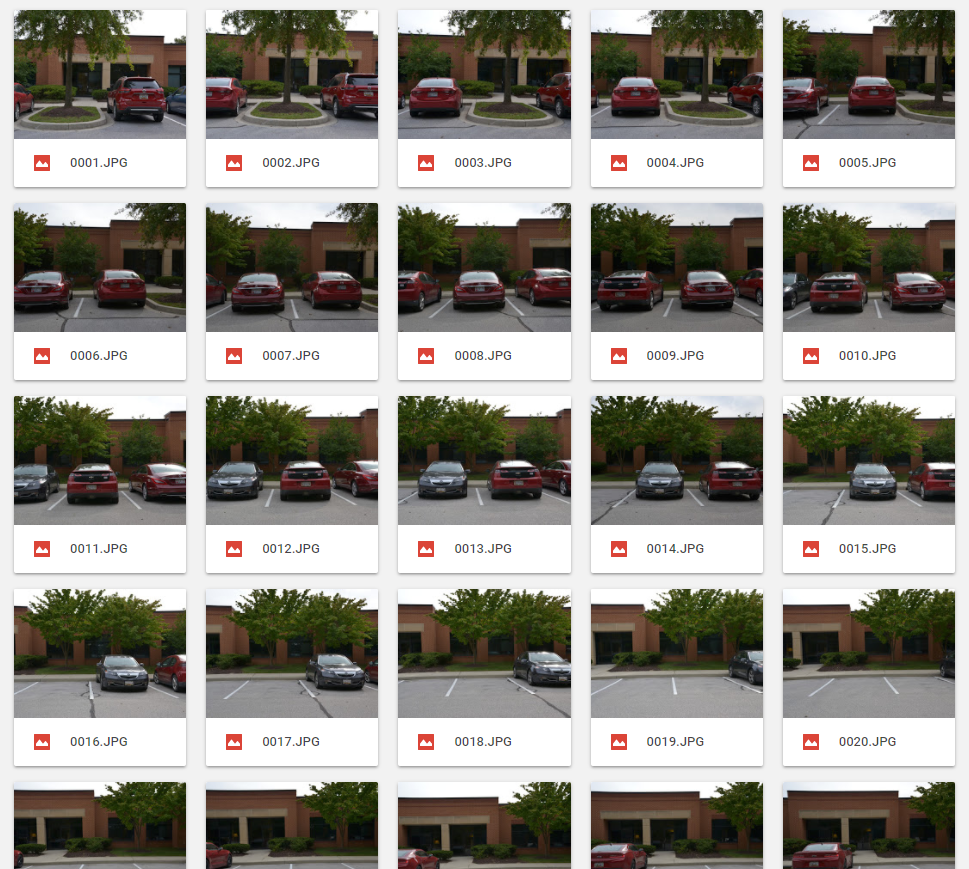
Your photo set should look like this:
This is the generated result after import in Vectorworks:
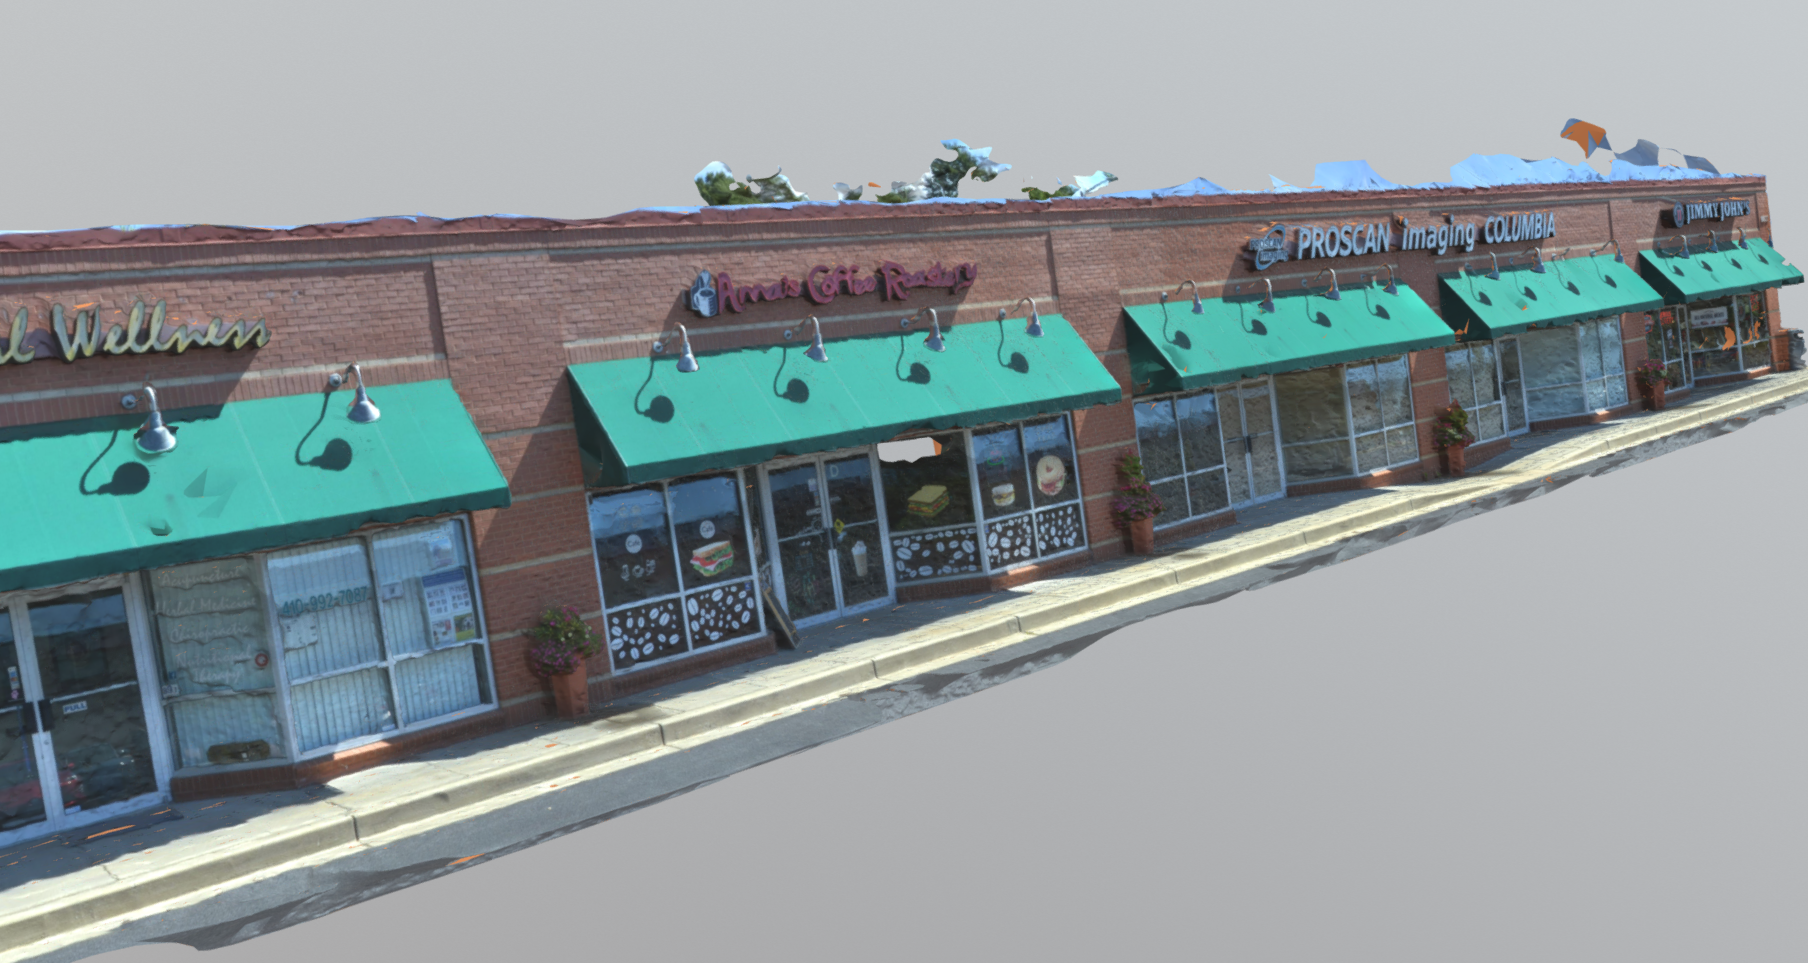
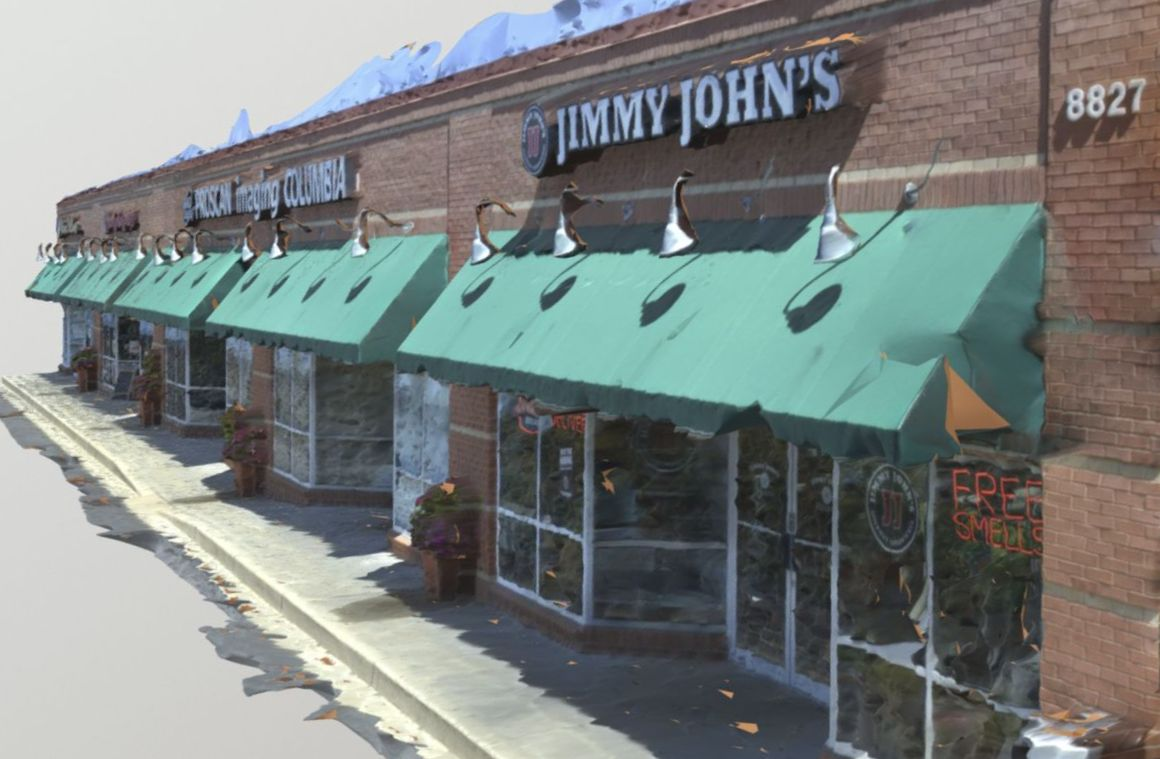
Photo set info: No. of Images = 38, Resolution per Image: 4608 x 3072
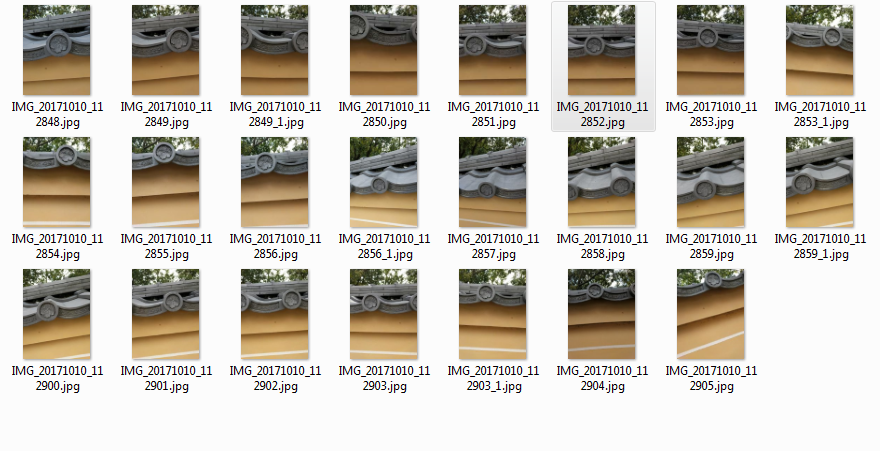
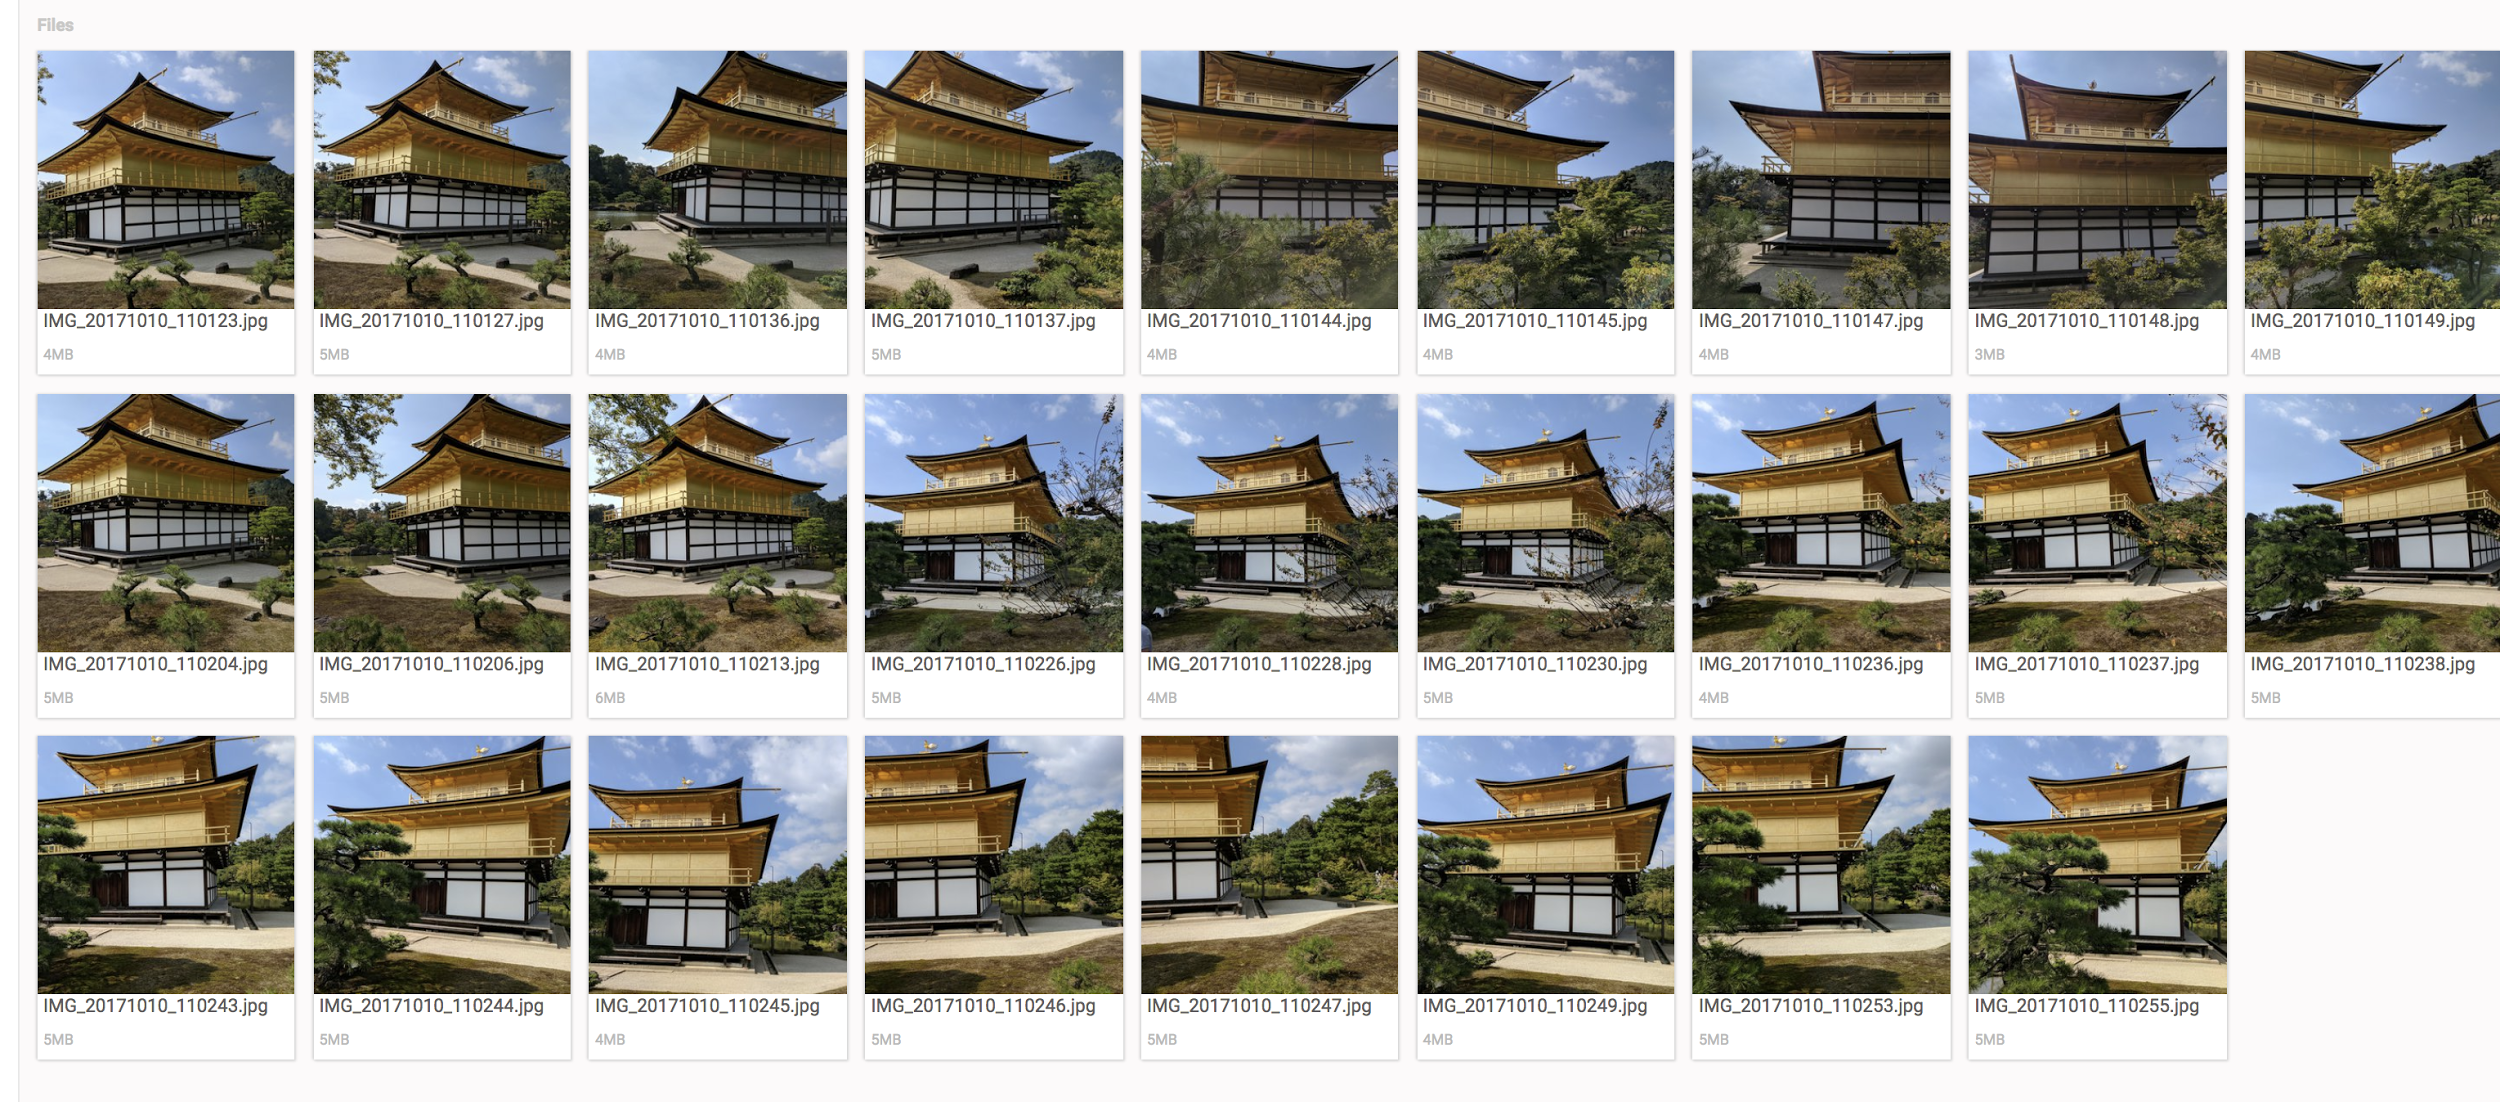
Using curated individual photos:
Focus on the object of interest. Holding the camera at a fixed angle, move slowly around the object. Take individual photos as if scanning the object across its surface. Allow for sufficient overlap between images, which is very important for successful reconstruction.
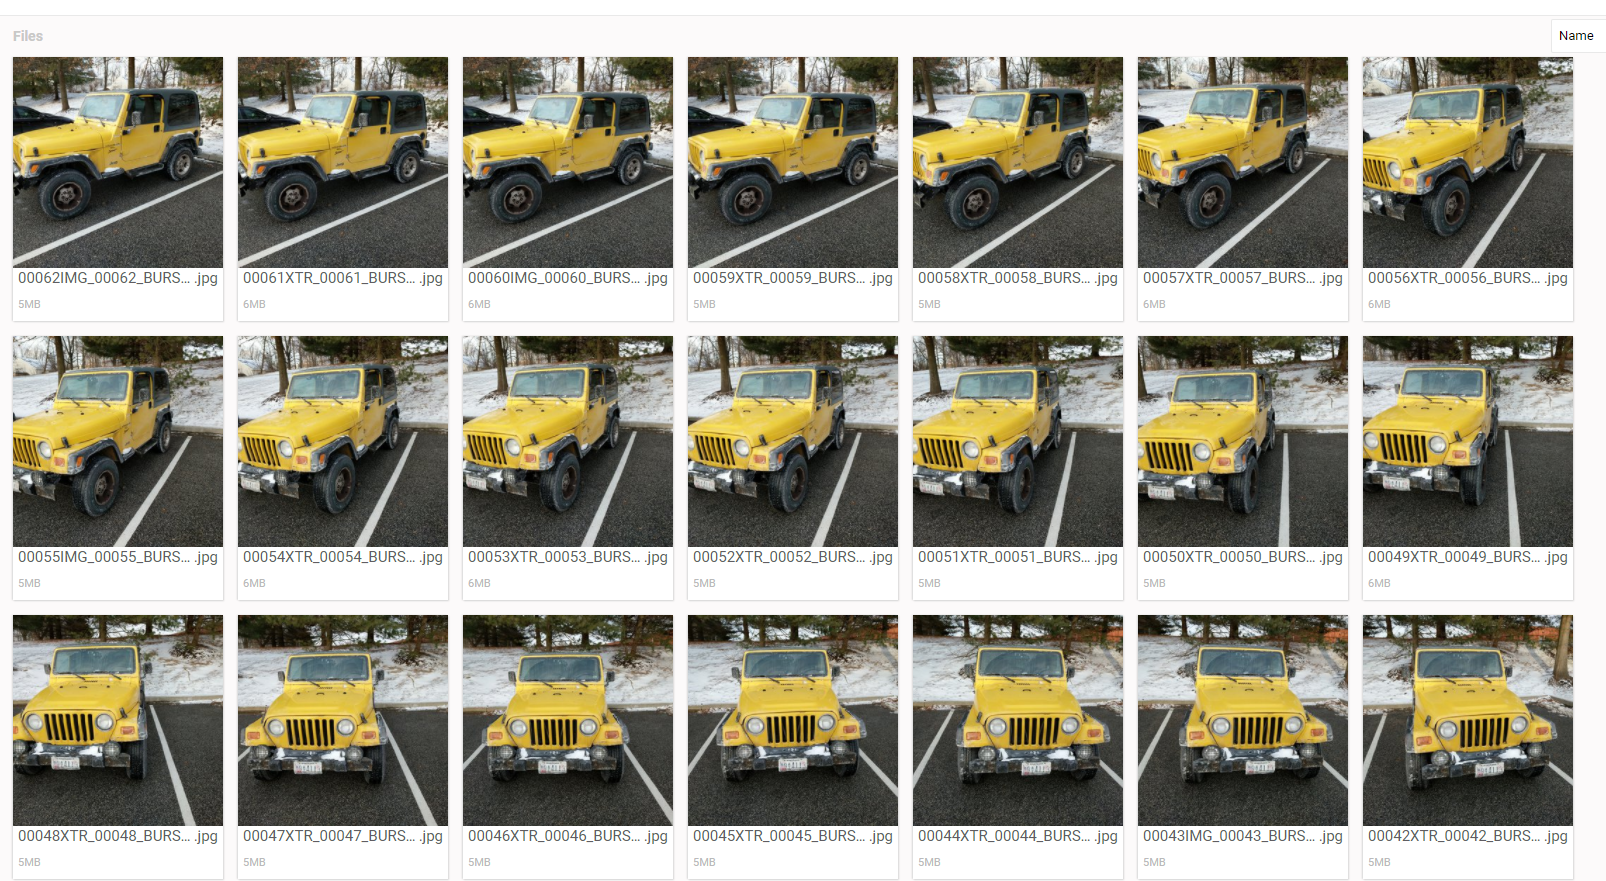
Your photo set should look something like this:
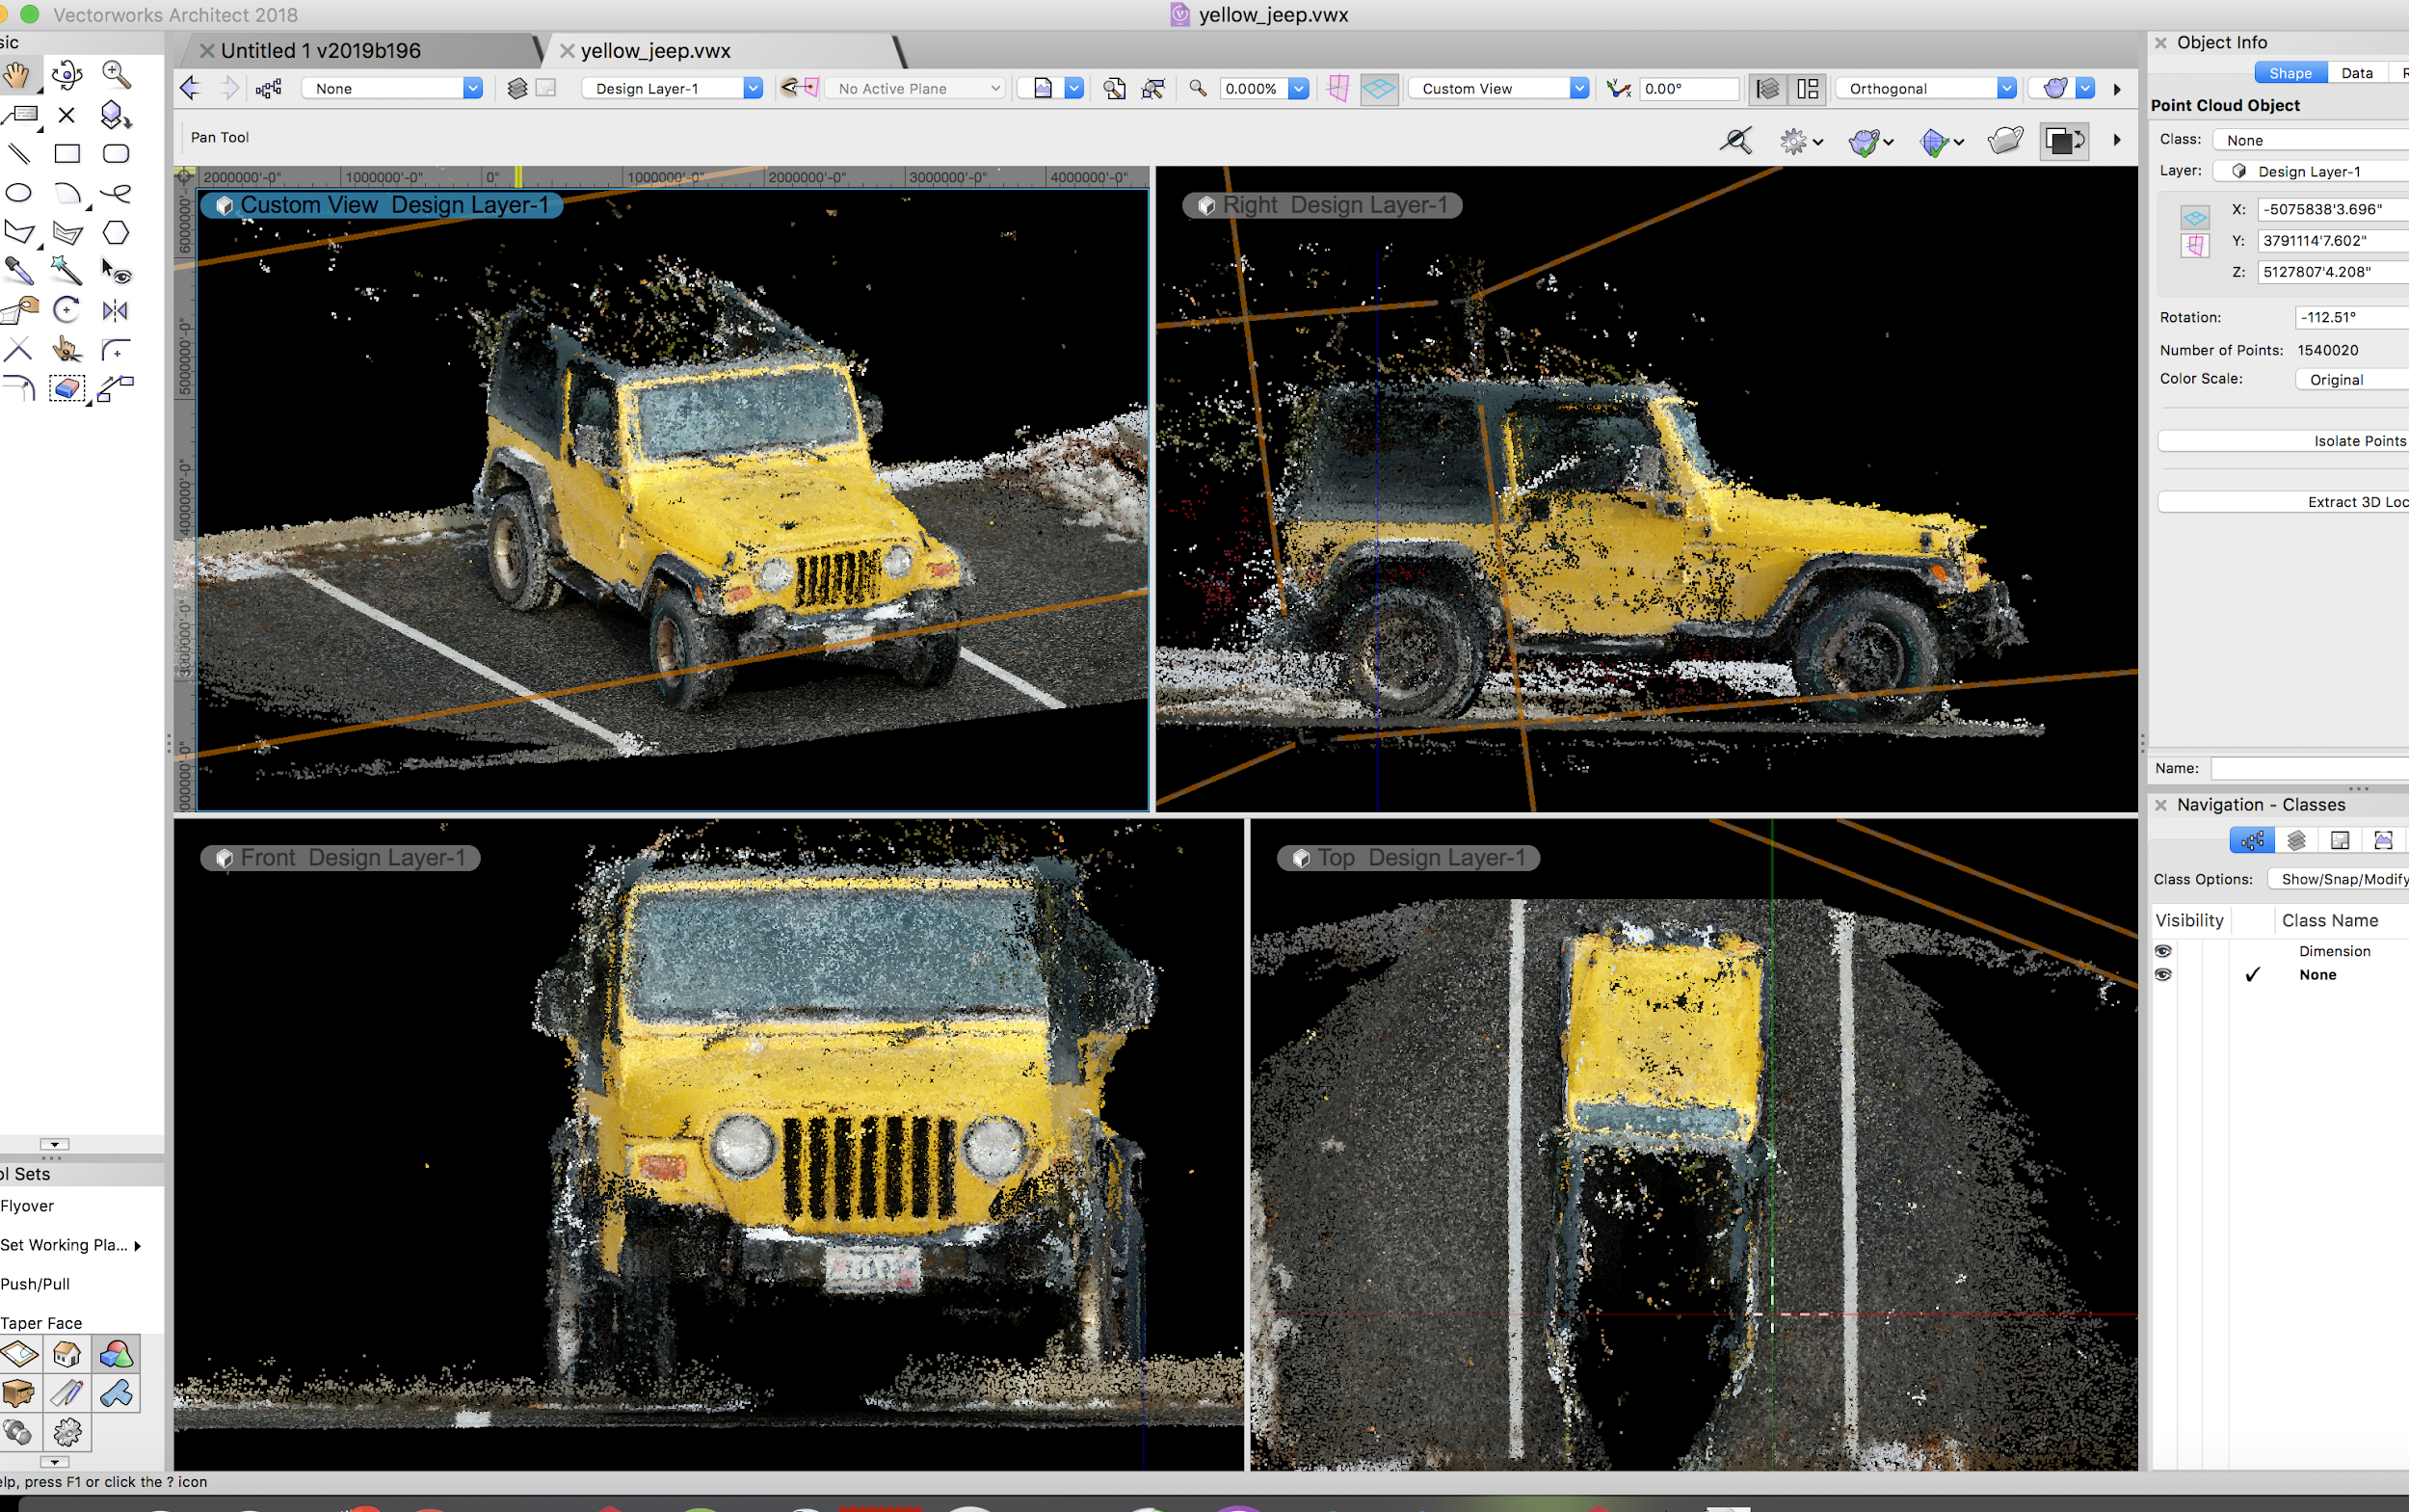
This is the generated result after import in Vectorworks:
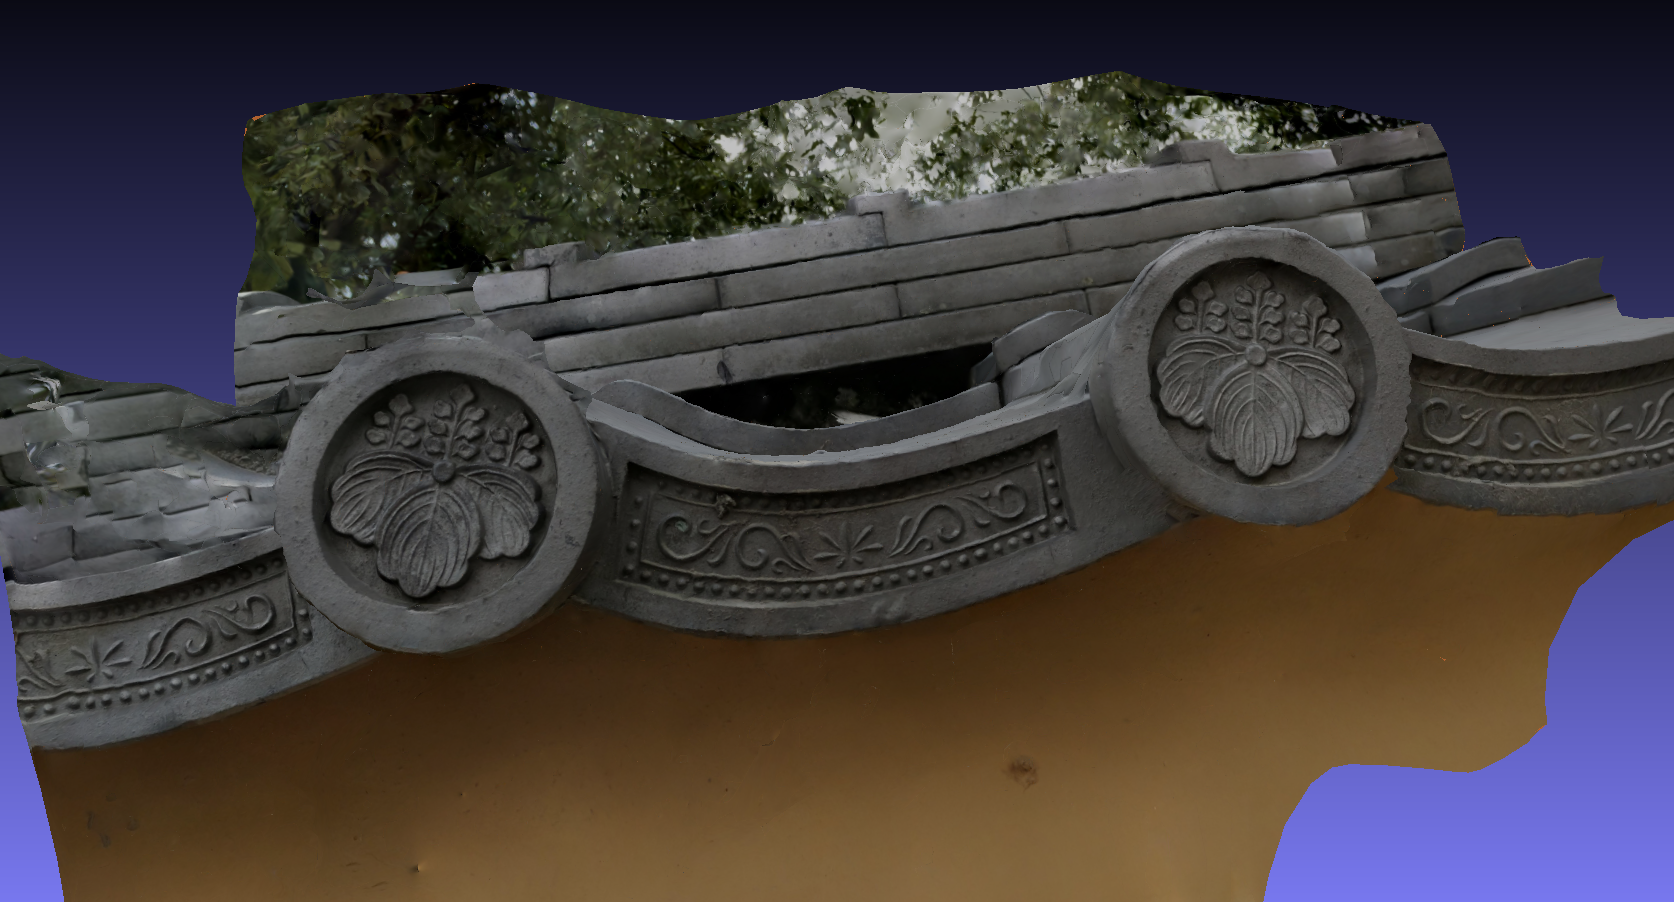
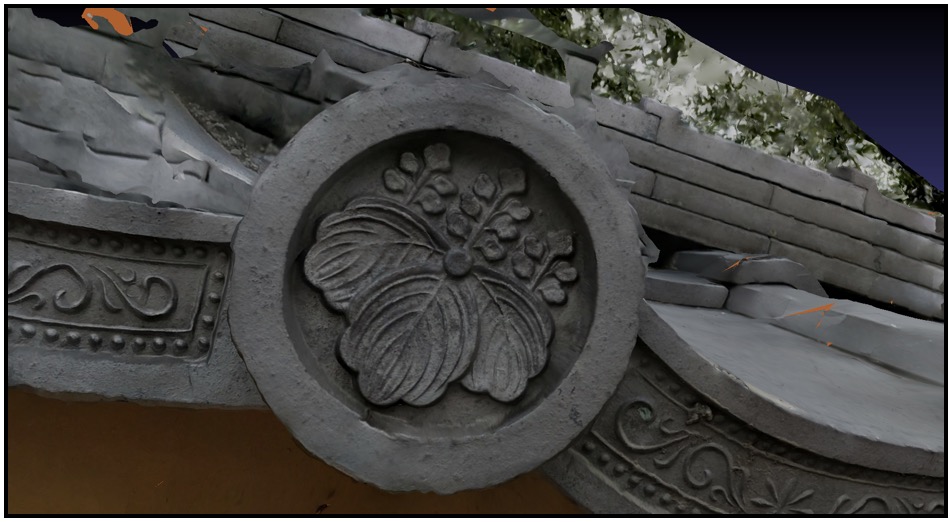
Photo set info: No. of Images = 23, Resolution per Image: 3036 x 4048
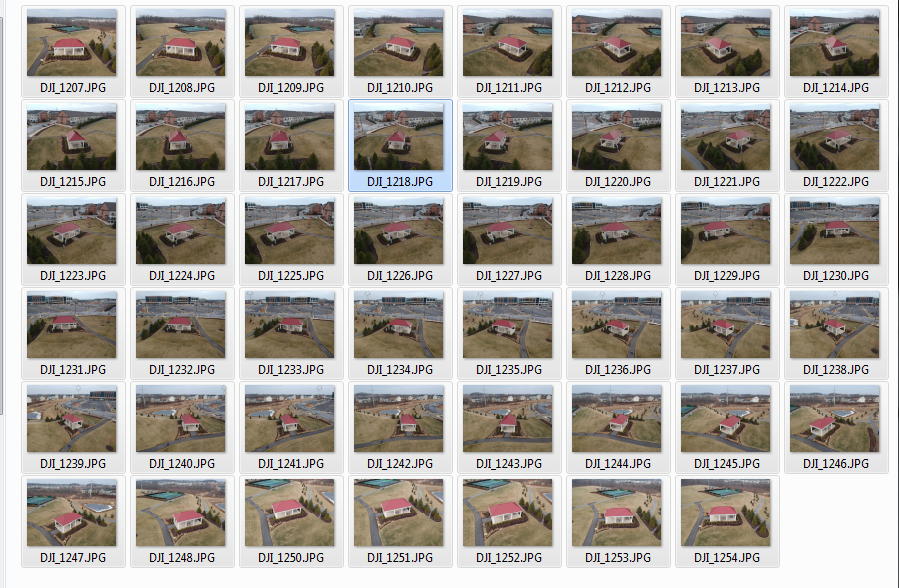
Using a drone:
Drone images taken in daylight work great. For a good reconstruction, capture images with significant forward overlap and side overlap.
Your photo set should look something like this:
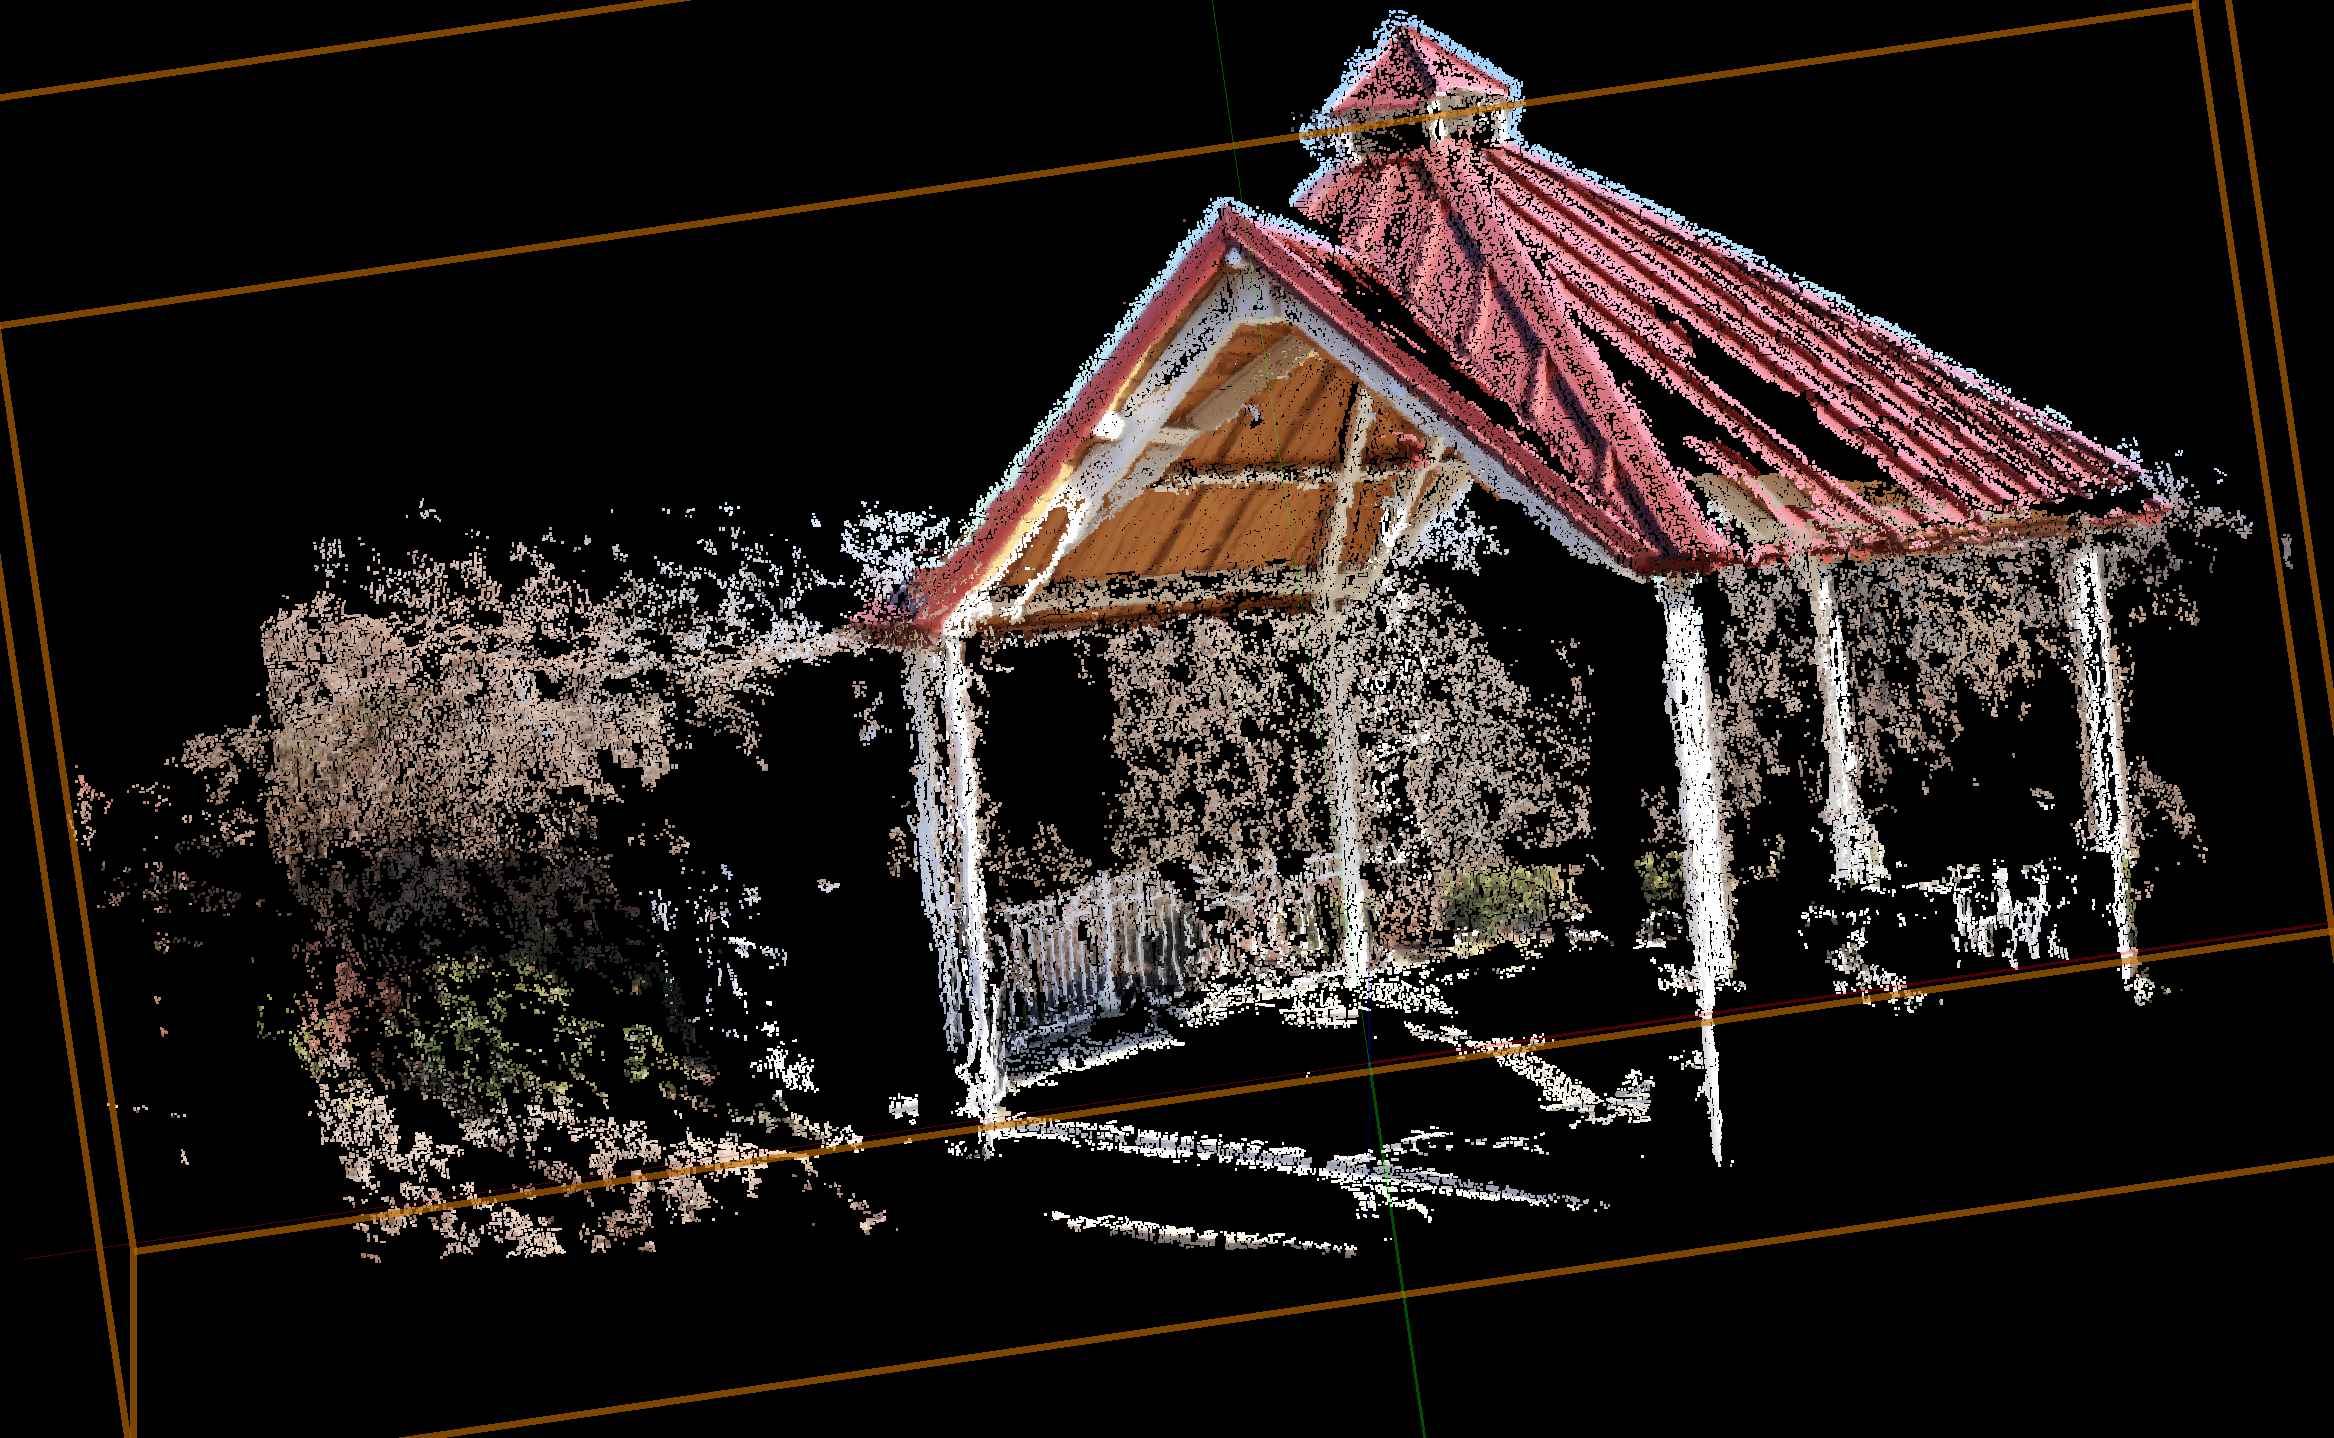
This is the generated result after import in Vectorworks:
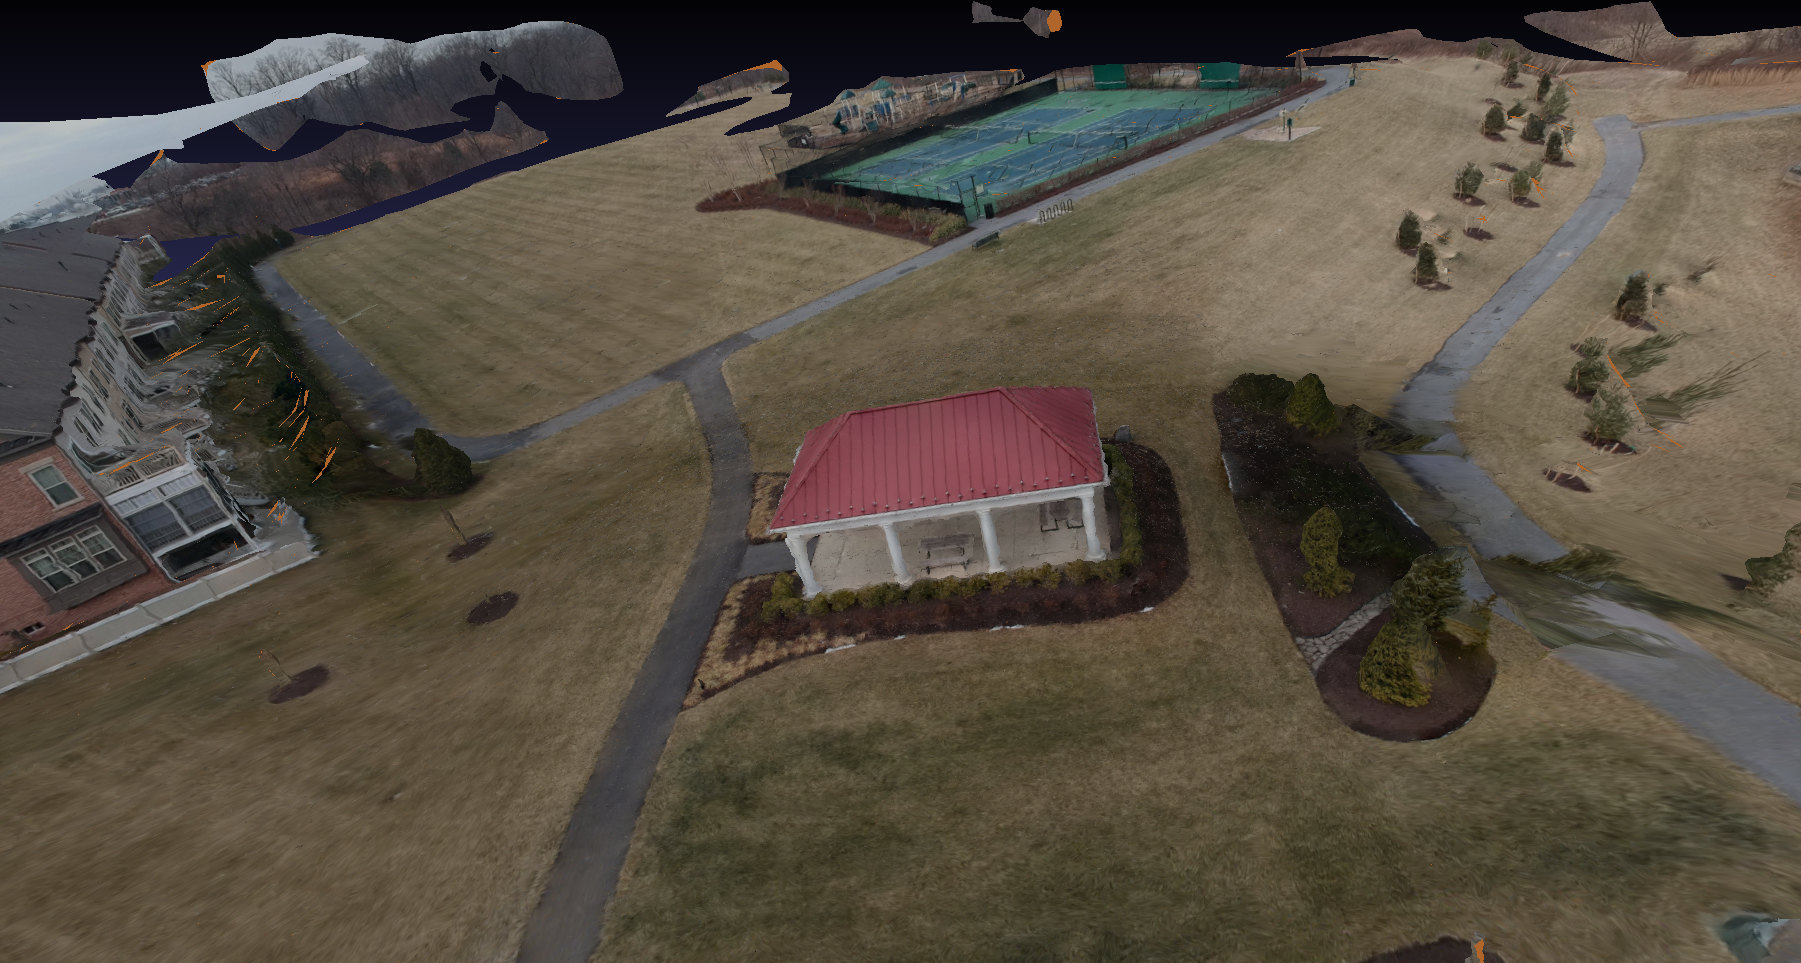
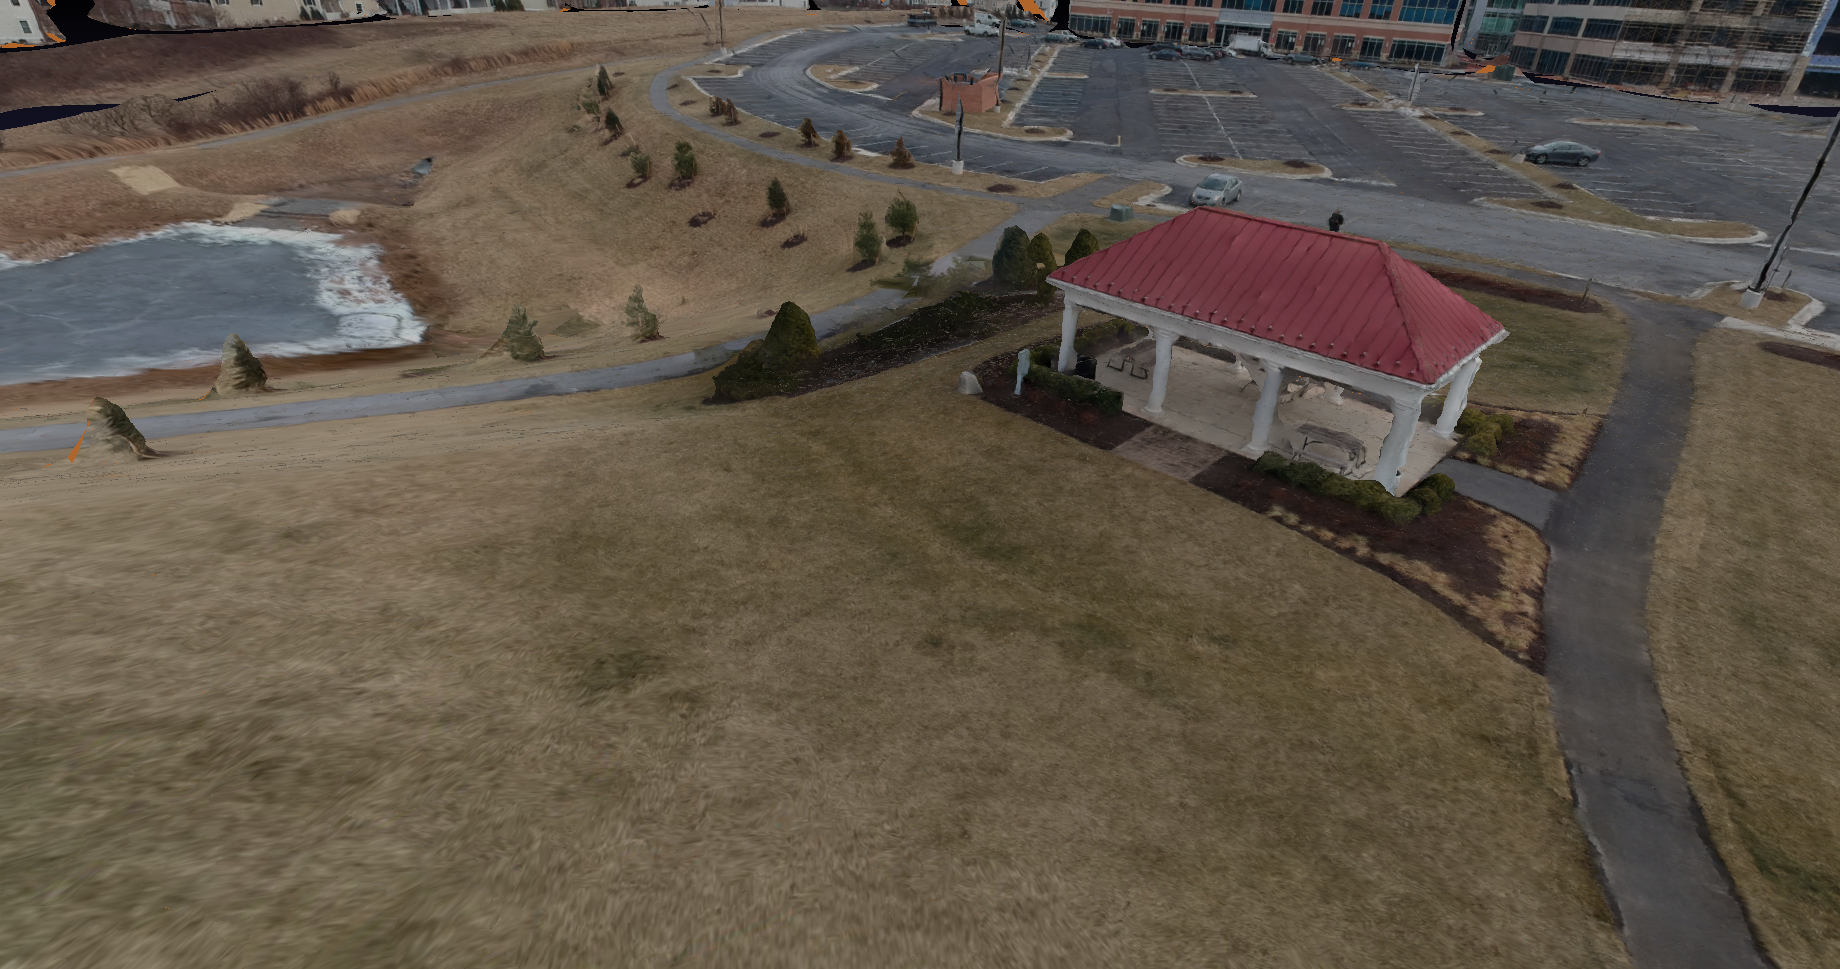
Photo set info: No. of Images = 47, Resolution per Image: 3968 x 2976
Details and textures:
Reconstruction requires textured objects: anything with a pattern or uniquely identifiable points. Flat colors are not textured unless they have shading or shadows that make a pattern. For example, a plain black table and a white wall are not textured surfaces.
In the following image, some elements have texture and some do not. The ceiling lights and floor are textured, but it will be hard to reconstruct the full black and white areas.

The white wallpaper in this image is lightly textured. To get a good reconstruction, the images must be sharp.

Sufficient overlap:
If good images produce a bad reconstruction or no result, the photo set might need to be divided. In the example below, all of the images are sharp and well lit. However, the reconstruction failed because some images in the sequence lack sufficient overlap. If this occurs, review the images to identify any gaps in the view, and divide the photo set at these points. In this example, a gap occurs between images 12 and 13. For a good reconstruction, images 1-12 should be run as one photo set, and images 13-26 should be run as another.

Continuity and exposure:
Too much change in exposure is problematic.
In this photo set, the changes in exposure and subject matter prevent reconstruction. Running the images in a single job produces no result.
However, point cloud outputs can still be produced by running subsets of the images. Select images with consistent exposure and overlapping features.

Below is an example of how a photo set should look in continuity and exposure.
The lighting is consistent across this photo set. Each image shows significant overlap with the next image, allowing the algorithm to detect features and produce a good reconstruction.
Wrap-around photo sets:
Currently, the algorithm is not optimized for photo sets that capture a 360-degree (wrap-around) view of an object. However, reconstruction is possible when many sharp images are captured for a scene with lots of texture. Your photo set should look something like this:
This is the generated result after import in Vectorworks:
For more information, see these articles:
Generating 3D Models from Photos
https://cloud.vectorworks.net/portal/help/pages/generate-3d-models-from-photos/?app=WEB
Capture Photos for 3D Models
https://cloud.vectorworks.net/portal/help/pages/capture-photos-for-3d-models?app=VECTORWORKS

Edited by JimW
Report Article
Join the conversation
You can post now and register later. If you have an account, sign in now to post with your account.
Note: Your post will require moderator approval before it will be visible.